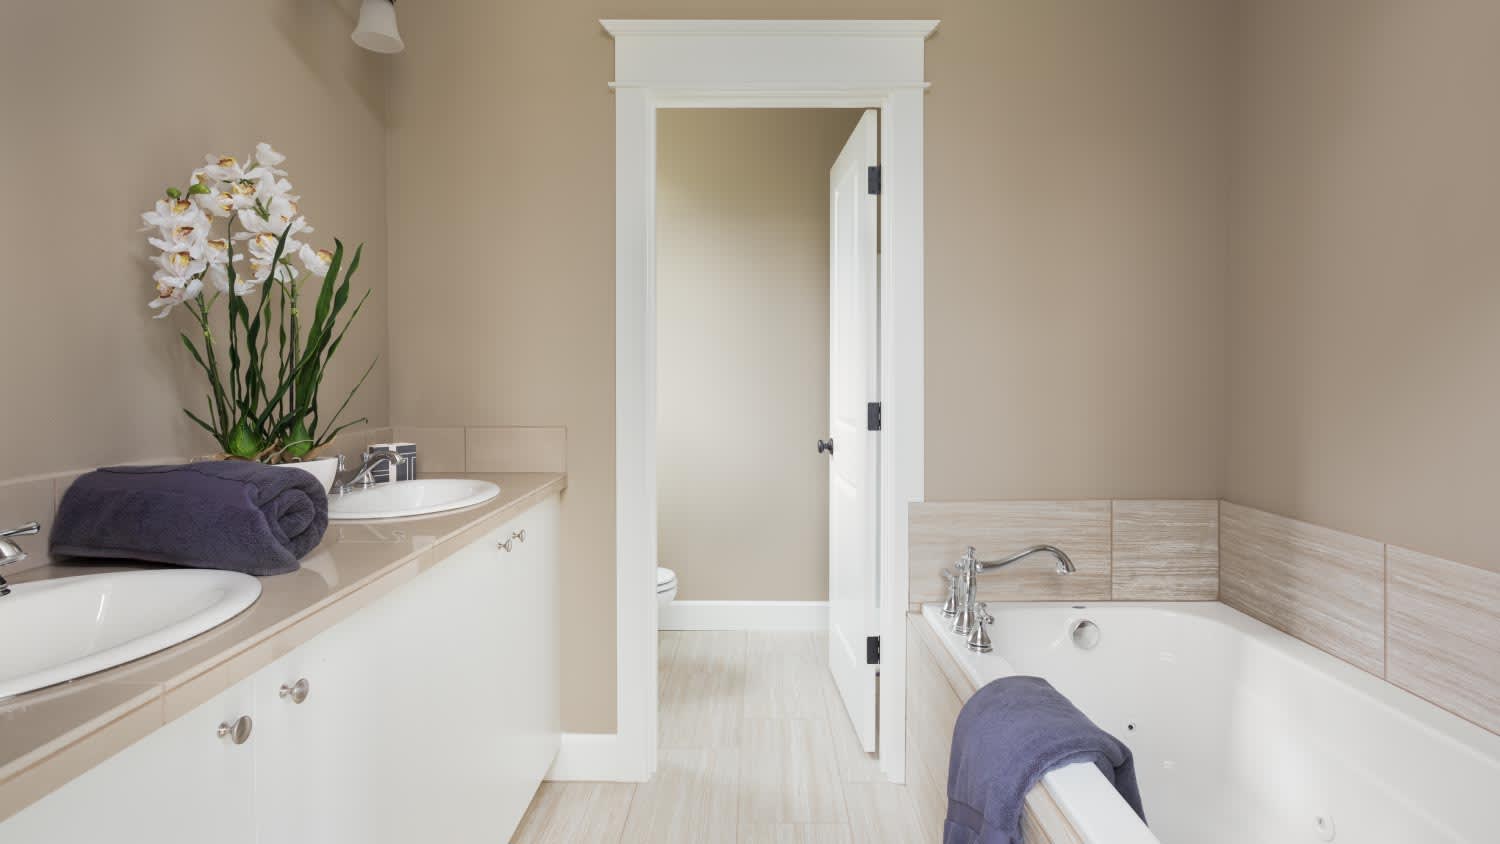
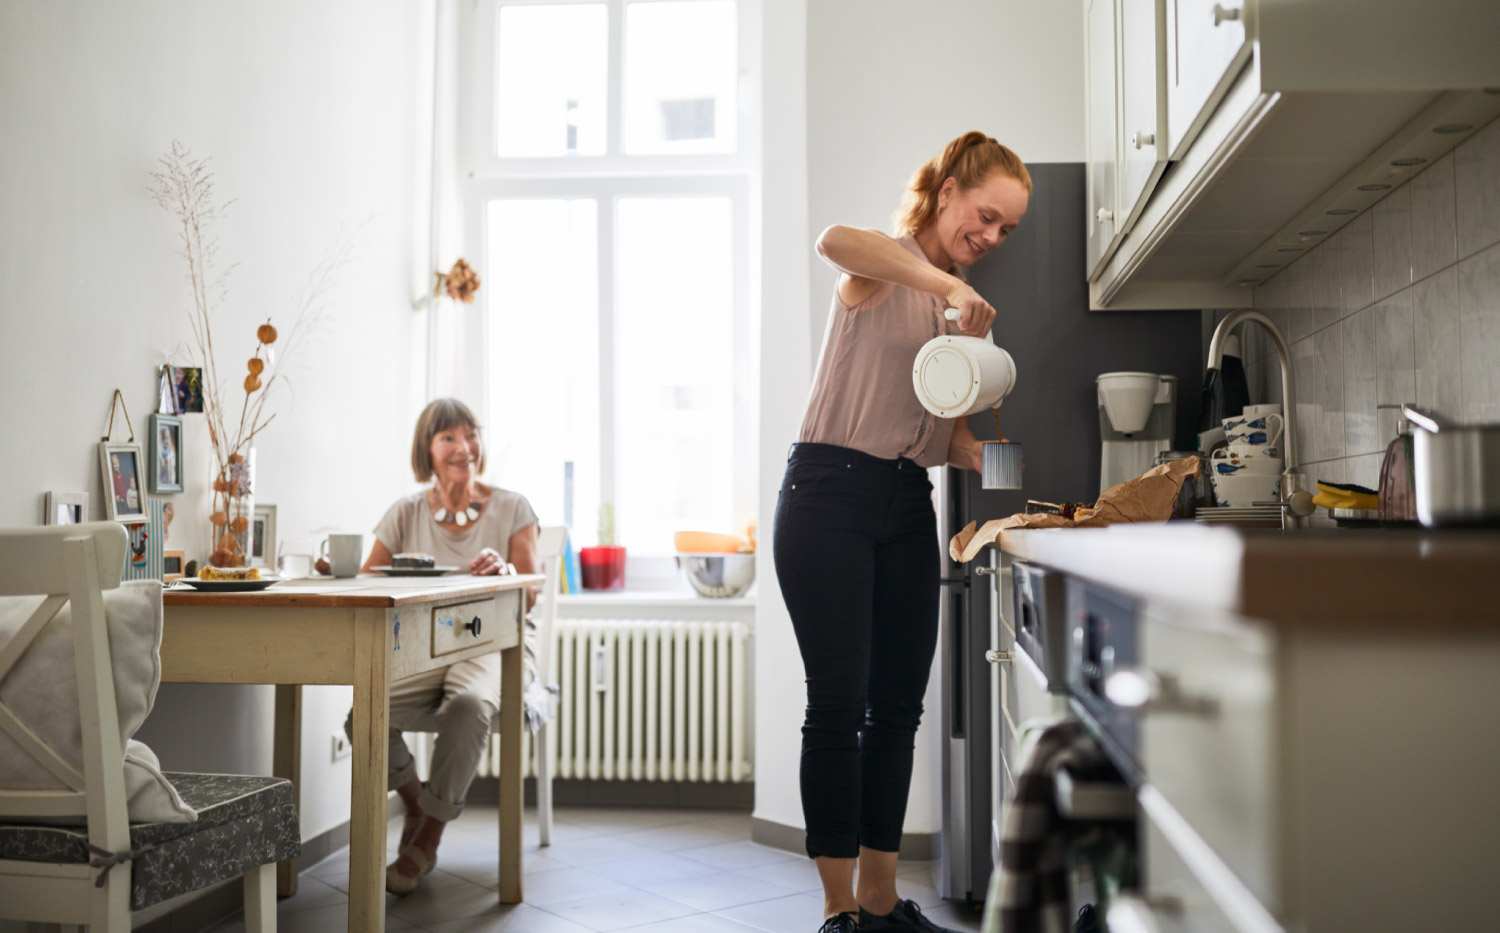
Whether it’s on your floor, walls, or shower, ceramic tile can add style to your space. So, how much does ceramic tile installation cost? Let’s break it down.
You can install ceramic tile floors yourself following these seven simple steps

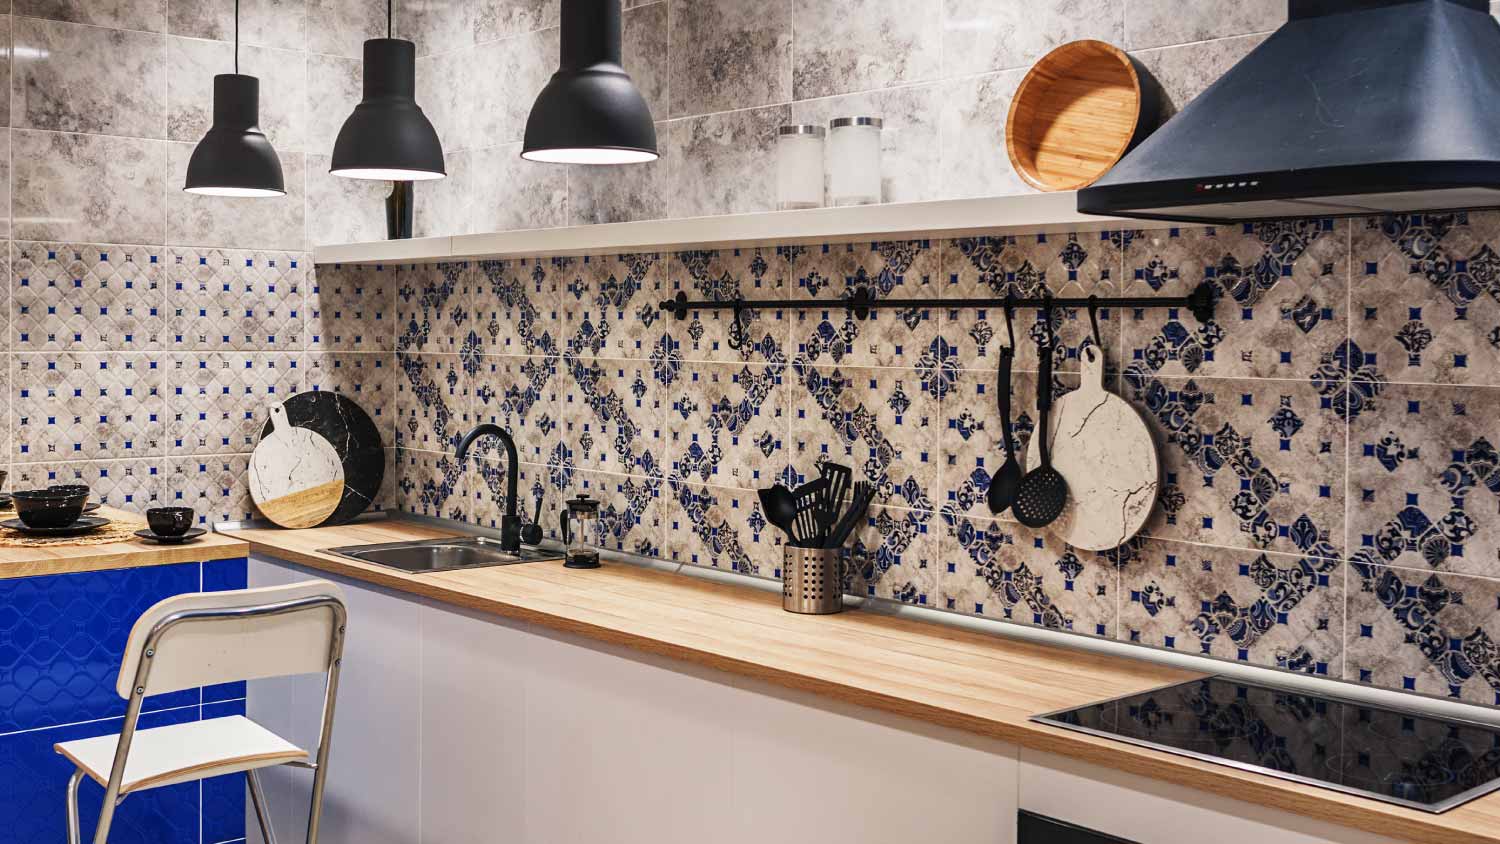
Whether you’re remodeling your kitchen or are simply tired of looking at the outdated tile in your bathroom, these shower tile ideas for tile projects can give you the inspiration you need to make a change. While you may choose to hire a local tile installer for this labor-intensive task, it can be a manageable DIY project–if you prepare properly.
Follow these seven steps to give your space the timeless strength and beauty of new ceramic tile floors.
If your installation is happening in a room that already has an old tile floor, you will need to chisel it out and remove the existing flooring with a tile scraper. This part of the job can get dusty, so wear eye protection and a safety mask. Establish good ventilation by opening windows, if possible. Protect adjoining rooms by placing plastic sheets down to catch airborne dust.
If you are installing tile in a bathroom, you may also need to remove the toilet, baseboards, and vanity. This can increase the ceramic tile installation cost if you hire a professional, so you could save money by doing it yourself.

Once your old floor is cleared away, inspect the substrate (or subfloor). This is the surface you’ll install your tile on. A subfloor for tile can be solid concrete, exterior plywood, concrete backer board, or an uncoupling membrane.
If you use a membrane, cut it to size, adhere it to the subfloor with mortar, and waterproof the seams with waterproofing tape. Make sure you understand the difference between grout and mortar so you don’t make a mistake and use the wrong material. Regardless of what your subfloor is made of, it should be clean, level, and stable. If it’s uneven or flexes beneath weight, solve the issue now before installation to avoid broken tiles and cracked grout in the future. Waiting to take care of the issue until after it becomes a problem could increase the cost of tile installation if you need to redo it in the future.
Before adhering any tiles, create a dry-fit to map out what your final installation will look like. Strive to create a layout that maximizes the number of whole tiles, and minimizes the size of any cuts you’ll need to make to the tiles.
Pro Tip: Place awkwardly-cut tiles out of the main line of sight from the doorway, such as where a vanity will cover them.
To make your finished surface as symmetrical as possible, measure to find the center of each wall. Snap a chalk line between the center points of both sets of opposite walls to create four quadrants. The intersection of the two chalk lines will be your starting point.
Start your first row, mixing tile from different boxes to help keep the color consistent throughout the room. If you end up with small pieces (less than 2 inches wide) on either edge, shift your layout to make your edge tiles wider and mark new chalk lines in the center. You’ll want your tile measurements at opposite walls to be the same. Repeat this process for the other two walls.

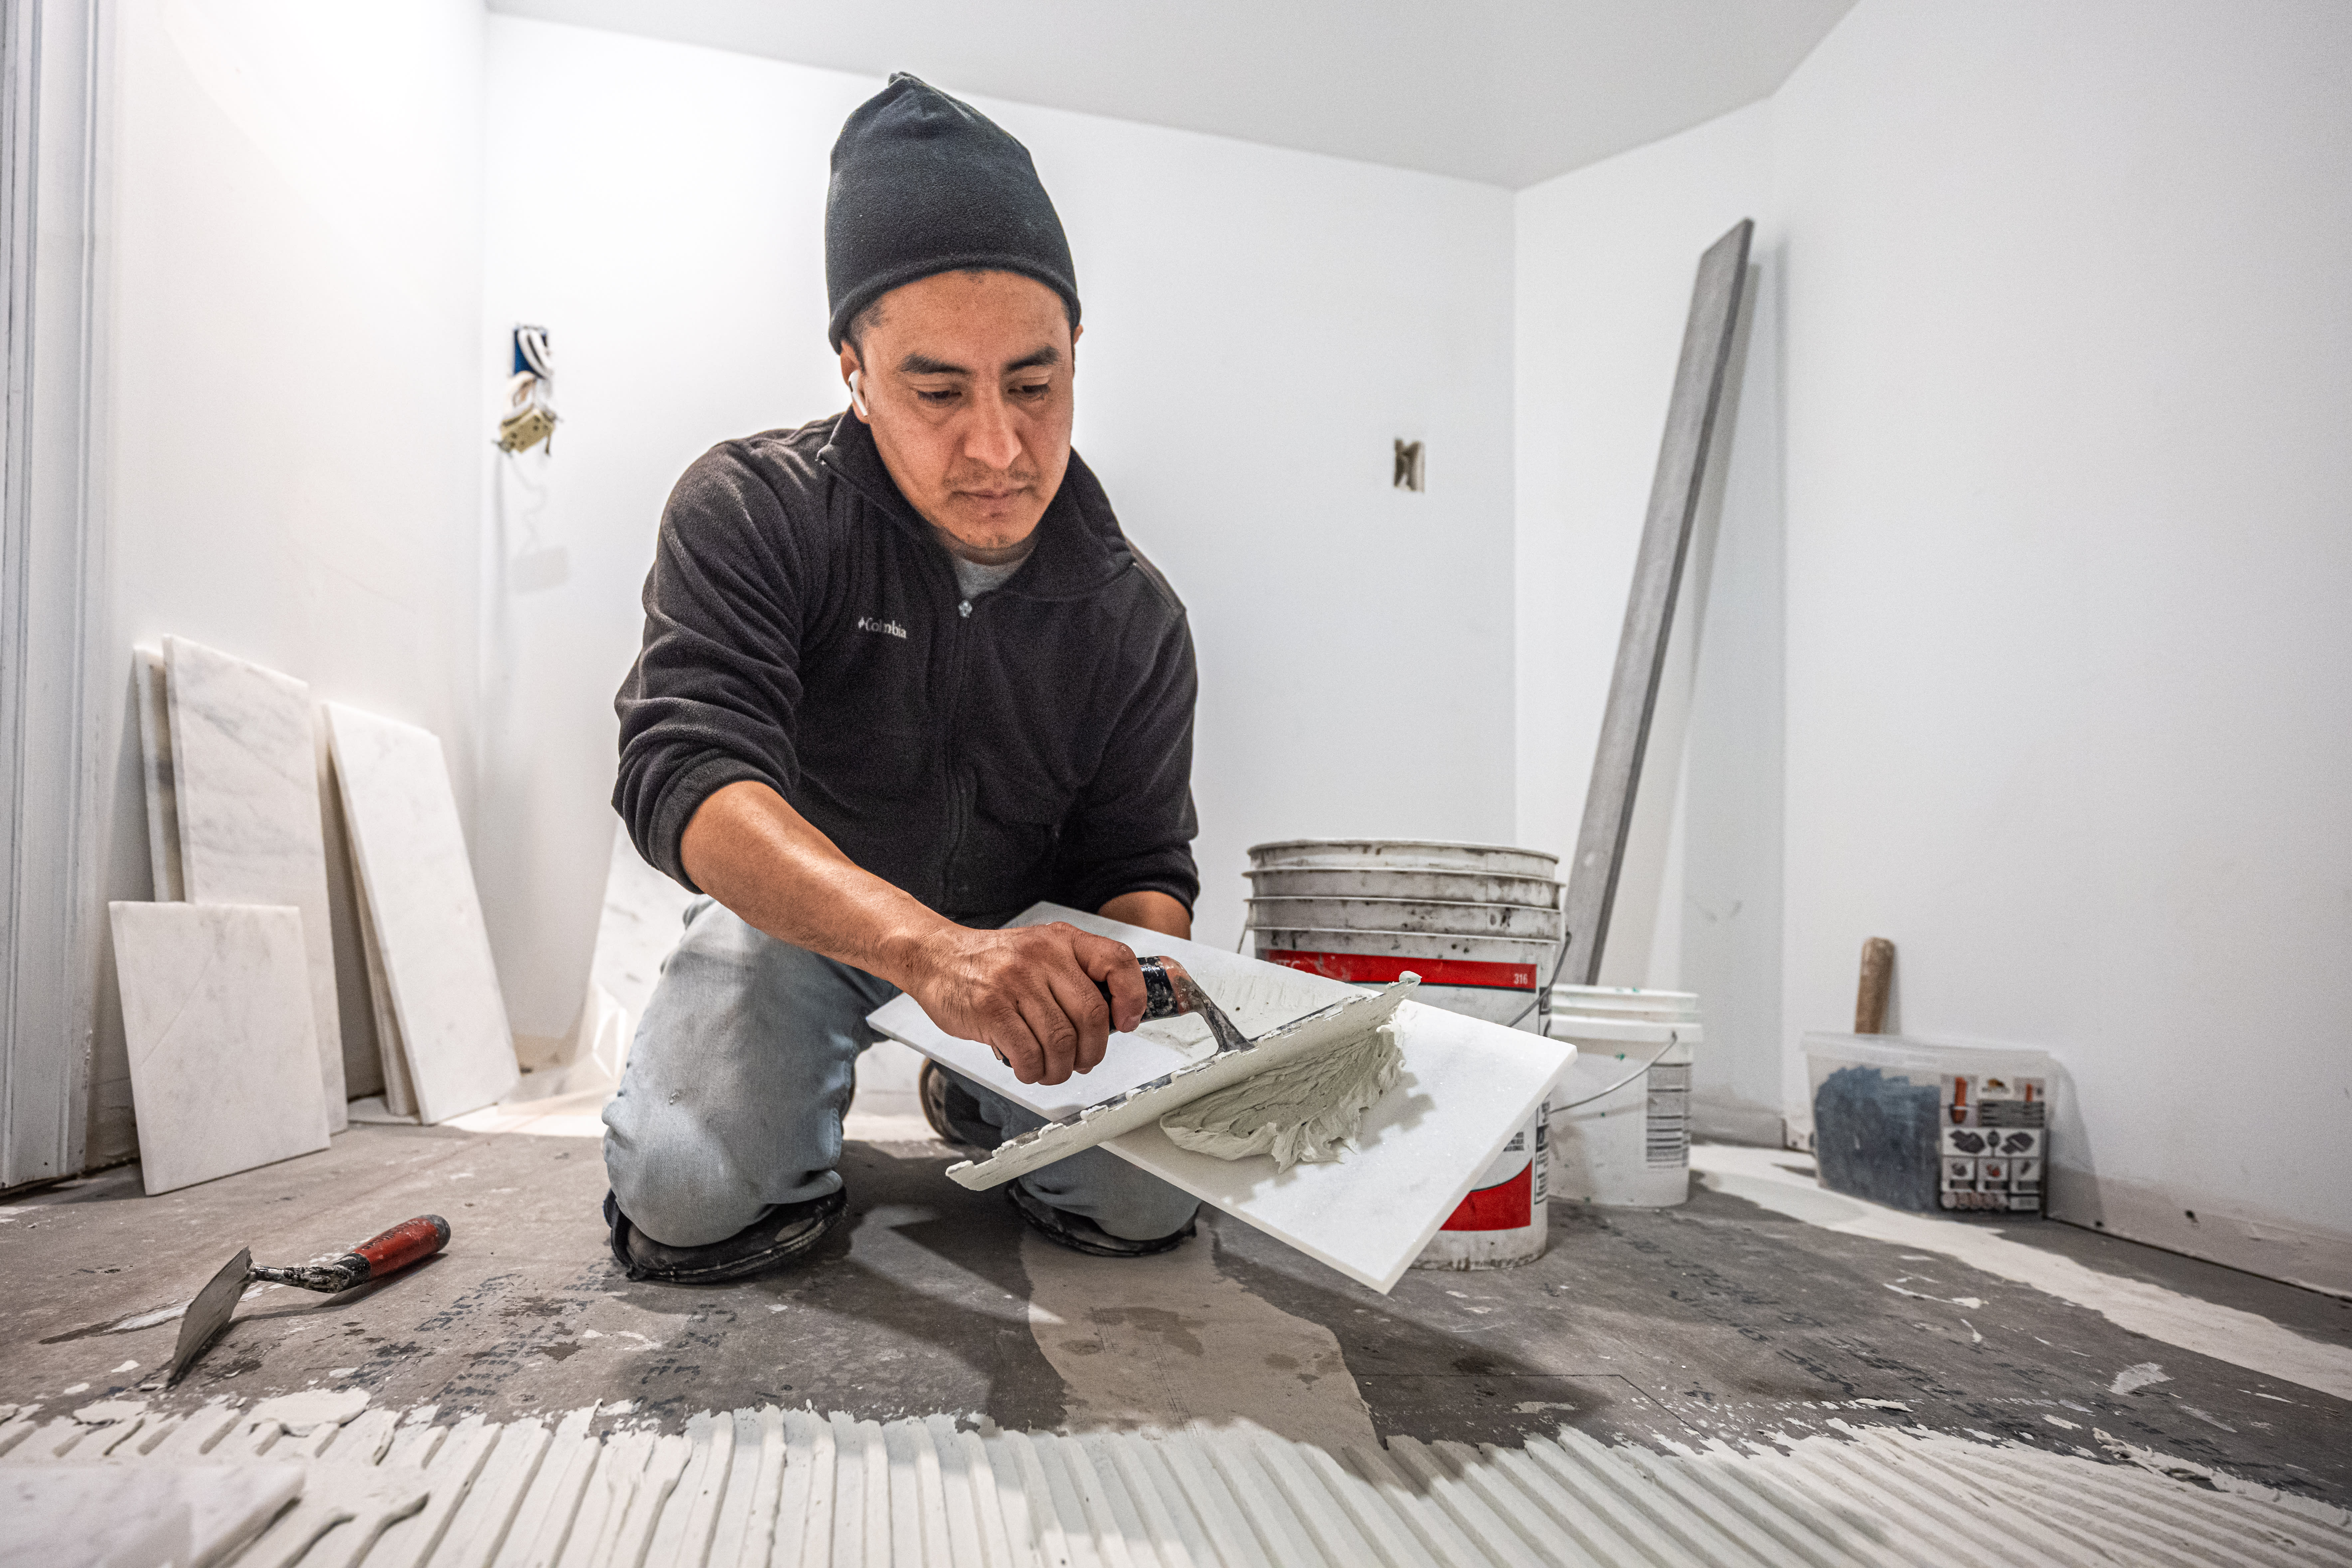
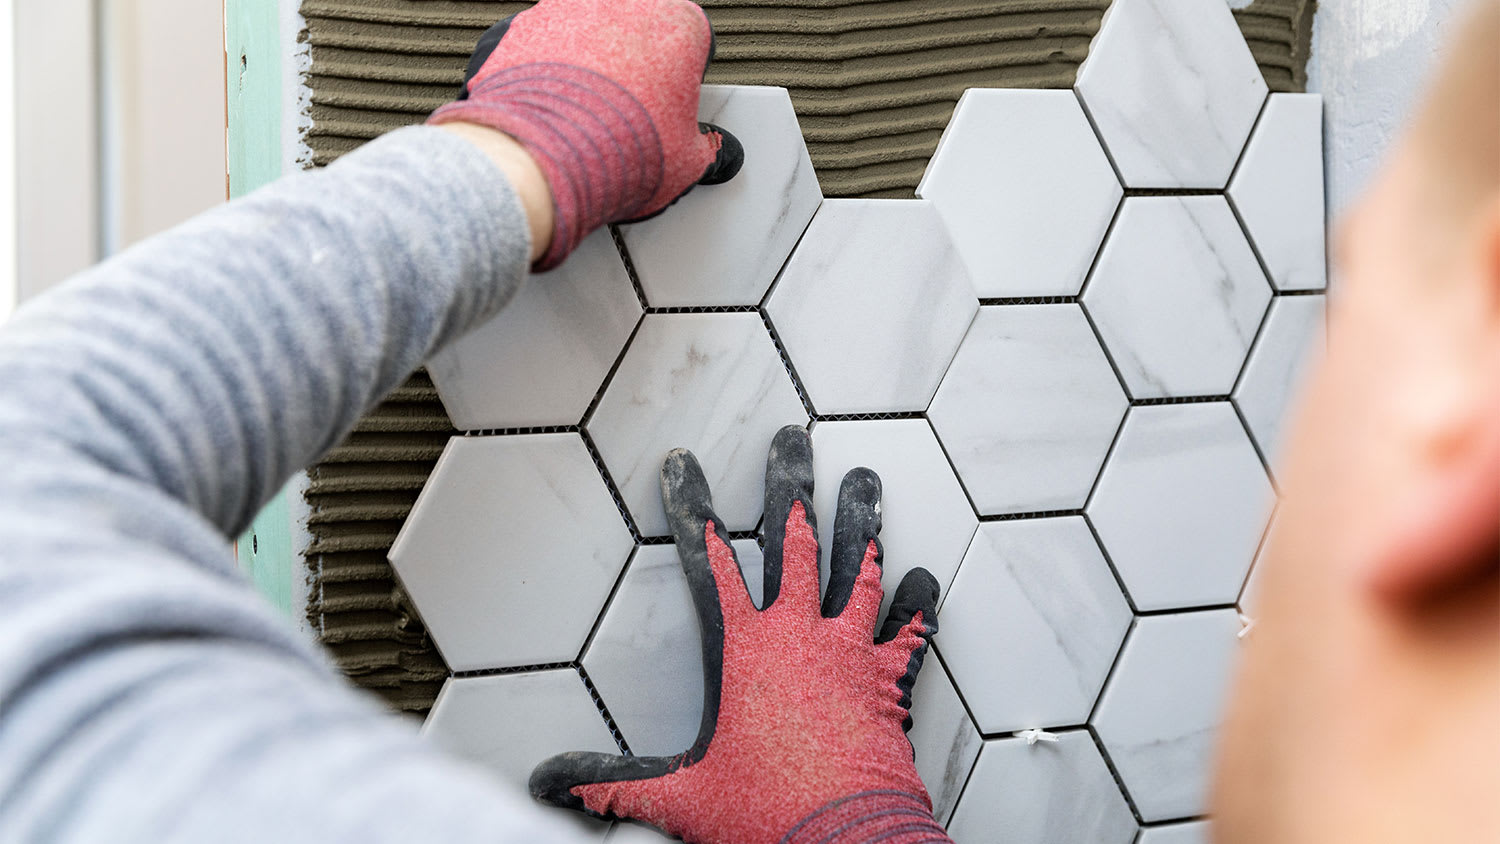
Mix your mortar by following the instructions on your package. It should be roughly the consistency of peanut butter. Let it rest for about 10 minutes (or the amount of time recommended on the packaging). Using your trowel, spread an even layer of mortar over a 2-by-3-foot area along the straight edge of your starting point lines. Comb the mortar at a 45-degree angle with the notched edge of your trowel for better adhesion, pressing down hard so that the trowel makes a scraping sound. Working in small sections at a time will help prevent the mortar from drying too quickly.
Using a straightedge as a guide, gently lay your first tile on the mortar along the starting line. Consistent pressure helps ensure each tile sits at the same height as its neighbors. Place tile spacers for even joints, and continue to set each tile the same way.
As you work, use a damp sponge to wipe away any mortar that gets on your tile surface. Use a level periodically to check that your tiles are even, and use an A-square or framing square to check that they are sitting squarely to one another.
When you get to an edge where cuts need to be made, use a tile cutter for straight cuts. If you need to make a small cut (less than 1-inch wide) or a curved cut, score the tile first and snap pieces off with a handheld tile nipper. Be sure to leave a one-quarter-inch gap around the perimeter of the room for grout expansion.

Once all tiles are set, wait 24 hours before adding grout. After the wait is over, remove all tile spacers. Mix your grout and scoop a trowel full onto the floor. Starting from the edges of the room and working your way toward the center, spread and press the grout into your joints using the rubber float, held at a 45-degree angle–just like when you were spreading mortar to set the tiles.
Allow the grout to set for about 20 minutes, or until it’s firm to the touch. Next, wash the tile by wiping the surface with a damp sponge and clean water. Wipe away the grout haze, rinsing your sponge often. You may have to repeat this process several times. Don’t wipe too aggressively, or you may accidentally pull the grout out of the joints. To keep the floor in good condition, make sure you know how to clean floor tile grout.
To finish your floor tile installation, apply a silicone sealant to the one-quarter-inch expansion gaps on the perimeter. Wait three weeks (or whatever amount of time is recommended on your grout packaging) to apply a grout sealant as well. When the sealant is set and dry, you can install baseboards, molding, transition strips, vanities, and toilets. If you’re installing tile in a shower, you may also want to consider tile shower waterproofing.
If you choose to install tile yourself, plan to spend between $3 to $7 per square foot on material alone. Be sure to order an additional 20% to account for cuts you’ll need to make and breakage that may occur. For a 100-square-foot space, that’s about $600 on average. That cost doesn’t include the cost of the other tiling tools and materials you’ll need.
When you hire a contractor, their cost accounts for tools, which they should have on hand. They’ll typically charge about $4 to $5 per square foot for labor plus 20% profit. The average cost to install ceramic tile is between $1,580 and $1,920 for today’s latest kitchen and bathroom tile trends.
Terrible experience. Walls/trim/floors/cabinets/doors all have drip marks, overspray, etc. Tiling at the fireplace had to be redone by another vendor due to incorrect and shoddy install by Profect. Contractor had his children in our house while he was on site without prior authorization or...
 Profect painting & exteriors
It was wonderful working with Yordy and his team. They were very professional and are experts in what they do. They have completed the work on time, with better quality and with in fairly reasonable price. We just started with backsplash work , but liking his work, we went on to provide...
We were having 2”x 2” tile installed . There was a small installation error and the new additional replacement tile was from a different lot and the colors didn’t match. Joe assured us that he would rectify everything , which he did without hesitation. We decided to go with the 18” x 36” tile...
 CarifaTile
For several months I was looking for somebody to tile a wall in my master bath and move lighting fixtures, and could not find anybody who was responsive. I contacted Rowe through Home Advisor and within days they came by to assess the job and provide an estimate. The cost was very...
It went very well! The end product was amazing and we keep getting a lot of compliments from friends! M&E were very professional and they made sure we were happy with the product before leaving. They met with us in our home and at the tile shop to make sure we were okay with our tile and...
 M&E Remodeling
Involved an extensive bathroom remodel, including removing tub & installing walk in shower, new drywall, custome tile work to ceiling, plumbing, etc. Overall, job was done on time and on budget. Nick & his team were very professional and had high attention to detail. Quality was great. Highly...
 Stamos Flooring and Remodeling LLC
Very pleased with the service and level of professionalism. Courteous and very unobtrusive in performing service. Unlike several other companies, Bradford Xteriors was willing to perform work on a three story home with a clay tile roof. <br />
 Bradford Xteriors
This company did a very good job on the brick wall and it looks just amazing. The staff was always professional and was practically OCD on how the bricks were stacked and how they were laid. Although it took longer than expected, I am willing to sacrifice time over perfection anyday. The...
 My Handy Mate LLC Improvement & Remodeling
He did the tile work and he was good at it. He used other subcontractors for the rest of the work (like putting in the cabinetry) and they were okay but not great. He was a great guy! He was easy to work with and had a good eye for the detail of his work. There were a couple of things that I...
 Brian Miller Custom Remodeling
I was very impressed with Miller Cantrell! I live in an old home in which the sewage line that runs from my home to the sewage system is a line of clay tile. These eventually collapse and need to be replaced - an expensive problem and sure to happen at the worst time. I told them that my...
From average costs to expert advice, get all the answers you need to get your job done.
Whether it’s on your floor, walls, or shower, ceramic tile can add style to your space. So, how much does ceramic tile installation cost? Let’s break it down.
The cost to install porcelain tile depends on materials, size, and whether you DIY or hire a pro. This guide will help you choose the perfect porcelain tile for your home and budget.
Find out how much you can expect your tile floor installation to cost depending on a range of factors, including tile type.
Less fuss and mess: Here's every type of flooring that can be installed right on top of your ceramic tile.
Ceramic tile as a flooring option boasts a long list of advantages over other surfaces. However, there are also some key drawbacks worth considering. We’ve rounded up both the pros and the cons of ceramic tile into a helpful list.
Learn how to hire a qualified tile installer with confidence. Find tips on vetting pros, questions to ask, and what to expect from your tile project.