

Many homeowners upgrade their old fireplace with inserts to get more heat and save energy and money. Learn more about the cost of installing a fireplace insert.
Ditch the drafty hearth for better heating efficiency

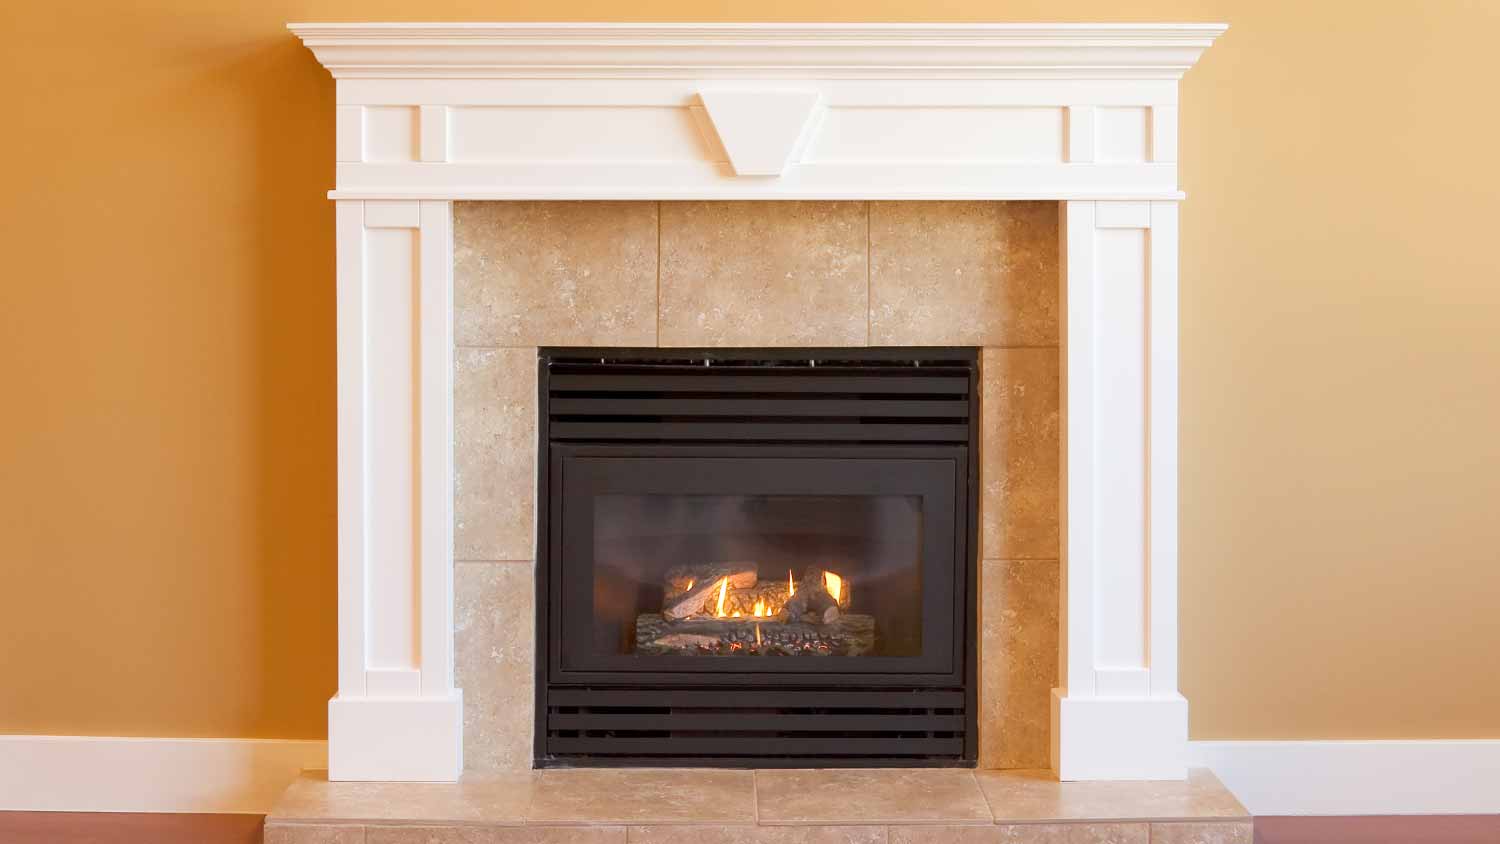
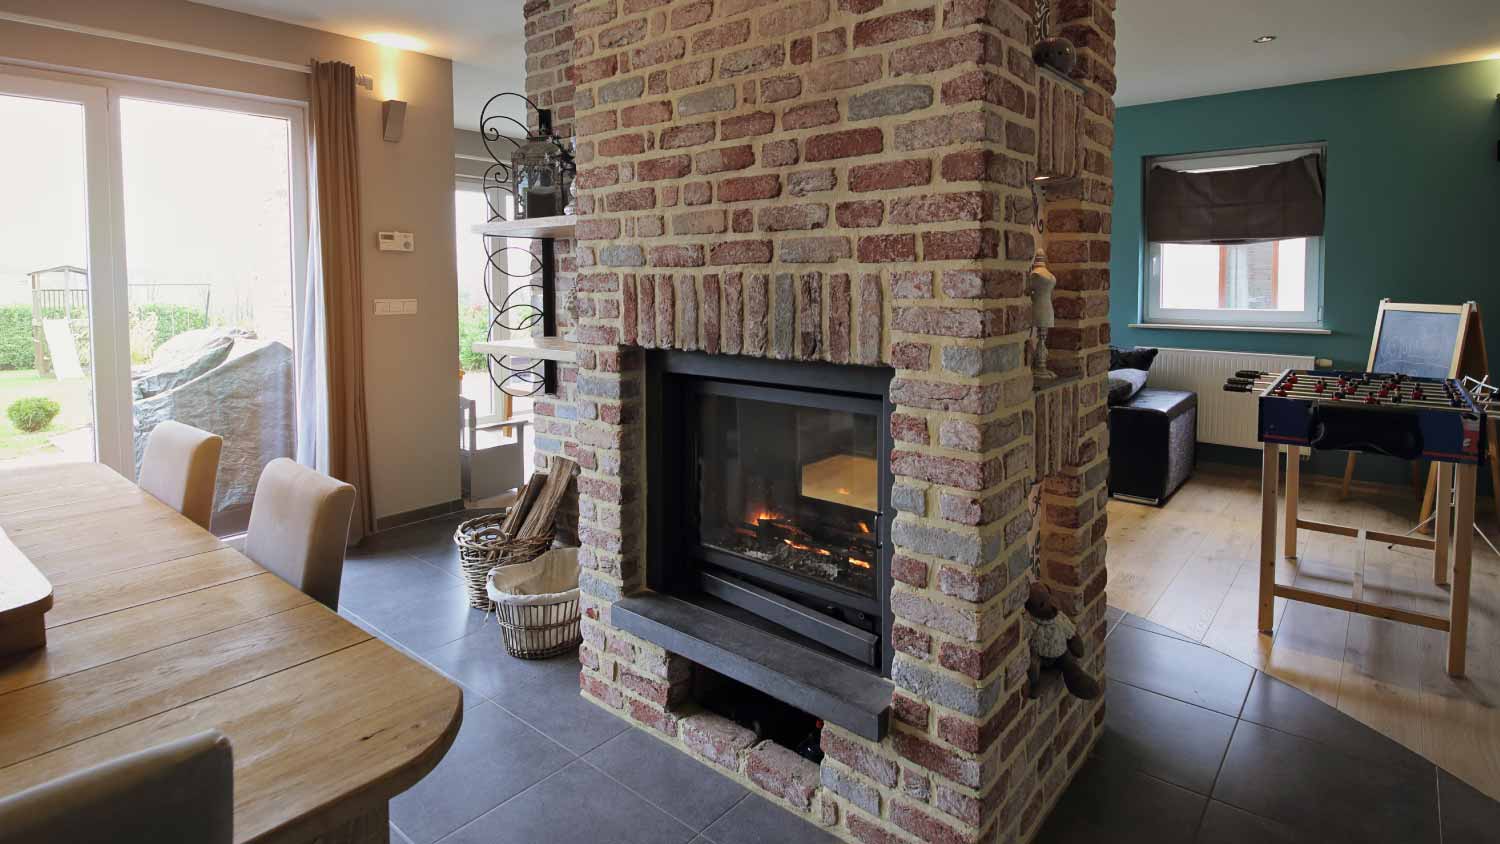
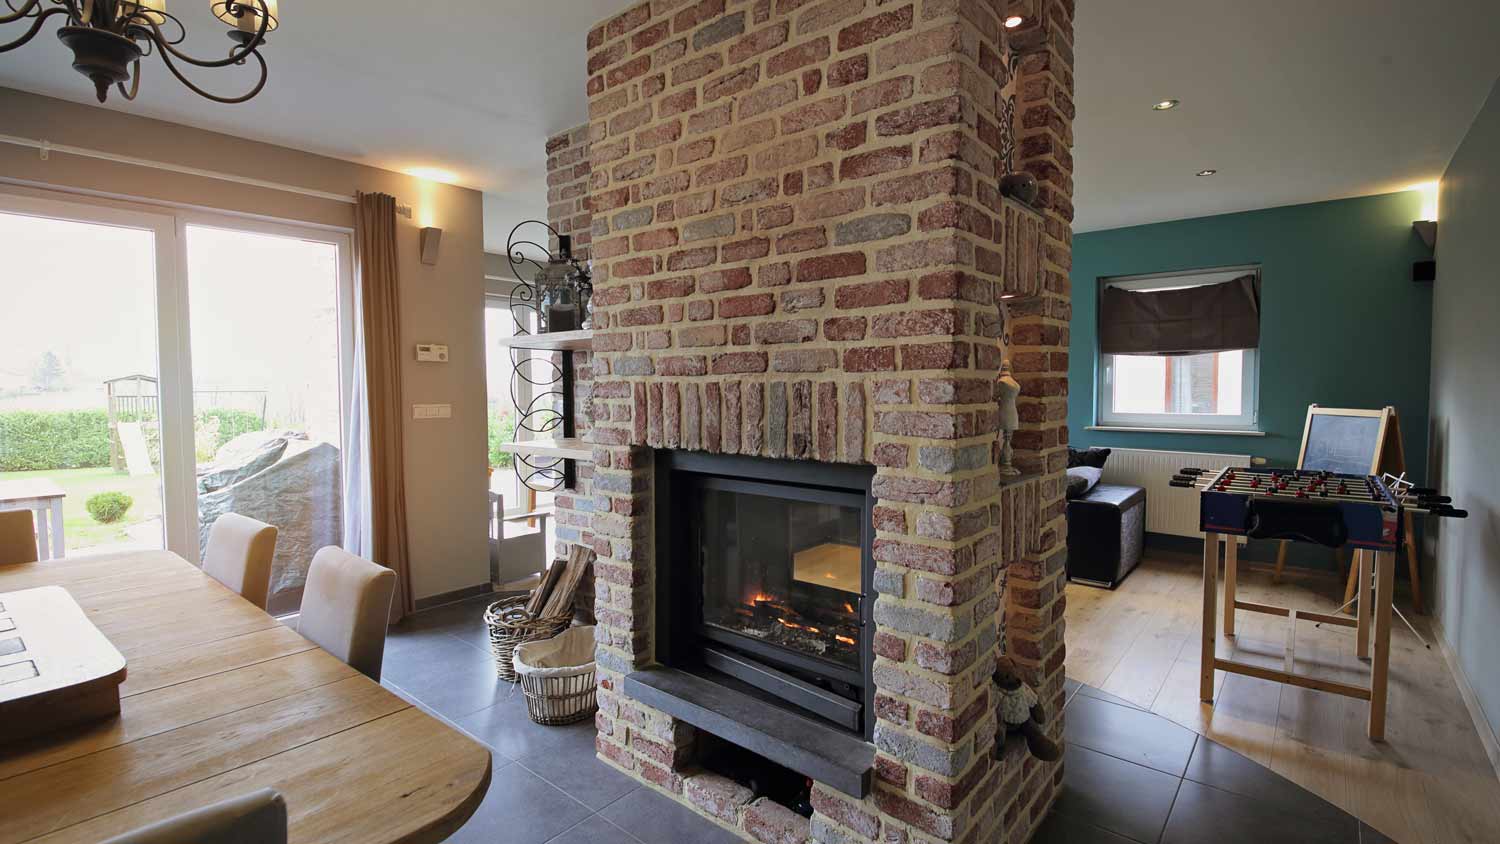
Traditional open-hearth fireplaces may be charming, but they’re not very efficient. In fact, they can even make your home’s heating system work harder, increasing your energy bills. But with a fireplace insert, you can still enjoy the crackle and smell of a wood fire—just in a more energy-efficient way. If you’re ready to get toasty, learn how to install a wood-burning fireplace insert.
Certain types of fireplace work—like removing a fireplace or installing a new one—often require a permit. Installing an insert often doesn’t, but regulations will vary. Be sure to check your area’s permitting requirements before beginning this project.
Before installing an insert, you should inspect your fireplace and chimney for damage. If you spot any broken stones, dented pipes, or other issues, hire a local fireplace pro to come take a look.
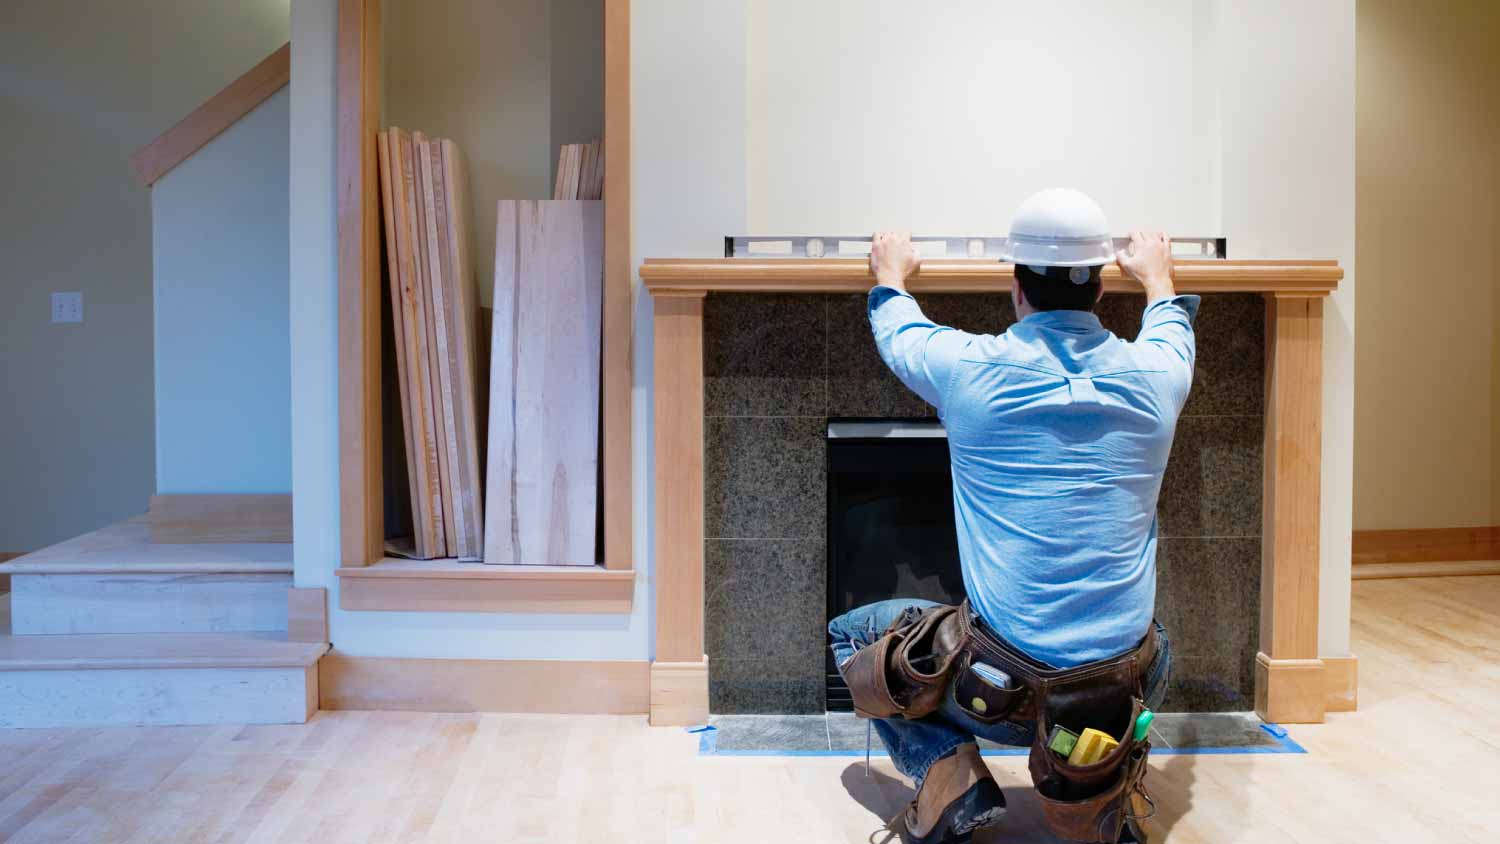
Next, you need to determine the right size insert for your fireplace opening. You can do this by measuring the height, width, and depth of the opening with a tape measure or laser measuring tool.
Now, it’s time to calculate the heat output for your insert. A fireplace’s heat capacity is measured in British Thermal Units (BTUs), and fireplaces with higher BTUs can produce more heat.
To estimate how many BTUs you need, find the total square footage of the room. For square or rectangular rooms, you can simply multiply the room’s length and width to get its area. For a circular space, measure the diameter of the circle and divide it in half to get the radius. Then, square the radius and multiply it by 3.14.
Once you’ve calculated the room’s square footage, multiply it by 20 to 30 to find the right BTU range for your space.
When you have the dimensions and heat output, you can buy the insert. On average, a wood-burning fireplace insert costs between $1,000 and $1,500, but prices depend on the unit’s size, BTUs, and other factors.
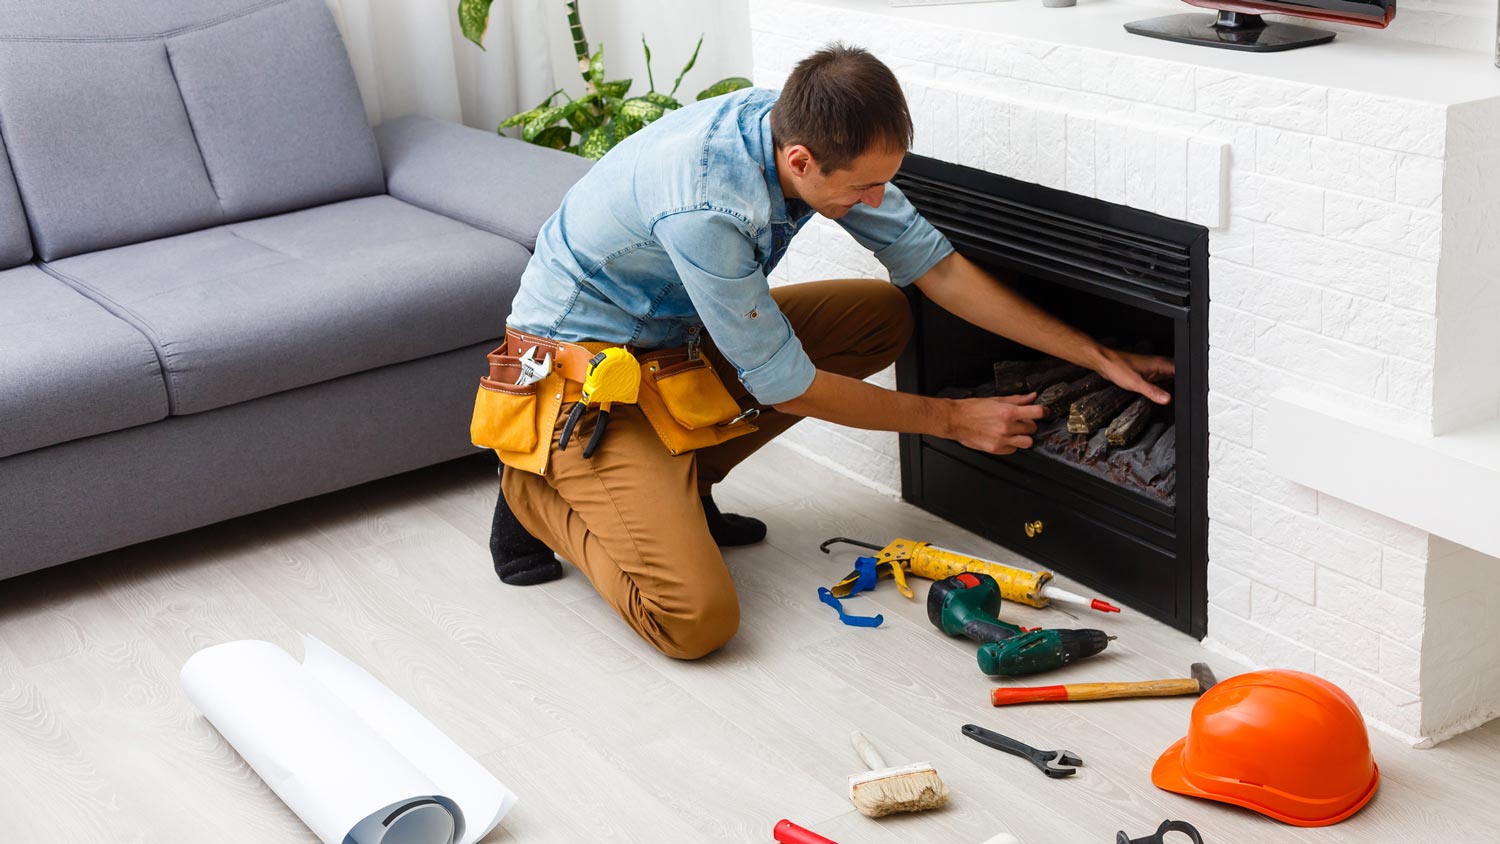
To protect your floor from soot, scratches, and other damage, lay the drop cloth down in front of the fireplace. Then, move any fireplace accessories (like andirons and screens) out of the way. Next, put on your mask, gloves, and safety goggles and clean the fireplace. Get rid of any ashes, old wood, and other debris.
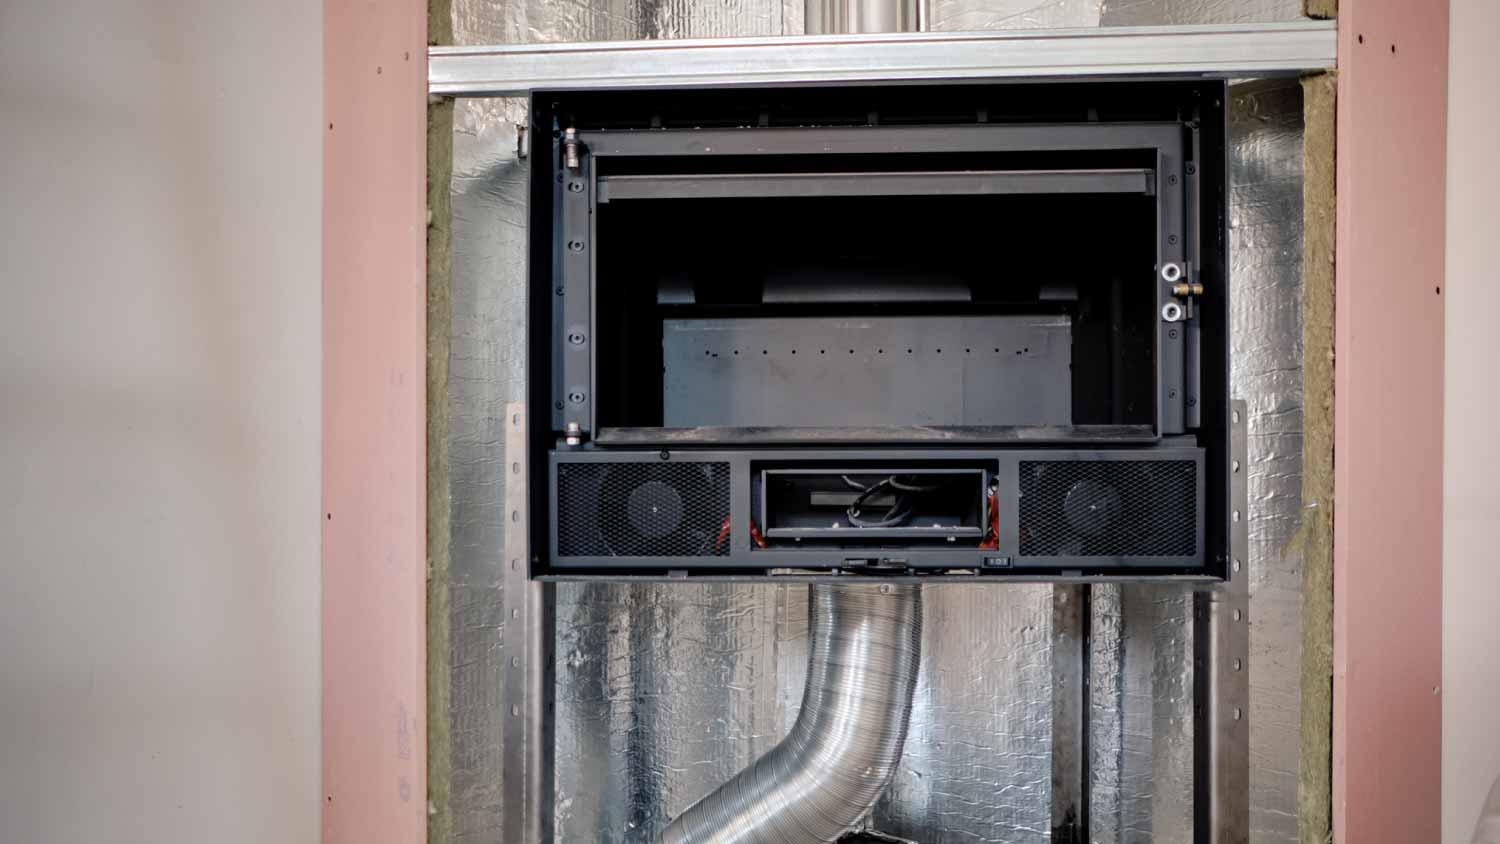
If you don’t already have a chimney liner, now is the time to install one. A liner carries fumes outside of your house and protects your chimney from heat and fire when you’re using your fireplace.
If you’re switching from gas to a wood-burning fireplace, you’ll have to cap off the gas line before installing the insert. Consider calling in a pro if this is the case, since working with gas is risky. A wrong move could create a gas leak, leaving your home vulnerable to carbon monoxide poisoning and explosion.
If you have some experience already, though, here’s how to cap the gas line:
Find the gas pipe from your gas supplier.
To shut off the gas, turn the valve 90 degrees so that it’s perpendicular to the pipe.
Use a pipe wrench to unscrew the gas lines in your fireplace.
Apply pipe dope to the threads.
Screw the cap over the pipe dope.
Tighten the cap with a wrench. Don’t over-tighten it, or it could compromise the seal.
Turn the gas back on.
To set up the insert’s ventilation system, you’ll first have to remove your chimney damper. Start by detaching the flapper from the frame—either by lifting it out or unscrewing it. If neither of those methods works, you may need to cut it out using a grinder and cut-off wheel. After removing the flapper, use the grinder to cut the frame out of the chimney.
This step can be dangerous if you’re not super familiar with using a grinder, so if you’re concerned about safety, let a pro handle the job.
Make sure you’re familiar with all ladder safety precautions, then climb onto the roof to access your chimney. Remove the chimney cap and feed the insert’s flue liner down the chimney.
Back inside, have a friend (or two) slide the insert into the fireplace opening and connect the flue liner to the top of the insert. Screw the liner and insert together, then attach the panels to the front of the insert.
On the roof, use tin snips to cut away any extra liner length. Apply high-temperature silicone on the flue tile and press the chimney cap onto it to create a secure seal.
Working with gas can be very dangerous and even harmful to your health. Only attempt gas projects yourself if you have the experience and credentials to do so safely. Otherwise, let the professionals handle these jobs.

If you choose to install your own wood-burning fireplace insert, you’ll need to pay for the tools and supplies on top of the insert itself. You can expect to spend between $1,000 and $1,800 on all of these items.
By handling your own fireplace insert installation, you’ll save around $2,200 in labor. That’s a substantial sum, but keep in mind that there is a lot of difficult (and potentially dangerous) work involved in this project. You should be comfortable moving heavy objects, handling gas lines, using a grinder, and accessing your roof. If you aren’t, it’s better to hire a professional who installs fireplace inserts.
Terrible experience. Walls/trim/floors/cabinets/doors all have drip marks, overspray, etc. Tiling at the fireplace had to be redone by another vendor due to incorrect and shoddy install by Profect. Contractor had his children in our house while he was on site without prior authorization or...
 Profect painting & exteriors
Supreme Brick & Chimney did a great job with a cleaning and inspection of the fireplace! He was efficient, on time, and very pleasant. The space was kept very clean, and the fireplace was spotless when he was done. He also performed a thorough inspection, and did a great job talking us...
 Supreme brick & chimney
Ace Fireplace Services came to the rescue for my chimney repair. They were quick to pinpoint the issue and worked their magic to fix it. My chimney is now in excellent shape, and I'm a satisfied customer.
 Ace Fireplace Services
Custom Paint Jobs LLCs custom murals brought life to our childrens rooms. They love it!
Storms Mobile Welding was great to work with. They were prompt, professional and did an overall excellent job on the project. I highly recommend.
On time, clean and finished fast. Windows seem sturdy and the finish is good. Caulking was done with no smudges. Would recommend.
The team is awesome!! I can generally pick up and clean throughout the week, but they CLEAN! Windows, stair rails, microwave. All the things I can’t ever seem to get to regularly. The house looks and smells great after they leave.
Bought a half a cord of firewood from Pitzer with stacking last month. I waited to report so I could see how the wood burned. <br /> <br /> I have three pet peeves regarding landscapers, but Pitzer scored "A"s regarding all three. First, rather than having customers "leave a message" and...
 Pitzer Landscaping
We decided to update our partially finished basement, with a budget. Gerald worked with me on the lighting and chair rail selections, and produced an end product that was everything we wanted and within our budget. The work was done quickly, and he and his crew were always prompt and...
Outstanding! The granite and the installation went so well that we had the remaining slabs of the granite put into our new house. The 2ND kitchen/wet bar installation went as well as the 1ST, so we had them put granite on our master bath counter top, shower seat, ledge and kick plate for...
 LIND STONEWORKS
From average costs to expert advice, get all the answers you need to get your job done.
Many homeowners upgrade their old fireplace with inserts to get more heat and save energy and money. Learn more about the cost of installing a fireplace insert.
Before installing a gas fireplace insert, it’s important to understand the various cost factors. Here’s how much an average gas fireplace insert costs.

The cost of removing a fireplace insert depends on the type of insert that’s installed. Read on to learn why electric is cheaper than a gas or wood insert.
If you want to add a wood, gas, or electric insert to an existing fireplace, you’ll need a pro to help. Find out who installs fireplace inserts with this guide.

From crackling wood-burning to electric, homeowners have several types of fireplace inserts to choose from. But how do you decide which is right for you?
What is a fireplace insert? It’s like a traditional fire in a box—which helps keep the heat it generates in your house, rather than draining out the chimney.