
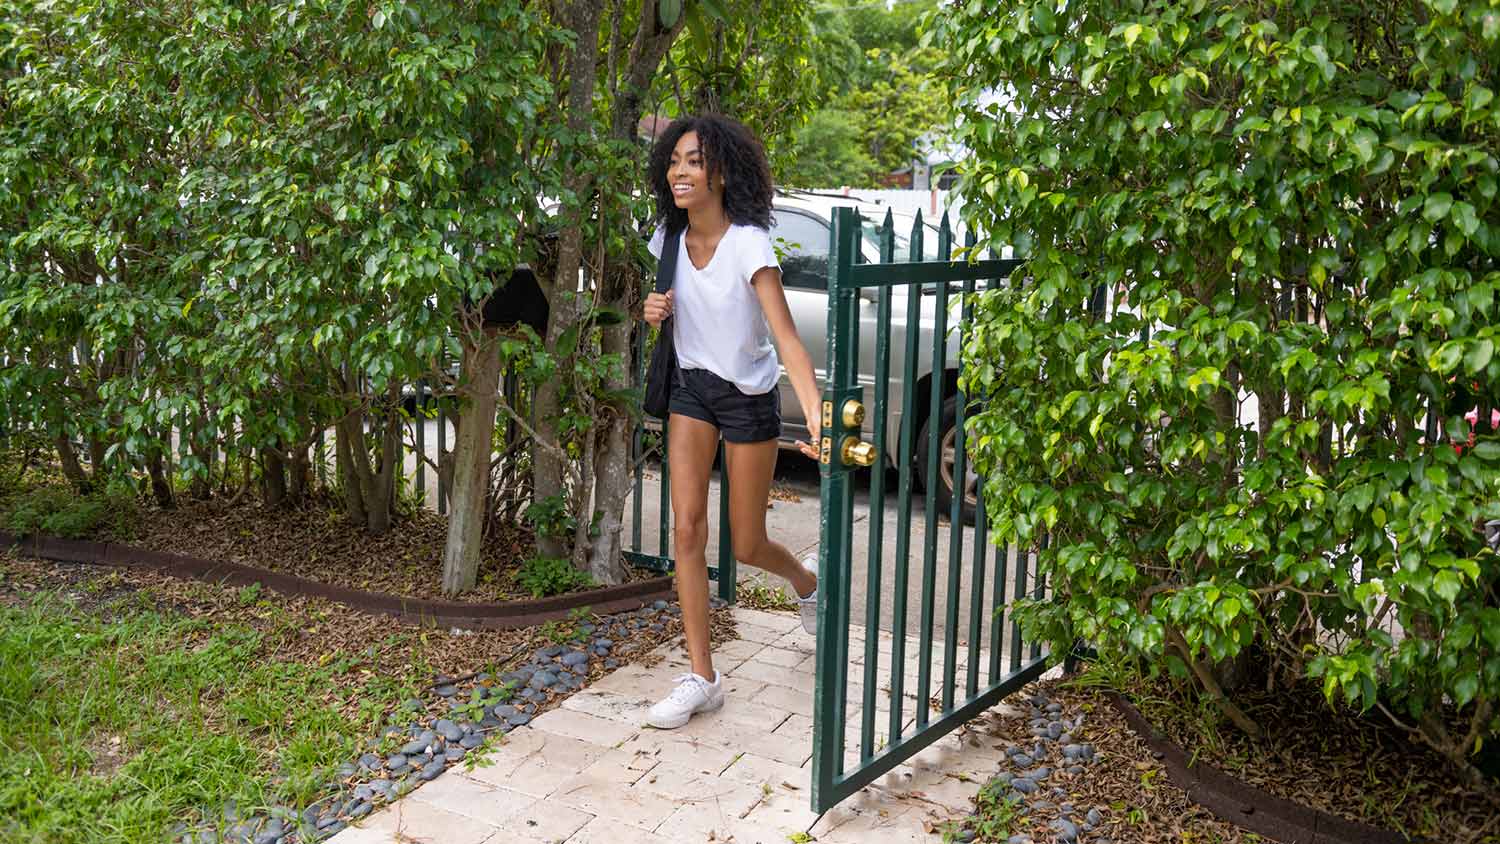
Gate installation costs depend on the material your gate is made of, and the type of gate you want to install. Explore all the gate installation cost factors in this guide.
We won’t gatekeep the steps to replacing your rot-ridden fence post

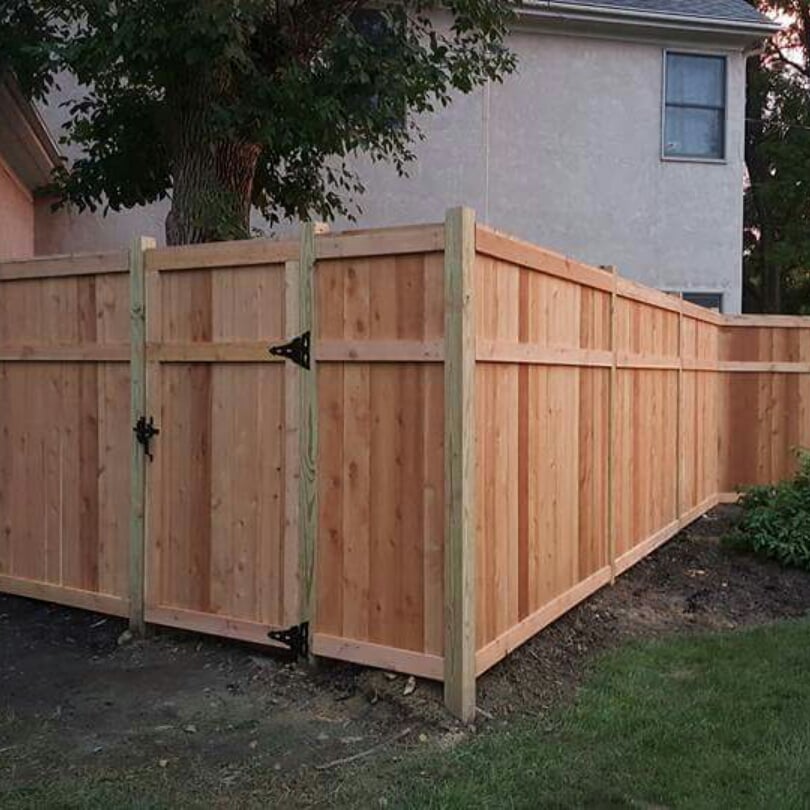
Moisture is the enemy of wood fences, often causing different parts of your fence to warp, split, or rot. In situations like these, salvaging the wood isn’t an option, so you’re better off fully replacing the post that the gate is attached to. We’ll walk you through that process below as we explain how to fix a rotted end on a fence gate.
Put on your safety glasses and gloves. Then, use a drill to remove the gate from the hinges and set it aside. Remove any gate hardware—including latches, handles, and hinges—from the rotted fence post and set it aside. If any of the hardware is rusty or damaged, replace it when you reassemble the gate.
End posts only have holes on one side, so after you remove the gate and hardware, there shouldn’t be anything attached to the other side.
Grab the fence post and try to wiggle it out of the ground. If it doesn’t come out easily, use a shovel to dig a hole around the base of the post. The hole should be as deep as the fence post and extend several inches (or up to a foot) around the post to account for the attached concrete footing.

Loosen the post and footing by rocking the post back and forth. If necessary, you can use a shovel to push away dirt and break up tree roots. Need a little extra strength? You can pry up the footing with a digging bar or break up the concrete with a sledgehammer.
When it’s loose enough, remove the fence post by pulling it up out of the ground. Concrete footings are heavy, so ask a friend to help with this step.
Set aside the rotted fence post while you install the new one.
Remove any remaining pieces of wood or concrete from the hole.
Dump 4 to 6 inches of gravel into the empty fence post hole and pack it down with a tamper. This can prevent rot and promote drainage.

Insert the replacement post in the center of the hole. Your helper should hold it upright while you use a level to confirm that it’s plumb (perfectly vertical).

Pour dry concrete mix around the base of the fence post, filling it until it’s 3 inches below the top of the hole.
Next, slowly pour water into the concrete. Check the instructions on the product’s packaging to figure out how much water to add. You’ll often need one gallon of water per 50-pound bag of concrete. For a 6-foot fence, you’d need about three bags of concrete.
To prevent rainwater from pooling around the wood (and potentially rotting it), use a trowel to taper the concrete so it slopes away from the post.
Let the concrete dry completely. Drying times vary by product, but it can take up to a day.
If you live in a colder climate, it’s a good idea to caulk the space where the fence post meets the concrete. On chilly days, the caulk can help prevent water from freezing and cracking the concrete footing.
Optionally, you can fill the empty part of the hole with soil or some of your leftover gravel from step five.

Staining your wood fence post is a good way to protect it against moisture, sunlight, and other things that could cause it to rot or warp.
To do this, you’ll apply the stain with a brush or roller. When it’s dry, you can use the same technique to apply sealer for extra protection.
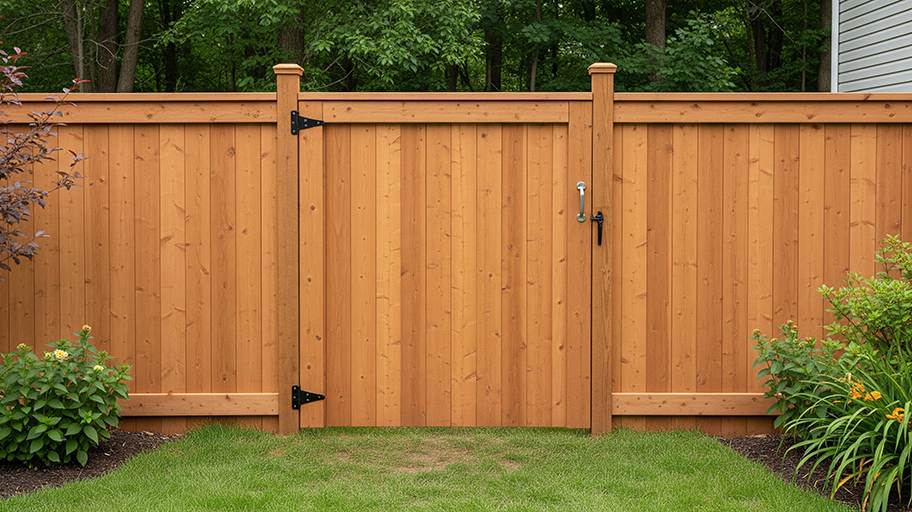
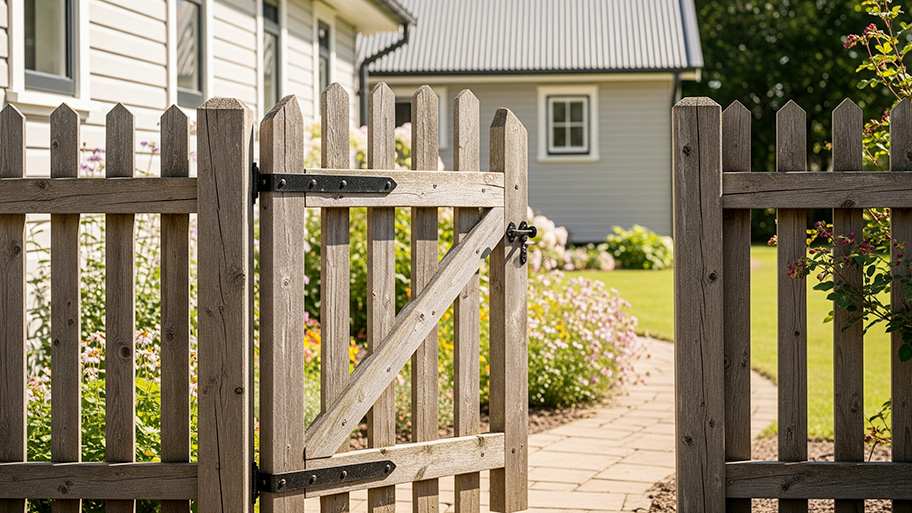
After staining and sealing the new wood, you can reinstall any hardware and reattach the gate to the fence posts by the hinges. If the old parts are rusty or falling apart, now is a good time to install a new gate latch or hinges.
There’s a lot that goes into replacing a rotted end post. From lifting old concrete out of the ground to leveling lumber to mixing new concrete, it’s easy to make a mistake (or two) in the process. To help you stay on track, here are some common wood fence mistakes to be aware of before you begin:
Buying the wrong post: Your new fence post should be similar to the old one—otherwise, the gate might not attach properly. If you aren’t sure how to find a replacement post, reach out to a gate repair pro near you.
Not planning for drainage: Without proper drainage, your new fence post could succumb to the same fate as your last one. To prevent rotting, add gravel into the hole and slope the concrete footing away from the post.
Skipping the sealer: Sealing a wood fence also helps it resist rotting. Even if you’re only installing a single post, it’s a good idea to stain and seal it as part of the process.
By replacing a fence post yourself, you’ll save $50 per hour in professional labor costs. You’ll still need to pay for the materials, though—and you’ll have to invest in any tools or equipment you don’t already have. Plus, you’ll need to do some heavy lifting (literally) and dedicate a couple of days to this project. For those reasons, it’s easier to leave this job to a pro.
A reliable team for moves across state. My switch to a new place needed careful lifting through tight hallways. The movers checked the doorway first, then carried heavier pieces with slow, controlled movements. Their patience helped prevent damage, and I?d choose them again.
We have used Window Warriors many times with no issues. They arrived on time and were very professional . We have pets and Window Warrior team treated them very well, well trusted team.
We have bought and sold numerous times over the past 50 years. Sherman Hall and Top Line are top notch. Thorough and detailed, he explains every possibility, probability, and eventuality. High class and pleasant. The best.
 Top Line Home Inspections, LLC
Our homes curb appeal skyrocketed thanks to Custom Paint Jobs LLC s exterior painting.
Window Depot did an amazing job on my deck. I wasnt sure what I wanted to do, but their composite decking was affordable and will last a long time. I am excited to have family over, and I am no longer embarrassed by my backyard. Jeff and the ground crew were polite, respectful, and caring for...
Great job...edging and pre clean up went well with a great job with seal coat. Friendly, efficient and professional.
 All Star Paving and Sealing
Did an amazing job transforming my yard. Also installed sod in places, would recommend to everyone.
Manuel Calvillo is the best option in the area for roofing and you won't be disappointed.
We hired Andrew and the team from Midwest Lightscapes for a custom lighting design and installation on a Victorian Village home. The house had outdated low-voltage halogen outdoor lights and many of them were not working. Andrew designed and installed a new system including uplighting on the...
 Midwest Lightscapes
The work was completed in a day and a half. They cut small trees, pulled out an old swing set, pulled out railroad ties and left the place spotless when the job was complete. I am very happy with the fence and their efforts were above and beyond my expectations.
 Elite Fence
From average costs to expert advice, get all the answers you need to get your job done.
Gate installation costs depend on the material your gate is made of, and the type of gate you want to install. Explore all the gate installation cost factors in this guide.

Metal fencing costs on the higher end to install, but when done correctly, it can last decades. Learn about which factors can influence your final budget.

Fence repair costs depend on the extent of damage, your fence's material, and how much of the fence you need to fix. Explore all the price factors in this guide.
If your gate has significant space underneath, your yard isn’t fully secure. This guide offers three easy methods for how to fix a gap under a fence gate.

Failing hinges, a leaning post, and poor cross supports are potential reasons why your fence gate is dragging. Learn how to keep a gate from sagging with this guide.
Learn how to build a wooden gate for your fence so you can secure your property while enjoying easy access to the yard.