Top-rated backsplash installation pros.

Get matched with top backsplash installation pros in Ladysmith, WI

Enter your zip and get matched with up to 5 pros

Need a pro for your backsplash installation project in Ladysmith, WI?

Select your specific project to find the pro for you.

TRUSTED BY LADYSMITH, WI HOMEOWNERS

  • Average homeowner rating star icon4.5
    Average homeowner rating
  • Verified reviews icon12
    Verified backsplash installation services reviews

Find Backsplash installation pros in Ladysmith

Avatar for Nelson Home Repair LLC
Nelson Home Repair LLC
4.8(
18
)
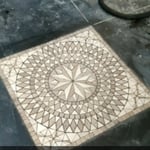
Tile: Ceramic and Porcelain - InstallTile: Natural Stone (Granite, Marble, Slate, Quartz, etc) - Install

Serving Ladysmith, WI and surrounding areas

Approved

In business since 2009

Free estimates

Emergency services offered

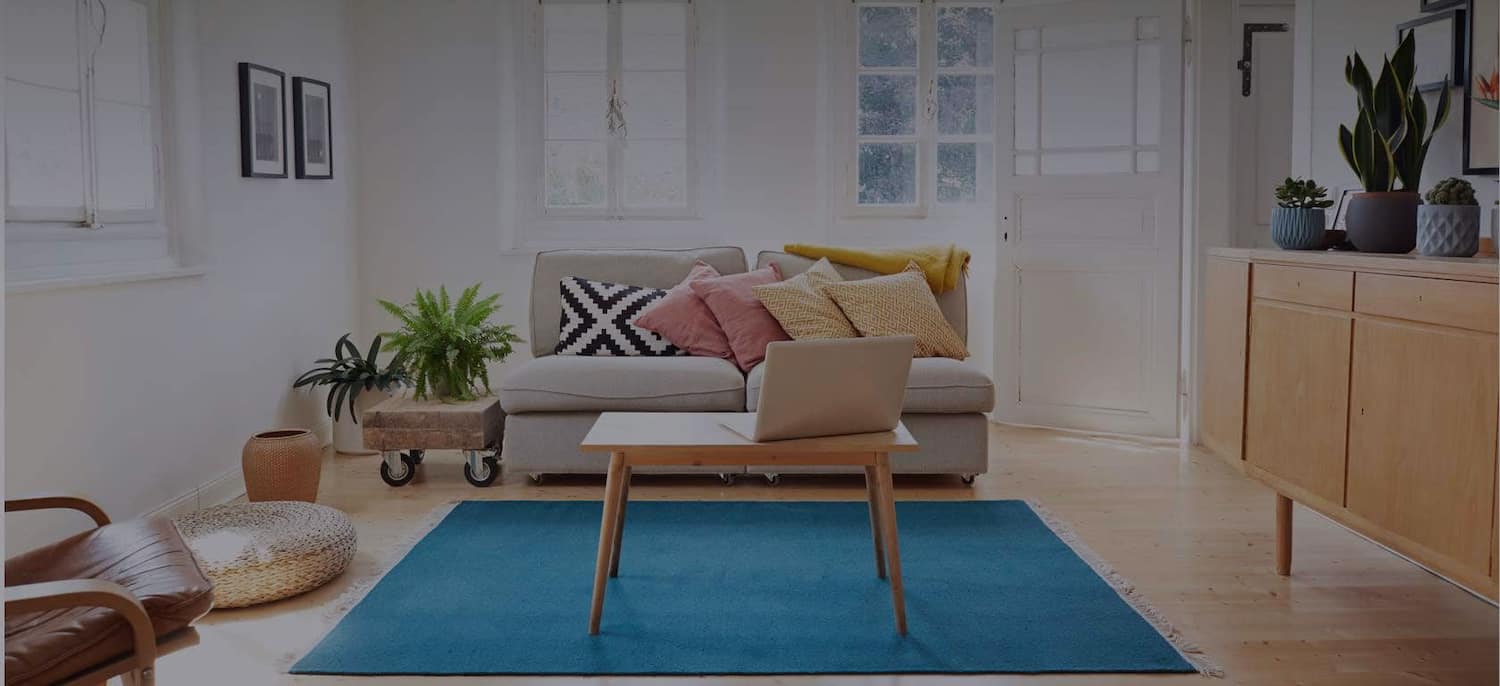
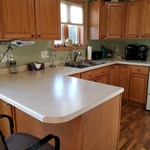
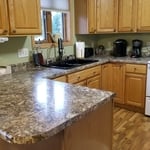
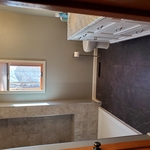
"Russ did an excellent job on our bathroom remodeling project. He was professional, on-time, and most importantly did great work. He worked through some tough issues in a collaborative way. He didn't just dive in an do it the cheapest or the easiest way; he had a conversation with us and gave us the options. Once we agreed upon an option he took care of everything without ego. I never got the impression that he was trying to take the easy way out. I would absolutely hire Russ again, excellent experience!"
Before
After
Before
After
Response time3 hrs
Response rate93%
Recommended by64%of homeowners
Showing 1-10 of 14
Backsplash Installation questions, answered by experts

The rule tells you how to cut tile to install it in a corner. The 3/4/5 rule recommends that you should have 3 feet across on one straight line, four feet on the other perpendicular line, and 5 feet of length from the end of one of the lines to the other. You’re making a right triangle with the tile, and the hypotenuse (the line across from where the 3-foot lie and 4-foot line meet) should be 5 feet long.

Tile—specifically smaller, mosaic-style tiles—is the best type of flooring for building a walk-in shower base. Shower pans come with a threshold and sidewalls to contain the water, but tile can be set into the shower base. This creates a walk-in shower floor that gently slopes toward the drain to keep water from getting out and into the rest of the bathroom.

The easiest tile size to install is large tiles, and they’re easier to install than small tiles—the job is faster and simpler when there’s less placing, adhering, and grouting to do. However, when tiles get really big, they’re more difficult to handle, cut, and fit. Standard floor tile sizes are 12-by-12 inches, 18-by-18 inches, and 12-by-24 inches.

For best results, you should remove the toilet in a bathroom before removing tile or installing new tile. If you don’t remove the toilet, it will be harder to fully waterproof the tile around the toilet, which could increase the risk of mold growth or plumbing leaks. If you have trouble removing the toilet, hire a plumber to help.

The process takes two to four days, depending on the size of the area and your experience level. The first day involves assessing and prepping the existing tile, while the second day is for laying the new tile. This may take longer in complex areas. After letting the adhesive dry for 24 hours, grouting and sealing can be completed on day three. For larger projects or intricate tile patterns, expect the timeline to stretch a bit longer. Also, proper drying time between steps is essential for long-lasting results, which extends the project’s time.

The Ladysmith, WI homeowners’ guide to backsplash installation services

From average costs to expert advice, get all the answers you need to get your job done.