




Top-rated drywall pros.

Get matched with top drywall pros in Woods Cross, UT

Enter your zip and get matched with up to 5 pros

Need a pro for your drywall service project in Woods Cross, UT?

Select your specific project to find the pro for you.

TRUSTED BY WOODS CROSS, UT HOMEOWNERS

  • Average homeowner rating star icon4.5
    Average homeowner rating
  • Verified reviews icon100
    Verified drywall services reviews

Find Drywall pros in Woods Cross

Advanced Drywall & Remodeling, LLC
5.0(
15
)
Drywall - RepairDrywall - Repair - For Business

Serving Woods Cross, UT and surrounding areas

Approved

In business since 2015

Free estimates

Emergency services offered

"I hired Moses to replace drywall, texture and paint my basement. He is a perfectionist in his work, and even went so far as to redo a whole wall because he didnt like how it turned out. He takes extreme pride in his work. He was very careful and clean and took great care to protect the rest of my home from dust. He was always on time and communicated with me every step of the way. I am thrilled with the result. I recommend him wholeheartedly!"
Response time5 hrs
Response rate87%
5 neighbors recently requested a quote
Avatar for DFG Drywall Professionals, LLC
DFG Drywall Professionals, LLC
4.6(
44
)
Drywall - RepairDrywall - Repair - For Business

Serving Woods Cross, UT and surrounding areas

Approved

In business since 2019

Free estimates

Customers say: True professional

"They are drywall and paint experts. With just two visits, they finished all the drywall repair and the final paint jobs, with the best work quality and highest level of handicraftsman fineness."
Response time4 hrs
Response rate92%
10 neighbors recently requested a quote
Avatar for Stud Enterprises, LLC
Stud Enterprises, LLC
4.8(
26
)
Drywall - InstallDrywall - Install - For Business

Serving Woods Cross, UT and surrounding areas

Approved

In business since 2019

Free estimates

Offers commercial services

"They did mostly night work and they do good work and are fair. They are a bit messy, I would cover anything you donâ t want a bit of drywall mud on, though they clean up every day. Even though I added a few extra things they kept close to the bid price."
Remodel Home
Basement
Remodel Home
Remodel Home
Remodel Home

+1

Response time12 hrs
Response rate98%
2 neighbors recently requested a quote
Avatar for Mark Forslund Drywall
Mark Forslund Drywall
4.8(
16
)
Drywall - InstallDrywall - Repair

Serving Woods Cross, UT and surrounding areas

Approved

In business since 2020

Free estimates

Small jobs welcome

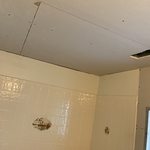
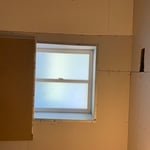
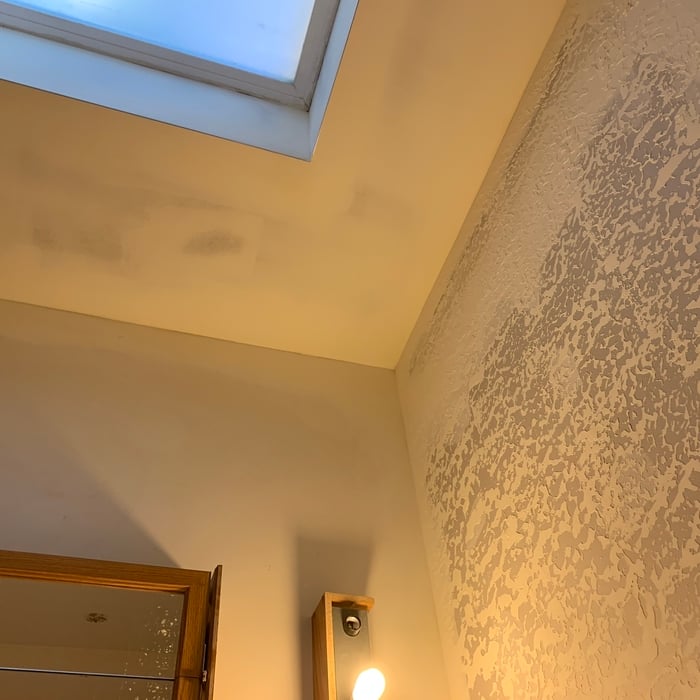
"Did a great job texturing my ceilings after I had popcorn ceilings removed. He also put in some drywall I had to cut out because of mold. He talked me into putting in smooth walls over the 70’s orange peel in my living room. Looks great. He’s been doing it awhile and was pretty chill to work with. I didn’t compare price because I needed the work done quickly and he had the short term availability, but his price seemed fair."
Response time2 hrs
Response rate96%
Recommended by87%of homeowners
...
Showing 1-10 of 281
Drywall questions, answered by experts

Brick and stucco are a lot more different. You must use picture hanging clips designed for brick walls, or use a plaster rail system with adjustable hooks. Any other type of hanging hardware will cause damage to the bricks behind. You won’t be able to really use nails, either, because they’re not strong enough to go into the bricks.

Plaster ceilings can sag for several reasons. In some cases, the plaster and other building materials shift and come apart over time, which is why you’ll commonly find drooping plaster ceilings in older homes. Improper installation, foot traffic, and water damage—often from a leaky roof or a broken pipe—can also cause plaster ceilings to sag.

There are six levels of drywall finish, from 0 to 5, that refer to the amount of work performed during the finishing process.

Level 0: Drywall is hung with no finishing work.

Level 1: Tape is placed over the seams between drywall sheets.

Level 2: A thin layer of mud is applied over the tape and screw holes. This level is common for utility rooms or walls that will be covered.

Level 3: A full coat of mud covers the screw holes and tape, but the surface is not sanded. This is often used in garages.

Level 4: This is the most common finish for visible interior walls. It involves applying two coats of mud over seams and screw holes, with sanding between each coat, creating a smooth surface ready for flat paint.

Level 5: This is a high-end finish for luxury homes. It includes full taping, mudding, and sanding, plus a final skim coat over the entire surface before painting.

You should wait at least 24 hours for drywall mud to dry before sanding or applying another coat. However, the exact drying time depends on several factors, including the thickness of the application, room temperature, humidity, and the type of compound used. Thicker layers, or projects in high humidity, may require 48 hours or more. Lightweight compounds tend to dry faster than heavier, all-purpose ones. You'll know the mud is ready when it feels completely dry and firm to the touch and has changed to a consistent light color. Sanding too early can cause smudging or gouges, so patience is essential for a smooth finish.

Installing or repairing plaster on ceilings differs slightly from performing the same motions on a wall. You’ll apply slightly less plaster to lower the overall weight of the ceiling. Wall texturing is common, whereas most ceilings are smooth plaster. Tough coat plaster is strong, meaning you can use less while retaining a solid surface.

The Woods Cross, UT homeowners’ guide to drywall services

From average costs to expert advice, get all the answers you need to get your job done.