



Top-rated drywall insulation pros.

Get matched with top drywall insulation pros in Robinhood, MS

Enter your zip and get matched with up to 5 pros

Need a pro for your drywall insulation project in Robinhood, MS?

Select your specific project to find the pro for you.

TRUSTED BY ROBINHOOD, MS HOMEOWNERS

  • Average homeowner rating star icon4.4
    Average homeowner rating
  • Verified reviews icon129
    Verified drywall insulation services reviews

Find Drywall insulation pros in Robinhood

Avatar for Green Leaf Insulation
Green Leaf Insulation
5.0(
4
)
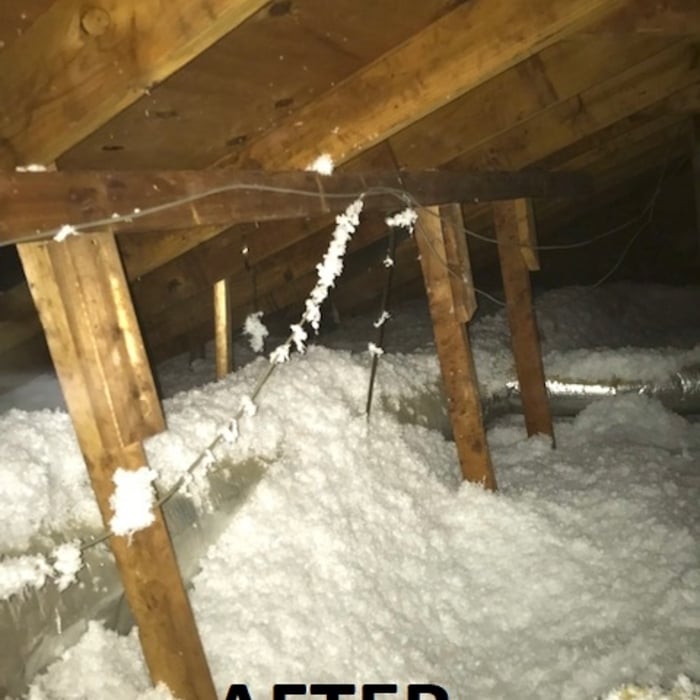
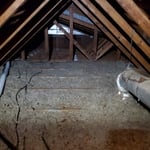
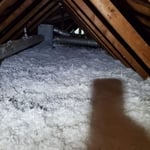
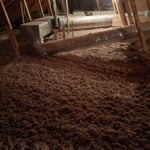
Blown-In Insulation - Install or Upgrade

Serving Robinhood, MS and surrounding areas

Free estimates

Emergency services offered

Credit card accepted

"The job went great! They were on time and completed the job in a timely manner! They even saw some void space that I didn’t know about and insulated them properly as well!! This is my insulation company to call if I ever need any!!"
Insulation Project
Pest Control/Exterminating Project
Additional Photos
Additional Photos
Recommended by100%of homeowners
Avatar for Wyatt Insulation, LLC
Wyatt Insulation, LLC
4.2(
10
)
Blown-In Insulation - Install or UpgradeInjection Insulation - Install

Serving Robinhood, MS and surrounding areas

In business since 2005

Free estimates

Credit card accepted

"Scheduling was prompt, and work was done on time. Technitions were knowledgeable and curtious, and the process was explained to my satisfaction and cleanup was thourgh. Would highly recommend Wyatt Insulations to anyone needed attic insulation replacement."
Response time2 days
Recommended by100%of homeowners
Showing 1-10 of 29
Drywall Insulation questions, answered by experts

There are six levels of drywall finish, from 0 to 5, that refer to the amount of work performed during the finishing process.

Level 0: Drywall is hung with no finishing work.

Level 1: Tape is placed over the seams between drywall sheets.

Level 2: A thin layer of mud is applied over the tape and screw holes. This level is common for utility rooms or walls that will be covered.

Level 3: A full coat of mud covers the screw holes and tape, but the surface is not sanded. This is often used in garages.

Level 4: This is the most common finish for visible interior walls. It involves applying two coats of mud over seams and screw holes, with sanding between each coat, creating a smooth surface ready for flat paint.

Level 5: This is a high-end finish for luxury homes. It includes full taping, mudding, and sanding, plus a final skim coat over the entire surface before painting.

Both plaster and drywall are durable wall finishes, but they differ significantly in installation, cost, performance, and aesthetics.

Installation & Cost: Drywall installation is faster and more affordable, typically costing $1.50 to $3 per square foot. It uses premade sheets, making it a more accessible DIY project. Plastering is a labor-intensive craft that requires specialized skills, pushing costs to $2 to $10 per square foot. It involves applying a wet paste over a lath framework.

Durability & Performance: Plaster is generally more durable, longer-lasting, and provides superior soundproofing. It is also a better insulator, which can help reduce energy costs. Drywall is easier to remove for future renovations.

Aesthetics: Drywall provides a smooth, uniform surface ready for paint or texture. Plaster offers a high-end, naturally textured look that can hide imperfections and is often preferred for achieving a classic or historic aesthetic.

Which is better? The choice depends on your priorities. Drywall is ideal for those prioritizing a lower upfront cost, faster installation, and DIY potential. Plaster is the better option for a higher-end project where durability, soundproofing, and a unique, premium finish are more important than the initial cost.

The best tool for cutting a hole in drywall is a drywall saw. Its serrated blade and ergonomic design make it efficient for both straight cuts and more intricate shapes, ensuring clean and precise results in various drywall cutting applications.

You should wait at least 24 hours for drywall mud to dry before sanding or applying another coat. However, the exact drying time depends on several factors, including the thickness of the application, room temperature, humidity, and the type of compound used. Thicker layers, or projects in high humidity, may require 48 hours or more. Lightweight compounds tend to dry faster than heavier, all-purpose ones. You'll know the mud is ready when it feels completely dry and firm to the touch and has changed to a consistent light color. Sanding too early can cause smudging or gouges, so patience is essential for a smooth finish.

You can paint over plaster, but repair any damage to the plaster first, or the paint will crack and bubble. You should also prepare the surface of the plaster to accept paint, which gives your paint job the best chance of looking good and lasting a long time. Before applying the color you want, apply a coat or two of primer. Additionally, use latex paint, and choose a latex paint with a satin finish for areas with dampness, like bathrooms.

The Robinhood, MS homeowners’ guide to drywall insulation services

From average costs to expert advice, get all the answers you need to get your job done.