Top-rated drywall pros.

Get matched with top drywall pros in Lawton, MI

Enter your zip and get matched with up to 5 pros

Need a pro for your drywall service project in Lawton, MI?

Select your specific project to find the pro for you.

TRUSTED BY LAWTON, MI HOMEOWNERS

  • Average homeowner rating star icon4.4
    Average homeowner rating
  • Verified reviews icon142
    Verified drywall services reviews

Find Drywall pros in Lawton

Avatar for Bonillas Master Touch
Bonillas Master Touch
5.0(
21
)
Drywall - RepairDrywall - InstallDrywall - Install - For Business+1 more

Serving Lawton, MI and surrounding areas

Approved

Super Service Award Winner

In business since 2024

Free estimates

Emergency services offered

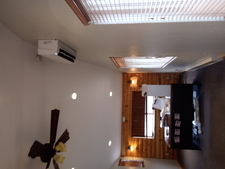
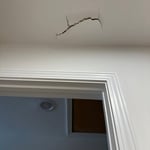
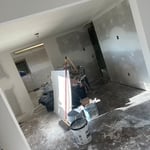
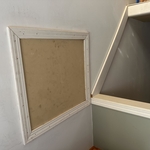
"Bonillas is great. Good quality work. They were responsive, on time, and presented a professional quote. I had drywall and plaster repair done, including new installed crown molding. I would use them again and recommmed to other home owners needing work done."
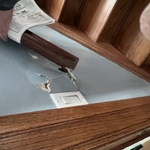
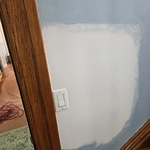
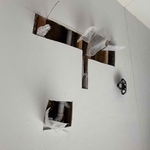
Drywall Project
Drywall Project
Drywall Project
Drywall Project
Drywall Project

+68

Response time2 days
Response rate100%
2 neighbors recently requested a quote
...
Showing 1-10 of 151
Drywall questions, answered by experts

When doing a DIY paint job, it can be tricky to achieve the perfect, straight line between your wall and ceiling. There are several methods, including lining it with painter’s tape and using the “cut in” brush tactic. Some homeowners choose to apply a thin line of caulk to the wall-ceiling seam to create the appearance of a perfect line.

There are six levels of drywall finish, from 0 to 5, that refer to the amount of work performed during the finishing process.

Level 0: Drywall is hung with no finishing work.

Level 1: Tape is placed over the seams between drywall sheets.

Level 2: A thin layer of mud is applied over the tape and screw holes. This level is common for utility rooms or walls that will be covered.

Level 3: A full coat of mud covers the screw holes and tape, but the surface is not sanded. This is often used in garages.

Level 4: This is the most common finish for visible interior walls. It involves applying two coats of mud over seams and screw holes, with sanding between each coat, creating a smooth surface ready for flat paint.

Level 5: This is a high-end finish for luxury homes. It includes full taping, mudding, and sanding, plus a final skim coat over the entire surface before painting.

You should wait at least 24 hours for drywall mud to dry before sanding or applying another coat. However, the exact drying time depends on several factors, including the thickness of the application, room temperature, humidity, and the type of compound used. Thicker layers, or projects in high humidity, may require 48 hours or more. Lightweight compounds tend to dry faster than heavier, all-purpose ones. You'll know the mud is ready when it feels completely dry and firm to the touch and has changed to a consistent light color. Sanding too early can cause smudging or gouges, so patience is essential for a smooth finish.

When sanding drywall mud, you’re going to create a very fine dust that may contain silica. Silica dust contains crystalline silica, which can cause long-term illnesses for people who inhale it in significant quantities. Wear a mask while sanding drywall. Then dampen a drywall sponge to wipe the dust off the drywall, helping to reduce the amount of dust that may become airborne.

Drywall repair is typically completed within a day, depending on damage extent.

The Lawton, MI homeowners’ guide to drywall services

From average costs to expert advice, get all the answers you need to get your job done.