

Anchor Contracting
Serving Olpe, KS and surrounding areas
In business since 1996
Free estimates
Credit card accepted
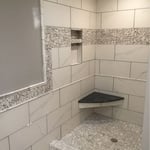
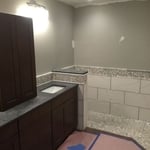
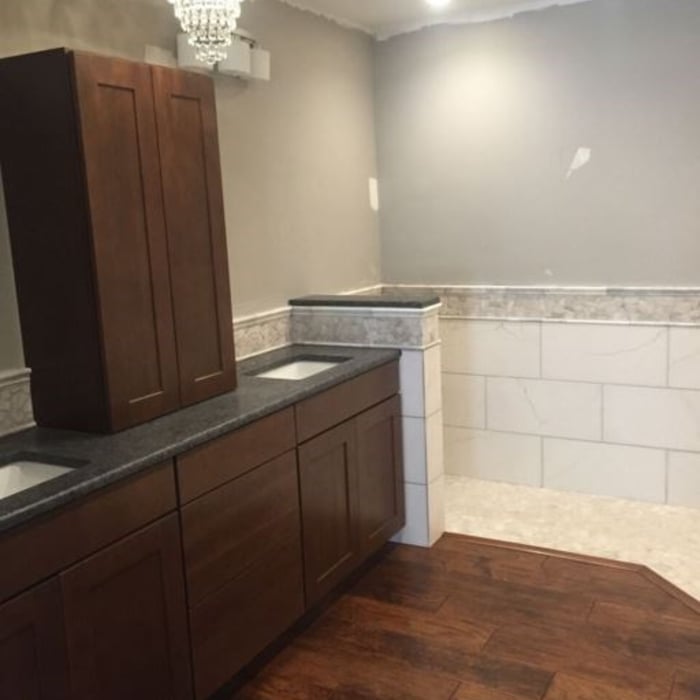
"Very professional and reasonable prices- excellent work.
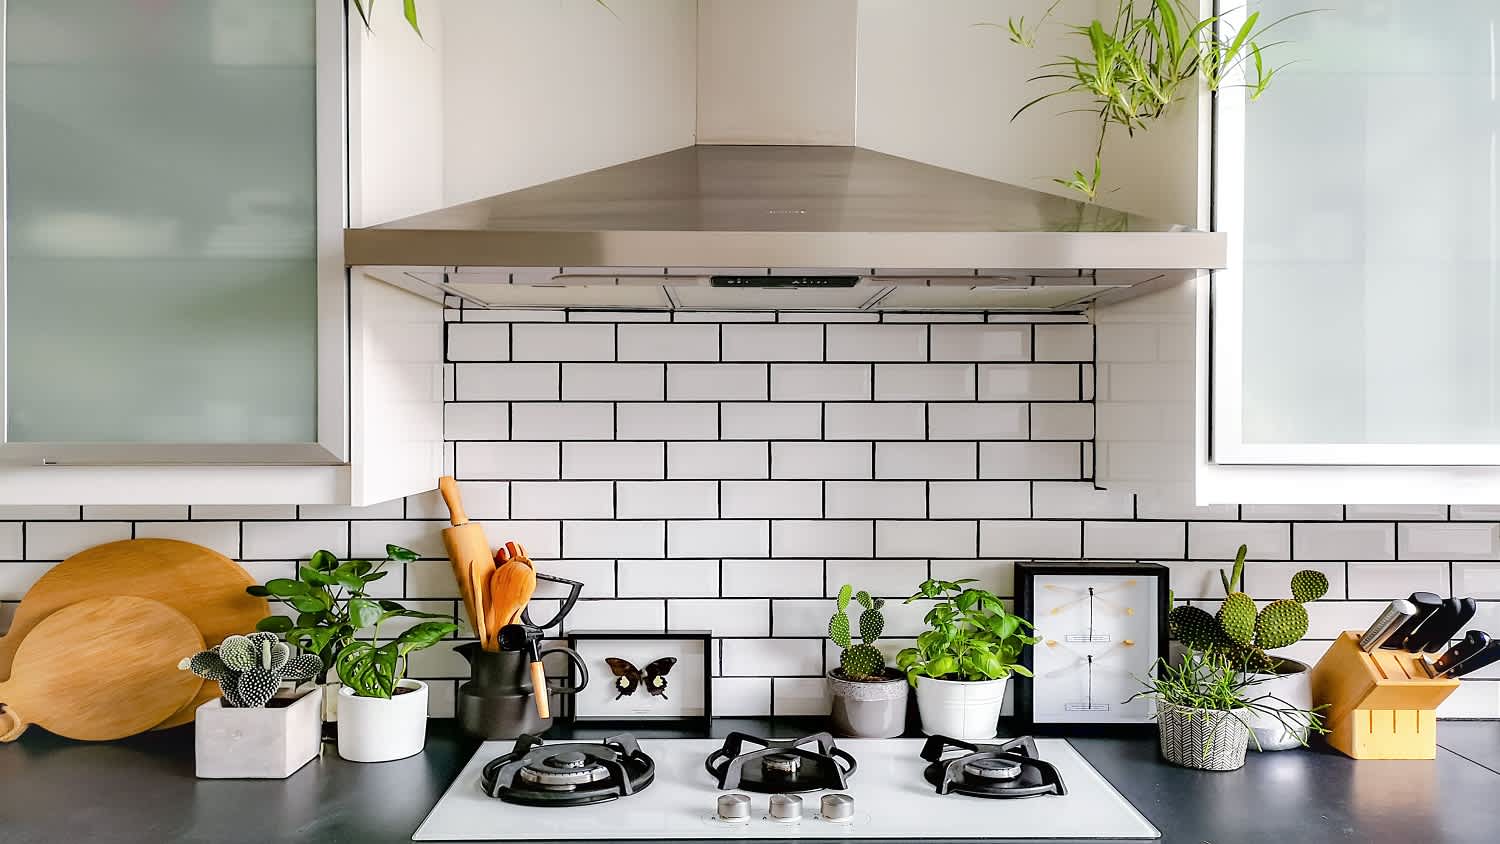
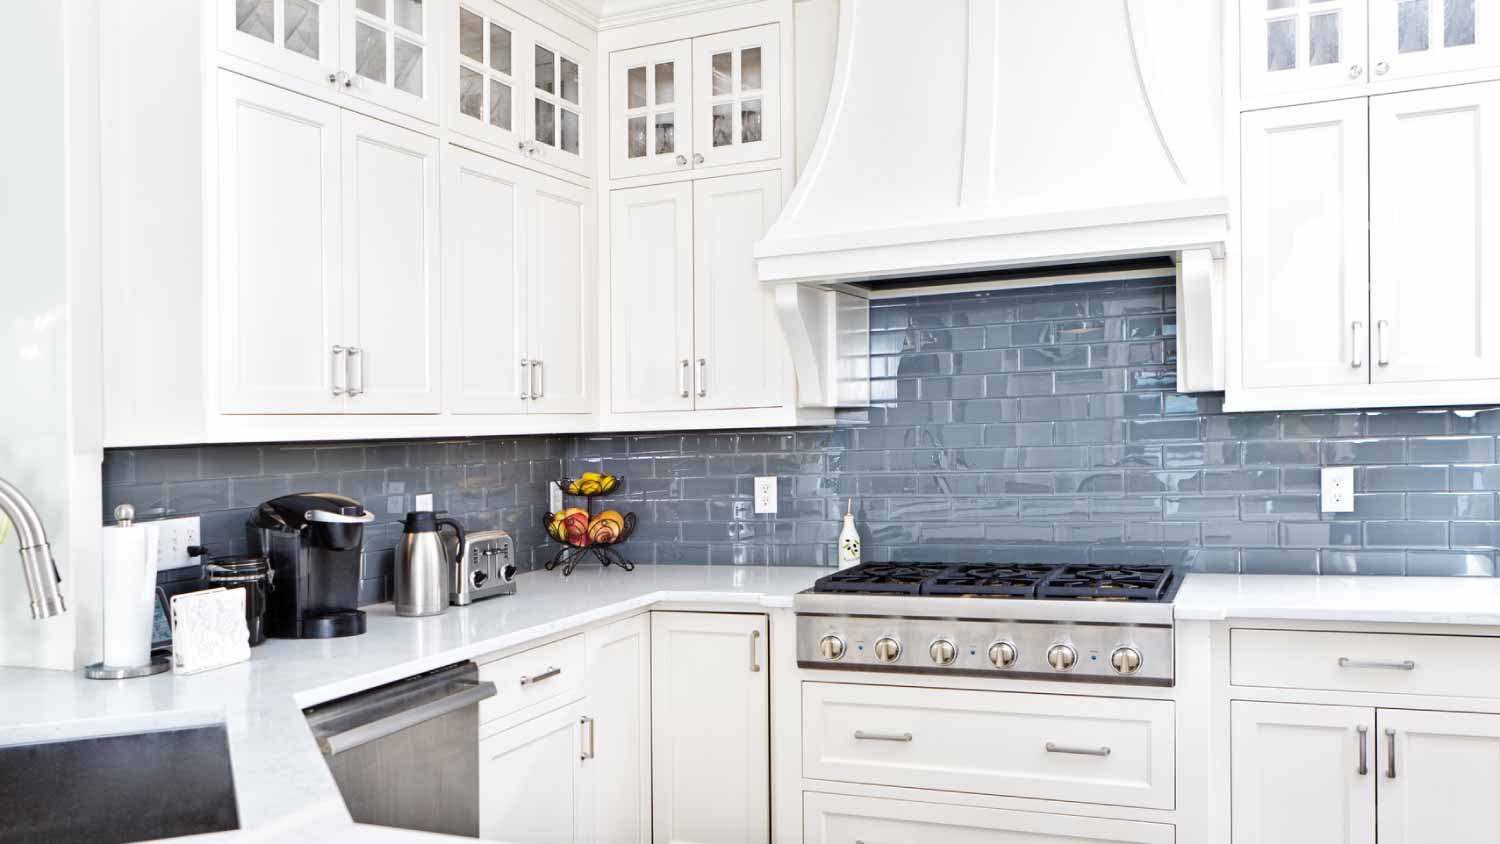
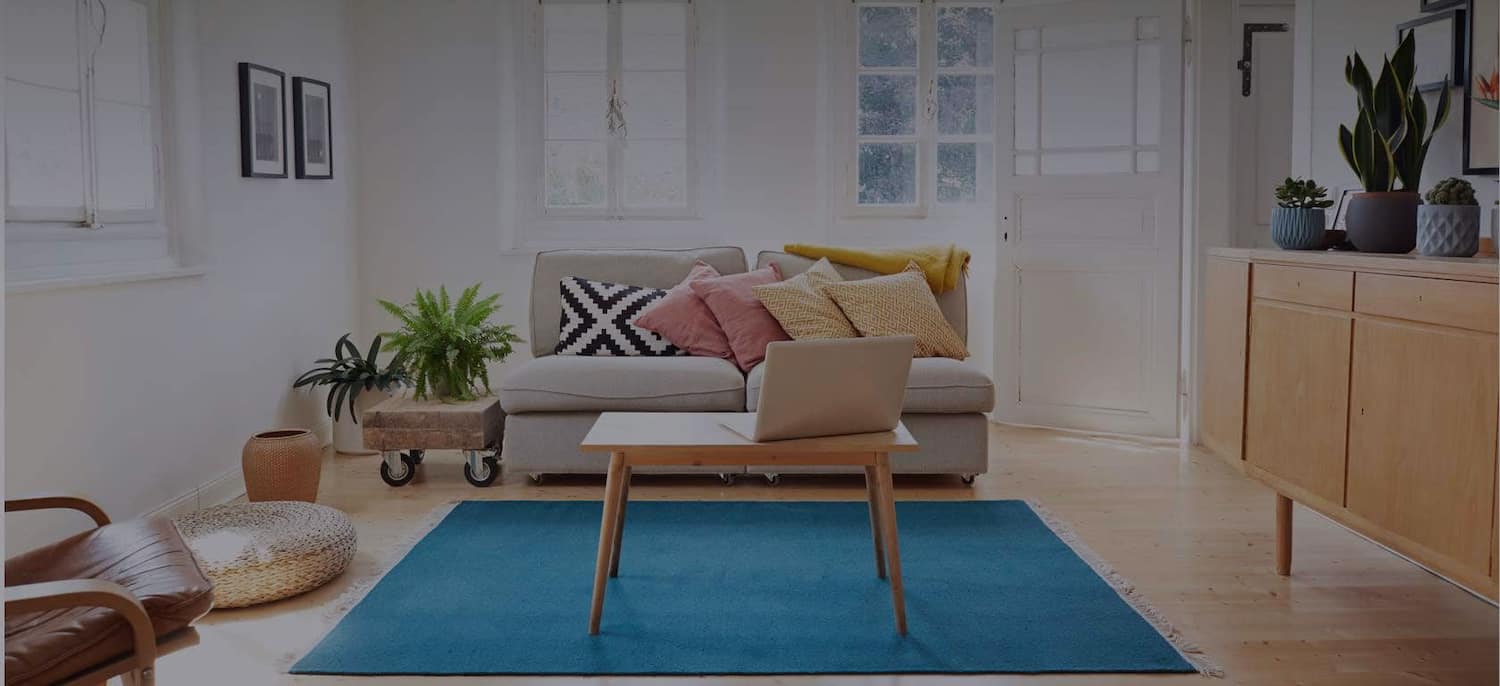
Have used this contractor for kitchen back splash tiling, entryway tiling and for a pergola."


+8
Recommended by100%of homeowners