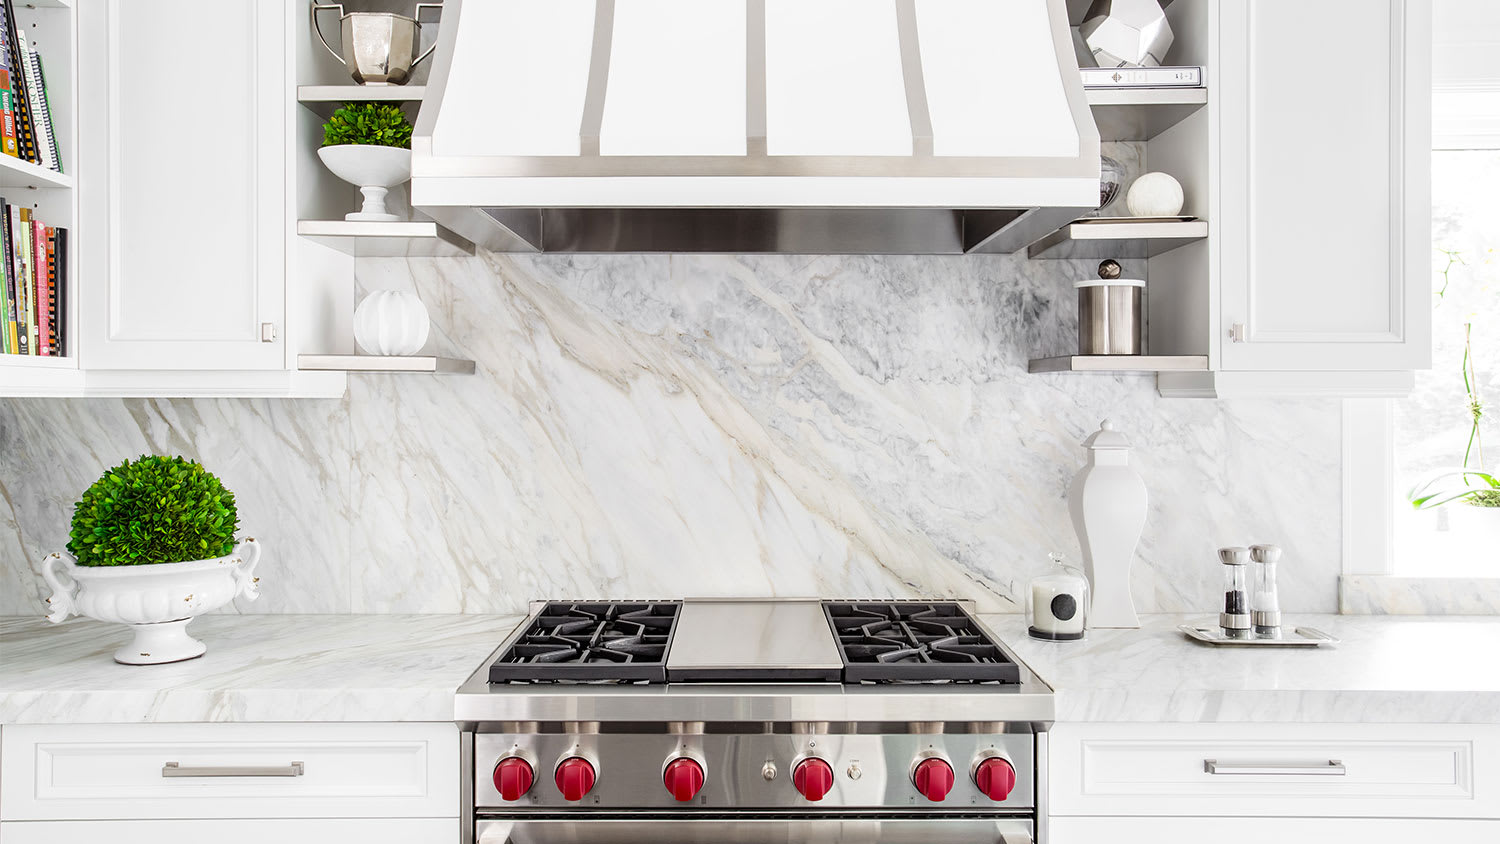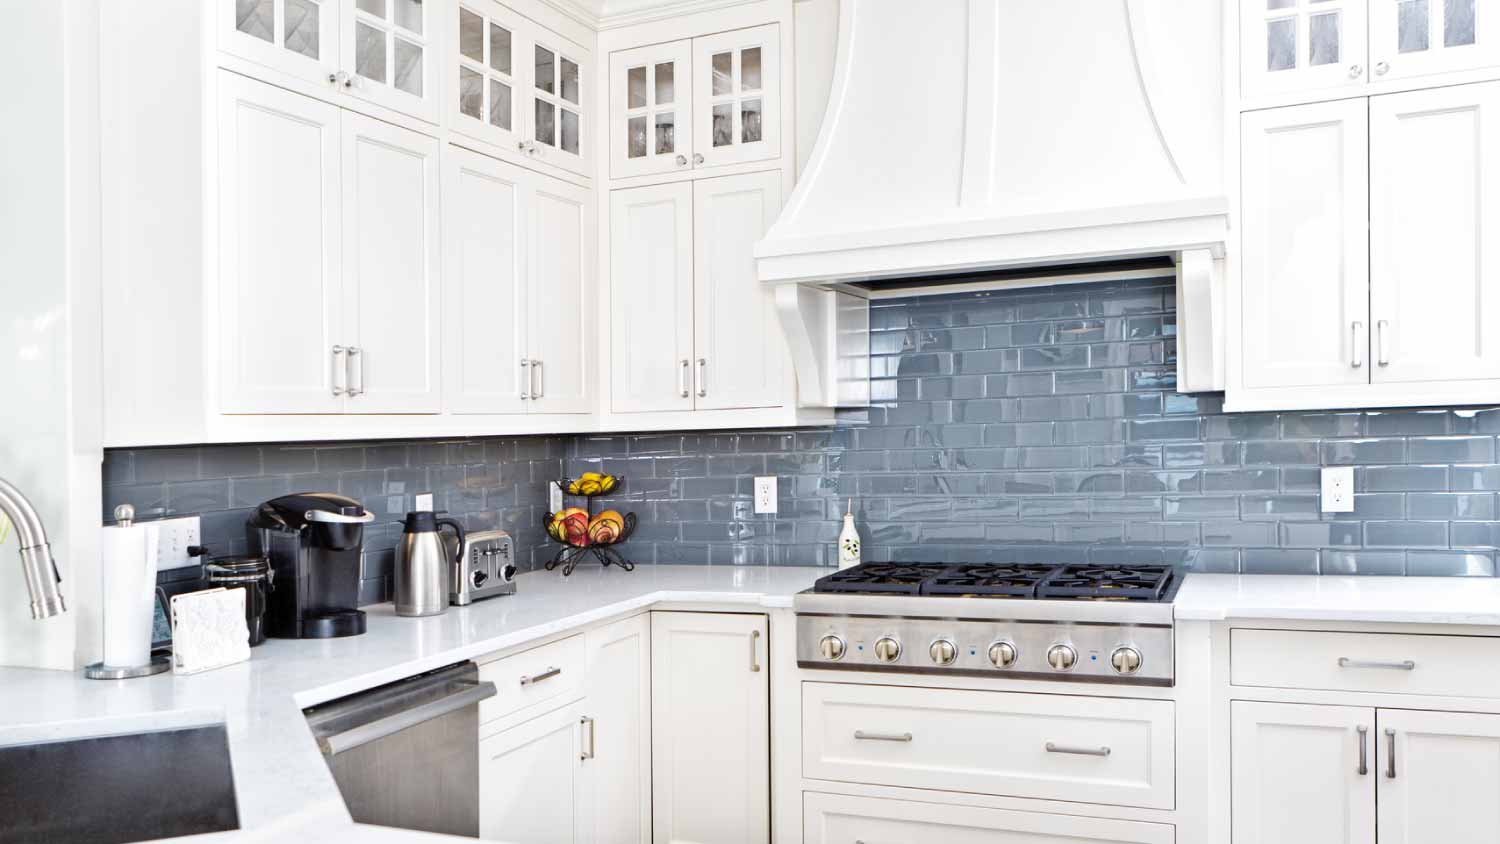








Top-rated backsplash installation pros.

Best backsplash installation pros near Hawarden, IA

Enter your zip and get matched with up to 5 pros

Need a pro for your backsplash installation project in Hawarden, IA?

Select your specific project to find the pro for you.

Top-Rated Backsplash installation pros in Hawarden - Updated Nov 2026

Dave Navarro Construction
5.0(
2
)
Tile: Ceramic and Porcelain - InstallTile: Ceramic and Porcelain - Install - For Business

Serving Hawarden, IA and surrounding areas

In business since 2010

Free estimates

We are a General contracting company. We perform all services involved in the completion of unfinished space. We do hire sub contractors when needed. We also stand by their work as well. Though we have only been in buisness for a short time. we have a combined 37 years construction experience.

Recommended by100%of homeowners
R & R Install
New to Angi
Tile: Ceramic and Porcelain - InstallTile: Ceramic and Porcelain - Install - For BusinessTile: Natural Stone (Granite, Marble, Slate, Quartz, etc) - Install+1 more

Serving Hawarden, IA and surrounding areas

In business since 2002

Free estimates

Credit card accepted

Rodney Plum and R & R Install have been serving the Sioux City area for the past 8 years. Specializing in Carpet Installs, Rodney and his install crew havw a combined work experince of over 25 years. So give Rod and R&R a call today!!

Showing 1-10 of 12
Backsplash Installation FAQs, answered by experts

The best trowel for penny tile is a 3/16-inch-by-5/32-inch V-notch trowel. Because of the small size of the penny tile, you want a trowel with small notches that can lay a thin layer of mortar on the surface you’re tiling. If the notches are too wide, you risk applying too thick of a layer of mortar, and it can squeeze out between the penny tiles.

Ideally, you should remove tile before installing hardwood floors, but there are good reasons not to. Removing stubborn tile can be a labor-intensive job that adds days to the project. The subfloor beneath the tiles could also be damaged during the process, meaning you’d have to repair the subfloor before installing the new hardwood floor. 

The process takes two to four days, depending on the size of the area and your experience level. The first day involves assessing and prepping the existing tile, while the second day is for laying the new tile. This may take longer in complex areas. After letting the adhesive dry for 24 hours, grouting and sealing can be completed on day three. For larger projects or intricate tile patterns, expect the timeline to stretch a bit longer. Also, proper drying time between steps is essential for long-lasting results, which extends the project’s time.

You can use sanded or unsanded grout for a shower pan, but sanded grout isn’t the best option for shower walls. For those areas, you’ll want to use unsanded grout, which works well on vertical surfaces and is less likely to slump than sanded grout. Alternatively, you can use epoxy grout for shower walls.

You cannot tile directly over hot mop waterproofing because tile requires a smooth, solid surface to adhere properly. Additionally, the shower bed pan needs to be raised and sloped toward the drain to prevent water from pooling. However, you can hot mop and apply a sloped mortar bed over the top (to which the tile can then be adhered). 

The Hawarden, IA homeowners’ guide to backsplash installation services

From average costs to expert advice, get all the answers you need to get your job done.