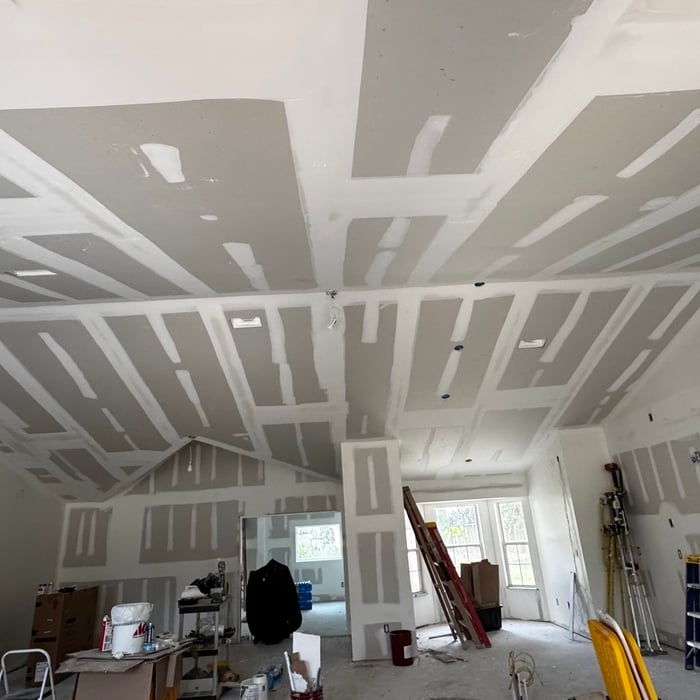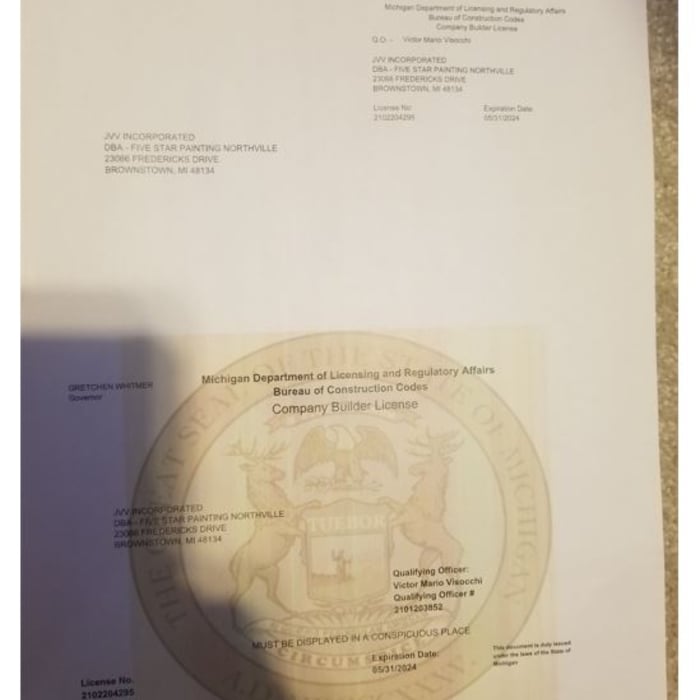



Top-rated drywall pros.

Get matched with top drywall pros in South Pasadena, FL

Enter your zip and get matched with up to 5 pros

Need a pro for your drywall service project in South Pasadena, FL?

Select your specific project to find the pro for you.

TRUSTED BY SOUTH PASADENA, FL HOMEOWNERS

  • Average homeowner rating star icon4.6
    Average homeowner rating
  • Verified reviews icon191
    Verified drywall services reviews

Find Drywall pros in South Pasadena

Avatar for Key West Drywall, Inc.
Key West Drywall, Inc.
5.0(
55
)
Drywall - Repair

Serving South Pasadena, FL and surrounding areas

Approved

Super Service Award Winner

In business since 2020

Free estimates

Customers say: True professional

"Tommy at Key West Drywall finished my drywall and textured a bathroom under remodel. He did an amazing job all around - very reasonable prices, top-notch work, very professional, and always on-time. I've recommended Key West Drywall to several friends and would hire him again."
Popcorn removal
Popcorn removal
Popcorn removal
Popcorn removal
Popcorn removal

+3

Response time7 hrs
Response rate100%
19 neighbors recently requested a quote
Avatar for Home Pride Painting, Inc.
Home Pride Painting, Inc.
4.6(
85
)
Drywall - RepairDrywall - Repair - For Business

Serving South Pasadena, FL and surrounding areas

Approved

In business since 2008

Free estimates

Customers say: Quick response

"I had a ceiling drywall repair project for a patch in my kitchen, and Sean from Home Pride came by and made it like new. Great attitude and work ethic. Also made sure to cover areas with plastic to ensure texturing compound and paint didn’t get all over the kitchen. Good value for the work. Owner Lance provided great customer service too. Would hire again."
Cleaning
Painting
 after wall paper removal and texture
Cleaning
Finished

+27

Response time8 hrs
Response rate100%
2 neighbors recently requested a quote
Avatar for PC & J Drywall LLC
PC & J Drywall LLC
5.0(
5
)
Drywall - InstallDrywall - Repair

Serving South Pasadena, FL and surrounding areas

Approved

In business since 2021

Free estimates

Small jobs welcome

"Amazing work on our kitchen backsplash! We have been working with PC & J for over a year on different projects in our home. They are of course highly skilled at drywall and ceiling work and they textured our walls and removed popcorn ceilings a few months ago. This latest job in our kitchen included installing a stack bond tile backsplash, which of course is an unforgiving tile pattern because you can see all the rows and columns aligned. Martin and Claudia took the time to keep everything straight even though our floors, countertops and walls were imperfect. They also installed floating shelves and the hood over the oven. Including support backing before they installed the tile. They are reliable, good hard workers and always produce amazing results. We hope to work with them again."
Response time10 mins
Recommended by100%of homeowners
...
Showing 1-10 of 513
Drywall questions, answered by experts

Whether you apply the drywall mesh before or after drywall mud depends on the type of patch it is. For self-adhesive patches, you’ll put the patch down first and then coat it with mud. Mesh patches that are not self-adhesive will require you to put mud down first and then press the mesh into it, followed by additional coats of mud.

Furring strips, thin strips of wood or metal, are not always required for ceiling drywall installation. If the ceiling surface is even and in good condition, drywall can be directly attached to the ceiling joists using screws. However, furring strips become essential when dealing with irregular surfaces or when additional insulation or soundproofing is needed. They create a level substrate for attaching the drywall. Ultimately, the decision to use furring strips depends on the condition of the existing ceiling and the specific requirements of the project.

The easiest way to cut holes in drywall for electrical boxes is to use a spiral saw with a drywall router bit. Hang the drywall without cutting out a hole for the box, but make sure you measure and mark where the box is located on the wall. Once you screw in the drywall sheet, drill a small hole into the box void, insert the spiral saw bit, and move it around the edge of the box using the inside wall as a guide. You can also use an oscillating multi-tool with an electrical box cutout for fast, professional results.

If you only have tiny holes in your drywall (for example, dents or nail marks), you probably won’t need a patch kit. Instead, you can plug the hole with a small amount of spackle. Once the spackle dries, you can sand the area and paint over it—just like you would in the steps outlined above.

You can usually tell if you have plaster or drywall by touch (plaster is harder, colder, and smoother than drywall) or by tapping on it (drywall sounds hollow, plaster does not). If you still cannot tell, peek under an outlet cover and check the cut edges. The rough edges show the composition of the wall. You will see either drywall (two paper sheets sandwiching gypsum material) or only plaster material (no paper sheets).

The South Pasadena, FL homeowners’ guide to drywall services

From average costs to expert advice, get all the answers you need to get your job done.