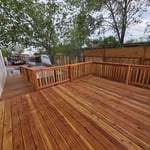
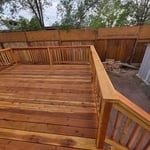
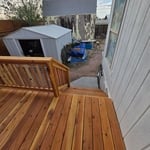
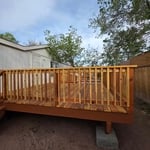
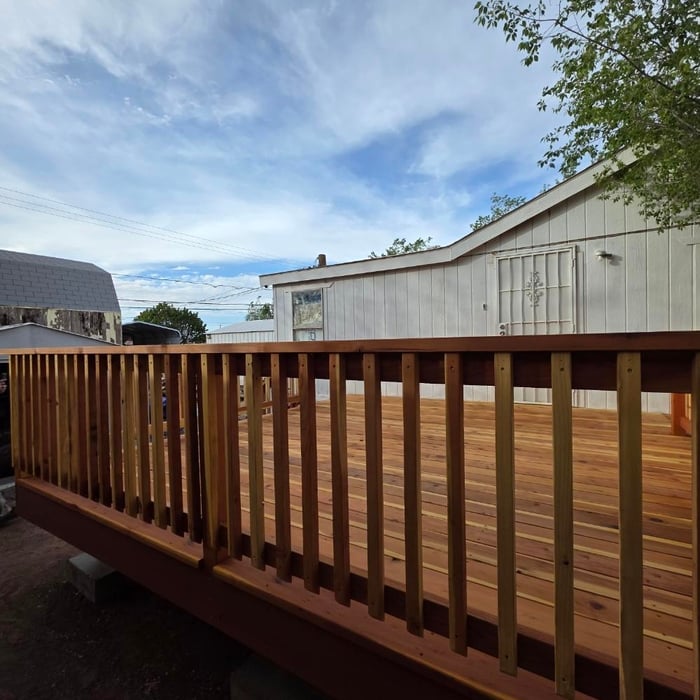
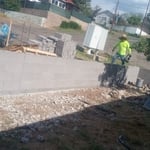
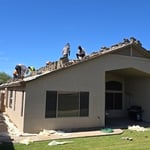
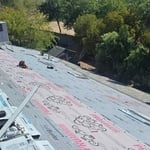
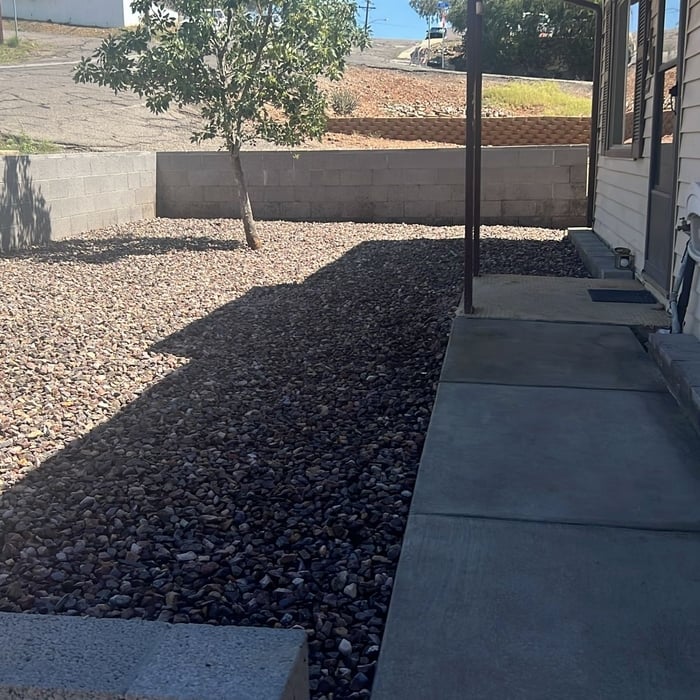
Alliance Property Services provides professional handyman, remodeling, painting, flooring, drywall, deck, and property maintenance services throughout the White Mountains of Arizona. We deliver quality workmanship, reliable service, and honest communication on every project.
We pride our company on reliability, great communication, integrity, and quality work. We are experts in our trade and will do our best to keep you as educated as we can on your particular task or project. We look forward to earning your business!
"The crew showed up every morning on time. They patched/drywalled and textured numerous small areas. The texturing was so good, that it is almost impossible to detect where the repairs where made. They also framed, drywalled and textured the kitchen area for recessed lighting installation. They repaired an area where there was a shower leak. They replaced the drywall and textured an area where a closet had been removed. On every part of the project, they exhibited superior workmanship. And at the end of every day, they cleaned up after themselves. Hire them again? Definitely yes! "
The owner is very trustworthy and personable. He discussed the plans with me in advance of the job and I felt he was listening to what I wanted. He did what we agreed and I am very satisfied with a job well done!
Furthermore, he took the time to cover the door ways to the rest of the house so no dust would spread to the rest of the house and he also covered the floor with cardboard to prevent damage when he broke the ceiling.
"Efram was professional and know what he doing and we are satisfied with his wonderful skills and Job done. But still my drywall need to be finished since he opened the wall to do his job And was told to request service for that. So far I am thankful"
We have been proudly servicing residential customers in the East Valley since 2007. And now we are excited to offer Concrete Driveway and Masonry services!!\nWe believe in showing up on time and getting the job done right the first time. A majority of our team have from ten to 30+ years of experience. Contact us for a FREE consultation and give us a chance to surpass your vision and expectations.\n
Army engineer veteran now specializing in handywork with a focus on smaller scale projects such as drywall repair, basic electrical (light fixtures, outlets), shower head and faucet replacements, grab bar installation, toilet install/repair, garbage disposal, cabinets and minor floor installations.\nEngineering experience includes \n• Assembled pipe sections, tubing, and fittings, using couplings, clamps, screws, bolts, cement, plastic solvent, \ncaulking, and soldering, brazing and welding equipment.\n• Installed pipe assemblies, fittings, valves, appliances such as dishwashers and fixtures such as sinks and toilets, \nusing hand and power tools\n• Installed vinyl flooring, sheetrock while making renovation repairs\n(NO JOB WILL BE CHARGED OVER THE AMOUNT OF $1000.00 NO EXCEPTIONS)
"He was the general contractor for the project and sent out a painter. I had requested for a seam between the two rooms to be fixed and that was my main concern. The painter really didn’t do what I asked him. He then offered to come back out to fix everything. We fixed some of it ourselves, but the painter did end up having someone else to fix it. The general contractor did offer us Price cut because of all the problems. I would never use the painter again. However, he made right on everything. They were very apologetic and nice on the phone, I just wasn’t happy with the recommendation on the painter."
We pride our company on reliability, great communication, integrity, and quality work. We are experts in our trade and will do our best to keep you as educated as we can on your particular task or project. Give us a call today, we look forward to earning your business!
You may need to replace drywall because of smoke damage. If the drywall is covered in soot, you may be able to clean it, but it will require a lot of time and effort. You could spend hours cleaning the drywall only to find there is more damage and it needs to be replaced anyway. It’s usually easier and safer to remove the smoke-damaged drywall and replace it.
Yes, you can install drywall over plaster, but there are important factors to consider. While it can create a smooth, flat surface, it is often not the best approach. Installing drywall over plaster will increase the wall's thickness, which can cause issues with existing window and door frames that may no longer fit. You might also need to adjust power outlets to keep them accessible. A better, though more expensive, option is to remove the old plaster and lath entirely before installing new drywall. Drywalling directly over plaster seals in the old material, and if any problems arise later, you will need to remove both layers down to the structural beams for repairs. Given the potential complications, this job is best handled by professionals.
It’s less costly to drywall a fireplace than shiplapping it since material costs are higher for shiplap. However, if you’re DIYing the project, shiplap is less expensive since you won’t have to pay for labor. With drywall, getting a smooth finish is difficult unless you’re a pro. Shiplap is ideal for an accent wall or unique space, such as around a fireplace, since it adds texture and gives off a cozy vibe.
New plaster must be fully dry and cured before painting. The drying time for plaster ranges from 1 to 4 hours, but the curing process can take more than five days, depending on various factors, including humidity levels, temperature, the amount of plaster used, and airflow in the area. You should always apply primer before painting plaster.
Plaster is a pretty tough surface, but it can still sustain damage from things like bumping against it, water issues, dampness, extreme humidity changes, and plain old age. Most plaster walls last hundreds of years and will only be taken down to the base layer when major repairs are required. Being cautious around the wall, not placing furniture against it, and ensuring stable humidity are all great ways to reduce possible damage.
The Peridot, AZ homeowners’ guide to drywall services
From average costs to expert advice, get all the answers you need to get your job done.
Drywall texture can create an attractive finish and add dimension to your home’s walls. This guide breaks down the factors that influence the cost to texture drywall.
Installing drywall is the most common way to finish your home’s interior. Use this drywall installation cost guide to see what your project is likely to cost.
Whether you want to spruce up a few dents and dings or fix a large surface area, investing in drywall repair costs can return your walls to a smooth, flush look.
Understanding the plaster vs. drywall debate is key to giving your home’s walls the perfect finish. Learn more about the pros, cons, and costs with our advice.
The terms drywall and Sheetrock are often used interchangeably, but one is a brand and one is a specific product. Find out which one you need in this guide.
Thick gaps and extra joint compound can alter the look of drywall. So, should drywall be butt up against a wall? Review this guide for seamless installation.