





Top-rated drywall pros.

Get matched with top drywall pros in Shirley, AR

Enter your zip and get matched with up to 5 pros

Need a pro for your drywall service project in Shirley, AR?

Select your specific project to find the pro for you.

Find Drywall pros in Shirley

Avatar for Hales Home Repairs
Hales Home Repairs
4.5(
40
)
Drywall - Repair

Serving Shirley, AR and surrounding areas

Approved

In business since 2010

Free estimates

Customers say: Quick response

"Arthur is so good - he can do large projects and small. He built a closet door wth framing and over head window for master closet and built an outdoor trellis for the back patio. I have used him for years and always does a great job for me."
 custom built cabinets
 deck
 built in book shelves
 shower tile
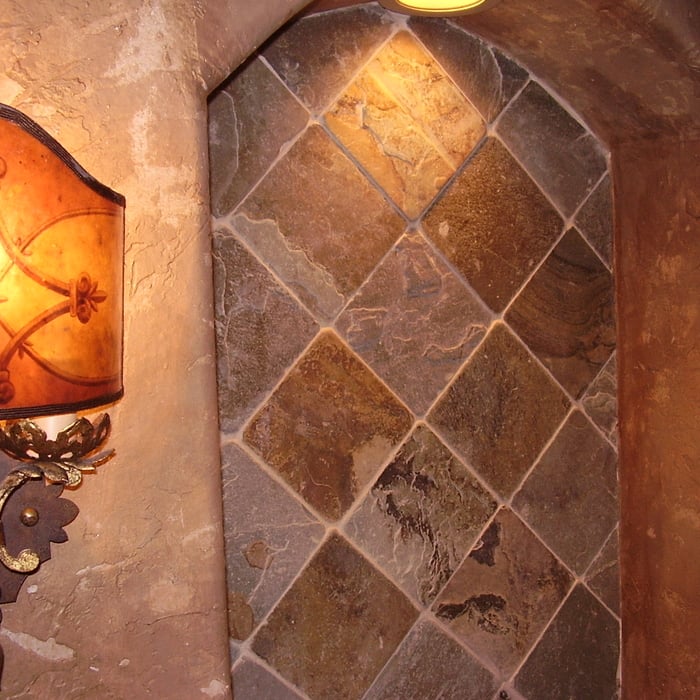
 tile work

+1

1 neighbors recently requested a quote
Recommended by81%of homeowners
Avatar for Orosz Construction, LLC
Orosz Construction, LLC
New to Angi
Drywall - Repair

Serving Shirley, AR and surrounding areas

Approved

Free estimates

Emergency services offered

Small jobs welcome

Hi my name is Trevor Orosz I am 24 years old, have been married to my wife for a year now and have a 2 year old daughter! I recently started Orosz Construction to build something for myself and have something my kids can have later on in life. I have 3+ years experience in all things construction/remodel work! I can repair siding, fix your floor, frame work, do your flooring, tile work, sheet rock, painting, trim work, any finish work, and so much more!! The only thing I don’t do is electrical or plumbing. I can set toilets, shower/tub bases, and vanity’s\n\nI’m reliable and I do quality work. I will respect you and your home and will do everything I can to make sure it’s to your standards!!

3 neighbors recently requested a quote

...
Showing 1-10 of 90
Drywall questions, answered by experts

There are six levels of drywall finish, from 0 to 5, that refer to the amount of work performed during the finishing process.

Level 0: Drywall is hung with no finishing work.

Level 1: Tape is placed over the seams between drywall sheets.

Level 2: A thin layer of mud is applied over the tape and screw holes. This level is common for utility rooms or walls that will be covered.

Level 3: A full coat of mud covers the screw holes and tape, but the surface is not sanded. This is often used in garages.

Level 4: This is the most common finish for visible interior walls. It involves applying two coats of mud over seams and screw holes, with sanding between each coat, creating a smooth surface ready for flat paint.

Level 5: This is a high-end finish for luxury homes. It includes full taping, mudding, and sanding, plus a final skim coat over the entire surface before painting.

Yes, you can install drywall over plaster, but there are important factors to consider. While it can create a smooth, flat surface, it is often not the best approach. Installing drywall over plaster will increase the wall's thickness, which can cause issues with existing window and door frames that may no longer fit. You might also need to adjust power outlets to keep them accessible. A better, though more expensive, option is to remove the old plaster and lath entirely before installing new drywall. Drywalling directly over plaster seals in the old material, and if any problems arise later, you will need to remove both layers down to the structural beams for repairs. Given the potential complications, this job is best handled by professionals.

Drywall can be installed directly on ceiling joists. In fact, this method is common in many construction projects. Drywall sheets are attached to the joists using screws, ensuring a secure and stable installation. Before attaching the drywall, it's important to mark the joist locations on the ceiling, allowing for accurate screw placement. Proper spacing between screws and careful taping and mudding of joints are crucial to creating a smooth and flawless ceiling surface. If the joists are in good condition and level, installing drywall directly on them is a practical and efficient approach.

This depends on how much plaster is applied and in how many layers, but a decent estimate is around 150 square feet. If you are applying only two coats on a small wall, there is a chance you may only need one or two gallons for the entire project. If you are plastering a large living room wall with high ceilings, using one of the more involved techniques–like Scagliola–that requires several coats, expect the project materials costs to add up quickly. 

If you only have tiny holes in your drywall (for example, dents or nail marks), you probably won’t need a patch kit. Instead, you can plug the hole with a small amount of spackle. Once the spackle dries, you can sand the area and paint over it—just like you would in the steps outlined above.

The Shirley, AR homeowners’ guide to drywall services

From average costs to expert advice, get all the answers you need to get your job done.