
Pre-drywall inspection costs vary depending on the home size, build complexity, and reporting you receive. Estimate your budget with this cost guide.
Make it right before sealing it tight

A pre-drywall inspection checklist confirms your structural, electrical, plumbing, and HVAC systems are correctly installed before walls seal them from view.
Pre-drywall inspection costs range from $200 to $400, with an average of $300, helping you avoid thousands in future repair expenses.
Your inspection should verify foundation integrity, framing precision, proper wiring routes, leak-free plumbing lines, and secure ductwork before drywall installation begins.
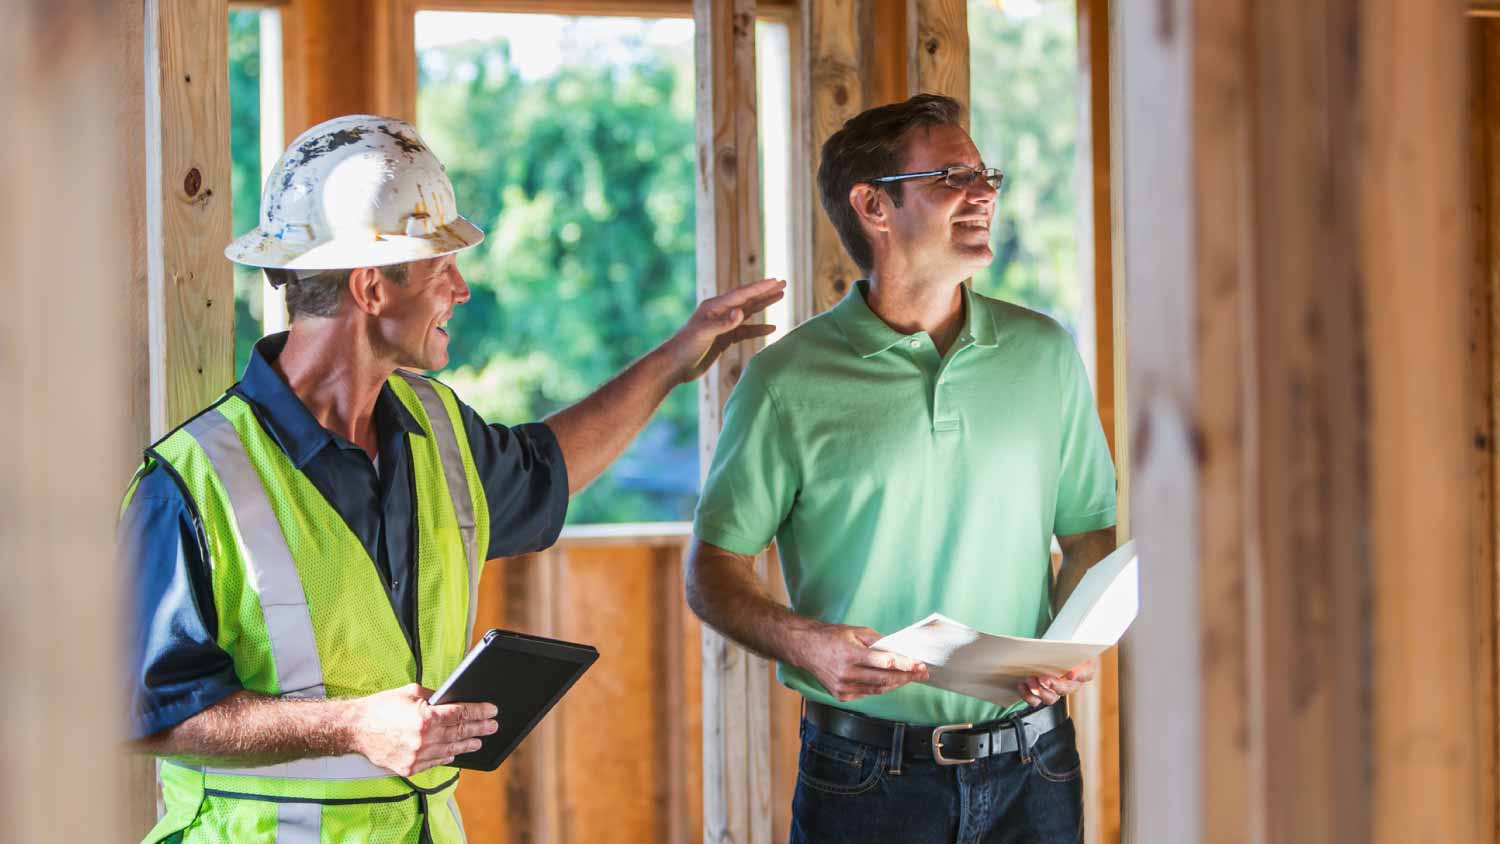
Hiring a local drywall professional provides reliable support for comprehensive inspections, helping you catch installation errors and code violations before they become costly problems.
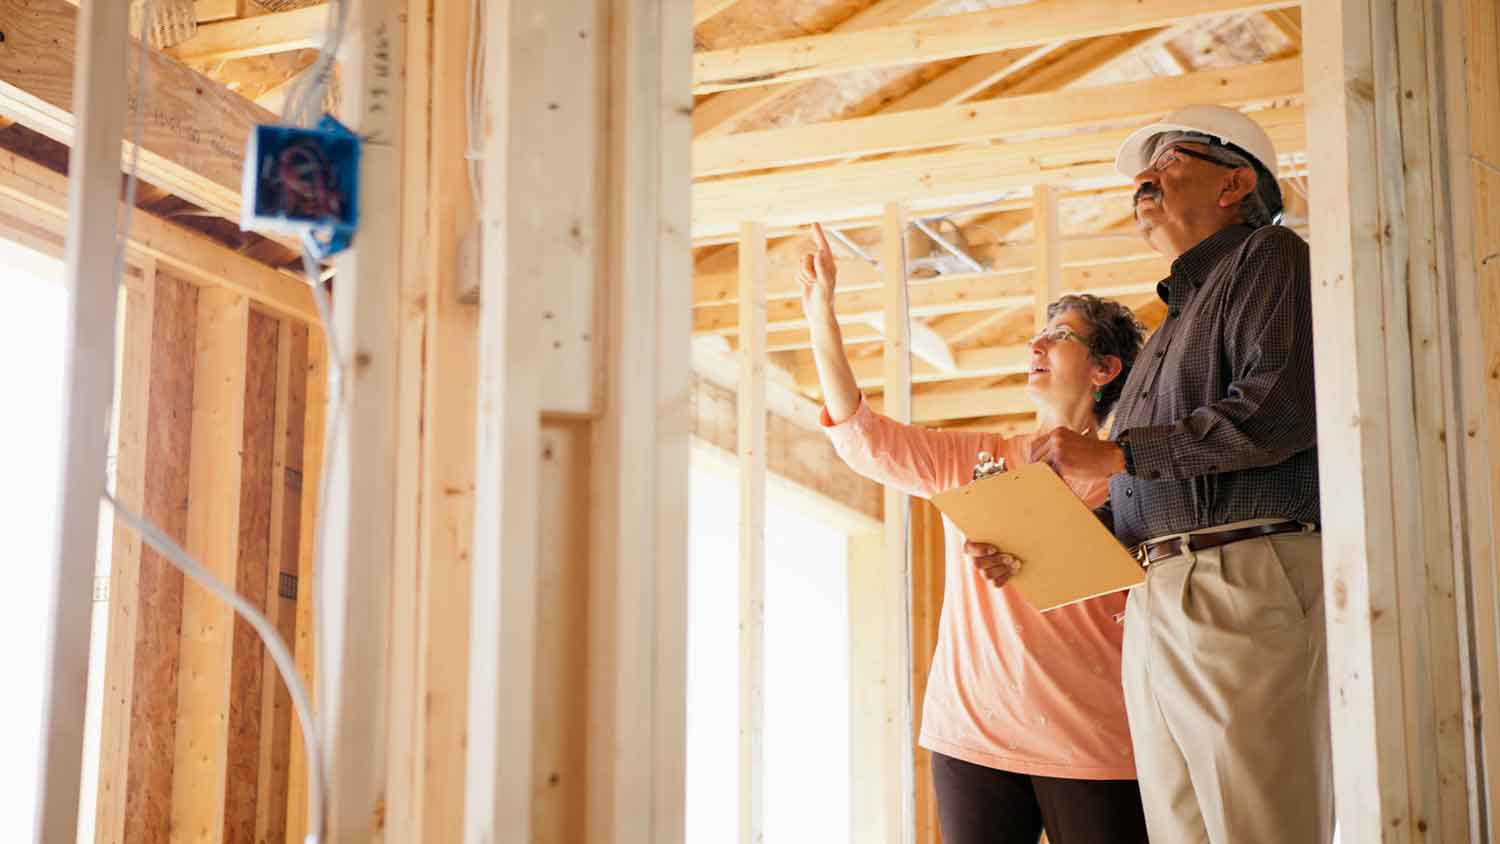
Before drywall goes up in a new home, it's the last chance to ensure everything under the hood is in good shape. That’s why an in-depth pre-drywall inspection checklist is critical. It ensures that all those behind-the-scenes components are properly installed, in good working order, and up to code before they’re hidden behind your new interior walls.
Whether you’re building a new home or managing a new construction project, this type of home inspection should never be skipped. From catching mistakes early to giving everyone some much-needed peace of mind, each area of this inspection is crucial, so we’re going to break down what needs to be checked and why it matters.
The whole point of a pre-drywall inspection is to make sure all of the structural elements of the house and its critical systems are in good shape before the walls are sealed. Once that drywall goes up, it’s much more difficult—and costly—to identify and repair issues.
This inspection step can identify problems that went unnoticed during previous construction phases, and many of these issues can cause real problems down the road. By understanding what’s on a pre-drywall inspection checklist and why, you can avoid construction delays as well as expensive repairs or failed home inspections in the future.

Structural elements are the foundation—literally—of the home. If foundational aspects aren’t in good order, it can have damaging effects. Here are some items to check in a structural inspection:
Foundation: Make sure there are no cracks, moisture problems, inconsistencies, or other signs of issues in the foundation slab or basement walls.
Framing: Verify that framing is level, precise, and correctly spaced for both drywall installation and overall structural support.
Windows and doors: Confirm that all doors and windows are correctly installed, square, and sealed with no gaps.
Support beams and load-bearing walls: Ensure all structural supports are placed correctly and secured properly.
Roof: Look for signs of improper roof installation like leaks or sagging, which can affect insulation and structural integrity.
Attic: Make sure the attic’s framing is complete and accessible, and confirm that there’s space for insulation and proper ventilation.

During the electrical inspection, all electrical components are checked for safety, accessibility, and code compliance. These are some of the elements inspected to identify possible signs of electrical problems in the future:
Wiring: Ensure all wiring is properly routed, clearly labeled, and securely fastened.
Outlets and switches: Confirm that outlet and switch boxes are installed correctly at the ideal location and height.
Junction boxes: Make sure junction boxes are easily accessible and not overcrowded with wires.
Electrical panel: Check that the panel is fully and correctly installed, with circuits wired properly and breakers labeled.
Plumbing errors can cause big issues down the road. So, before the walls go up, it’s important to confirm that these systems are correctly installed and free of leaks. Here’s what needs to be checked:
Water supply: Check that hot and cold water lines are installed properly and that they are pressure-tested for leaks.
Drainage: Examine drain lines for efficient waste flow by ensuring proper slope and secure attachment.
Pipe placement: Verify that pipes don’t interfere with framing or other systems and have proper clearance.
Venting: Make sure plumbing vents are correctly in place and that they extend correctly through the roof.
Dishwasher: Check that dishwasher drain hoses and water lines are correctly installed and easily accessible.

Many HVAC elements live behind the walls and ceilings, so it’s important to inspect them for compliance and efficiency before the drywall goes up. Here’s what’s examined:
Ductwork: Make sure ducts are securely attached, properly routed, and have adequate insulation around them.
Vents and returns: Verify that all vents and return registers are properly placed and sealed and that they will remain unobstructed when the walls go up.
HVAC system: Confirm that the furnace or air handler is installed correctly and lines are run cleanly without leaks.
Before the drywall covers the walls and ceiling, there are some checks on these areas and the flooring that should be performed:
Subfloor: Examine the subfloor for creaks, weak spots, or gaps that could affect the integrity of the flooring later.
Insulation: Make sure all ceiling spaces and wall cavities are adequately insulated and check that the insulation materials aren’t improperly placed or compressed.
Firestop materials: Confirm that the fire-blocking materials are installed to code in order to prevent the spread of fire within wall cavities and ceiling voids.
A pre-drywall inspection costs between $200 and $400, with an average cost of $300. This cost depends on a few elements, including the complexity and size of the home. This isn’t an unnecessary extra expense. The price of skipping this inspection could end up being much higher if issues aren’t identified before drywall goes up.
Hiring a drywall pro near you for this comprehensive inspection minimizes costly surprises later and could save you thousands in future repairs or remodels.
Cancelled appointment two hours after they were supposed to come for drywall work.
I would recommend this company to anyone! He showed up on time, was friendly, completed a very difficult repair on our dryer vent cover, was responsive, and pricing was extremely fair and competitive. I would have him back to do any of our repairs or cleanings without hesitation!
I cant stop admiring my newly painted walls. Custom Paint Jobs LLC made my house feel brand new.
Excellent experience with hiring Tether House to Mount our 77’ Samsung TV in our bedroom. Fast, friendly, and knowledgeable. Highly recommend.
Excellent customer service and knowledge. I was recommend to him from my neighbour. My front door and window came in great and were installed beautifully perfectly, I m very satisfied with their excellent work, so decided to order one more big bow window for my living room. I cant wait for...
Manuel Calvillo is the best option in the area for roofing and you won't be disappointed.
Would hire again. Wall looks great. Happy with job.
 Central Paving
Involved an extensive bathroom remodel, including removing tub & installing walk in shower, new drywall, custome tile work to ceiling, plumbing, etc. Overall, job was done on time and on budget. Nick & his team were very professional and had high attention to detail. Quality was great. Highly...
 Stamos Flooring and Remodeling LLC
We have had a great experience with Rising Height for the past five years on a number of miscellaneous renovation projects. They laid flooring for us and had a very good sub do the finish. Installed drywall for a vaulted ceiling, finished an attic/loft with new subfloor, framing and drywall,...
 Rising Height Unlimited
Mr. Lopez was super nice and professional. He repaired our drywall just as he described during the estimate phase. Our dining room wall looks great again! Thanks Mr. Lopez!
From average costs to expert advice, get all the answers you need to get your job done.
Pre-drywall inspection costs vary depending on the home size, build complexity, and reporting you receive. Estimate your budget with this cost guide.
When you’re building a new home, it’s a good idea to get multiple inspections. Learn about the benefits of a pre-drywall inspection during construction.
Use this comprehensive mobile home inspection checklist to ensure your home is safe.

Buying a home soon? Use our home inspection checklist for buyers to understand what the professionals are looking for when assessing your future home.

When it comes to home buying, there’s nothing wrong with knowing everything about the house. If you think you’ve found the perfect place, a pre-home inspection checklist helps you talk to the inspector about your worries before their official visit.
Before you move out of your apartment or house, find out how to clean up and avoid damage costs with our move-out inspection checklist for each room.