
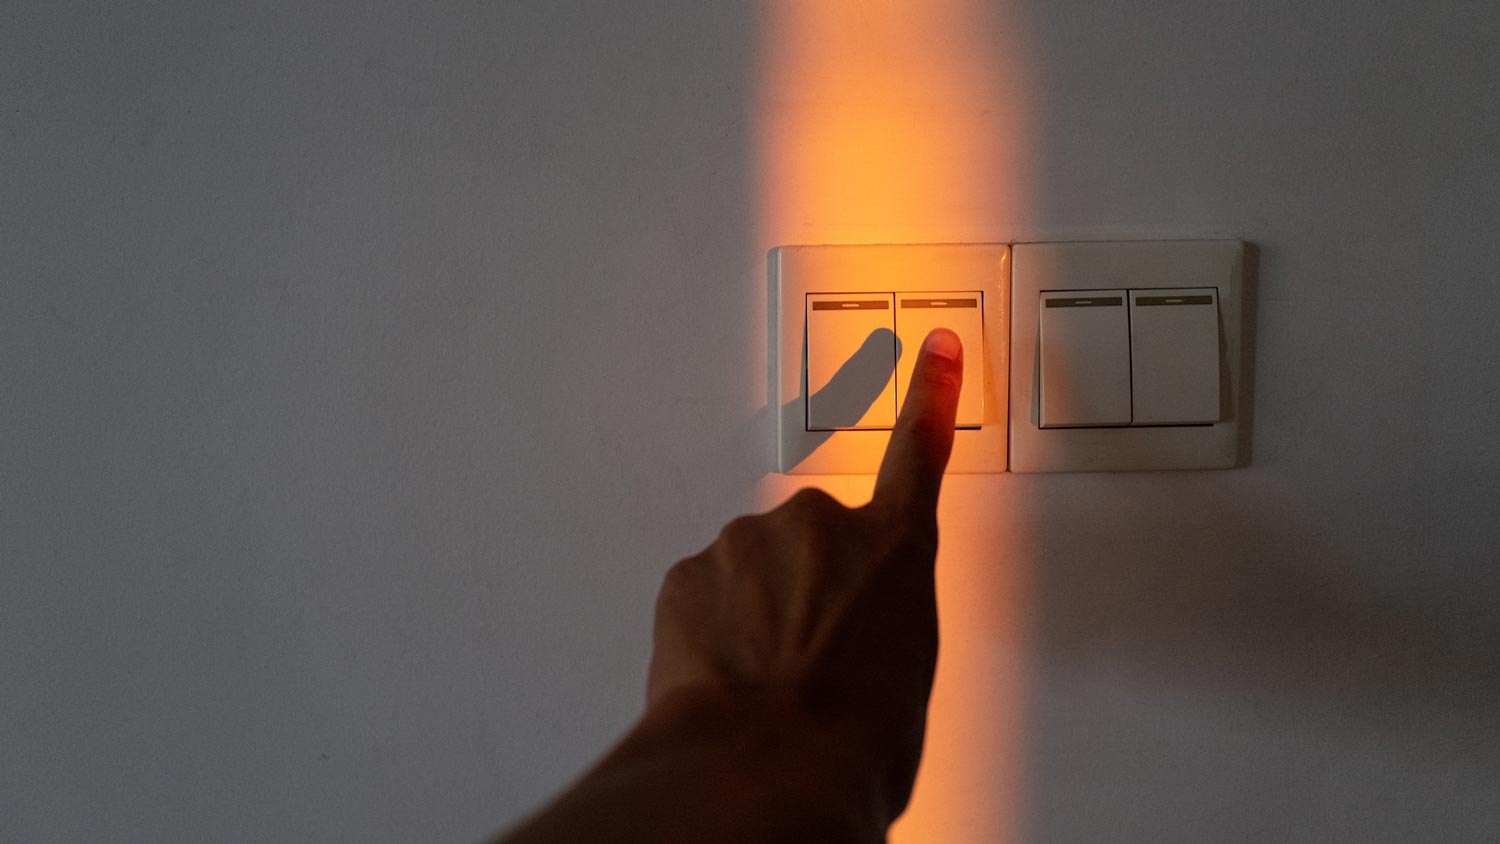
When you want to control one light fixture from two switches—usually at either entrance to a hallway—you’ll need a three-way switch. It’s more complicated than installing a single switch, but an electrician can stall one for you easily.
Two light switches are better than one
 - Derek Rose.png?impolicy=thumbnail)
Running down the stairs to turn off a light is a bit inconvenient. Thankfully, learning how to wire a three-way switch means you can control the same light fixture from two different switches.
Three-way switches are useful at the top and bottom of stairwells and in rooms with more than one entrance. Follow this guide to install one of these specialty switches in your home.
Tasks that involve electricity require a heavy focus on safety. Wiring a three-way switch should only be done by those with past electrical experience. Review home electrical safety tips and ensure you have the proper electrical skill set before proceeding.
The following steps will guide you through replacing an existing light switch with a three-way light switch. To properly set up a three-way wall switch, you may need to add an electrical switch box for the new switch, if one doesn’t already exist, and install 14/3 electrical cable—meaning a 14-gauge cable with three primary wires and a ground wire—between the existing switch and the new switch. Feeding electrical wires through existing walls is a challenging task for most homeowners. Consider hiring a local electrician to complete this step of the process.
Follow these steps to ensure this DIY electrical project runs smoothly.
When working with electrical, always start by disconnecting the electrical supply to the device you’re working on. Flip the breaker switch at your electrical panel that powers the light fixture and switch you will be wiring. Once off, test the light fixture and existing switch with a voltage tester to ensure there is no active current.

Using a screwdriver, unscrew and remove the old switch’s wall plate. Next, unscrew the mounting screws. Gently remove the entire switch receptacle from the wall, but be careful to leave the wiring attached for now.
Before disconnecting the wires from the back of the switch, it’s important to identify the electrical wires. Doing so makes wiring the new switch much easier.
Label the wire connected to the black or dark-colored screw as the hot wire. Label the wire connected to the brass or light-colored screw as the traveler wire. Use tape to label each wire or take a picture with your phone.
Once labeled, you can disconnect the wires from the old switch. If the wires are attached to a screw on the back of the switch, loosen the terminal screw to disconnect the wires. If the wires connect to the back of the switch via stab-in connectors, insert a flathead screwdriver into the slot above the wires to disconnect them.

To prepare the existing wires for the new switch, ensure 3/4 inches of the copper conductor is exposed at the end of each wire. If needed, remove some of the insulation coating with a wire stripper to expose the copper.
Bend each wire into a hook with needle-nose pliers. The hook should fit snugly around the screw terminal on the back of the new switch. Skip this step if you will be using the stab-in connectors on the back of the new switch and keep the wires straight.

This process is similar to how you would connect wires to a standard light switch. Grab the new three-way switch and loosen the screw terminals on the back. Attach the hot wire to the black or dark-colored screw on the new switch.
With needle-nose pliers, tighten the wire hook, so it fits snugly around the screw terminal. Tighten the terminal screw until it’s difficult to turn and firmly holds the wire in place.
Repeat this connection process by attaching the two traveler wires to the brass or light-colored screws and the bare copper wire to the green screw at the bottom of the switch.
If you’re using the stab-in connectors on the back of the new switch, make the wire connections at the same locations, but insert the wires straight into the stab-in slots without bending them.
This step is optional. For added protection and to ensure none of the wires come loose, you can wrap the body of the switch with electrical tape. Be sure to cover the screw terminals and any bare wires.
Insert the switch into the electrical wall box and install the mounting screws. Place the wall plate up against the switch and install the wall plate screws.

With the switch fully installed, turn the circuit breaker back on and test the switch. If the three-way switch is not working as intended, reach out to a professional electrician to finish the job.
The cost to install any type of light switch ranges from $60 to $300, with an average cost of $150. Even though three-way switches are slightly pricier and more complicated to install than standard switches, they fall within the middle of this range. Expect to pay about $100 to $200 when wiring a three-way switch.
If you have the electrical skills to install a three-way switch on your own, you will save on the labor costs of hiring an electrician—usually around $50 to $100 per hour. All you have to do is purchase the light switch receptacle and any required electrical tools you don’t already have. As a result, going the DIY route can cost as little as $5 to $20. However, three-way switches are challenging to install for a layperson, which is why we recommend that most homeowners hire an experienced electrician to get the job done correctly and safely.
Great company! Price was competitive, technician showed up on time and completed the job (exterior electric Radon fan replacement) quickly. Would hire them again.
I conferred with 2 other contractors before Armstrong Electric. Nick and his crew showed me that the project was not as convoluted as the other contractors made it appear to be. They completed the entire project on time. They were professional, friendly and cleaned up after at completion. I...
 Armstrong Electric LLC
The techs on my project, Shawn and Cliff, were great. They were prompt, courteous, and efficient. I am very happy with the results and would definitely contact Mr. Electric for any future electrical projects.
Victor was wonderful. He was on time, professional, and explained everything he was doing. He was thorough and figured out that the problem was electrical instead of with my HVAC system. Very knowledgeable. I will be using this company in the future for any HVAC needs. Thanks!
 Hubbs Heating & Air LLC
They were excellent. They did a great job. I was totally satisfied. They put tremendous effort in making sure the work was completed. They were great. They provided immediate response to any inquires I made. I would hire them again. I would recommend them to anyone who needs electrical work....
 Property-Tech Industries, LLC
Initially, the repairman could not find the problem. Apparently, there was some electrical shortage, but he could not find the definite problem. He left, but called back later to say he had a new idea. He returned and replaced the light switches on the doors. The refrigerator seemed to return...
 Appliance Pro LLC
The initial quoted price from a walk-through seemed high, but we discussed that the quote represented worst case scenario (re-wiring to two floors) and we were excited about the opportunity to have the work done in a timely manner with closing for fire safety reasons, etc. When the job was...
I have to tell you I am all about customer service - I will go out of my way and even pay more for it if you give me great customer service. <br> <br>In a world where this is hard to find, these guys were awesome! I can not sing their praises enough. They were prompt, personable, funny, got...
 Waibel Electric
When I challenged the markup on the generator, Bruder Electric withdrew its bid. They only want naïve customers.
We had no power to any of the electrical outlets in the MBR. We'd had an intermittent problem for a few years and they finally went out all together. We live on the 3rd floor of a 100 year old building and I know from past experience the wiring has been added to in hodgepodge ways over the...
From average costs to expert advice, get all the answers you need to get your job done.
When you want to control one light fixture from two switches—usually at either entrance to a hallway—you’ll need a three-way switch. It’s more complicated than installing a single switch, but an electrician can stall one for you easily.

When a three-way switch only works when one switch is on, the wiring or switch is often to blame. Find out how to diagnose and correct the problem.

A 4-way switch is a type of multi-way switch that controls lights from three or more locations. Learn how 4-way switches work in our helpful guide.
Travelers are essential components in multi-way switches. So, what is a traveler wire, and how does it function? Find out more here.

Understanding what wire colors mean will help you complete electrical projects safely. Follow this guide to distinguishing blue and brown wires.
If you want the convenience and peace of mind they bring, learn how to install smart light switches to control your home’s illumination from any location.