
This guide covers the cost to tile a kitchen countertop and the main cost factors, including tile type and grade, kitchen size, and whether you hire a pro for the installation.
This guide will keep you from going grout of your mind

If you’re a handy homeowner, tiling is an achievable and affordable makeover for tired kitchen countertops. With the right tools, time, and technical know-how, you can carry out a stylish and durable transformation with these highly customizable heat-resistant coverings. Our step-by-step guide explains how to tile kitchen countertops to avoid preventable problems with prepping, setting, or sealing.
Clear your countertop surfaces and read the tape measure to get accurate measurements. This will prevent overspending by buying too many tiles or ending up short because you don’t have enough to cover all the corners. To account for wastage, add 10% to 15% to your square footage total.
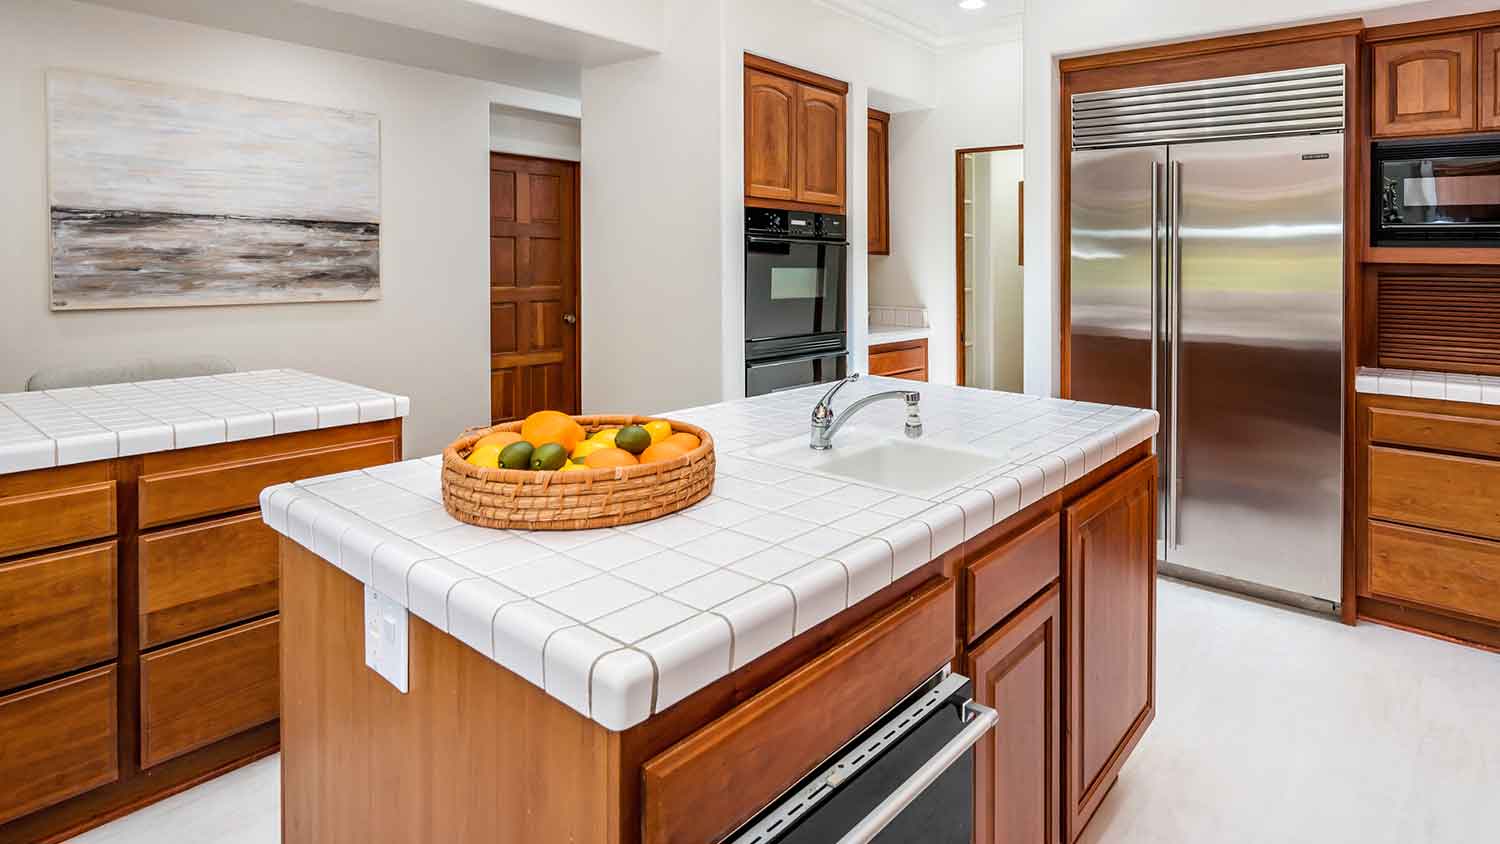
Pick a moisture-resistant, easy-to-clean, durable type of tile for high-traffic kitchen countertops. When it comes to popular porcelain vs. ceramic tiles, porcelain is more durable, but ceramic is more budget-friendly. Glass is a stylish and stain-resistant alternative, but it’s not scratch-resistant.
Cover your cabinet fronts and floors with plastic sheeting secured with easy-to-remove painter's tape to keep them free from mortar or grout splashes. You’ll also need to turn off the water under the sink, then disconnect and remove the fixture to lay tiles around it.
All surfaces should be clean, dry, and free of food crumbs and other debris to prevent bacterial buildup and promote strong adhesion.
If your existing countertop surface is damage-free, even, and without curved edges, you can tile directly on top of it.
Alternatively, remove your old kitchen countertop and cover the plywood base with a concrete backing board. Starting fresh guarantees level and long-lasting adhesion, especially for high-traffic surfaces.
Cut the cement board to size using a utility knife or circular saw before screwing it into place on top of the plywood base. It’s a dusty job, often best done outside while wearing a particle-filtering respirator mask.
Use the mantra “mortar, tile, press, spacer, repeat” when tiling your kitchen countertops.
Mix your moisture-resistant, thin-set tile mortar according to the manufacturer’s instructions. Use a notched trowel to apply a layer about 1/4 inch thick to the countertop section you’re working on.
Press tiles into place, starting at the wall side of the countertop to help maintain straight lines. Work in sections you can tackle in less than 30 minutes to prevent the mortar from drying out.
Choose the right tile spacers and place them to help you achieve even grout lines, wiping away excess mortar with a damp, clean cloth as you go.

Work your way out to the edge, cutting tiles to fit. Applying edge tiles and any backsplash with flexible mastic allows for expansion and reduces the risk of cracks appearing.
A wet tile saw is the best tile tool for cutting tiles, but it's pricey. If you don’t own one and can’t rent one, you can use a manual tool cutter, but the work is trickier and more time-consuming.
Once the mortar has set, remove the tile spacers and wipe away any stray mortar with a damp cloth. This typically means leaving it overnight and returning to do the finishing touches the following day.
If you’ve opted for porous tiles (like ceramic or terracotta), applying a sealant at this stage will help prevent premature staining, moisture damage, and excess mold or mildew buildup. Doing it before grouting prevents the tiles from developing a dirty appearance before you even finish the job.
Roll or brush the sealant into the tile surface and allow it to dry per the manufacturer’s instructions before moving on to the grout work.

Learning how to grout tiles isn't too tricky—it's all about being smooth and methodical—and picking pre-mixed grout simplifies the process.
Scoop the grout onto a grout float and drag it diagonally across the tiles at a 45-degree angle to smear the grout into the seams. Wipe away excess grout with the float.
Wipe the tiles' surface with a damp (not soggy) sponge to remove any remaining grout haze before it sets. Polishing with a dry microfiber cloth after the grout has set will help the tiles shine.
Steer clear of common kitchen countertop tiling mistakes to achieve a neat, hassle-free finish.
Do a dry run: Testing the tile positions before applying the mortar can avoid a layout that relies on cutting small, thin pieces that will be less durable.
Don’t skimp on mortar: The tile should have at least 80% mortar coverage for good adhesion.
Don’t rush tile placement: Any mistakes can ruin the look of subsequent rows of tiles, and as the mortar sets, it can be difficult to remedy errors.
Be patient: Don’t apply grout until the mortar is fully cured. Shifting tiles and cracked grout can compromise moisture resistance and the job’s longevity.

Tile installation costs can be at least 30% less when you tackle this task yourself. However, while tiling doesn’t require the technical or safety know-how of some construction projects, it’s labor-intensive and requires a ton of attention to detail. Less-than-perfect results won’t just turn your room makeover from stylish to shabby—it can cause issues with bacteria and moisture buildup on surfaces that must be sanitary.
Hire a local tile contractor or countertop contractor near you if you don’t have the patience or precision to ace this persnickety project.
I had FabClean 614 clean my apartment, and she did an outstanding job. She was so professional and efficient. My apartment looks absolutely spotless every surface, every corner, all cleaned to perfection. Definitely highly recommend FabClean 614 if you're looking for top-notch cleaning...
Cole has been handling plumbing and general contracting for our four properties over the past three years, and he’s always done a great job. Most recently, he installed a sink and countertop in our retail store where none existed before, and it turned out exactly how we needed. He’s...
 ANB Renovations LLC
This company is my go to resource for all my post renovation clean ups. They get the place spotless! All we have to do after is stage the place and sell, sell, sell! They are super professional and have some amazing scent that is left in every property. I highly recommend!
I had Ace Fireplace Services install custom chimney caps for my home, and the results are stunning. They fit like a glove and have added a touch of sophistication to my chimney. I can't recommend their services enough.
 Ace Fireplace Services
Supreme Brick & Chimney did an excellent job restoring the brick and mortar joints on my home. Their team was professional, knowledgeable, and completed the work on time. I highly recommend them and will hire them again in the future! Thanks!
 Supreme brick & chimney
I recently hired Custom Paint Jobs LLC to repaint my home, and I couldnt be happier with the results. Their attention to detail and professionalism were outstanding. Highly recommended
Window Depot did an amazing job on my deck. I wasnt sure what I wanted to do, but their composite decking was affordable and will last a long time. I am excited to have family over, and I am no longer embarrassed by my backyard. Jeff and the ground crew were polite, respectful, and caring for...
If I could give 10 stars for Kitchen Tune Up, I would. I cannot say enough good things about my experience with Kitchen Tune Up and the entire team involved in the process of my kitchen project. They went above and beyond as far as service and quality with my cabinets, paint, countertops, and...
Great job...edging and pre clean up went well with a great job with seal coat. Friendly, efficient and professional.
 All Star Paving and Sealing
They are very reliable and available. They the drains all the time
 The Waterworks
From average costs to expert advice, get all the answers you need to get your job done.
This guide covers the cost to tile a kitchen countertop and the main cost factors, including tile type and grade, kitchen size, and whether you hire a pro for the installation.
The cost of porcelain countertops is affected by many factors, primarily the material's type (tile or slab) and finish, as well as your counter’s size and shape.

From marble to butcher block to surprisingly stylish laminate, these countertops will inspire your kitchen makeover.
Looking for stylish kitchen countertop ideas on a budget? Here are seven inexpensive ideas for rehabbing your existing countertop or choosing a new one in an economical material, like laminate, tile, and more. Keep reading.
Discover the best outdoor kitchen countertop ideas. From durable granite to sleek concrete, find the perfect match for your taste and budget today.

From luxurious marble to trendy slate, this guide will show you the best types of stone countertops for your kitchen. Let’s dive in.