
Tankless water heater costs in Seattle, WA depend on the size of your water heater, location, fuel type, and more. Keep reading to calculate your expenses.
Give your water heater’s thermostat the once-over


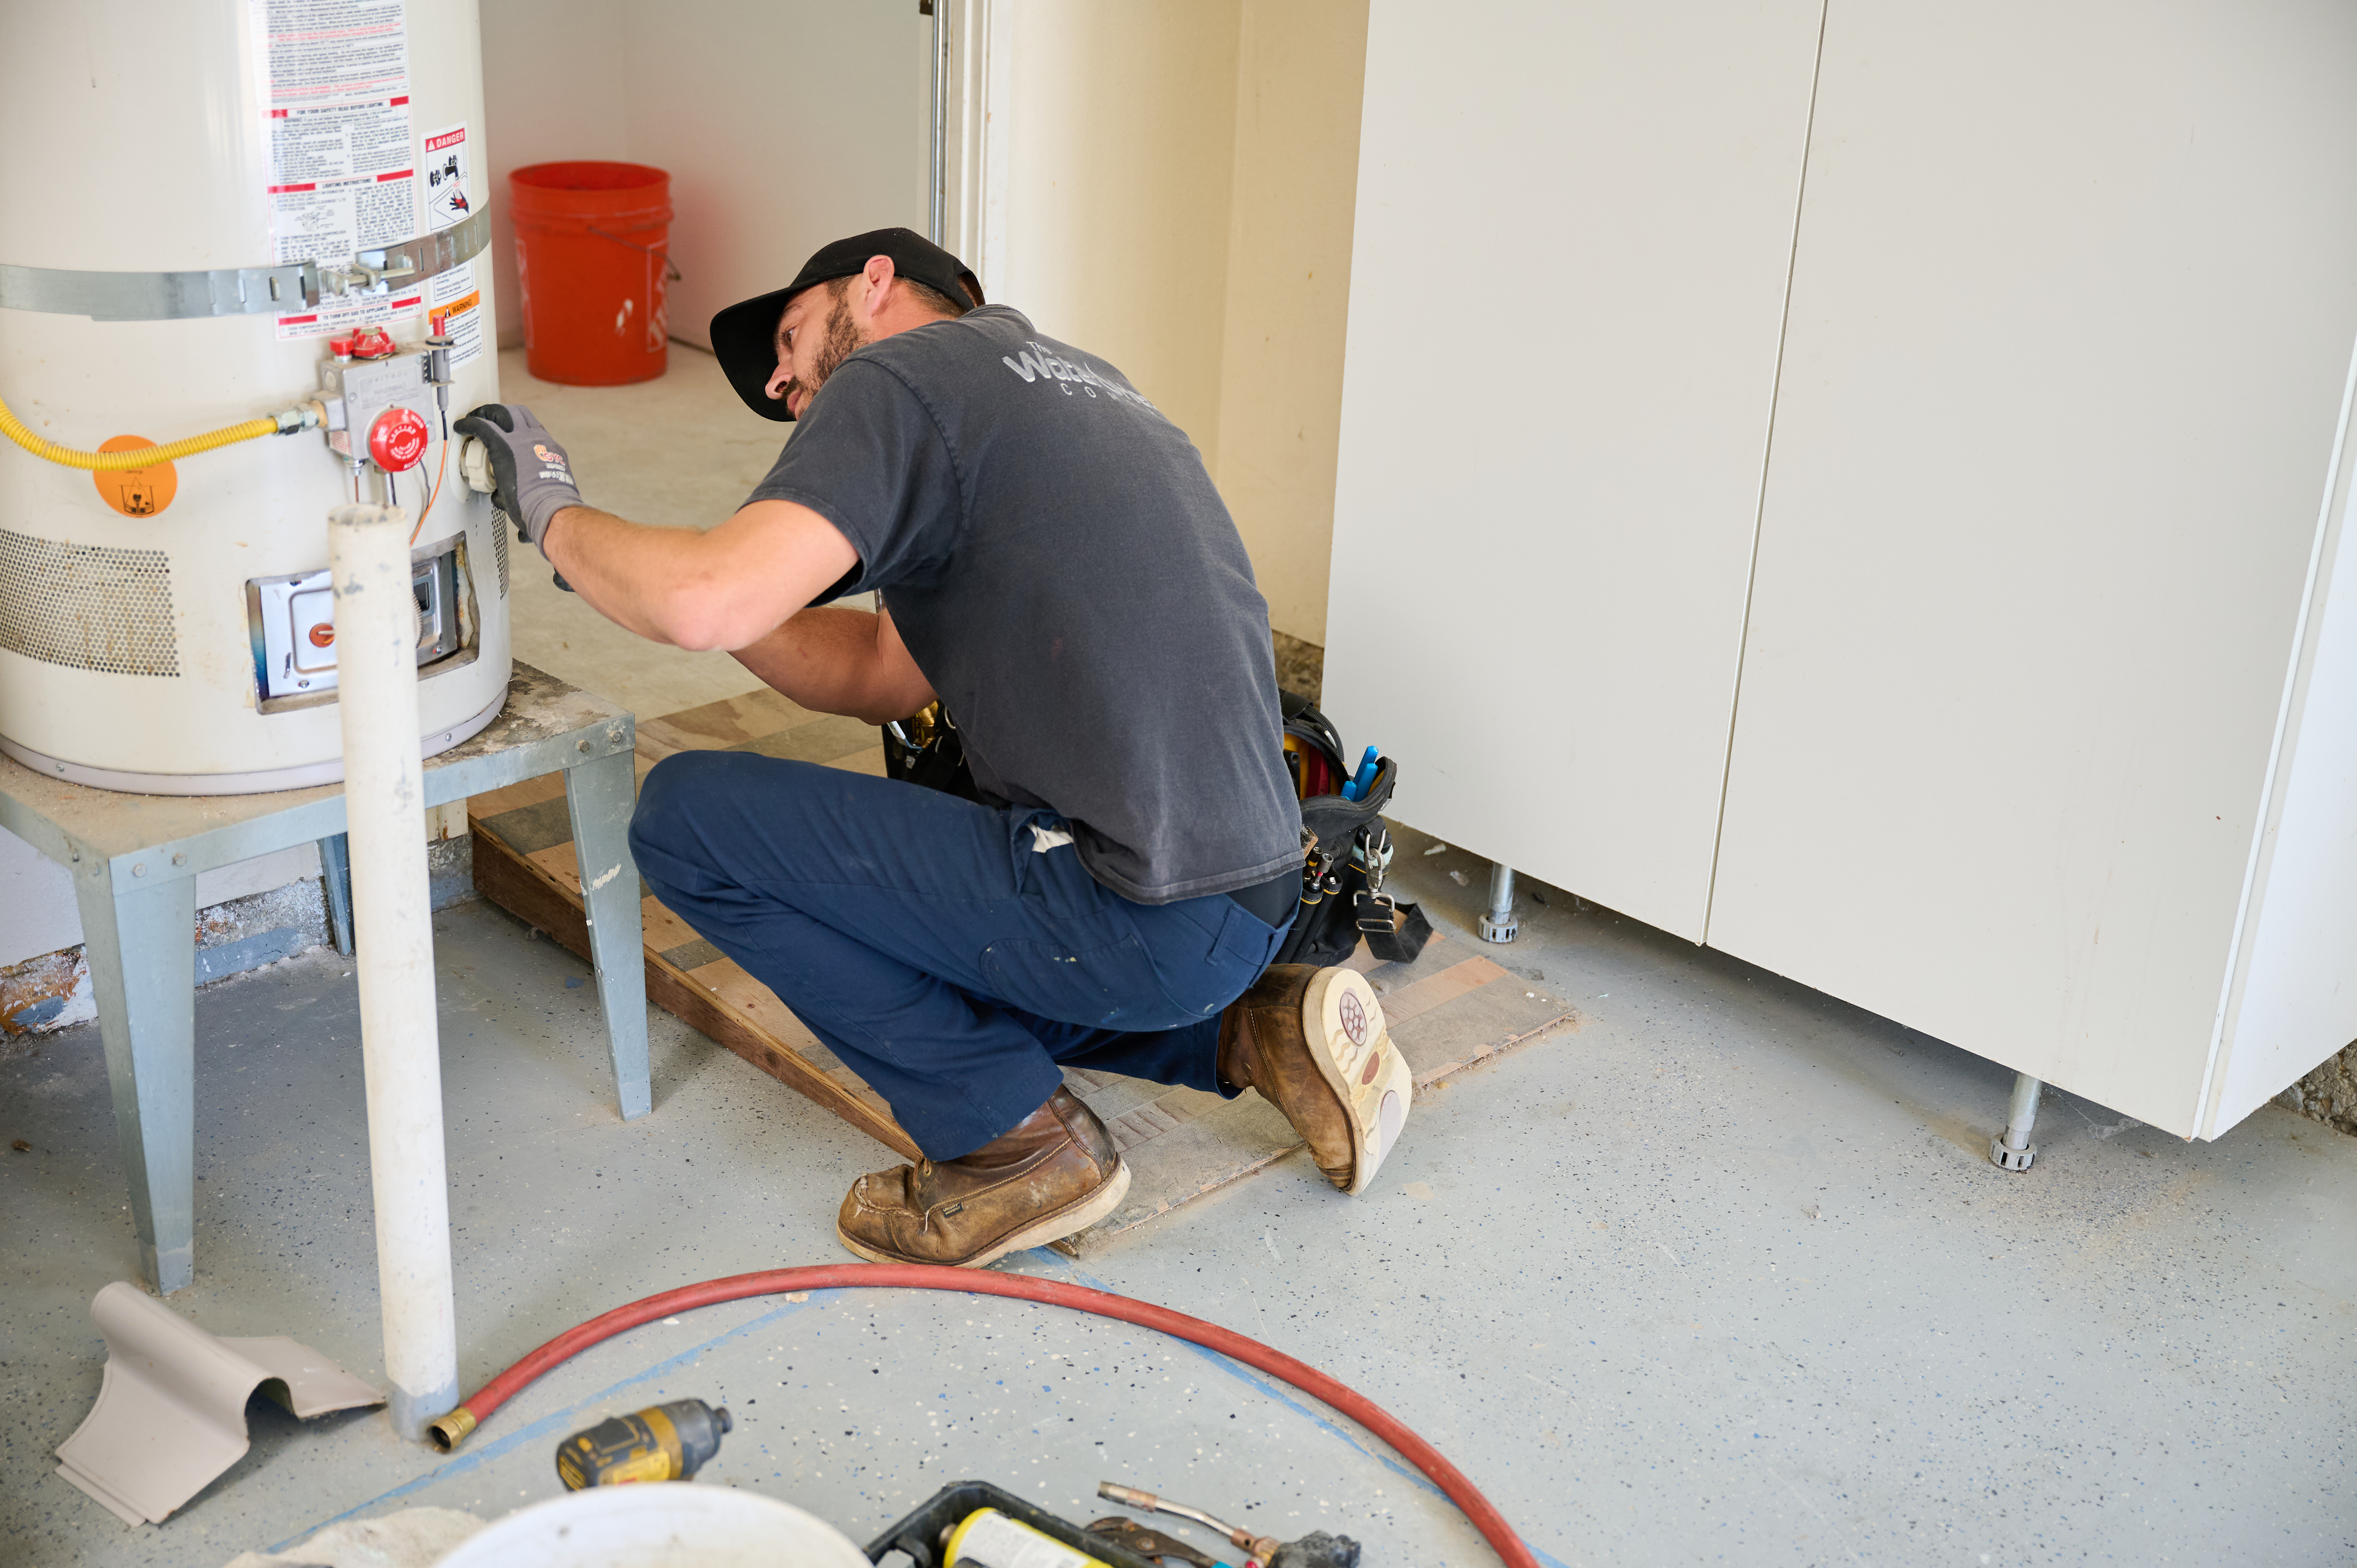
If you’re not getting any hot water while running a bath or washing the dishes, you might have a malfunctioning water heater thermostat. Luckily, you can learn how to test a water heater thermostat with some simple household tools. This guide will walk you through the steps for inspecting the upper and lower thermostat so you can get insight into what’s causing a lack of hot water.
Complex, high-risk projects demand more than typical DIY projects. They require time, specialized tools, and trained expertise to make sure the job is done safely and correctly. We made it easy for you to find a local pro—with our skilled network, you'll get the job done without the stress of doing it yourself or significant safety risks.
Read the manual and research the location and type of thermostats included in the system to familiarize yourself with your water heater's inner workings. Many types of water heaters include more than one thermostat.
As a general rule of thumb, if your system handles more than 30 gallons simultaneously, it likely features two heating elements and two associated thermostats. A heater’s upper thermostat is the primary sensor for the system, with the lower thermostat acting as a backup tied to the remaining heating element.
The type of issue you’re experiencing can dictate which of your two thermostats is failing. The following list covers general guidelines. You should check both thermostats regardless of the underlying problem.
No hot water: If your system isn’t producing any hot water, an upper thermostat issue is a likely culprit.
Some hot water, but not enough: Again, this indicates a problem with the upper thermostat.
Slow hot water recovery: If it takes a while for your faucets to “wake up” and funnel hot water, it’s likely a problem with the lower thermostat.
Excessive heat: If your water is too hot, the thermostat is set or calibrated incorrectly.
High-limit switch issues: If your heater’s red reset button keeps popping out, an upper thermostat malfunction is likely the cause, as the upper thermostat regulates heat.

Your first step is to fully power down the water heater to avoid any risk of electrocution. Water and electrical currents do not exactly mix.
Turn off the water heater using the breaker on your main electrical panel. In most cases, this involves flipping the breaker to the “off” position. Your panel should list which breaker goes to which part of the house or device, so scan the breakers for the one that provides juice to the water heater. Flip this breaker off, and you’re good to go.
Even though you just shut the power off, your safety should be your number one priority. That's why you should double-check the electricity in your home to ensure no voltage is present. You can use a voltage tester or multimeter to check for voltage before proceeding to the next step.
Now that there is no risk of electrocution, start testing the water heater thermostats by making them accessible. Head to the heater's access cover. If you don’t know where to find it, check the instructions for the heating system, which should explain all the parts of your water heater.
Use a flathead screwdriver to remove the access panels for both the upper and lower thermostats. If a layer of insulation covers the thermostats, fold them out of the way and secure them with tape for now.
Using a digital multimeter can be slightly confusing until you get the hang of it. For this process, power the multimeter and use the dial or knob to set it to the absolute lowest setting for ohms of resistance. If needed, check the multimeter’s instructions for how to adjust the ohms setting, as some models require unique adjustment processes.

The upper thermostat has a reset button that goes off when the water in the tank overheats. Give this button a quick inspection to make sure it doesn’t require a reset. Press the reset button if necessary but still go ahead with the remaining steps, as you already opened up the access panel and prepared the multimeter.
Even though you turned off the power at the main breaker, disconnecting the power wires will isolate the thermostat from the rest of the system and give you an accurate reading. Disconnect these wires, but take note of their orientation for when you reconnect them later. Use a screwdriver, if necessary, to unscrew the terminals and release the wires. Perform this step for both the upper and lower thermostats.
Set the upper thermostat temperature to its highest setting or maximum temperature. With your multimeter turned on and set to ohms, place one of the leads on the reset terminal, which is the one next to the reset button. Place the second lead on the left-side terminal where the power wires are. Check the multimeter reading. If the reading is zero, the thermostat is functioning as it should. If the reading is 1, the thermostat lacks continuity and will require replacement.
Set the upper thermostat temperature to its lowest setting or minimum temperature. Repeat the continuity test from the previous step. However, this time, place the second multimeter lead on the right-side terminal. Check the multimeter reading. If the reading is zero, the thermostat is functioning as it should. If the reading is anything other than zero, the thermostat needs replacing.

To test the lower thermostat continuity, turn the thermostat temperature up to its maximum. The lower thermostat only has two terminals. Place one multimeter lead on one terminal and the other on the second terminal. If you get an ohm reading of 0, the lower thermostat is fine. If you get no reading, a 1, or any other reading, the lower thermostat requires replacement.
Once you've noted all the readings, you'll want to compare the data with the temperature information from the upper thermostat. If the upper and lower thermostats show opposite readings, the lower thermostat requires replacement.
Finish things up by returning everything you disassembled to its proper location. This includes reconnecting the wires to the thermostats, placing protective covers on each thermostat, closing up the access panel, and restoring power via the breaker.
A faulty water heater thermostat can cause several inconveniences when using hot water in your home. Fortunately, replacing a faulty thermostat costs far less than replacing your entire water heater, so it's important to identify the root cause of the problem.
With this in mind, here are the signs that your water heater’s thermostat needs replacing:
You have no hot water.
You're running out of hot water quickly.
The water is too hot.
It takes a long time for your water heater to heat the water.
You keep having to reset the high-temperature limit switch.
If you’re experiencing other problems with your water heater, you might want to consider how long water heaters last to see if it’s time to replace the unit. For example, a water heater leaking from the top likely isn’t caused by a faulty thermostat, but it could be a sign that your water heater has old and deteriorating parts.
So, if your water heater’s approaching the 10-year mark or has other problems beyond the thermostat, consider upgrading to a water heater that won’t disappoint you every time you hop in the bathroom for a warm shower.
This is a budget-friendly and efficient project for budding amateurs, but DIYing this test only lets you know if one or both of your thermostats require replacement. Your best bet is to contact a water heater repair contractor near you if you need a replacement. The average cost to repair a water heater is around $590, while water heater replacement costs range from $875 to $1,750 on average.
A pro will also double-check your inspection work and root out any other issues contributing to inefficiency within your water heating system. Don’t replace the thermostat on your own unless you have experience with electrical systems.
From average costs to expert advice, get all the answers you need to get your job done.
Tankless water heater costs in Seattle, WA depend on the size of your water heater, location, fuel type, and more. Keep reading to calculate your expenses.

Learn all the factors that influence the cost to install a heat pump water heater at your home.

A water heater flush costs $160 on average but can vary based on the unit size, type, labor, location, and more. Keep reading to learn how much you could pay.

Knowing water heater installation code requirements can save you from paying fines and putting your household in danger. Here’s what to know.

Use this guide on how to turn off your water heater’s gas supply if you run into an emergency or want to conserve gas while you’re on vacation.
The right water heater wire size keeps your home safe and your water hot. Learn how to choose which size your household needs.