
Running out of hot water too quickly or hearing strange noises when you call for hot water? Use this water heater repair cost guide to see what a fix will cost.
If you’ve found yourself in cold water, your water heater element could be to blame

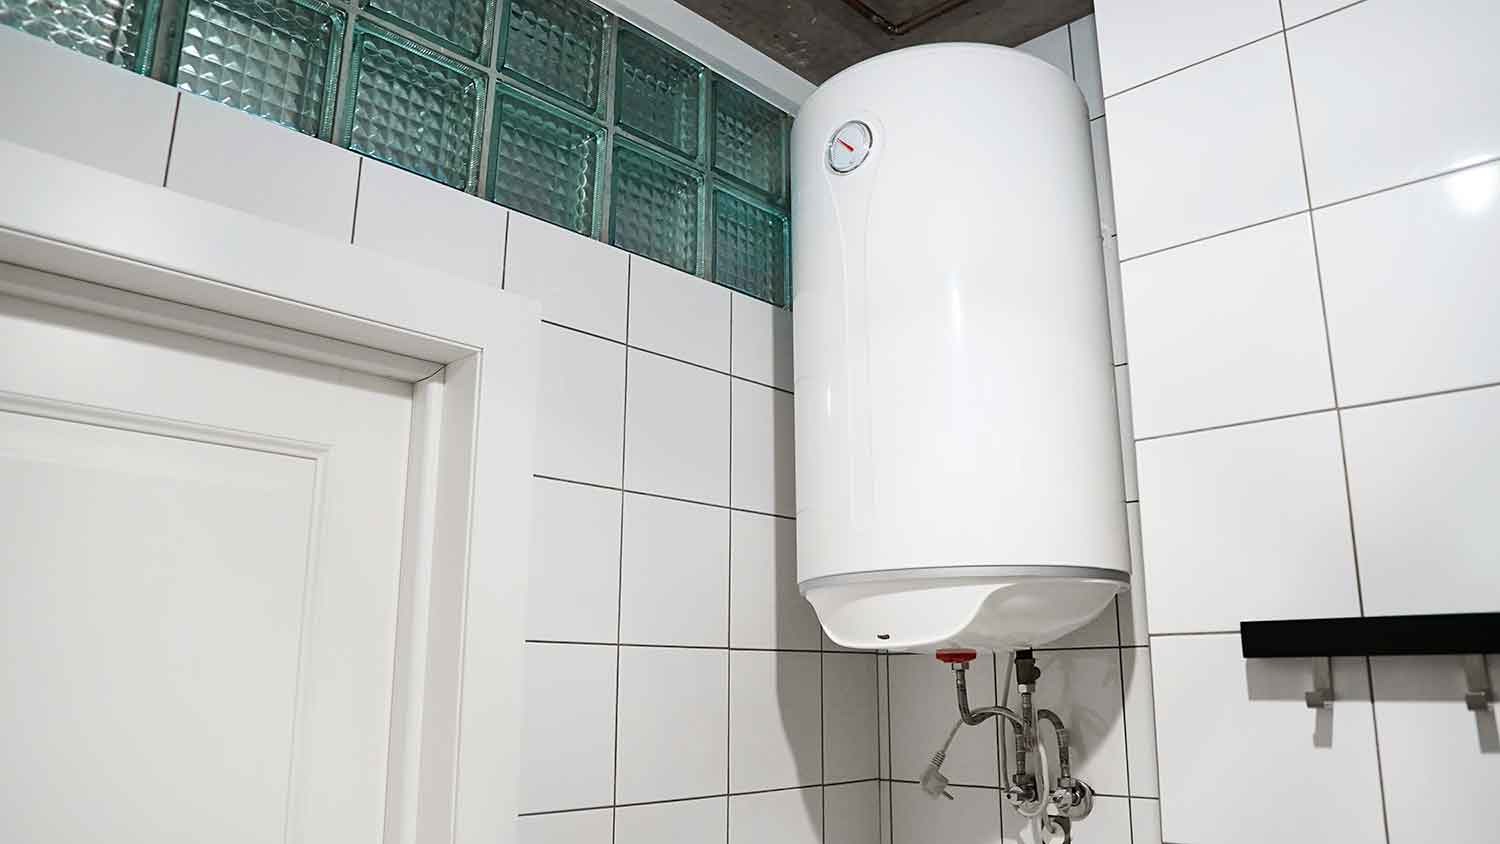
The water heater element is the specific unit that physically heats the water. Visually, they often come with a blue, black, or silver threaded head and can be either a straight rod or a spiral. A water heater element is usually made with stainless steel, copper, or incoloy, but newer models may have ceramic elements. The element is screwed directly into the water heater and submerged underwater to provide heat.
The element is usually connected to a thermostat so it gets triggered when the water temperature drops below a certain level, ensuring sufficient hot water supplies. If it goes out, your water heater will completely lose the capability of heating water up.
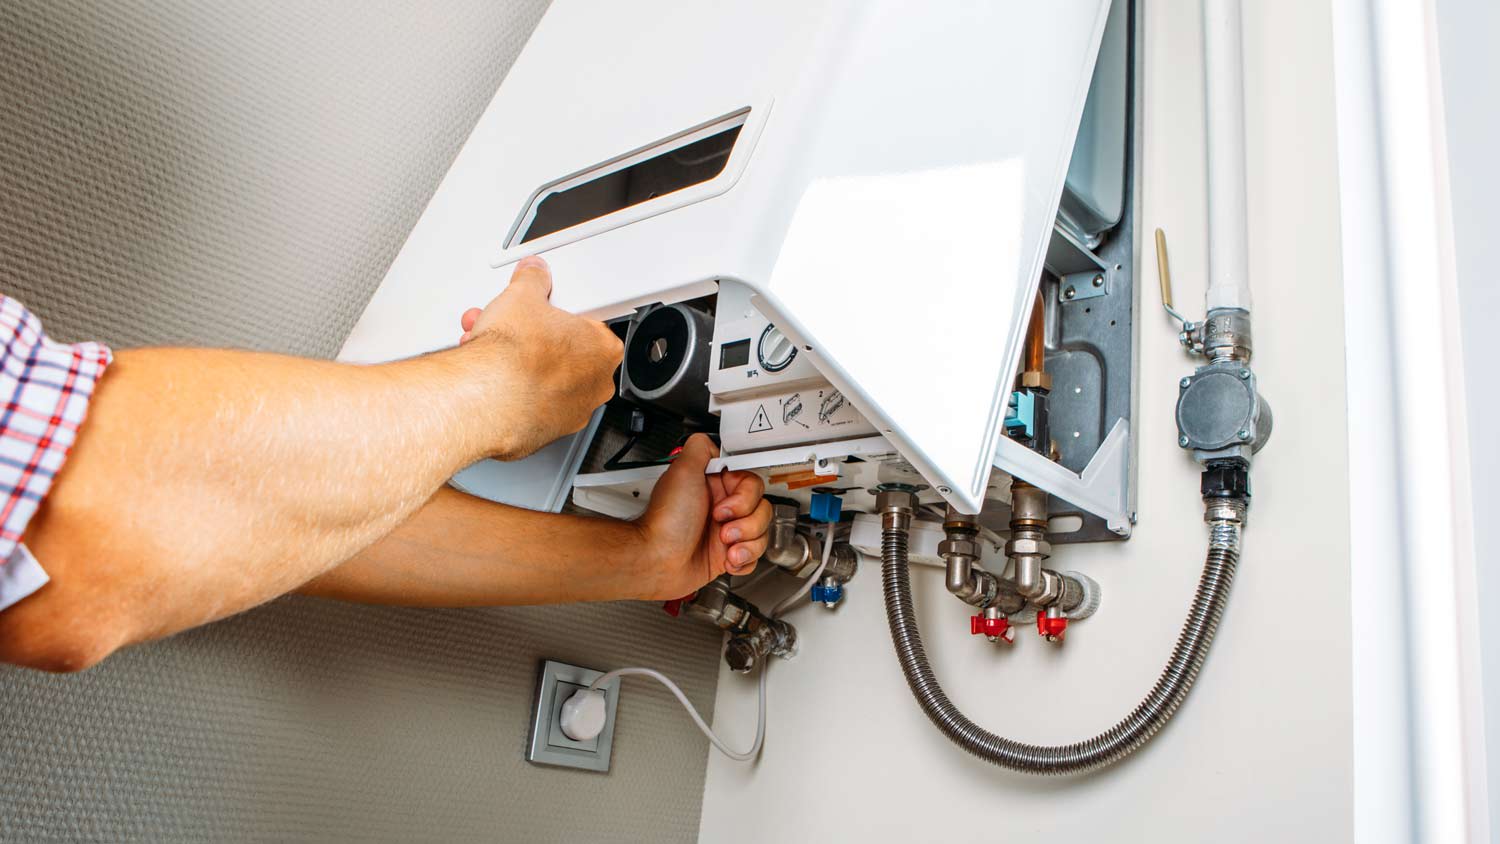
Since element replacement involves mechanical and sometimes electrical work, you should never attempt to replace the element yourself, unless you know exactly what you are doing. Hiring a professional will protect you from potential burns and other hazards while ensuring proper replacement, avoiding further damage to your water heater.
Some DIY repairs are great for saving money and sharpening your skills, but leave larger jobs like water heater repair to the pros. An experienced hand can ensure the task is completed safely and will prevent further damage.

Preparing to replace a water heater element involves buying the new unit, disconnecting the power, and testing with a multimeter. Make sure your new heating element matches your heater’s voltage and wattage requirements. Testing the heating element will ensure that a faulty unit caused your hot water to malfunction. You may also need to test your thermostat if there's a separate issue.
You should turn off the power to your water heater at the circuit breaker and double-check that it’s off using a non-contact circuit tester to test the heating element’s circuit wires. Since the thermostat controls the heating element, you’ll need to wait for the water to cool, or it can affect your test results. Wait one to two hours, and test the hot water from a tap to make sure it’s coming out cold.
Some other things to know:
The heating elements are behind an access panel on the side of your water heater. Remove the access panel and peel back the insulation. You should now have access to the heating element’s screw terminal and circuit wires. The lower heating element needs a replacement because it’s more vulnerable to sediment buildup, so you may want to test that one first.
You can loosen the two terminal screws (or bolts if you have an older water heater) and disconnect the wires. Make sure you always wear protective gear throughout the replacement process. Never touch wires and surrounding metal parts with bare hands.
Connect a multimeter to the terminal screws to get an OHM reading. If the value is zero (for a digital multimeter) or the needle doesn’t move (on an analog device), then the part is faulty. Go ahead with the replacement.

It's important to turn off the power and water supply to your water heater before getting started. You may have already done this if you tested the heating element.

Turn off the cold water supply to your heater. The shut-off valve is typically above the water heater on the cold water pipe. The lever will be perpendicular to your pipe when the water is off and parallel when it’s on. Make sure it’s perpendicular. If you haven't already, allow the water inside the tank to cool completely.
From there, drain your hot water heater. Run a garden hose from the drain spigot to a floor drain or a utility sink. You can run the hose to a safe outdoor area if your water heater is raised above ground. Allow the tank to drain until the water line is below the heating element, or drain the whole tank if you’re replacing the lower element.
One of the pros of a tankless water heater is that it takes just a few seconds to drain the water heater. A tank water heater can take up to 15 minutes.

You may have already opened your access panel. If not, remove the cover and fold open the insulation to expose your water heater element. Once again, use your non-contact circuit tester to make sure the power is off before loosening the screws and disconnecting the black and white circuit wires.

If you have a screw-in water heater element, you can use your socket wrench to remove it. Just turn the element counterclockwise, and make sure to remove the gasket. You’ll need either a 1 1/2-inch socket or the socket that came in your repair kit.
If you have a flange-type heating element, remove the four screws and the gasket before removing the element.

Once again, double-check to ensure your heating element has the proper wattage and voltage. Clean the area—specifically where the gasket connects to the water heater—with a rag. Put the gasket on the heating element, and put the heating element in the tank.
If you have a screw-in element, twist the element clockwise using your socket wrench. If you have a flange-type element, screw in the four screws that hold the element in place. In either case, hand tighten, and be careful not to overtighten. It may be helpful for you to lubricate the gasket with dishwashing liquid or a similar product.

Close the water heater’s drain valve and open the cold water inlet valve—the shut-off valve handle should now be parallel to the pipe. You should also open a nearby hot water faucet. Once the water starts flowing, keep the faucet running for a few minutes to drain out excess air and sediment.

Reconnect the black and white circuit wires by wrapping them clockwise around the screw terminals on the heating element. You can attach either wire to either terminal. Tighten the screws and make sure the wire is fully secure before folding the insulation down and screwing the cover plate back in place over the access panel.

Go to your circuit breaker, and turn on the power to your water heater. Wait several hours for the water to heat in the tank. Run a faucet to test the water temperature. If necessary, adjust the thermostat.
If your hot water heater is making an unusual noise, you notice leaks, or you still aren’t getting sufficient hot water, call in a professional to see what the issue is.
For this project, you’ll be dealing with an appliance that uses electricity and water, which, as you know, don’t play well together. While the process laid out above seems simple, any mistakes you make could be extremely dangerous, not only to your appliance and your home but also to you.
This project requires knowledge of electrical work. Because these wires carry a high voltage, it can be dangerous if you don’t understand circuits or electrical testing. Unless you’re experienced, hiring a water heater installation service near you is best.
If you hire a pro, this type of water heater repair costs an average of $200 to $300. The part itself costs $10 to $60, but the price you’ll pay for a plumber to do the work is usually worth the peace of mind a professional provides. Plus, they can assess if the issue is with your water heater size or another component.
As usual with ECO, tech Jordan was outstanding, very professional, very knowledgeable, and very thorough with repairs made to tankless water heaters. Very highly recommend ECO!!!
 Eco Plumbers, Electricians, and HVAC Technicians
Did a great job replacing the ice maker and water regulator on my refrigerator. He was quick and thorough, very friendly and professional. If I needed a heart transplant I'd want him to do it!!!
We had a gutter blockage that was causing water to sheet down the side of the house and ultimately it started to come in at a window (need mortar people next). Called around 7:30am, and he responded by 8am. He was able to come out the same morning and do a look over and clean out. He also...
Scott checked our large crawl space for mold and water infiltration and recommended a viable solution. The crew was efficient and they cleaned up well after the job. The job was expensive but I am confident that I won't have to deal with the problem again. Highly recommend.
They were the most through inspecting the water system in my house. Even going the extra mile to get the water professionally tested for contamination.
Very well. Have already used them again to fix hot water heater
 Service Olympians
The Paul Davis team was very professional and went the extra mile to take care of my water damage. The work was very high quality and done in a timely manner. I would highly recommend their services.
 Paul Davis Restoration
Honesty is hard to find in business today. GBR met me today at a 3 story building regarding my being told that I needed to tuckpoint the brick because of water leaks. The owners took the time to evaluate the situation and advised me that I did not need their service at all. They pointed me...
 GBR Masonry Inc
They unclogged the drain and sent me a bill for more than 4 times what I paid before. I called the Water Works to ask why the bill was so high and that they should have gotten my authorization before assuming they could make expensive decisions like that on my behalf and for their benefit....
 The Waterworks
We had two outdoor fixtures swapped for motion sensing fixtures and a GFCI outlet added to the outside of the garage for the bird bath heater. <br /> He arrived at the agreed upon time and I was surprised and impressed at how quickly everything was completed. <br /> I would definitely...
 Powers Electric LLC
From average costs to expert advice, get all the answers you need to get your job done.
Running out of hot water too quickly or hearing strange noises when you call for hot water? Use this water heater repair cost guide to see what a fix will cost.
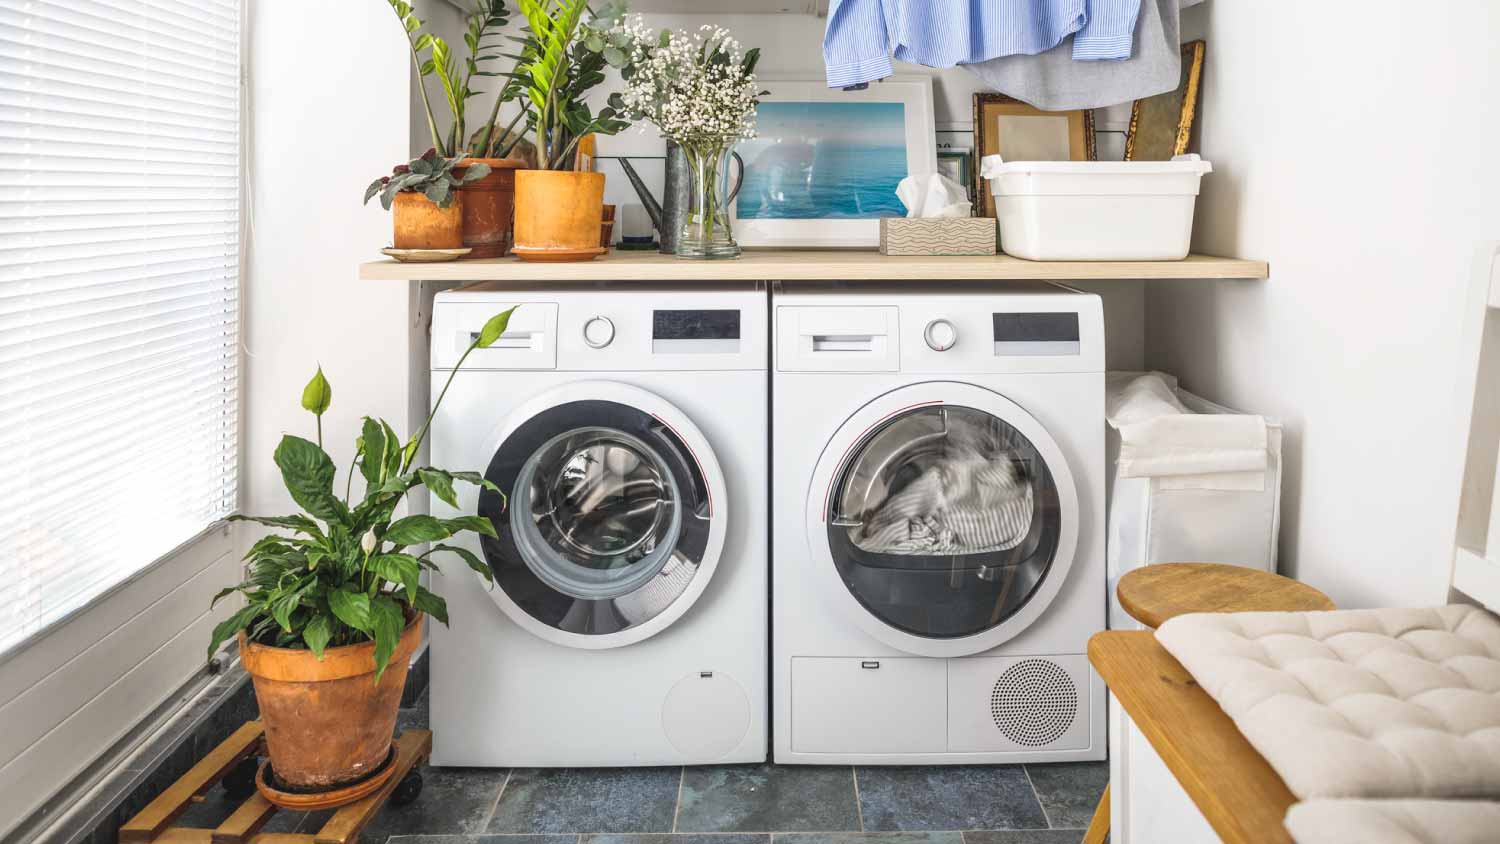
Depending on repair needs and machine age and type, the cost to replace a heating element in a dryer can vary. Learn the average repair costs.

Looking to replace or upgrade your water heater? Use this water heater replacement cost guide to see what the work will cost and what factors affect your total.
What are some signs you need a new water heater? Get a look at the common signs your water heater needs to be replaced because damage is beyond repair.
The average lifespan of water heaters is 6 to 15 years for conventional models and up to 20 for tankless ones, but it can be less if they are not properly maintained.
If your water heater is getting warm but not hot, a faulty thermostat, sediment, or more could be to blame. Learn how to spot and solve the problem of a water heater that’s not hot enough.