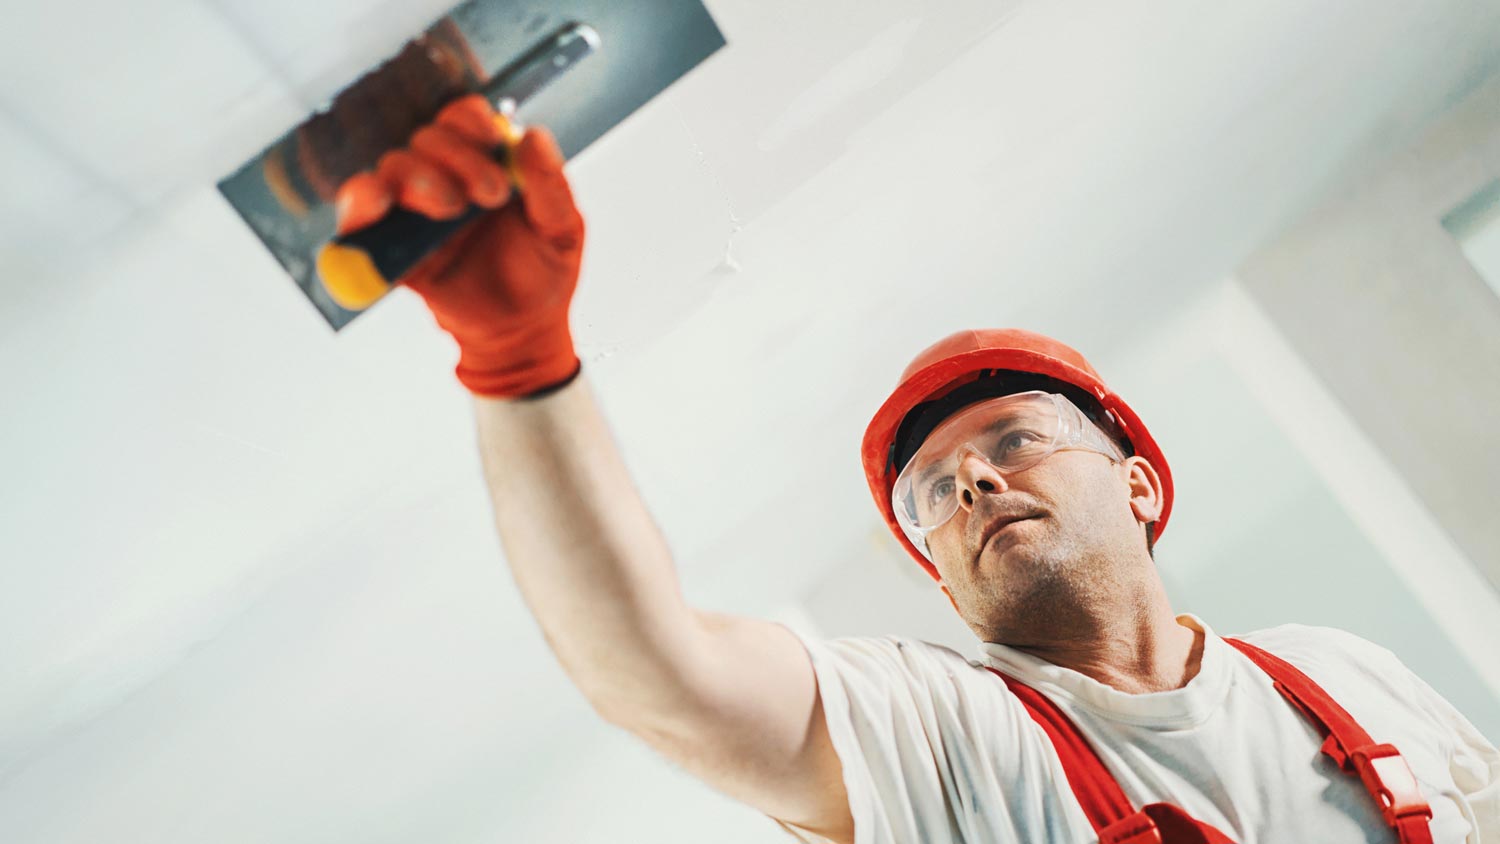
Skim coating drywall is a great alternative to replacement, and is often more affordable. Use this guide to estimate the cost to skim coat walls in your home.
A little bit of elbow grease and some common household tools will get the job done in no time


Drywall anchors are handy for all sorts of projects, like safely mounting shelves, TVs, art, and the like. But they can also be a nuisance when it comes time to repaint your walls for a move or simply redecorate. Luckily, learning how to remove drywall anchors is easy to do and doesn’t require any out-of-the-ordinary tools. With a bit of time and some drywall putty for patching up any small holes left behind, your walls will be ready for whatever comes next.
Start by gathering all your tools and protecting your surroundings from any debris. Remove any objects that could get in your way while working, and cover the floor below with a drop cloth for quick and easy cleanup.
Next, clear the wall of any obstacles like art or shelves. Find out how to remove wallpaper if you know that’s another task you’ll need to do beforehand. You’ll need to remove any screws that are still in place before worrying about the anchors. You can use either a handheld screwdriver or a drill with a screwdriver fitting to do this. Dust them off and set them aside for a later project if they’re still in good shape.
Once you’ve taken care of all that, you’re ready to conquer the drywall anchors. Use one of the following methods to get them out ASAP.

Place either a handheld screwdriver or a drill with a screwdriver bit into the drywall anchor. If you’ve chosen the first option, rotate the screwdriver to the left while gently tugging backward to loosen and pull out the anchor. Once it’s far enough removed from the wall, you can unscrew the rest by hand.
If you’re opting for the drill, be sure to set it to reverse to avoid accidentally drilling further into your wall. Place the bit into the anchor and activate the drill to pull outward. If the anchor is still firmly in place despite these efforts, consider one of the more intensive methods below.
Sandwich the accessible anchor edge between the two tips of a set of needle-nose pliers. Gently push and pull the edge back and forth until it becomes noticeably looser. You may need to repeat this motion for a few minutes to free the anchor enough to pull it out. Move on to a different technique if it still doesn’t budge from this trick.
Use a utility knife, box cutter, or cutting wheel bit for your drill to cut away at the head of the anchor. Once it’s fully removed and flat with the wall, place a screwdriver or nail into the opening. Next, tap the screwdriver or nail with a hammer to push the anchor into the gap behind the wall. If it turns out that there’s not enough space behind the wall and the anchor is still sticking out, try the last trick for guaranteed success.
Save this method for last because it will create a larger hole in your drywall than the others. Use a utility knife or box cutter to score a small square around the drywall anchor. Next, place a screwdriver in the anchor opening and tap with a hammer until it’s fully sunk into the drywall. From there, you’ll need to patch up the remaining hole before moving on to other projects.

Even the smallest holes in drywall are worth patching up because they can become worse over time if neglected—and incur hefty drywall repair costs as a result. Wipe the area with a microfiber cloth to remove any leftover dust or debris. Apply drywall putty and use a drywall spatula to smooth and even out the rest of the wall. Let dry until fully cured (up to 24 hours), then smooth out further with medium-grit sandpaper. If you’ve made a hole bigger than you feel comfortable dealing with, a local drywall repair service can help you out.
For a job this small, you’re better off doing it yourself than hiring a pro. In most cases, a drywall professional near you won’t perform such a task unless it’s one part of a larger project or an add-on to something else entirely—like a freebie on top of the cost of popcorn ceiling removal.
Good thing the cost to go the DIY route is so low! If you don’t already have a drill or tools like a hammer or screwdriver, you’ll end up paying a max one-time fee ranging from $100 to $300. It’s worth investing in such tools because they’ll help you save a lot on future DIY projects and repairs in the long run.
From average costs to expert advice, get all the answers you need to get your job done.

Skim coating drywall is a great alternative to replacement, and is often more affordable. Use this guide to estimate the cost to skim coat walls in your home.

Whether you’re trying to keep noise in or out, soundproofing materials are the way to go. Use this guide to see how much it costs to soundproof a room.

The cost to replace plaster with drywall can quickly add up. This guide will help you budget for this project and decide if it's worth the effort and cost.

With a drywall repair kit, you can fix small holes in an hour or so. Ready to get started? Here’s how to patch a hole in drywall in 10 easy steps.

How hard is it to hang drywall? It’s certainly not easy and there are potential pitfalls if you plan on going the DIY route. Read this guide for helpful tips.

Skim coating helps smooth out drywall before you apply paint. Learn how to skim coat a wall in eight steps with this guide.