Find out how much it costs to install crown molding by type and size. Use our expert guide to figure out how much crown molding you need, how much crown molding costs near you, and whether you need to hire a pro.
A simple way to give your room a regal feel

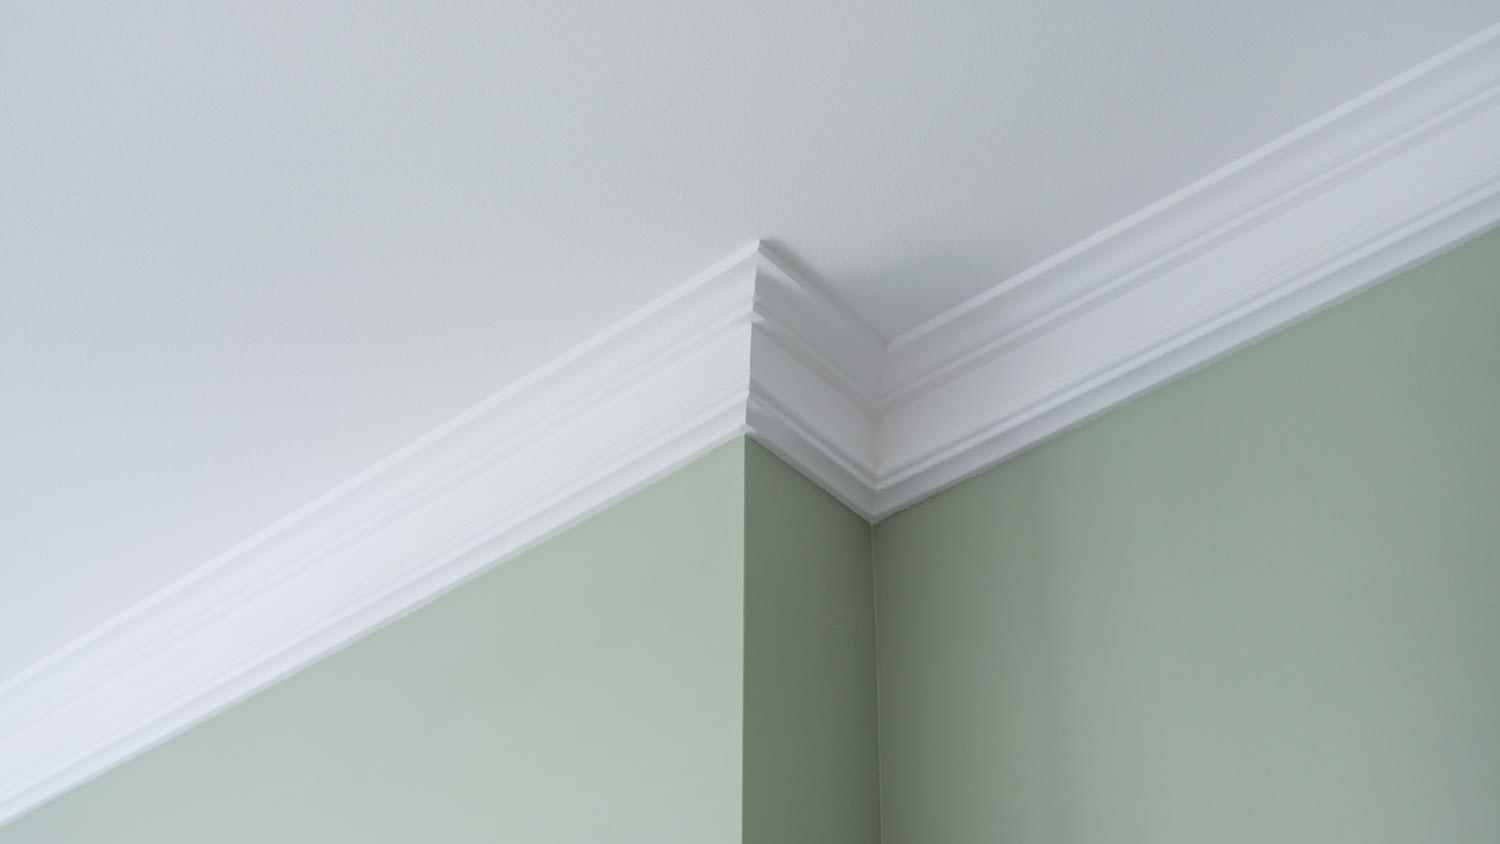
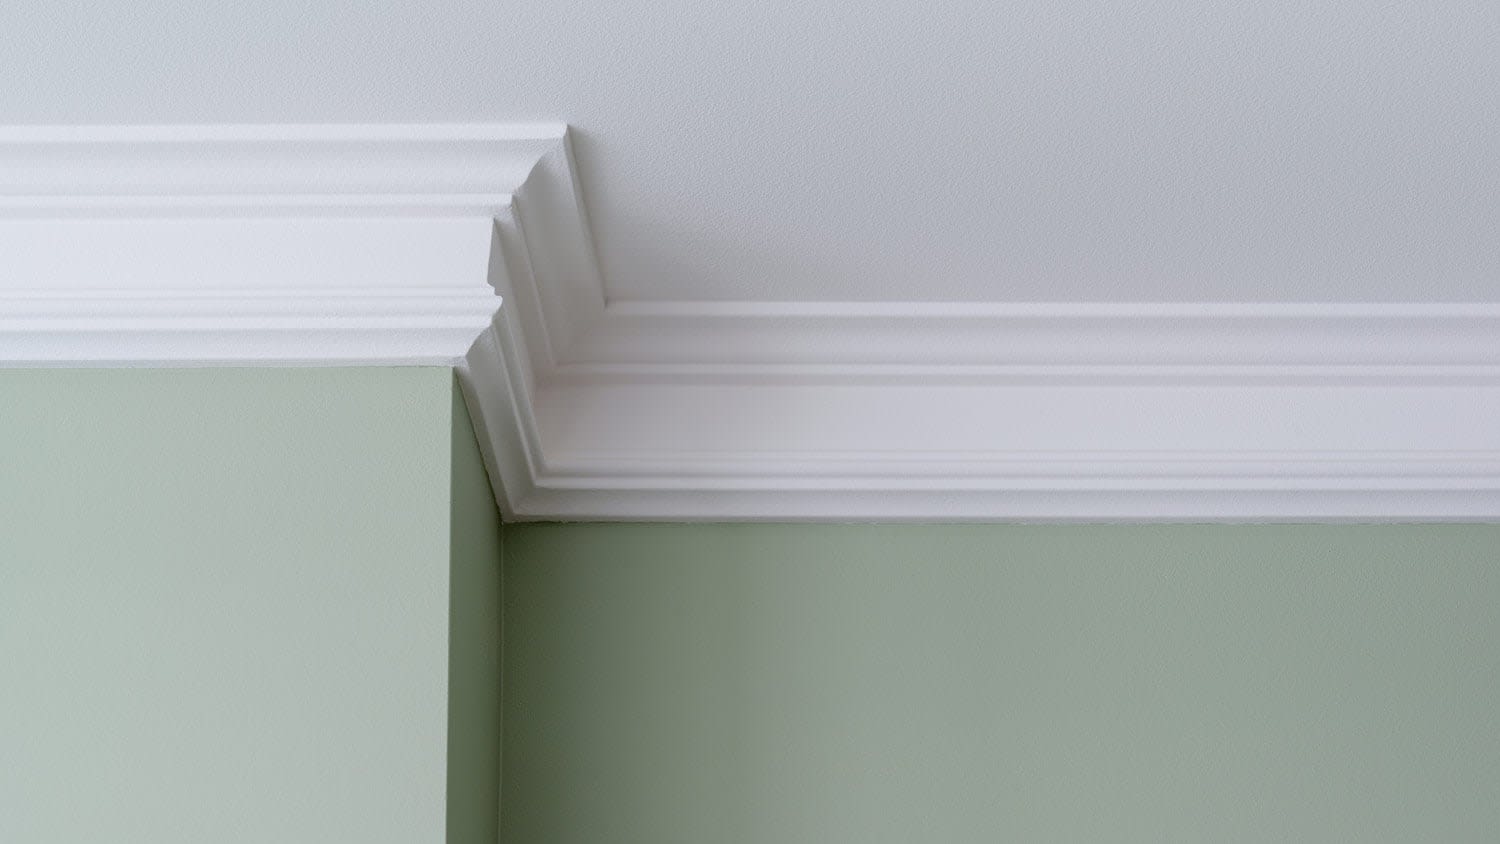
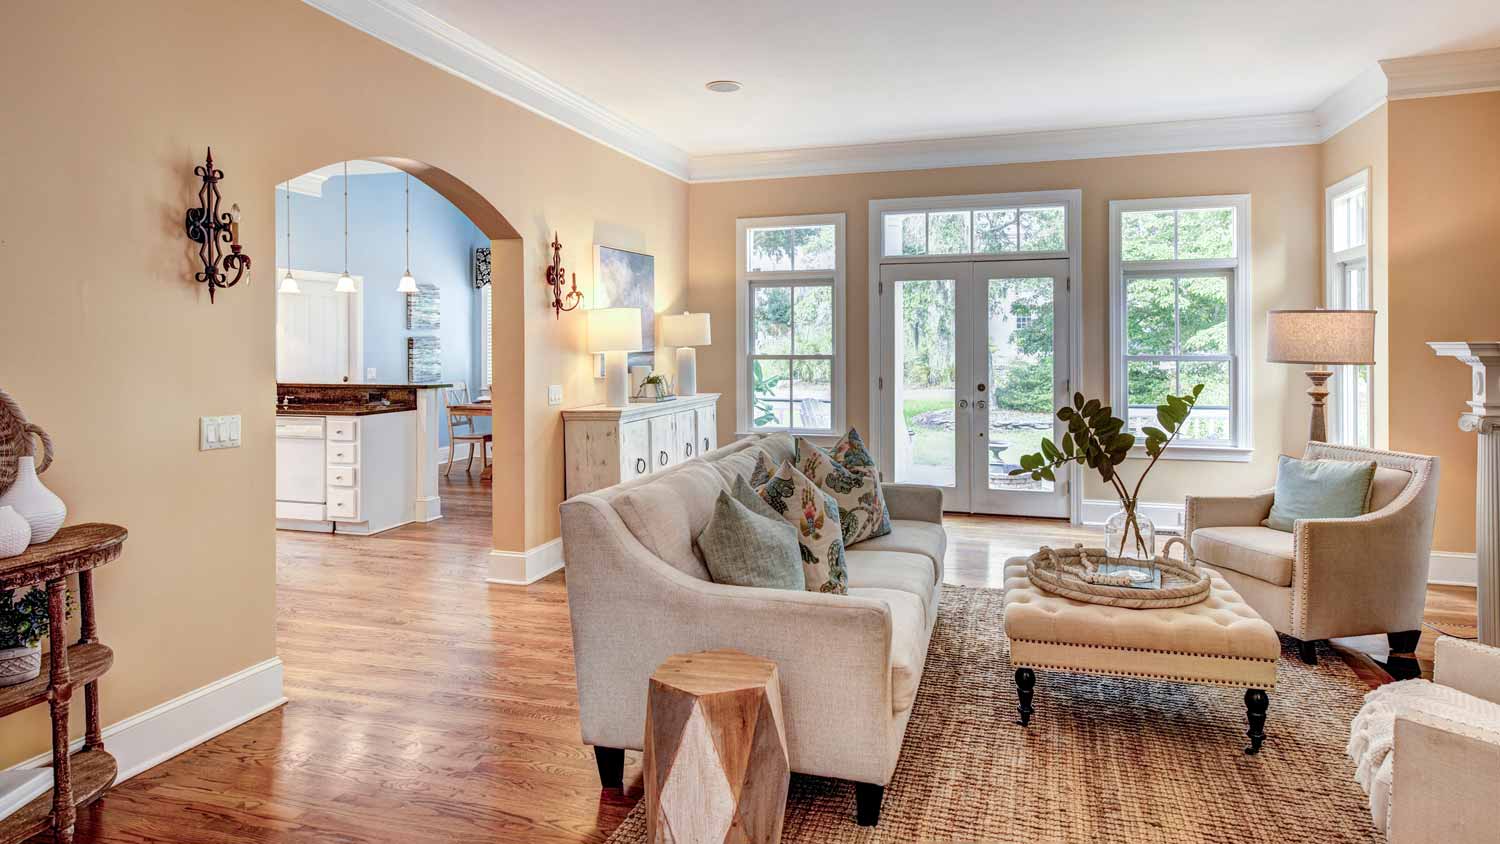
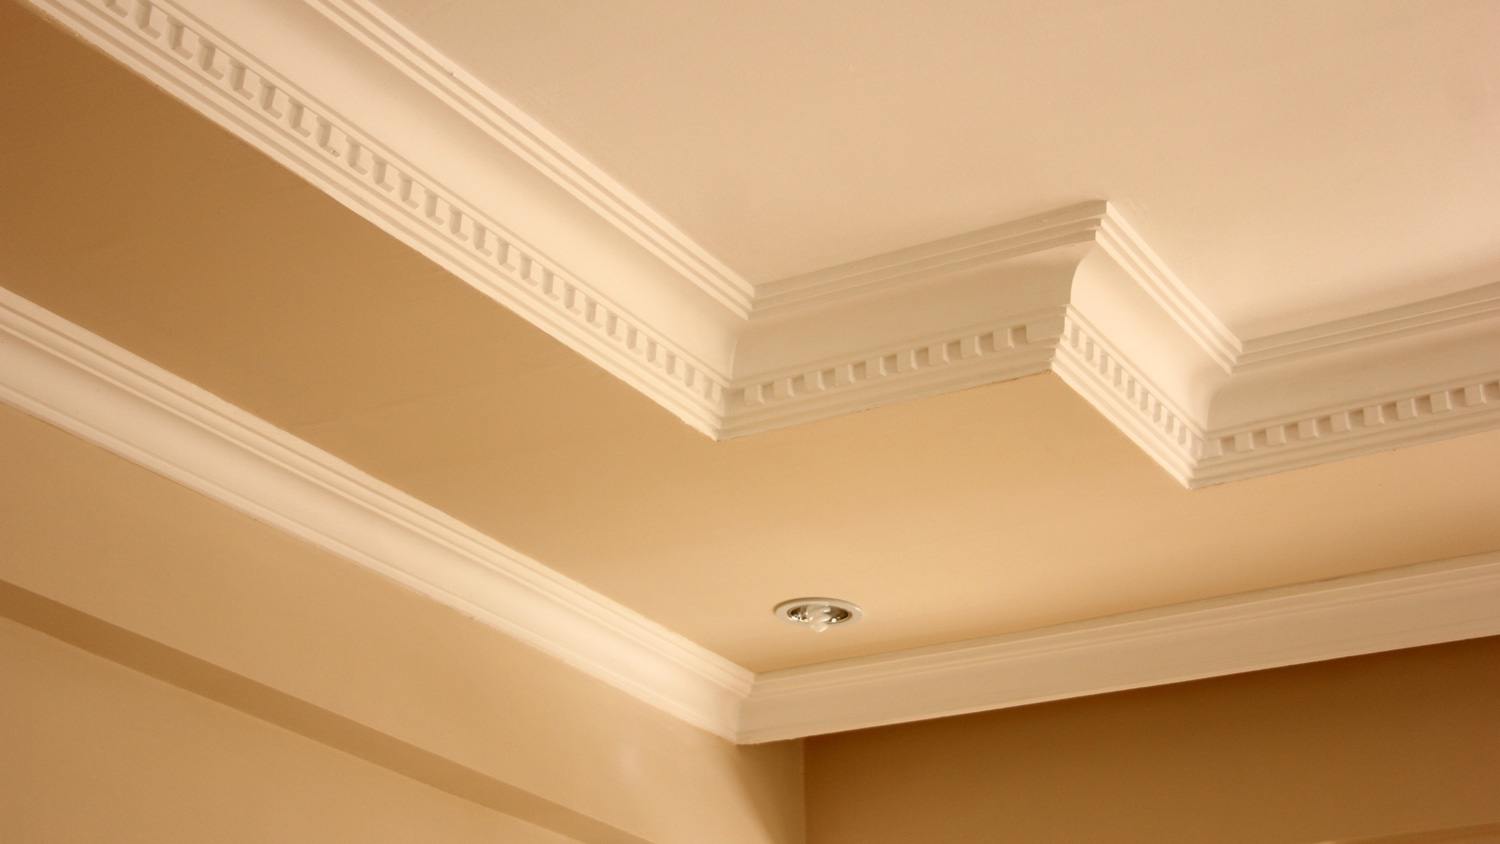
Elevate your interior’s aesthetic by installing crown molding where the wall and ceiling meet in the room. This type of trim adds elegance and a polished finish. While cutting the crown molding requires more carpentry skill and attention to detail, installing the cut boards is a straightforward project. Use this guide to learn how to install crown molding and give your room that wow factor.

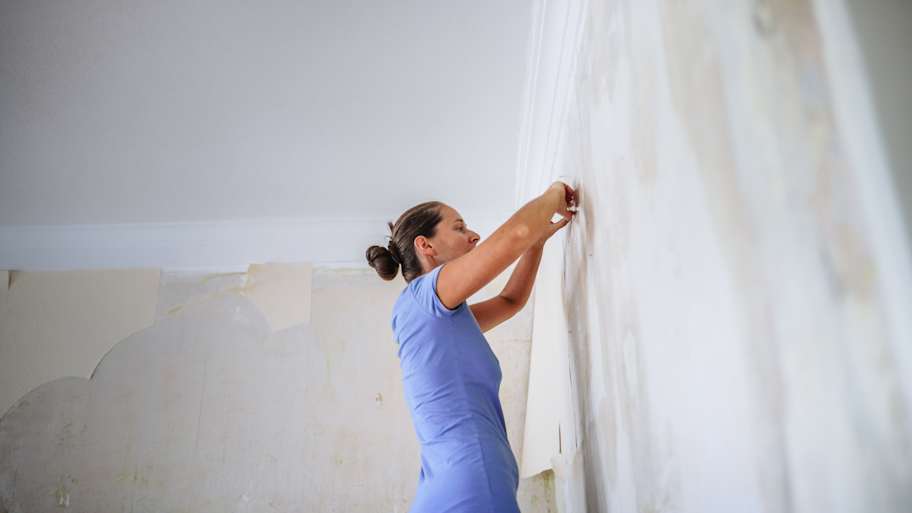
Before you start tackling this project, move all the furniture to the center of the room so you have space to work and can avoid damage to any items. Next, remove any old crown molding boards using a pry bar with a scrap piece of wood behind it to protect the wall from damage.
After the old crown molding is removed, bring the new boards inside for at least 24 to 48 hours so they can acclimate to their new environment. And lastly, dust the ceiling to remove any cobwebs or debris.

Using a tape measure, measure the walls from corner to corner to determine how much molding to buy. Remember to purchase an additional 10% of materials to allow for waste and potential inaccuracies when cutting.
When measuring the wall, start from where the bottom edge of the crown molding will sit. For example, start 3 inches below the ceiling for trim that is 3 inches wide.
Measure and mark the studs with painter’s tape using a stud finder.
Transfer these measurements to the boards, marking the bottom of the crown molding with a pencil. Be sure to show the angle where the boards meet in the corner for accuracy when cutting.
Pro tip: It’s helpful to make a sketch of the room to serve as a blueprint to show the measurements of each wall, alcove, and bump out. This will help you better visualize the room when you’re looking for materials at the home improvement store.

Using your measurements as a guide, it’s time to cut the crown molding. There are different techniques you can use when cutting the boards, depending on the layout of the room. For a more in-depth description of this step, you can refer to our guide on how to cut crown molding, but here are some of the basics:
Scarf Joint: A scarf joint is used when one piece of crown molding is shorter than the length of the wall to connect to a new piece. The pieces are cut at opposing 45-degree angles so they overlap, creating a seamless transition.
Inside Corner Cut: For 90-degree corners and alcoves in the room, make an inside corner cut. For this type of cut, the left side will angle up to the left and the right side angles up to the right so that the top edge of the board is longer than the bottom edge. Set your miter saw to a 45-degree angle and flip the board upside down. Swivel the saw to match the direction and angle of the mark and cut the board.
Outside Corner Cut: If you have any bump outs in the room, you will make an outside corner cut. An outside corner cut is the opposite of an inside corner cut, as the left side will angle to the right and the right side will angle to the left, so the bottom edge is shorter than the top edge. Turn the board upside down and set the miter saw at a 45-degree angle in line with your pencil mark to make the cut.
Coped Joint: When cutting inside joints, curved shapes, intricacies in the molding, and imperfections in the ceiling and wall can cause the trim to not align properly. In this instance, you can create a coped joint, so the boards fit flush against one another. Remember, this technique requires more carpentry skill and a specific coping saw.

Depending on the boards you buy, they may need to be painted or stained, and it’s best to do this step after cutting but before nailing them into the wall. For example, MDF often comes pre-primed, but you may want to add another coat of paint to fill in any bare spots, paint a color other than white, or add a glossy finish to the board.
If you purchased bare wood boards, you may choose to stain or paint over them before installing them. You can either paint them using an angled paintbrush or a paint gun, depending on your preference.
Painting the boards with a paint sprayer
For the experienced DIYer, a paint sprayer can be used to complete this step more quickly, making this a good choice when working with a large amount of material. It also works well for boards that have intricate details since it helps the paint cover even the smallest of crevices that a brush may not reach.
In a well-ventilated room, wearing the proper protective equipment (such as a respirator), lay the boards out and fill the spray gun’s reservoir. Evenly apply the paint in the same direction, wiping away any drips or splatters from the boards with a spare paintbrush. Allow the boards to completely dry, then apply a second coat.
Painting the boards with an angled paintbrush
An angled paintbrush works well for beginners since getting an even coat with a sprayer can be a challenge. Dip a high-quality brush into the paint can and wipe off the excess paint on the edge. Apply the paint in an even coat along the board, working with the grain of the wood. Allow the paint to fully dry, then apply a second coat.
Before you start attaching the pieces to the wall, you should double-check the fit. In addition to testing the right length of each piece up against the wall, make sure each of the pieces fits together properly. If they don’t fit and you need to remove wood from the back of the piece, you can use a sanding drum and drill. If the piece is too long, use the miter saw to cut the square-cut end.

Once you have cut each piece and the paint has fully dried, you can attach the crown molding to the wall. Start with the inside corner of the long wall in the room. Using the stud marks on the wall for reference, hold the piece in place with the corner and nail into the wall using your brad nailer and 2 ½ inch finishing nails. Continue in the same direction throughout the room, attaching the pieces to the wall so they fit snugly with the preceding board.
Pro tip: It is recommended to use a nail gun for this step, but if you don’t have one, you can hammer the boards into the wall (however, you will need to pre-drill the holes to avoid splitting the boards).

Fill in the nail holes with a paintable caulk.
Use a caulk gun to seal the top and bottom edge of the molding, fill in any gaps in the corners or scarf joints, and fill in nail holes. Wipe away excess caulk with a rag or your fingertip for a smooth finish.
Inspect the boards and apply touchup paint over nail holes or fill in any visible bare spots.
While installing crown molding is certainly a doable project for an intermediate DIYer, it can be a time-consuming task—especially if you’re adding molding to a large room or several rooms in the house. The biggest obstacle homeowners run into is cutting the pieces to the correct size. It’s best to cut each piece slightly longer and then shave them down until you have a perfect fit. But doing so will add extra time to the project.
In terms of cost, if you already have a miter saw and nail gun, you’ll just need to factor in the price of materials. If you choose a local crown molding company, prices can range from $610 to $2,110, with an average cost of $1,292. If you’re looking for a specific style of molding, want a custom finish, or need to repair molding in a historic home, relying on a pro is probably the best choice.
Excellent, Prompt, Courteous Service!!! They were super friendly and quite personable. I felt very comfortable with the gentlemen that did the installation. They installed it exactly where I asked them to and they did an excellent job!! I loved their service so much.
Ace Fireplace Services' chimney sweep service is truly exceptional. They used advanced technology to ensure a thorough cleaning process, and my chimney has never looked better. I highly recommend their services.
 Ace Fireplace Services
Binion and Alex did such a good job. Fast, fair, efficient. Would def use them again. Best experience Iâ ve had in moving - someone should give them a raise. Will undoubtedly recommend this service.
Great customer service. The owner Ilia was wonderful to work with. Would definitely recommend this company.
I definitely recommend Ramonaâ s cleaning service! I have booked services with her many times and she arrives on time, ready to work and provides a great service.
Excellent experience! Left my place looking great. Friendly customer service too. Would recommend!
The service was excellent! They gave me a quote, and had it done 4 days later. My driveway looks amazing, very professional! I would definitely recommend their service to anyone. I have had neighbors stop by and ask for their information as well.
 All Star Paving and Sealing
Webb â s was priced well, flexible on scheduling, great with communication, and detailed in their work. Iâ ll definitely use their services again.
They’ve been great to work with. All of my clients that have used them have nothing but good things to say about the experience. Quick responses and fast service. They’re a trustworthy team!
 Total Home Roofing
Mary cleaning service does an amazing job cleaning my home. They go over and beyond the cleaning services that I have had in the past. They are very punctual and thorough with cleaning my home, I’m extremely happy with the service they provide and I highly recommend them.
From average costs to expert advice, get all the answers you need to get your job done.
Find out how much it costs to install crown molding by type and size. Use our expert guide to figure out how much crown molding you need, how much crown molding costs near you, and whether you need to hire a pro.
Installing foam crown molding is a cost-effective way to elevate your home. Costs can be kept low by matching molding to existing wall colors and doing some DIY work.
Discover how much it costs to remove crown molding based on factors like its size, location in your home, material, and more.
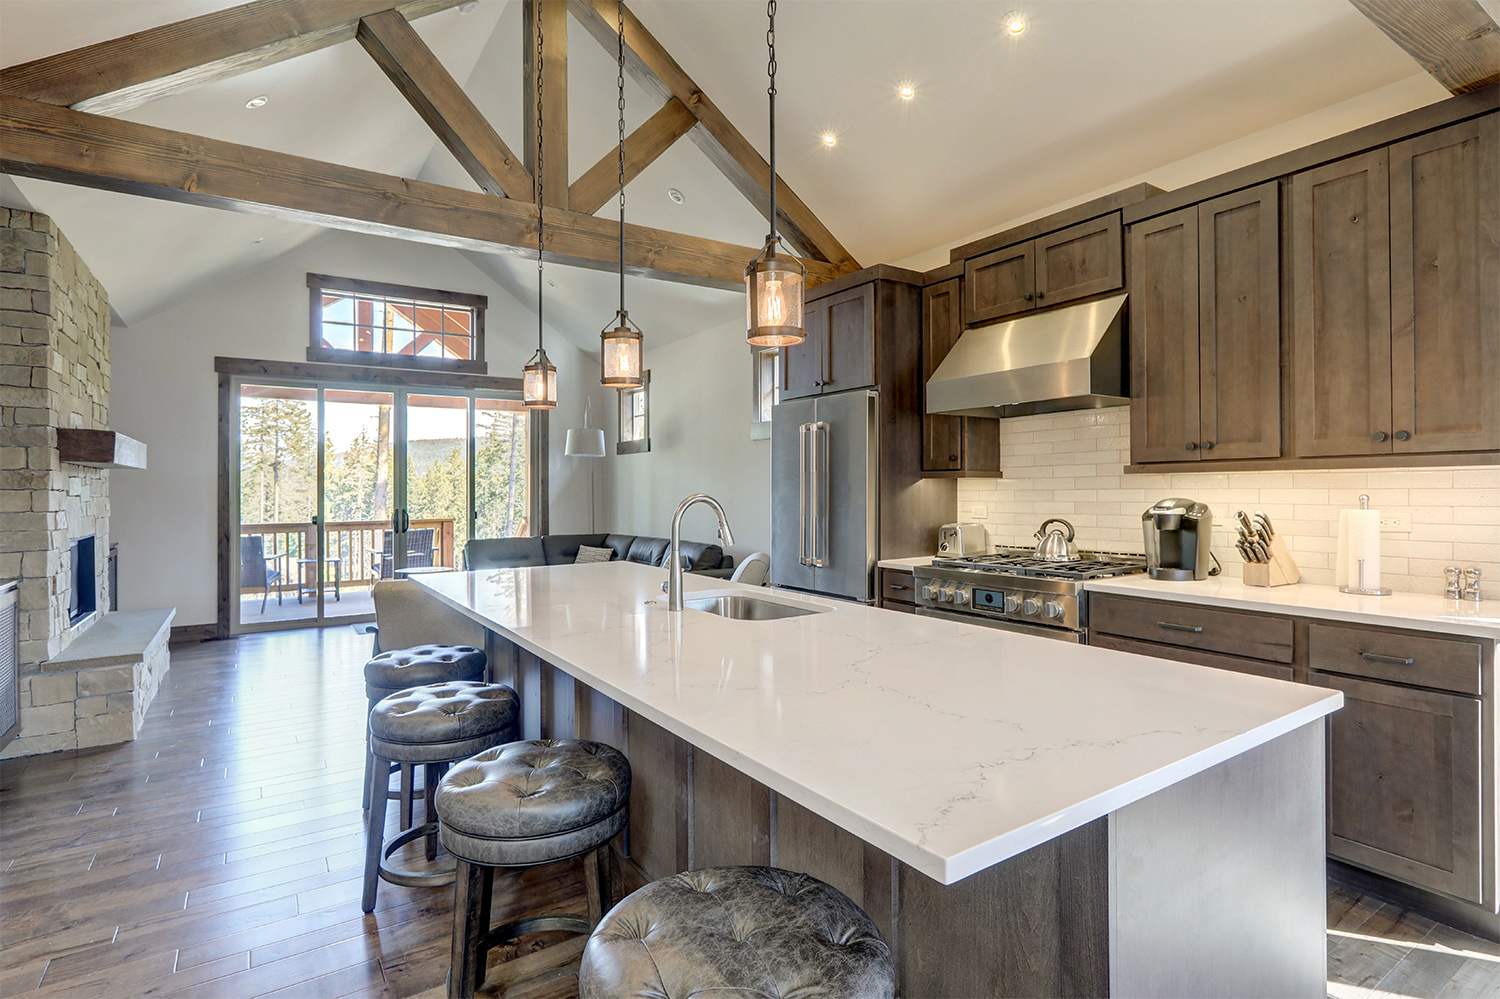
Crown molding is a decorative element that seamlessly ties your wall and ceiling together. But it can be tricky to install on vaulted ceilings. Learn more about how to install this design feature.
Need crown molding installed? Learn who to hire, what it costs, and why a trim or finish carpenter is the best choice for a polished, professional look.
Does crown molding add value to your home? It adds aesthetic value to some designs, but you should install it less because of ROI and more because you love it.