
Tankless water heater costs in Columbus, OH depend on the size of your water heater, location, fuel type, and more. Keep reading to calculate your expenses.
Clear out water heater sediment like a pro


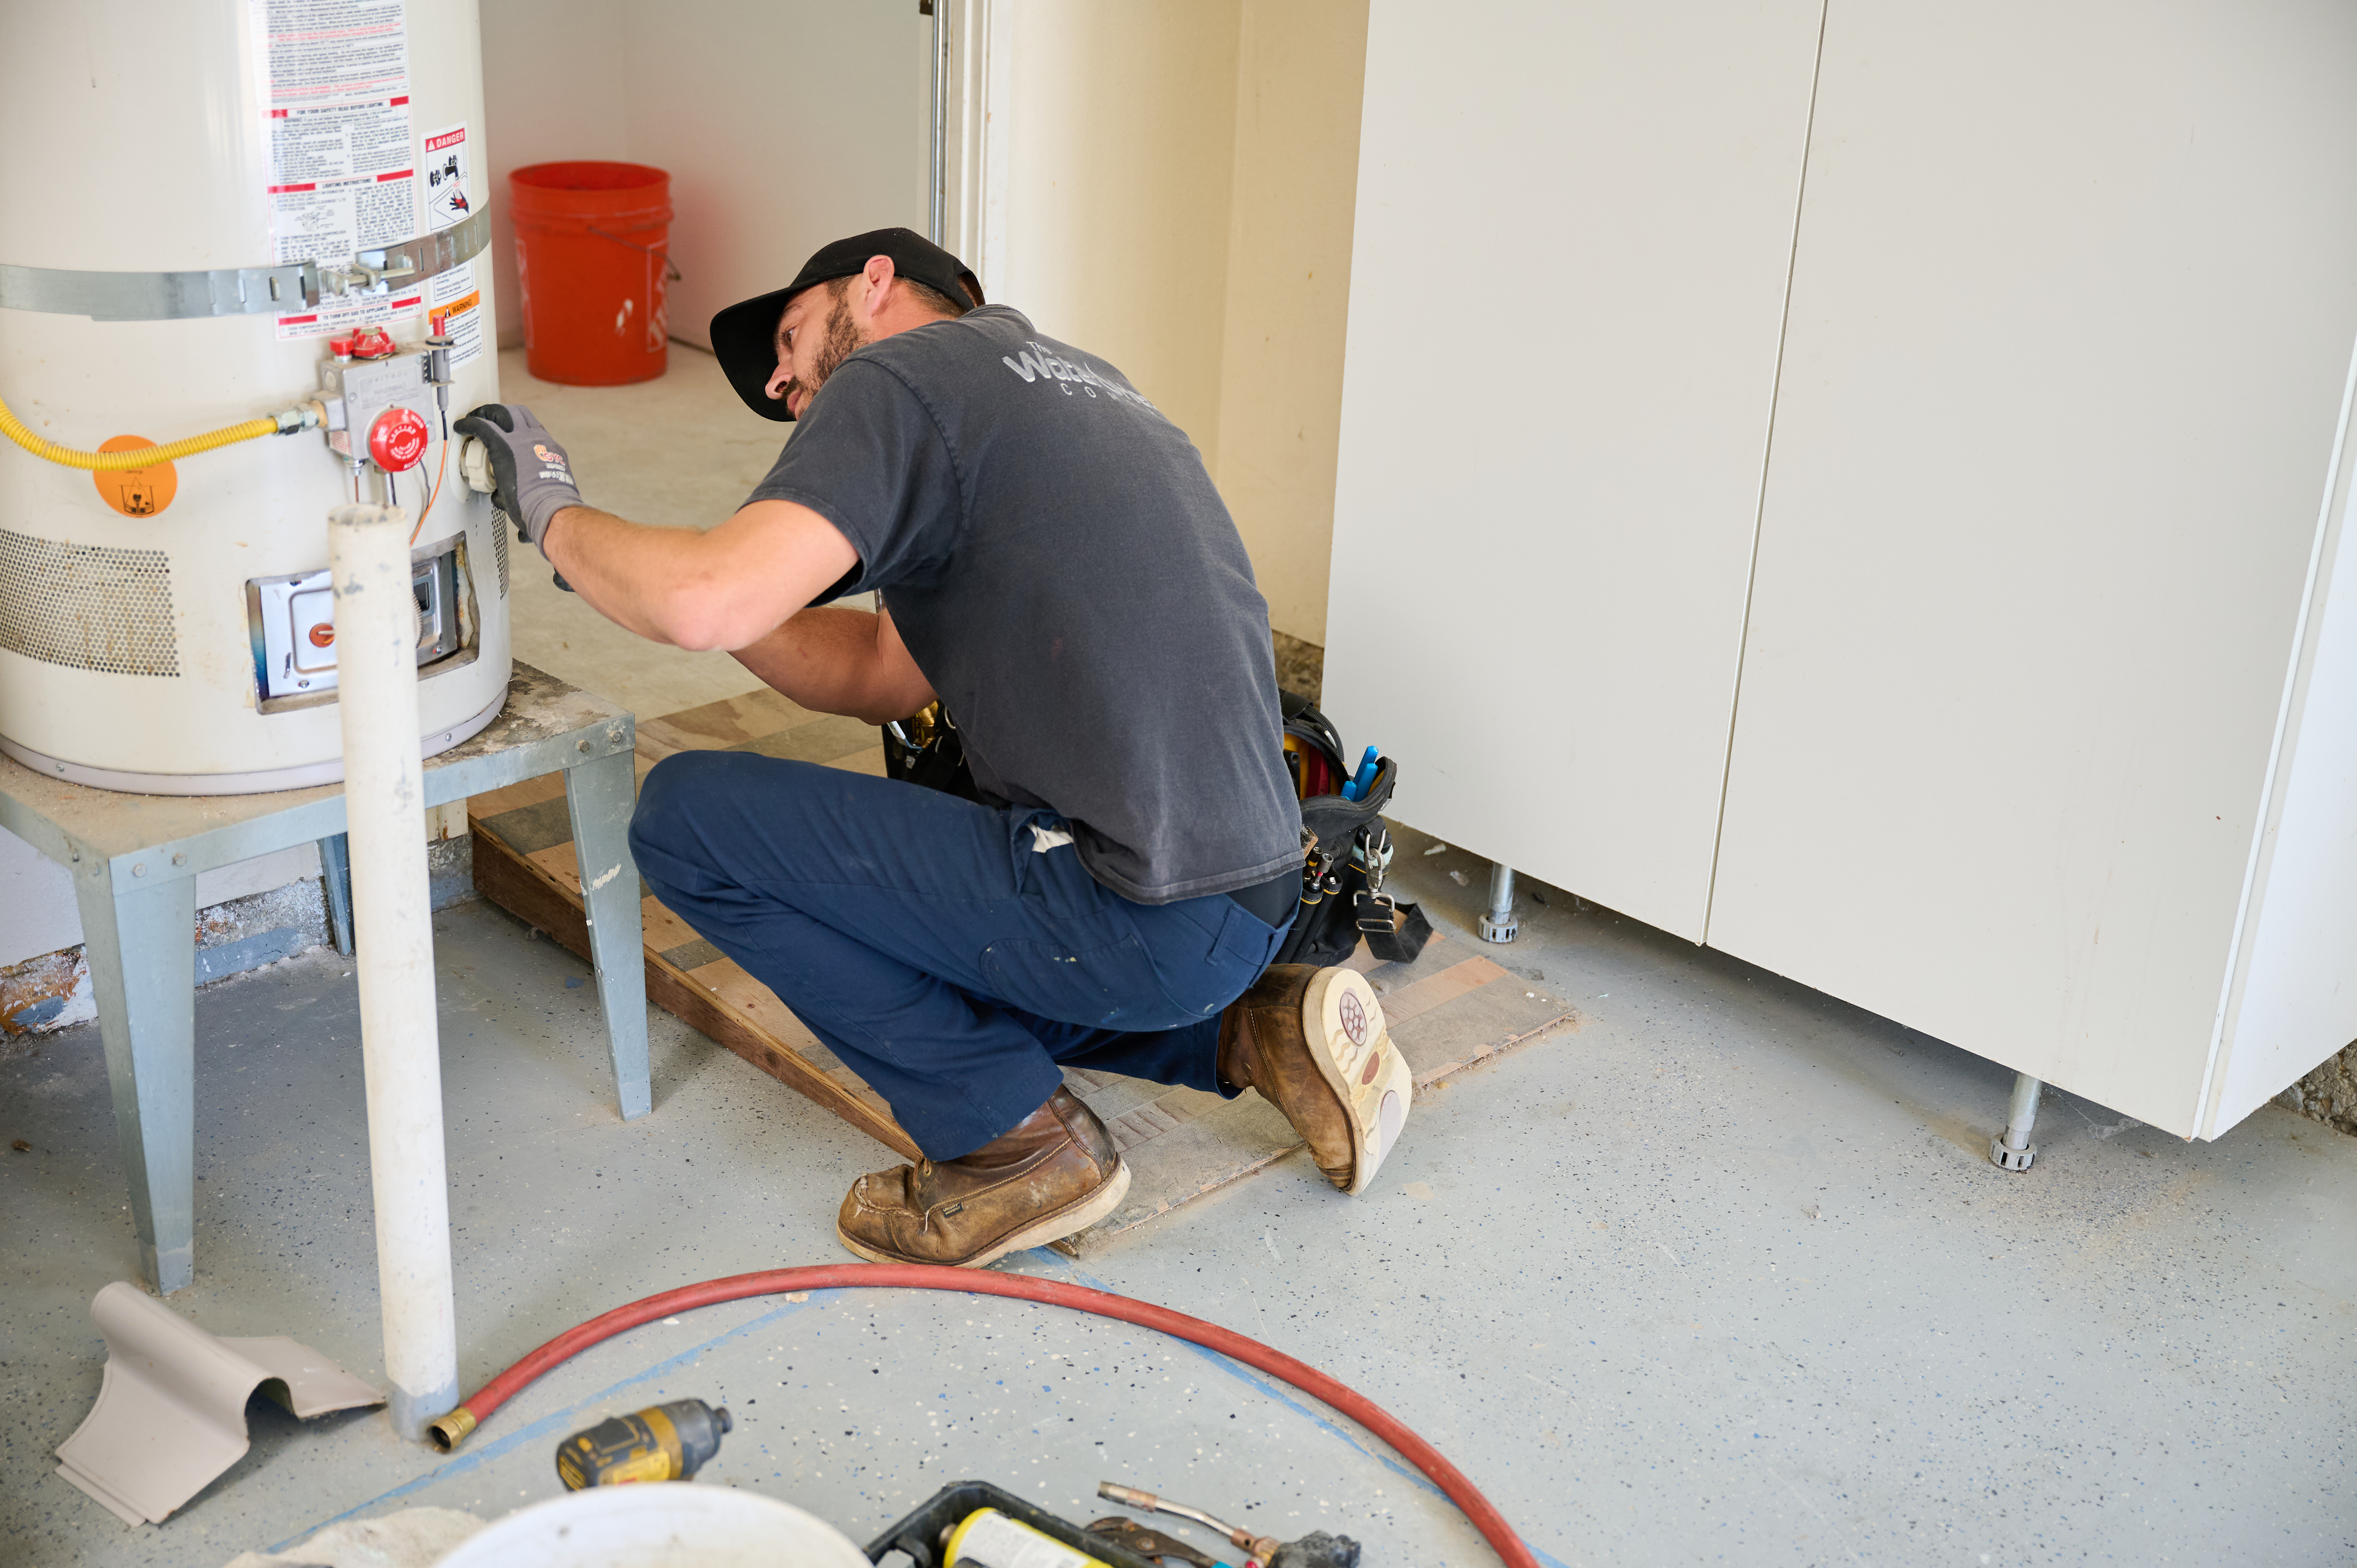
Maybe you hear some loud knocking and grumbling coming from your water heater, or perhaps you’re just trying to keep up with water heater maintenance. Either way, you need to flush your water heater at least once a year—yes, even tankless water heaters!—to avoid leaks or water heater failure. While you can call in a local tankless water heater company to handle this project, it’s possible for an experienced DIYer to tackle. When you’re ready to check this task off your yearly maintenance to-do list, you can use this step-by-step guide on how to flush a tankless water heater.
To start, you’ll want to shut off the red and blue isolation valves—red for the hot water and blue for the cold water. Place a bowl or bucket beneath the valves in case any water leaks out. Try to open the valves with your hands, but you can use the channel lock pliers if they give you any trouble. The valves are shut off when they are positioned perpendicular to the pipe and on when the handles run parallel to the pipe.
Shutting off the cold water valve prevents more water from coming into the water heater as you’re cleaning it, while the hot water valve will prevent the distilled white vinegar or other cleaner from flowing from the water heater to your home’s fixtures and appliances.
With these water lines shut off, you’ll also need to shut off the gas line to prevent the water and cleaner from heating up while you’re working. To turn off the gas supply to the water heater, turn the gas valve about 1/4 of a full turn, until it is perpendicular to the supply pipe.
If the valves have caps, make sure to remove them to attach the water hoses to the isolation valves. Your water heater flushing kit typically includes hoses, or you can use washing machine hoses. Use your pliers to tighten the connections, but be careful not to overtighten. Be firm, but don’t overdo it.

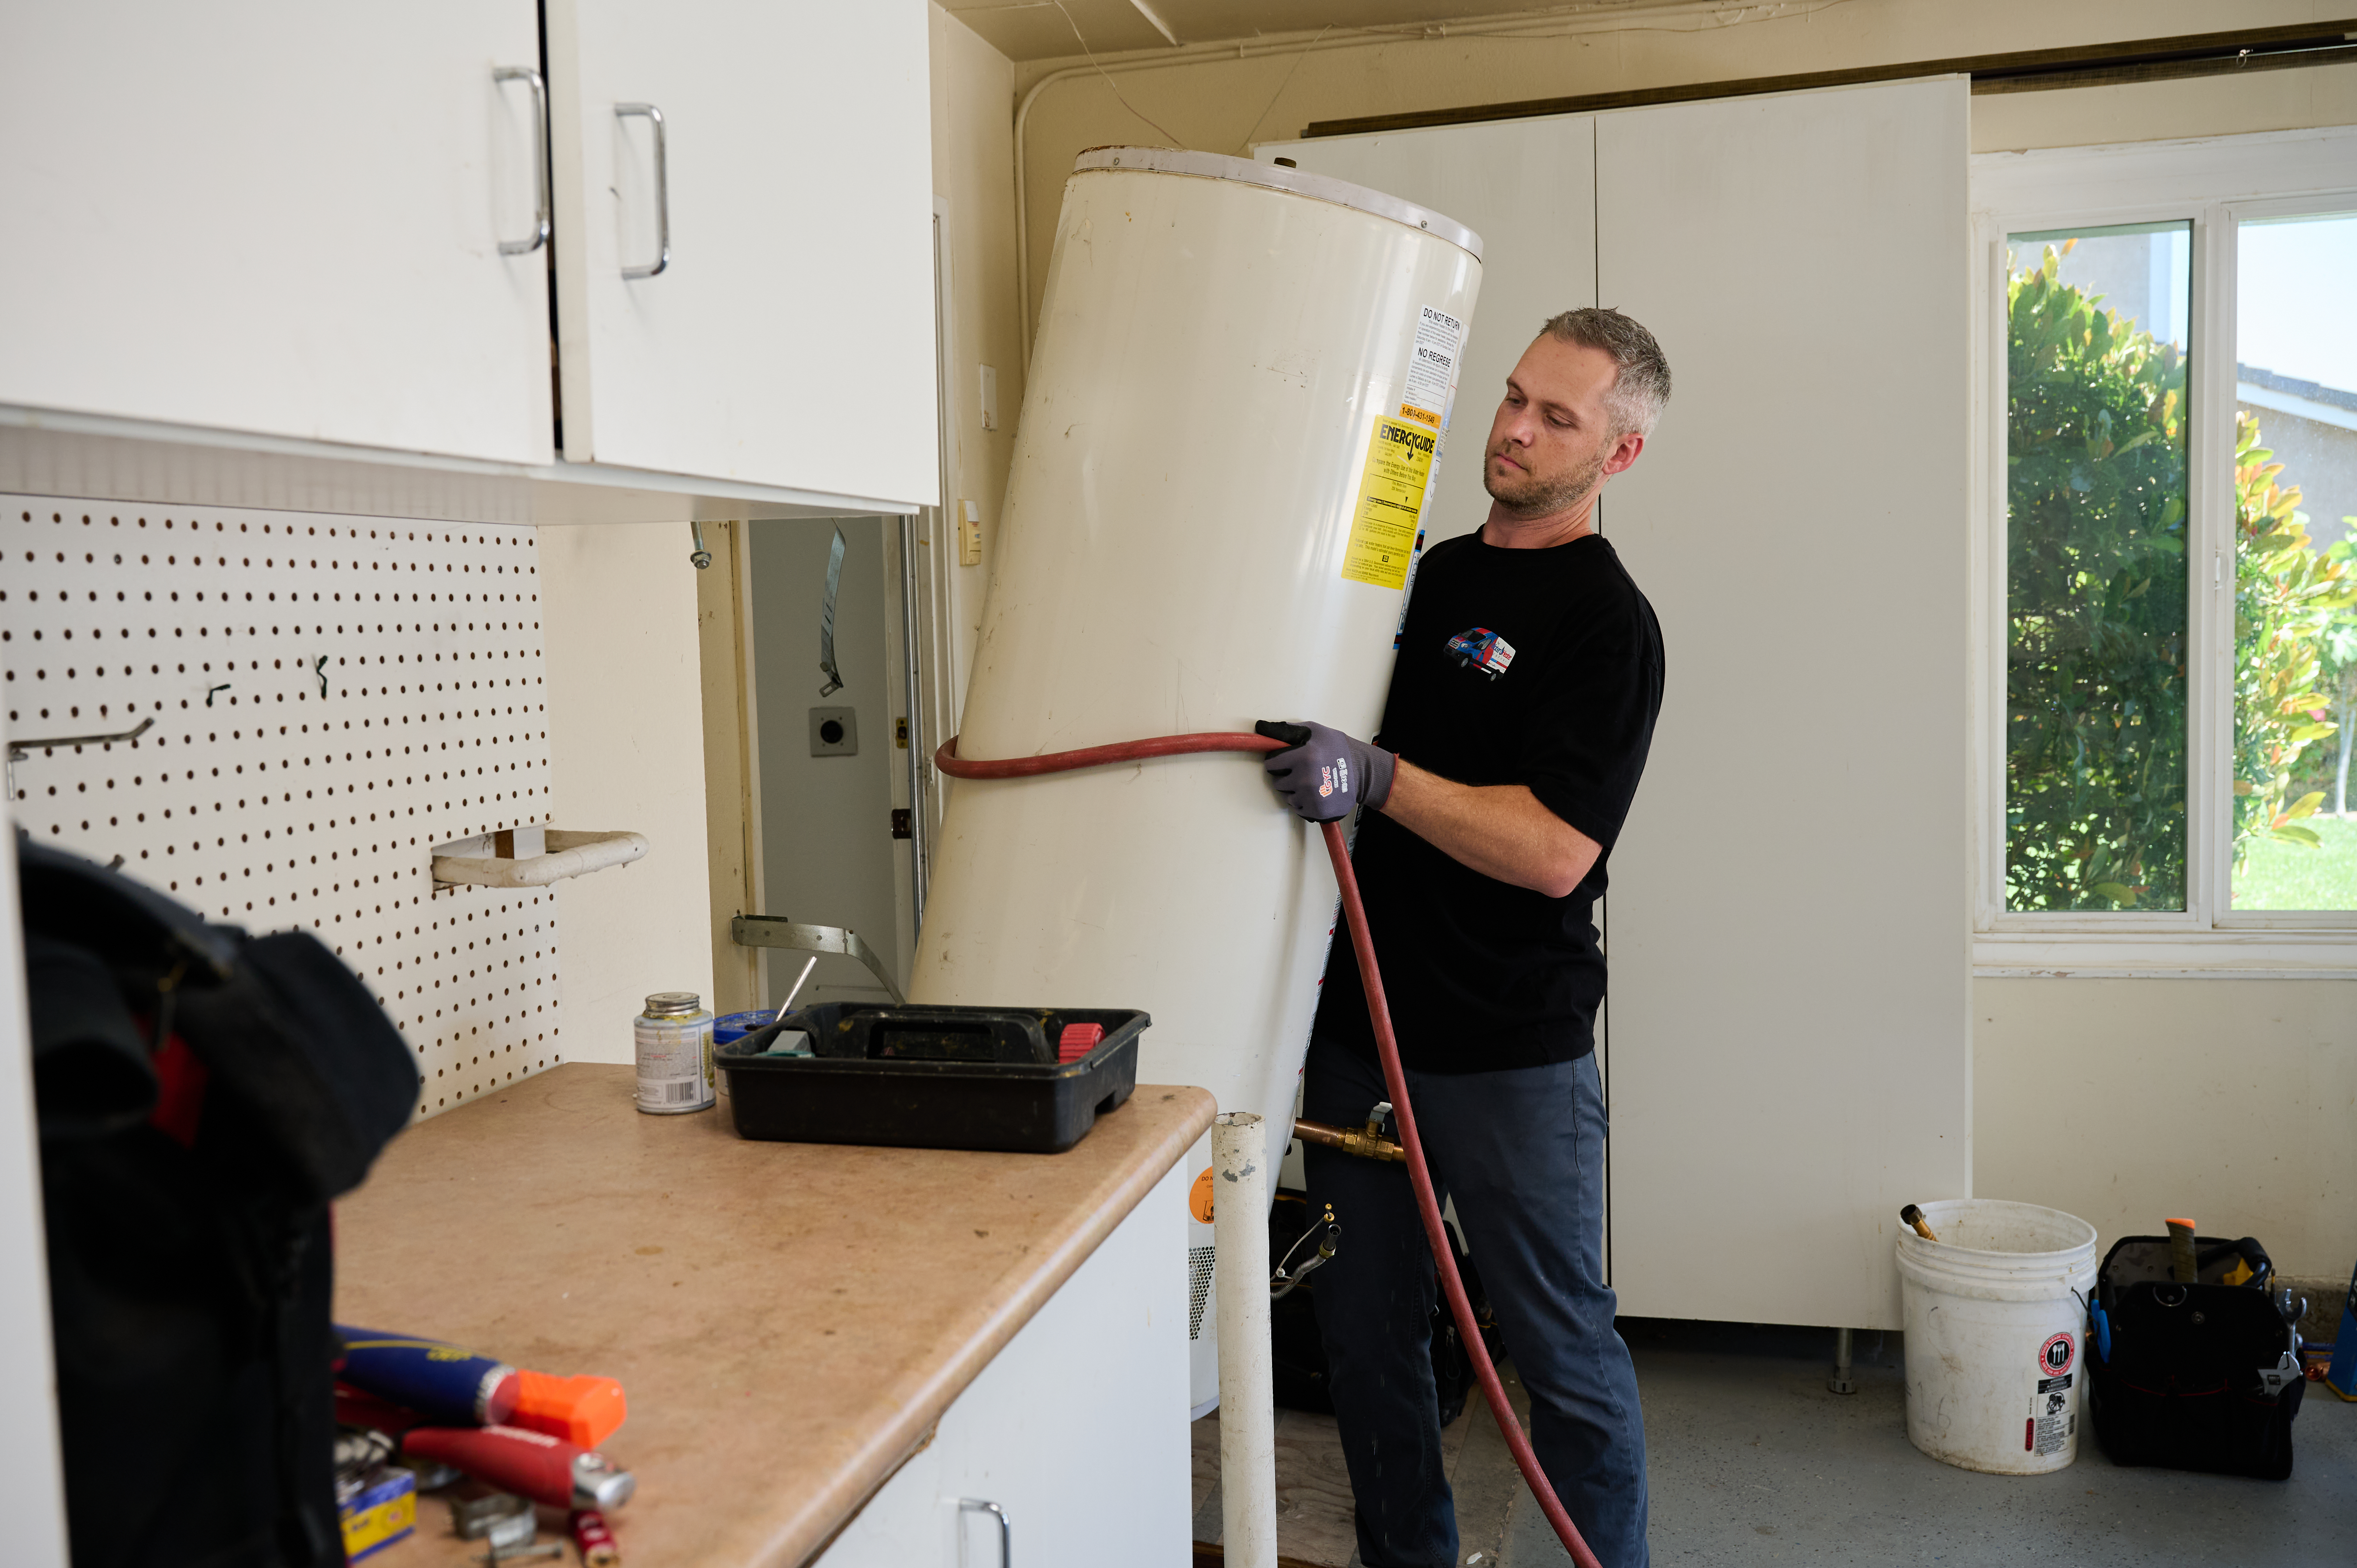
Once you’ve confirmed the hoses are tightly secured to the isolation valves, you’ll connect the other end of the cold water hose to the circulation pump. This device should be included in a tankless water heater flushing kit, or you can purchase it separately. Place the circulation pump into your 5-gallon bucket.
Wondering about the hot water hose? The other end of that will go into the 5-gallon bucket as well.
Pour at least two gallons of a 1:1 mixture of water and vinegar or store-bought water heater cleaner into the bucket. The circulation pump should sit completely below the level of the liquid, as should the end of the hot water hose. If not, you risk burning out your pump.
Open the valves and start the circulation pump to begin flushing the system. For vinegar, let the water and vinegar circulate for one to two hours. For cleaning agent, flush the system based on the time recommended on the label, usually 45 to 90 minutes.
Turn off the circulation pump and shut off the water valves as you did at the beginning of the flushing process. Disconnect the hose from the cold water valve, then turn this cold water valve back on. Keep it on for about 10 minutes to rinse away any remaining vinegar or cleaner. Once this process is complete, you can turn the cold water valve back off and disconnect the hot water hose.
Now, you likely have a bucket of dirty vinegar and sediment on your hands. You can safely dispose of vinegar down a drain or even outside without contaminating community water sources, but if you use a store-bought cleaner, follow the manufacturer’s instructions for disposal. Make sure to rinse out the bucket thoroughly after disposing of the vinegar or commercial cleaner.
Place the service port caps back over the isolation valves if you had to remove them earlier. Turn on the isolation valves and then the gas supply valve, all of which should now be sitting parallel to the pipes. As a final step, turn on a faucet and let it run for one to five minutes to flush out any possible remaining vinegar or cleaner. Do a quick check for leaks, and then call this project done!
You can flush a tankless water heater yourself by following the above steps, but what should you avoid? Here are some tips to help your process go as smoothly as possible:
Only attempt to flush it during normal business hours so that a pro will be available in case something goes wrong.
Not fully draining the system. If the water isn’t clean at the maximum recommended time, you may need to flush for longer.
Make sure you don’t clog the pressure relief or drain valve. Ensure they are clean before finishing the project.
Double-check that you hooked the right hoses up to the right terminals (hot to hot, cold to cold).
Since tankless water heaters lack a tank where sediment build-up is a particular problem, you can flush your tankless heater about half as often: once per year. It’s a good idea to flush your tankless water heater in the early fall, as the fixture will work overtime in the cooler weather of the fall and winter, and removing minerals before that time can help keep your heater running for longer.
Hiring a water heater professional to flush a tankless water heater costs around $200, so you could save up to $100 by doing it yourself if you already have the necessary tools on hand (tankless water heater flushing kits cost about $100 to $200). However, this isn’t a job to take lightly; if something goes wrong, or if you find a leak, it could cost you over $1,000 in water heater repairs and water damage remediation.
For most homeowners, it’s best to take on simpler things like fixing leaky faucets and opt to hire a water heater repair specialist to flush the tankless water heater quickly and safely. A local water heater repair pro can inspect and flush the water heater in under an hour, and they can address any leaks or damage they find on the spot. This could save you hundreds in water damage, not to mention provide some peace of mind that the work will be done properly.
From average costs to expert advice, get all the answers you need to get your job done.
Tankless water heater costs in Columbus, OH depend on the size of your water heater, location, fuel type, and more. Keep reading to calculate your expenses.
Looking to replace or upgrade your water heater? Use this water heater replacement cost guide to see what the work will cost and what factors affect your total.

Find out the average tankless water heater repair cost, what impacts pricing, and how to save. Get expert tips to plan your repair budget with confidence.

When your hot water is not working, it’s not always a water heater issues. Find out the cause and how to correct the course in our guide.
Installing a recirculating pump on a water heater is an involved job, and one only seasoned DIYers should attempt. Learn how to tackle this job below.

If your tankless water heater is not heating, there are several common reasons why. Learn the possible causes along with practical troubleshooting tips.