

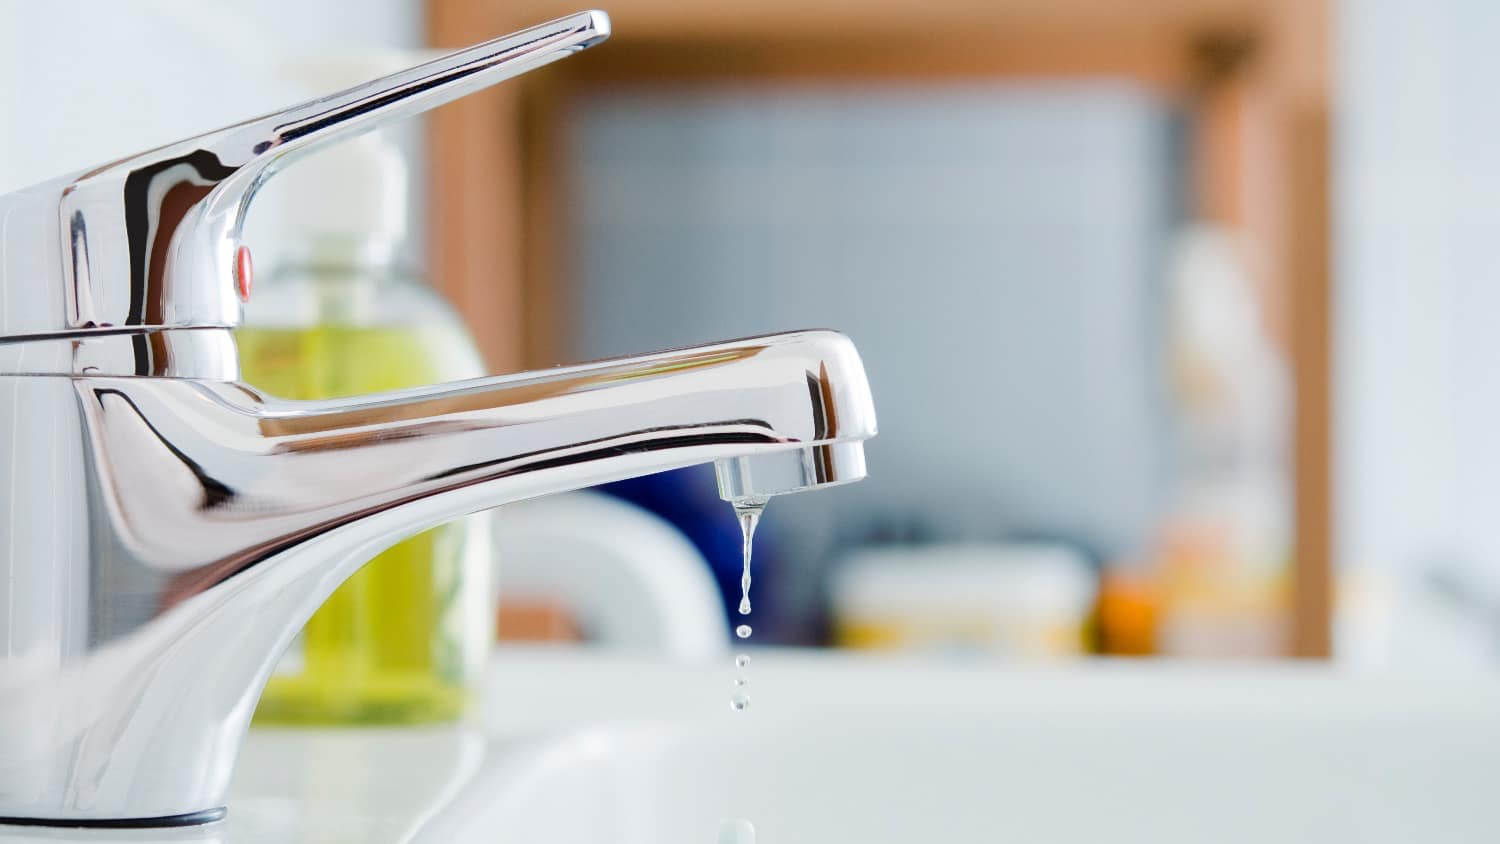
A leaky faucet can lead to costly water damage and a lot of wasted water. Learn how much it costs to fix a leaky faucet based on type, part and labor.
Follow these steps to defeat the drip of a leaky faucet

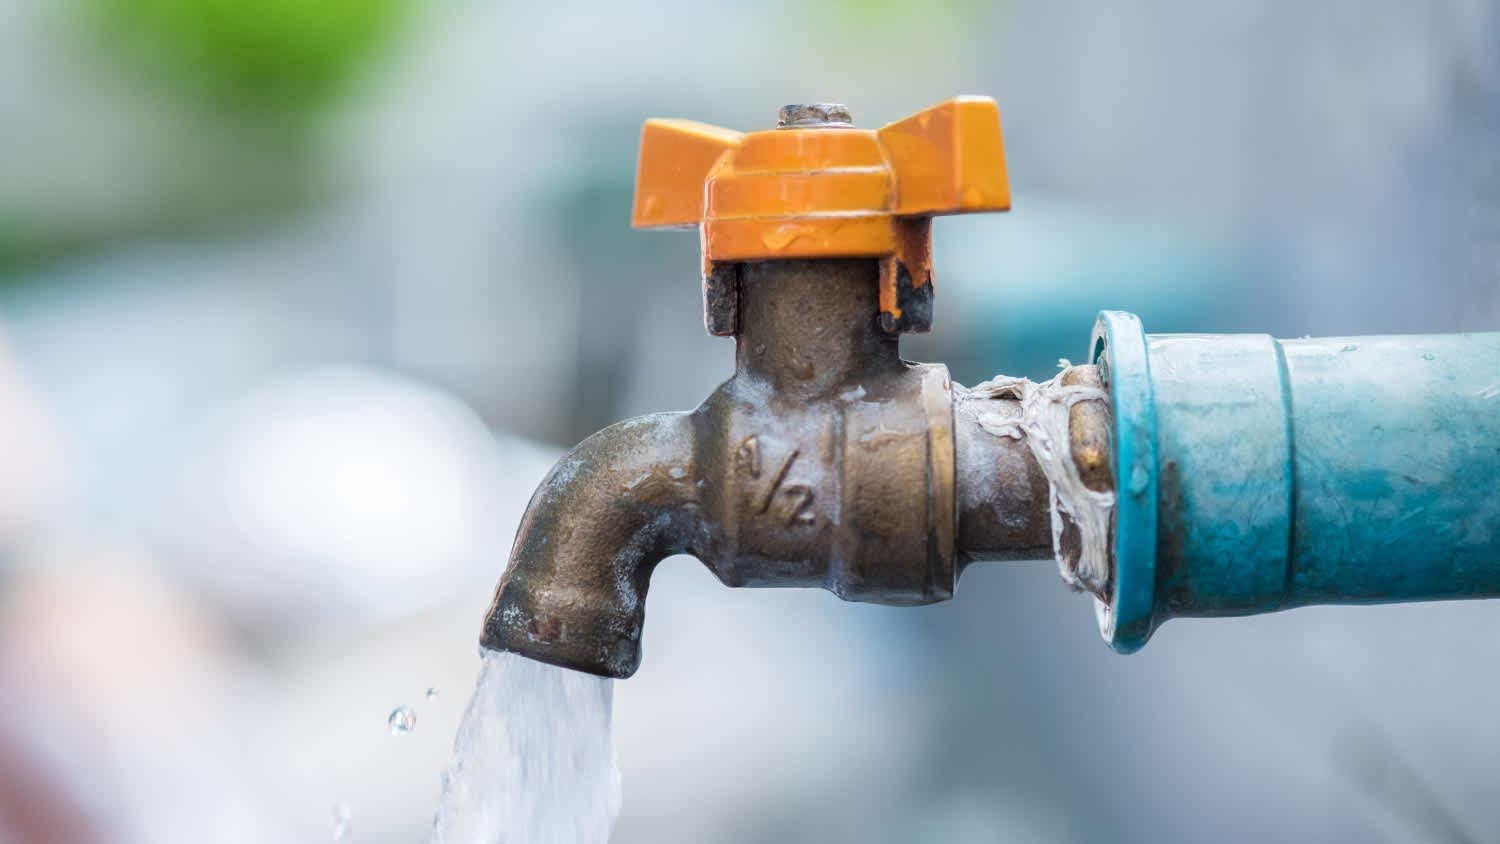
A leaking faucet stems from worn-out washers, deteriorated O-rings, corroded valve seats, or loose screws that prevent your faucet from sealing properly.
Expect to pay $100 to $400 when you hire a plumber to fix a leaking faucet, which covers their minimum service visit.
You can stop the drip by identifying your faucet type, turning off the water supply, and replacing the worn washer or O-ring.
Hiring a local faucet repair professional provides quick diagnosis and reliable repairs for cartridge issues, compression problems, and other internal component failures.
Drip, drip, drip—those might as well be the “cha-chings” of your water bill slowly going up. A leaky bathroom or kitchen faucet is frustrating enough, but the extra expense adds insult to injury. Fret not, though, since learning how to fix a leaky faucet is doable with a few supplies and basic tools.
Unfortunately, there are several common causes of kitchen or bathroom faucet leaks. Faucets feature many moving parts, and if any of them wear out or malfunction, you could have a leak on your hands.
Some of the most common culprits of dripping faucets are loose screws, washer problems, and corroded o-rings or valve seats. Once you discover the reason for the leak, you’ll need to determine whether to repair or replace the faucet with the help of a plumbing professional.
Now it’s time to stop that leaky faucet from dripping. Check out the following methods for repairing different types of leaky faucets.

Before you begin, you must identify what kind of faucet you have. There are four types of faucets that fall into two basic categories: washer and washerless. Compression faucets are the only washer type, while the other three (cartridge, ceramic disk, and ball) are washerless. Here’s how to determine which type you have.
Consider where your faucet is located: Ball faucets are common in kitchen sinks.
Inspect your faucet for washers: Some faucets have washers, while others are washerless. Washer faucets are always compression faucets.
Count the number of handles: Cartridge faucets are the only washerless faucets with two handles.
Look at the manufacturer’s information: If you still have your instruction manual or packaging, you should be able to look up the type of faucet.
A compression faucet is a double-handled faucet that allows you to control water flow by turning the handles clockwise or counterclockwise. This “compresses” a neoprene or rubber washer, creating (or releasing) a watertight seal. Activating these requires a bit of elbow grease, as the compression mechanism needs pressure to work. Due to the inevitable breakdown of its flexible material, the washer is often to blame when this type of faucet leaks.
Here's how to repair a leaky compression faucet:
Turn off the water shut-off valves. Locate the valves—check right below the sink basin and near the back wall—and turn them clockwise until fully tightened. You can also shut off the water main if this isn't an option.
Drain the faucet of any leftover water before starting the repair process.
Plug the drain with a stopper or a rag.
Use a screwdriver to loosen the screws and remove the handles from the faucet.
Use a wrench to remove the nut and expose the stem atop the seat washer.
Pull out the stem to expose the O-ring, which will be thinner than the seat washer.
If the leak was coming from the faucet’s handles, examine the O-ring and find a replacement at the hardware store if necessary.
Remove the washer, which is held in place by an upside-down screw.
Take the old washer to the hardware store to find an exact replacement.
Coat the new washer in the plumber’s grease before replacing it.
Reassemble the parts.
A popular option for kitchen sinks, ball faucets are single-handled with a “ball” joint that rotates in all directions and controls water temperature and pressure. The internal ball has slots that control the mixing of cold and hot water. Although these aren’t as prone to leaks as compression faucets, their moving parts tend to give way over time.
The repair method for ball faucets depends on where the leak is coming from. If the base of your faucet leaks, try this tactic.
Turn off the water shut-off valves. Locate the valves—check right below the sink basin and near the back wall—and turn them clockwise until fully tightened. You can also shut off the water main if this isn't an option.
Drain the faucet of any leftover water before starting the repair process.
Plug the drain with a stopper or a rag.
Find the set screw on the underside of the handle and loosen it with an Allen wrench until you can lift off the handle.
Use a spanner wrench to tighten the collar, working clockwise.
Replace the handle and turn the water back on to test for leaks.
If that doesn’t work, shut off the water again and remove the handle.
Remove the spout to examine the O-rings.
Pry out any worn O-rings with the hook of the spanner wrench.
Find replacement O-rings in the repair kit and coat these in heatproof plumber’s grease.
Put the new O-rings in place using the spanner wrench.
Replace the spout and handle.
Turn on the water and test for leaks.
Cartridge faucets can be single- or double-handled with a cylindrical metal “cartridge” that moves to open or cover holes, starting and stopping the water flow respectively. This cartridge also rotates to control the water temperature. Two-handled cartridge faucets can look like compression faucets, but they are much easier and smoother to turn since there is no “compression” mechanism to activate.
When there's a leak in your cartridge faucet, follow these steps to fix the leak:
Turn off the water shut-off valves. Locate the valves—check right below the sink basin and near the back wall—and turn them clockwise until fully tightened. If this isn’t an option, you can also shut off the water main.
Drain the faucet of any leftover water before starting the repair process.
Plug the drain with a stopper or a rag.
Remove the retaining clip with pliers if needed. This small, circular, threaded piece holds the cartridge in place.
Pull the cartridge up to remove it. Note its position and orientation for when it’s time to put it back.
Use a small flathead screwdriver to remove the seat and seat spring.
Drop in the new seat spring.
Use your finger to push the new seat into place.
Spread the plumber’s grease around the base of the cartridge.
Align the notches and push the cartridge back into the faucet.
Use a wrench to tighten the large retaining nut.
Replace the faucet handles.
Turn the water supply line on and test the faucet.
A ceramic disk faucet is a single-handled faucet with the most modern, reliable design—the latest and greatest in faucet technology. It features a cylindrical body topped with a single lever that controls water flow and temperature. An inner chamber houses both cold and hot water, and two ceramic disks control the proportion of each. These disks have corresponding holes that match up as you turn the water from hot to cold, determining how the temperatures will mix.
The great thing about ceramic disk faucets is that they rarely, if ever, need repairs. Soaking the faucet parts in vinegar or calcium remover to remove buildup will usually solve any leaking issues. However, if anything goes wrong with the moving parts, you may need a local plumber to fix them. But before you do, try the following steps to fix a leaky ceramic disk faucet.
Turn off the water shut-off valves. Locate the valves—check right below the sink basin and near the back wall—and turn them clockwise until fully tightened. If this isn’t an option, you can also shut off the water main.
Drain the faucet of any leftover water before starting the repair process.
Plug the drain with a stopper or a rag.
Remove the dome-shaped escutcheon cap right beneath the handle.
Unscrew the disk cylinder and remove it.
Remove the round neoprene seals on the underside of the cylinder, using the tip of a flathead screwdriver if needed.
Soak the disk cylinder in calcium remover or white vinegar for several hours.
Replace the seals if they appear worn. Bring the old seals to the hardware store to find an exact match.
Rinse the disk cylinder and put the seals back into place.
Replace the cylinder and the faucet handle.
Turn the water supply line back on and gradually test the faucet.
Remember these helpful tips while you repair your leaky kitchen or bathroom faucet.
When making DIY repairs to a leaking faucet, keeping an empty bucket underneath the sink is a good idea to catch any water or debris that may leak out. This will minimize the mess and make the cleanup process easier.
After completing the faucet repair process, run a quick test to ensure your sink’s aerators aren't clogged. The aerator is the piece that screws onto the end of the faucet spout, and it can hinder water flow if blocked. The test is simple: Run hot and cold water for a few minutes to ensure it’s flowing smoothly. You’ll need to remove a clogged faucet aerator and clear it out or replace it, depending on its condition.
In some cases, your faucet issue may require you to replace it instead of repairing it. Luckily, DIY faucet replacement is relatively straightforward and takes about five hours to complete. If you don’t feel comfortable replacing the faucet on your own, hire a local plumber to do the job.
The cost to repair a leaky faucet depends on whether you DIY the fix or hire a faucet repair pro near you to handle the job. On average, the price of hiring a plumber for a small job, such as fixing a faucet, ranges from $125 to $350. If you tackle the leaky faucet yourself, you’ll only need to pay for the appropriate tools and materials, which vary by the type of faucet and its issue.
If you invested a lot of cash in your faucet or believe the leak is coming from a larger plumbing problem, contact a local plumber. As with any DIY vs. hiring a pro dilemma, springing for a licensed professional will save you time and effort, as well as prevent any potential damage to your plumbing system.
Positive experience. As previously stated, the replacement/repair could not be completed (no fault of the plumbing tech) b/c misinformation was rec?d by property management maintenance. Thanks to the plumbing tech for your efforts. Appreciate you!
 The Waterworks
If you want to pay the most exorbitant prices possible for your job, this is the company for you. “By the job” pricing is a rip-off, at least how these people use it. Every job is plugged into a category and prices are set by category. You might have a job that takes half an hour or one that...
 Benjamin Franklin Plumbing
Cole has been handling plumbing and general contracting for our four properties over the past three years, and he’s always done a great job. Most recently, he installed a sink and countertop in our retail store where none existed before, and it turned out exactly how we needed. He’s...
 ANB Renovations LLC
Matt is a consummate professional. The work turned out to be far more difficult than expected and rather than turn the job down, Matt rose to the occasion and completed a near impossible task. I can not recommend Greene's Plumbing Service more highly. On a scale of 1-5 I would give Matt a...
Involved an extensive bathroom remodel, including removing tub & installing walk in shower, new drywall, custome tile work to ceiling, plumbing, etc. Overall, job was done on time and on budget. Nick & his team were very professional and had high attention to detail. Quality was great. Highly...
 Stamos Flooring and Remodeling LLC
Awesome company. Had a jacuzzi tub taken out and replaced with huge walk in shower with partial glass enclosure. Onyx to the ceiling with a decorative border, moved plumbing and installed hand held shower, new ceiling, flooring, and paint. Replaced window with glass block. Everything was done...
 Columbus Bath Design
The initial quoted price from a walk-through seemed high, but we discussed that the quote represented worst case scenario (re-wiring to two floors) and we were excited about the opportunity to have the work done in a timely manner with closing for fire safety reasons, etc. When the job was...
Initially, I called the Service People to have a leaking garbage disposal replaced. I had purchased a special deal through Angie's List: $79 for $200-worth of plumbing services. <br /> When I went to schedule the work, the earliest date I could get through Angie's List was after the upcoming...
This company did a very good job on the brick wall and it looks just amazing. The staff was always professional and was practically OCD on how the bricks were stacked and how they were laid. Although it took longer than expected, I am willing to sacrifice time over perfection anyday. The...
 My Handy Mate LLC Improvement & Remodeling
<p>I am so glad we called Rotor-Rooter. I was hesitant to call them because we usually prefer to give business to local providers. But when we had sewage back up in our basement on a Saturday evening, I had a hard time getting a hold of someone, not to mention the high weekend/evening rate...
From average costs to expert advice, get all the answers you need to get your job done.
A leaky faucet can lead to costly water damage and a lot of wasted water. Learn how much it costs to fix a leaky faucet based on type, part and labor.
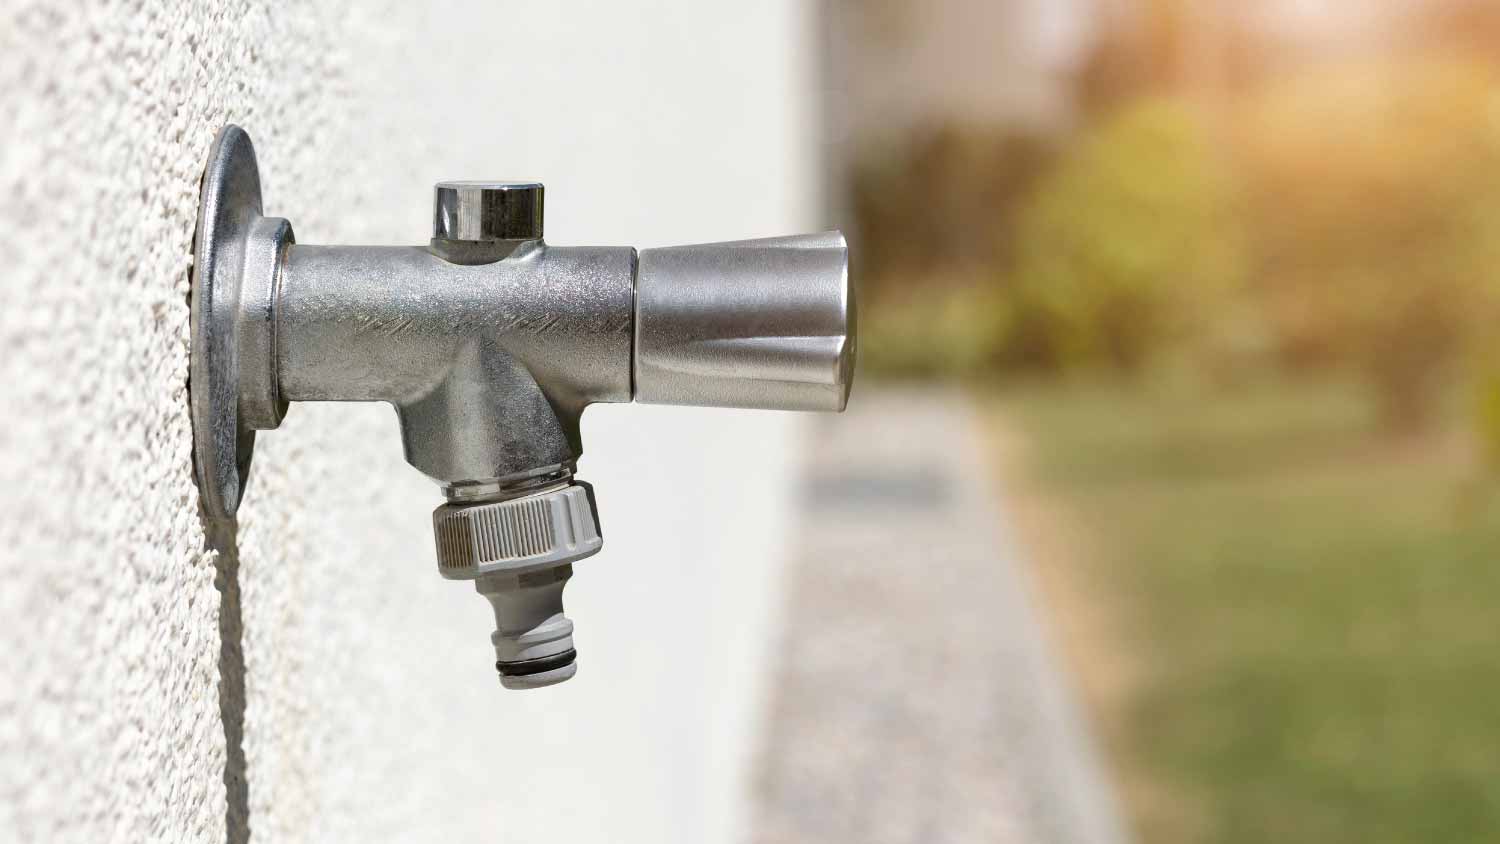
Whether you’re hooking up your sprinkler or filling up your pool, outdoor water faucets are essential, especially when the weather warms up. A leak can ruin your fun fast. Call a pro to fix your outdoor water spigot or follow along to DIY.

Weigh up the pros and cons of replacing vs. repairing a leaky faucet. Use our expert guide to figure out whether you can have a kitchen or bathroom faucet repaired and know when it's time to replace it instead.
A dripping faucet can be more than just an annoyance—it can increase your water bill and cause damage. Learn why your faucet is dripping and how to fix it for good.
Is your yard becoming a lake because an outdoor faucet won't turn off and water is gushing out? Don't panic, we'll show you how to stop it immediately.
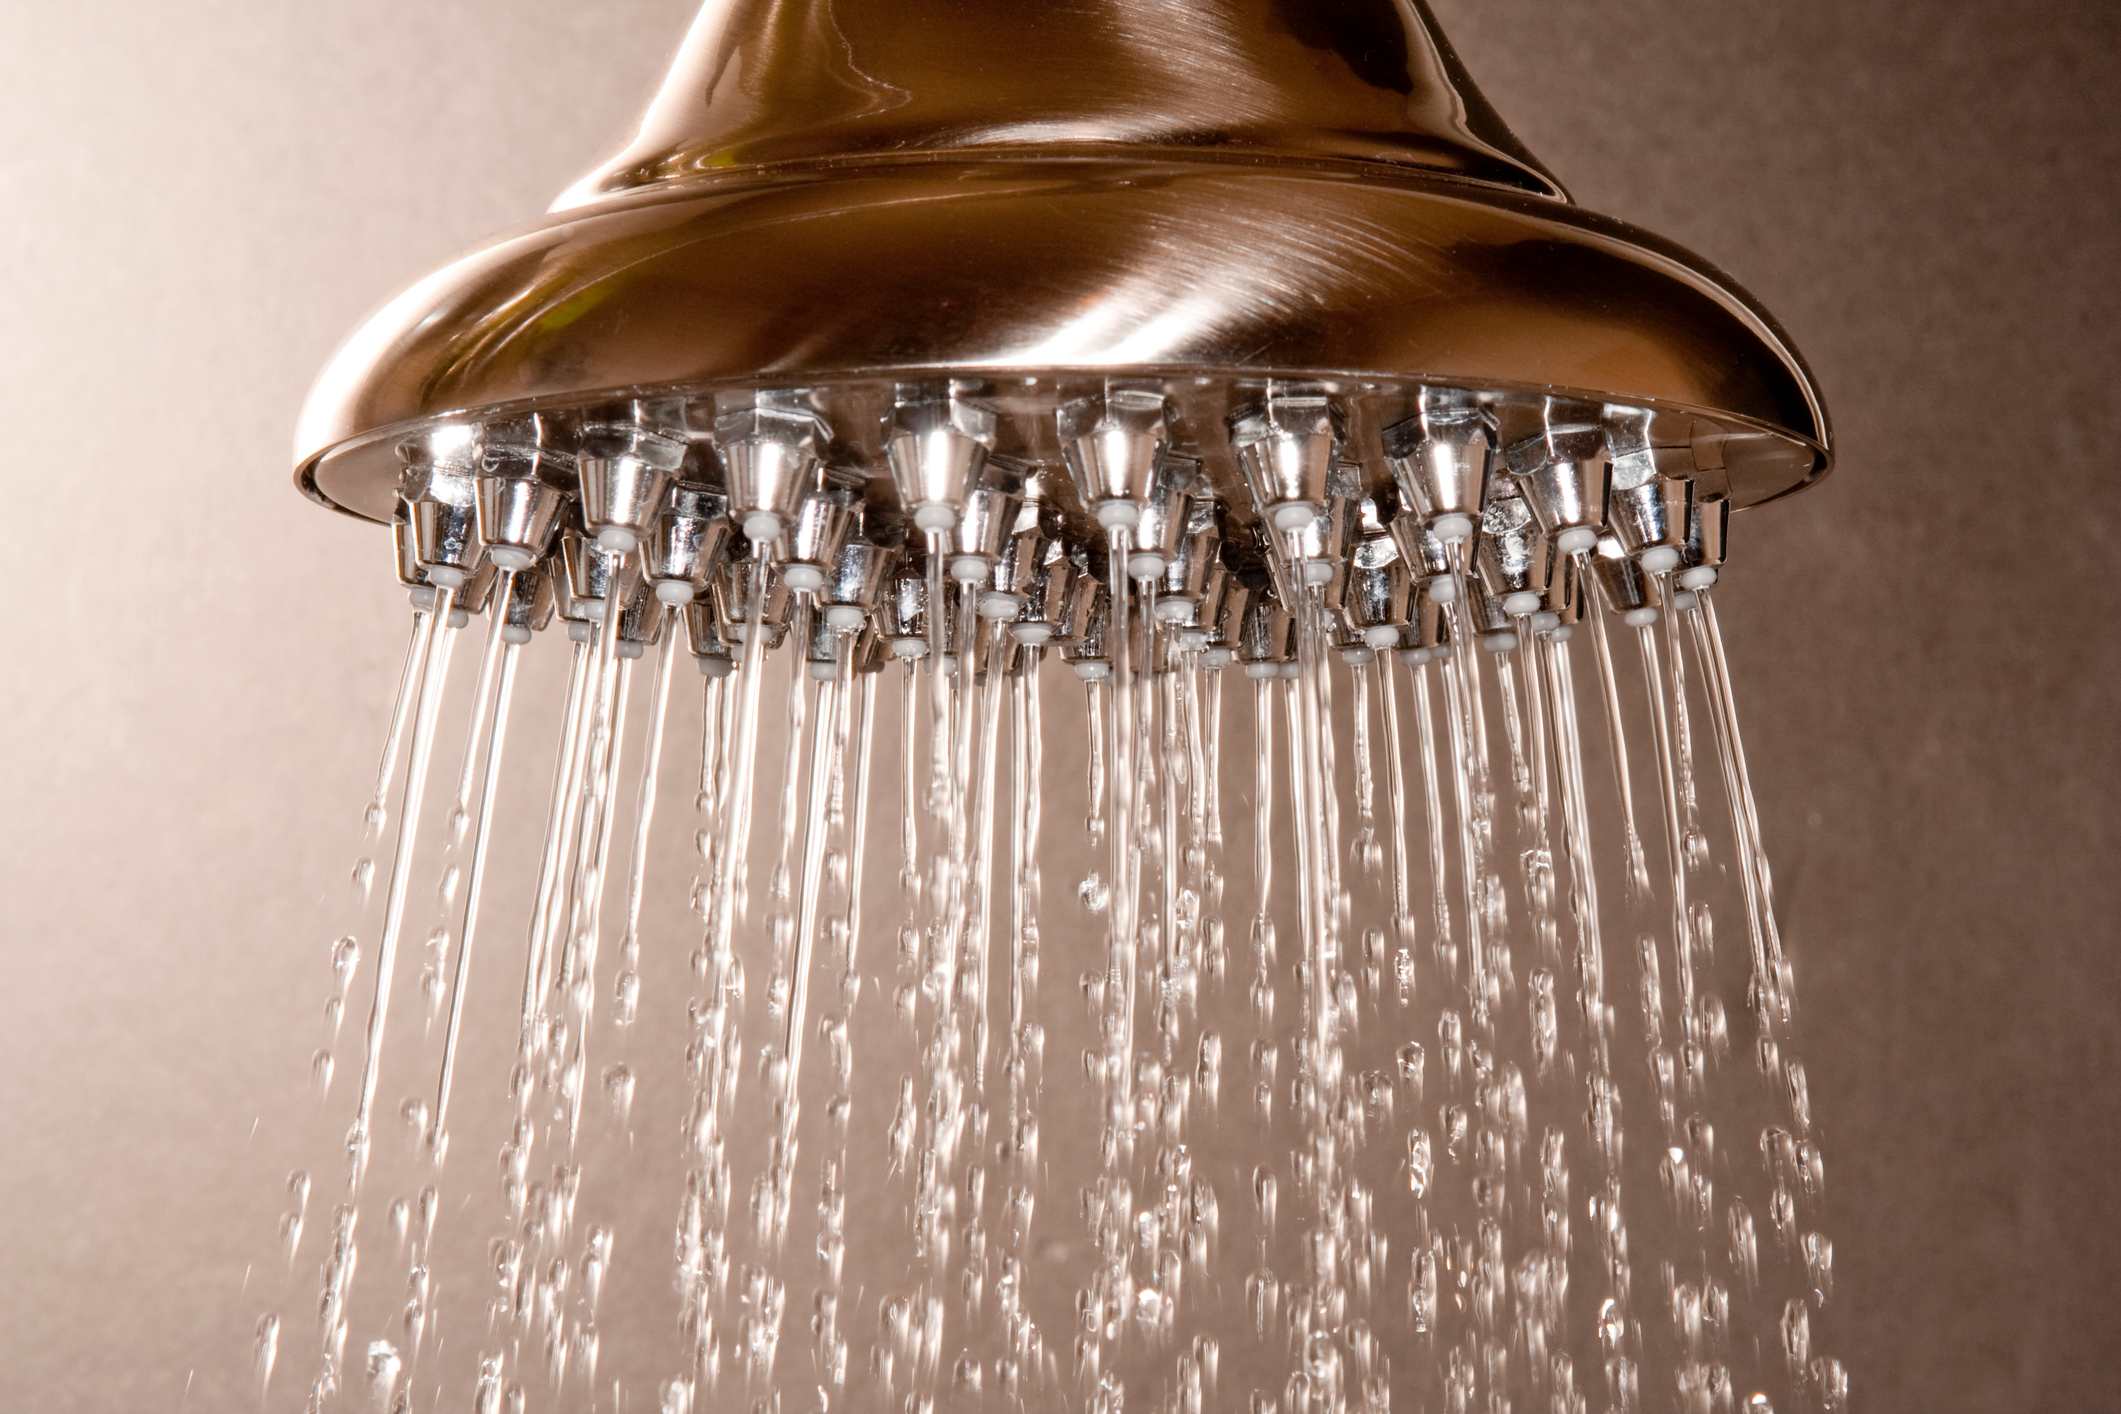
Discover the most common causes of a leaking shower and learn effective solutions to stop water wastage and prevent damage.