
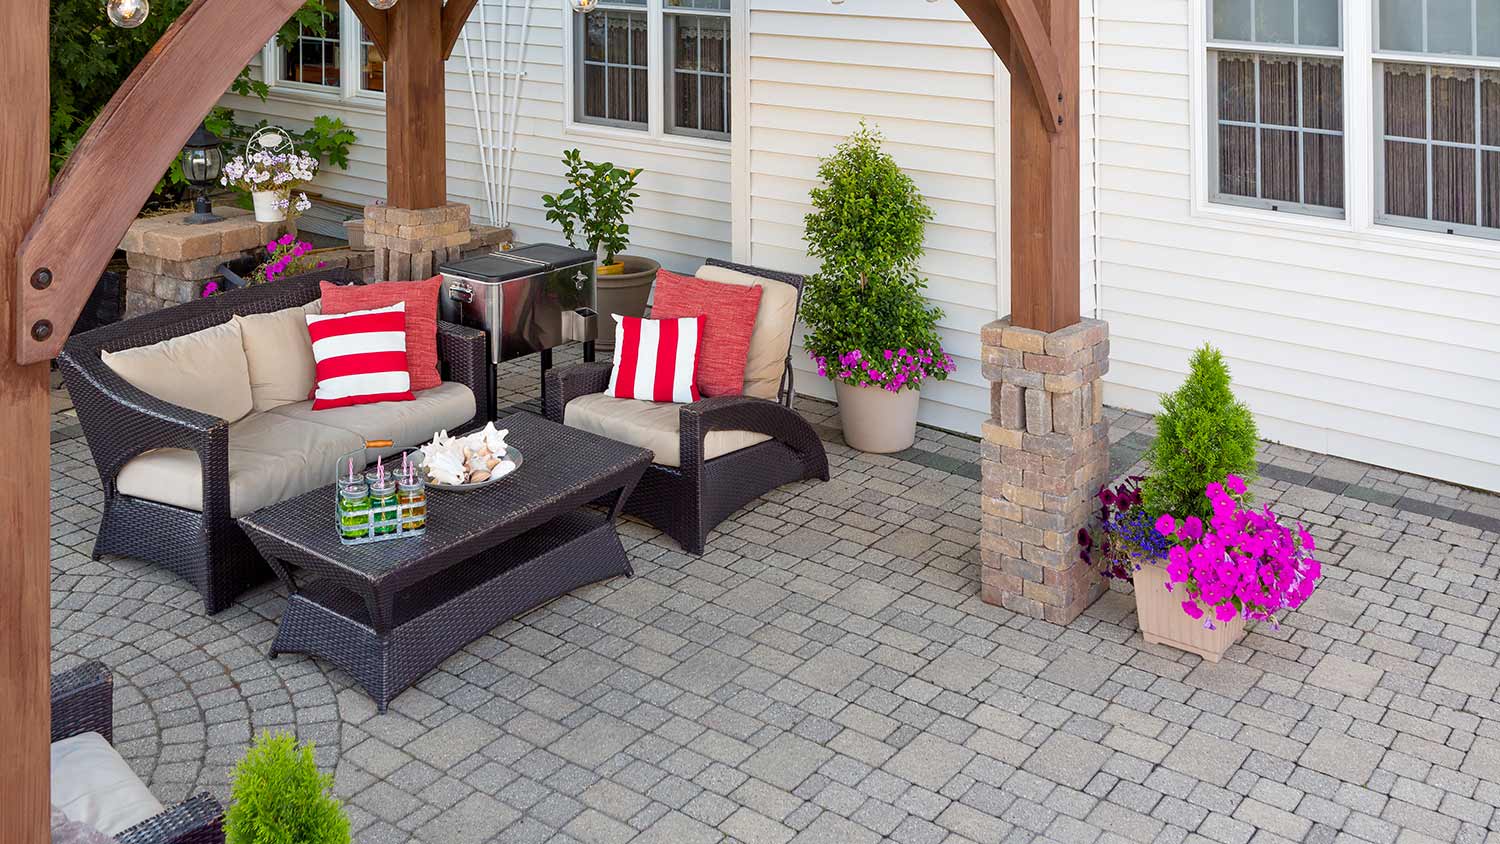
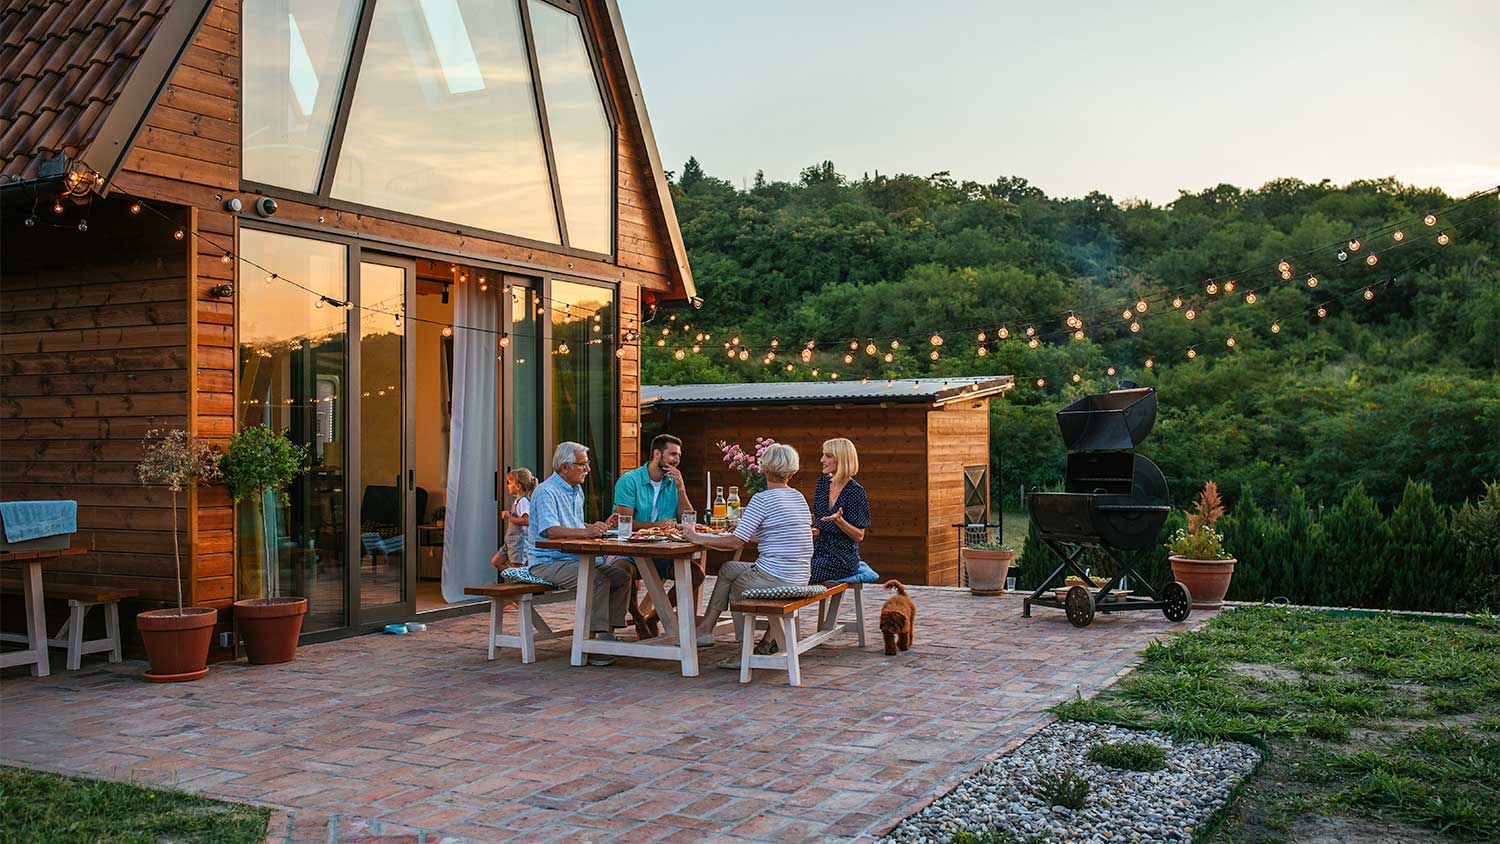
Looking to elevate your backyard aesthetic with a patio? Use this paver patio cost guide to help you estimate your total project cost before you get started.
Pave the way to a smoother, safer surface

Sunken pavers can create trip hazards, drainage problems, and long-term damage if left unaddressed. Not to mention, they’re not very pretty to look at. The good news is, you don’t have to redo your entire patio or walkway to fix a few uneven pavers. This step-by-step guide walks you through how to lift and reset sunken pavers to create a level, stable surface.
Before you start, set up a small work area near the paver problem so you’re not walking back and forth grabbing things mid-project. If you’ll be kneeling on hard surfaces, now’s the time to grab knee pads or a folded towel to protect your joints. You should also wear work gloves if you’re dealing with rough or heavy pavers, and wear shoes with a good grip since you’ll be working around uneven ground.
When one paver sinks, it usually means the base underneath has shifted, settled, or eroded, which can affect the surrounding pavers too, even if they still look level. So in many cases, you’ll need to lift and reset not just the sunken paver, but a few around it as well.
Use chalk or painter’s tape to mark a clear boundary around the section you’ll be working on. Start at the outermost edge of the sunken or loose paver, then measure and mark at least 12 to 16 inches out in all four directions from that point.
Next, remove all the pavers inside the area you marked. Even if some look level, they’re still sitting on the same base as the sunken pavers, so you want to make sure to remove them all to properly fix the base, or you risk future sinking.
Use two flathead screwdrivers to gently pry up each paver. Wedge them into the joints on either side and work slowly to lift it straight up without cracking the edges. If the pavers are packed tightly, you might need to loosen the joint sand first with a utility knife or flat chisel. Once removed, set the pavers aside in the order you pulled them so you know how to reinstall them later.
After lifting the pavers, you’ll see a layer of sand covering the base material, which usually comprises compacted gravel or crushed stone. That top layer of sand is what the pavers rest on, and if it’s washed out, packed down unevenly, or visibly thinned in some spots, that’s likely what caused the sinking.
Use a trowel to scoop out all of the sand within the marked area. Make sure that you remove the full layer so you can get a clear view of the base underneath. As you dig, check for soft spots, moisture, or any part of the base that looks thinner or looser than the rest. If you find areas where the gravel has eroded, settled, or shifted, dig those out too. You want to get down to solid, compacted material that isn’t shifting under pressure.
Once the unstable material is cleared out, don’t worry yet about making it perfectly level or matching the surrounding surface. Right now, your only goal is to fully expose any weak points so you’re not rebuilding on a compromised foundation.
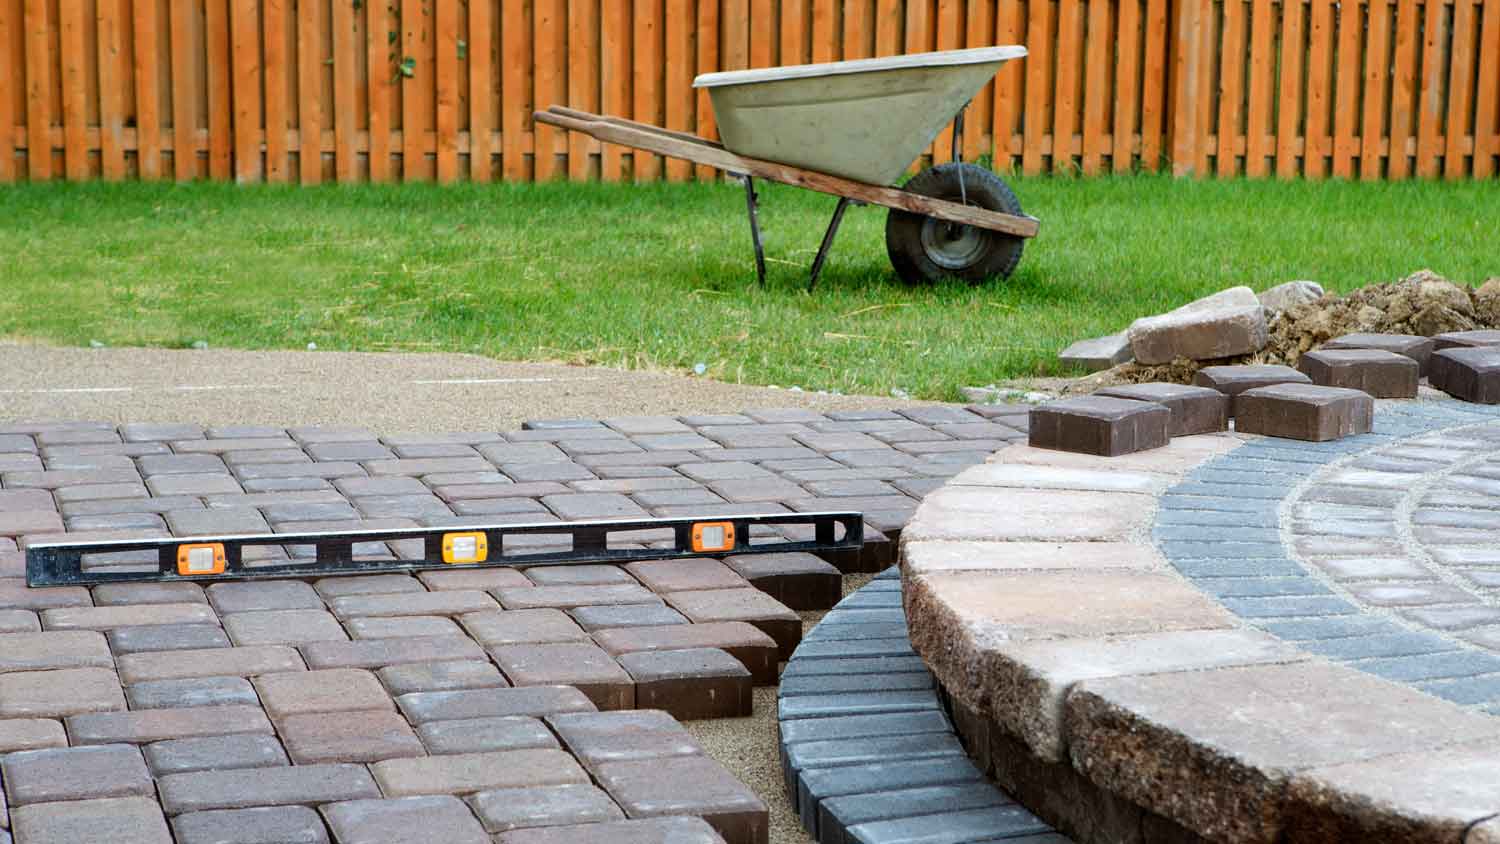
Start by replacing any gravel or crushed stone you had to remove. This is the sub-base, and it needs to be solid before anything else goes on top. Then re-add gravel in layers, about 2 inches at a time, and compact each layer thoroughly using a hand tamper. Keep adding and tamping until the base reaches its original depth, which is usually around 4 to 6 inches.
Once the gravel is solid and level, add a fresh layer of sand across the entire area. This top layer should be about 1 inch deep. Spread it out evenly, then use a straight two-by-four or screed board to level the surface. But don’t compact the sand; it’s meant to stay loose so the pavers can settle into place.
When you’re done, you should have a flat, even layer of sand sitting on top of a fully compacted base, ready for the pavers to go back in.
Start placing the pavers back into the sand bed, one by one, following the same pattern they were in before. Make sure to set each paver down gently—don’t slide or drop them—and press them lightly into the sand.
Once all the pavers are in place, use a rubber mallet to tap each one down so it sits flush with the surrounding surface. Work slowly and check your alignment as you go to avoid uneven spacing or a crooked finish. If anything feels too high or too low, lift it, adjust the sand underneath, and reset it.
Once all the pavers are back in place and level, use a broom to sweep jointing sand over the surface to fill the gaps. Work the sand diagonally across the joints to pack it in as tightly as possible. Go over the area a few times to make sure every joint is filled all the way to the top.
If you're using polymeric sand, grab a leaf blower and lightly sweep off the excess from the surface without pulling sand out of the joints. Then mist the entire area with water to activate the binding agents. Once the sand sets, it’ll lock the pavers in place and help prevent weeds and shifting over time.
One of the most common mistakes is only removing the visibly sunken paver instead of lifting the surrounding ones. But the issue with the base often extends beyond the sunken paver, you see, so you usually need to lift a few of the surrounding pavers.
Another potential mistake is not properly compacting the gravel base. If you pour it all in at once or tamp it too lightly, it won’t hold up over time. The base needs to be added in layers and firmly compacted to prevent future settling.
Some DIYers also try to reuse the existing sand instead of removing it completely. But even if it looks okay, old bedding sand is often uneven or already compressed, which can keep the new pavers from sitting level. It’s better to start fresh.
The best time to fix sunken pavers is during dry, mild weather, ideally in spring or early fall. You’ll want to avoid working during heavy rain, freezing temperatures, or extreme heat, since moisture can interfere with the base layers, and high temperatures can cause materials to expand or dry too quickly.
Make a habit of checking your patio, walkway, or driveway every spring, especially after a wet winter or freeze-thaw cycles. If you notice pooling water, loose bricks, or uneven surfaces, it’s a good sign the base needs attention.
Many homeowners can fix simple sunken paver projects themselves with the right tools and a free afternoon. But if the sinking covers a large section, happens near a foundation or drainage line, or keeps recurring, it’s worth bringing in a local paver pro to help. For minor repairs, the primary costs involve materials like gravel, sand, and jointing sand, which can cost between $100 and $300, depending on the size of the area. Professional hardscaping services cost $5 to $25 per square foot, depending on the project's complexity. For example, repairing a 100-square-foot area could cost between $500 and $2,500.
Supreme Brick & Chimney did a great job with a cleaning and inspection of the fireplace! He was efficient, on time, and very pleasant. The space was kept very clean, and the fireplace was spotless when he was done. He also performed a thorough inspection, and did a great job talking us...
 Supreme brick & chimney
Koby & team weâ re great! Moved our two bedroom apartment in about 4 hours, and weâ re super friendly, quick, and careful with are things.
We had our houses windows and back door replace this summer by Window Depot USA of Central. He gave us grate advise and saved my family lots money. The team did a fantastic job with installation. If you need help, they sure get job done right!
Wonderful. I am going to have them remove and replace my driveway in the spring.
 All Star Paving and Sealing
We were having 2”x 2” tile installed . There was a small installation error and the new additional replacement tile was from a different lot and the colors didn’t match. Joe assured us that he would rectify everything , which he did without hesitation. We decided to go with the 18” x 36” tile...
 CarifaTile
Did an amazing job transforming my yard. Also installed sod in places, would recommend to everyone.
Ed did a great job in installing stone to the outside of our house at a fair price
Manuel Calvillo is the best option in the area for roofing and you won't be disappointed.
All around they have done a really great job. <br /> I have used JL Landscapes for the past 8 years. I own and operate my own commercial/residential real estate company where we own, operate, and maintain our own properties. JL Landscapes has been our exclusive landscaper for both our...
 J.L. Landscapes
Outstanding experience! I needed my yard/garden/patio prepared for a party the coming weekend. I contacted Rick and he was able to schedule service that same week. He and his crew did a wonderful job removing the fall foliage, weeding, trimming back plants and hedges, even cleaning up the...
 Distinct Designs Residential Enhancements
From average costs to expert advice, get all the answers you need to get your job done.
Looking to elevate your backyard aesthetic with a patio? Use this paver patio cost guide to help you estimate your total project cost before you get started.
Discover travertine pavers costs to learn about installation, materials, and labor prices, plus tips to save on your travertine paver project.
Looking to spruce up your outdoor entertaining area? Learn how much it costs to seal pavers and what factors to consider when estimating your total.
Have you noticed your pavers sinking or would you like to forget about the stains on your driveway? Here are common paver problems and what to do about them.
Learn how to fix your paver patio drainage problem by determining the source of the water that is flooding your pavers and causing sinking, cracking, and other issues.
Laying pavers in your yard is a relatively easy project, but it does require some preparation and labor. Keep reading to learn how to lay pavers.