A deck skirt can improve the form and function of a deck. Find out what it could cost to install deck skirting in your backyard with this guide.
Keep pavers sturdy with fresh poly sand


If you're laying down pavers for a patio or walkway, polymeric sand is essential for stabilizing your paver bed. While applying "poly" sand doesn't require a ton of skill, it's an intricate process that needs your full attention. Whether you're adding new pavers or touching up an existing patio or pathway, this guide to how to apply polymeric sand will pave the way to successful application.
The first step in applying polymeric sand is checking the weather. For best results, apply sand on a day when rain isn't in the forecast for at least 24 hours. Sand needs a full day to dry and cure. One way around this rule is to use a product sold as a rapid-set polymer with a drying time of 30 to 60 minutes after application. Additionally, temperatures should be above 33 degrees Fahrenheit on application day.

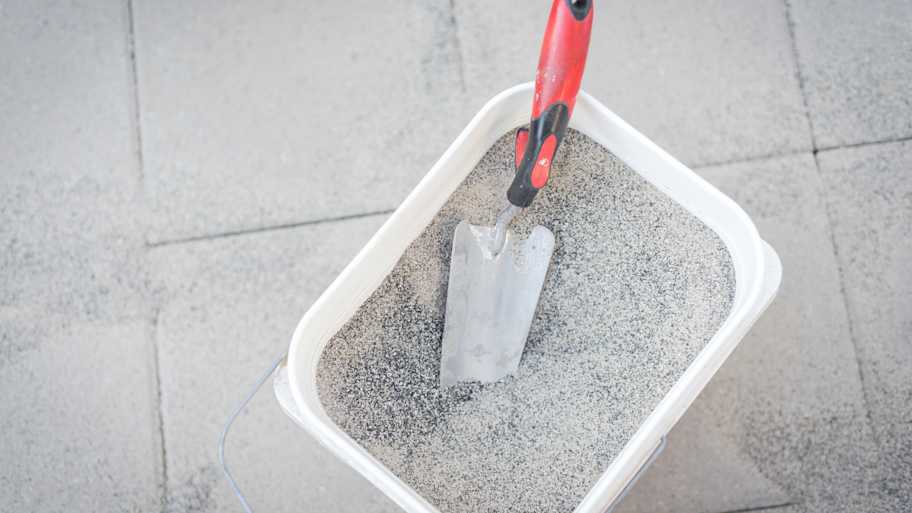
Pavers should already be in place when you add paver sand. To estimate how much sand you'll need for how to sand pavers, measure the square footage of your paver structure. In general, a traditional 40-pound bag of poly sand sold at hardware stores will cover 85 square feet. If you're reapplying sand to touch up an existing paver surface, remove any loose debris and wash pavers with mild dish soap and water to start with a clean, smooth surface. Be sure to learn how to remove pavers and replace them before applying new sand if your walkway or patio has broken pavers.

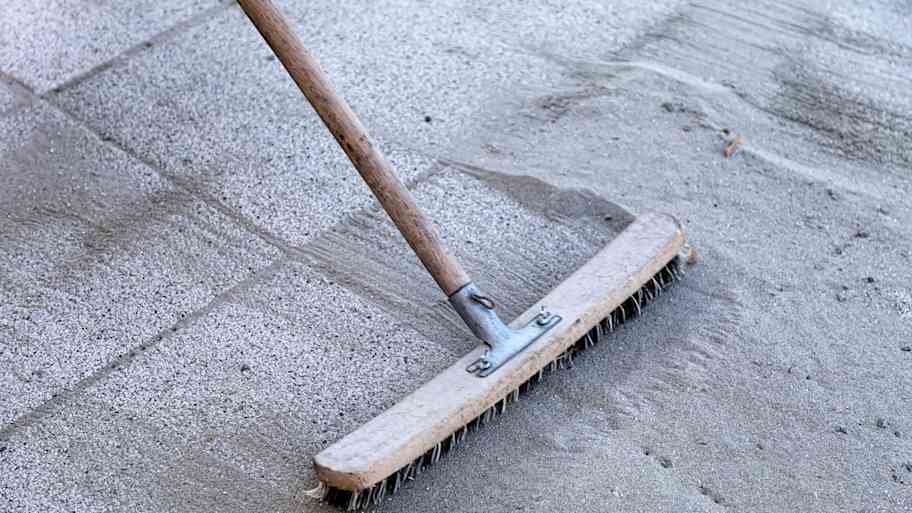
Pour poly sand over pavers. Next, help it settle into place using a stiff-bristle brush that pushes sand into the joints between pavers. Depending on the stone type, it may be best to use a vibrating motorized plate compactor to tighten the sand down between pavers. If you choose this option, protect pavers with pads or cloth prior to running the machine over them. Larger pavers or pavers made from natural stone may be too delicate for a compactor. If this is the case, simply push sand in as firmly as possible with a brush.
After compacting is done, assess the full picture to spot any areas where sand looks thin. Sweep more poly sand into the joints in these areas until everything looks fully packed and even.
Use a push broom to sweep away loose poly sand. Work gently to avoid disrupting settling sand. Next, use a leaf blower on a low setting to blow away any lingering residue. Residue removal is important in this stage of the drying process because residue can leave behind stubborn, hardened staining that will require a pressure washer for removal.
Set a garden hose on a misting setting to activate your poly sand. Misting generally requires three passes done between three and five minutes apart. While you should refer to the instructions on the label of the poly sand you purchase, the misting process generally looks like this:
Holding a hose about 4 feet from the paver surface, slowly complete a first pass for misting.
After waiting the amount of time specified on your manufacturer's instructions, use the same misting setting to complete a spraying pass from a height of about 2 feet above the pavers. During the pass, the water should create a wet rinse over the surface.
For the final pass, spray from a height of 1 to 2 feet above the surface at a faster pace. The sand should be soaked without becoming saturated. If you notice water pooling, use a leaf blower to gently separate excess water from the joints.
Once traditional poly sand is activated with water, polymers generally bind together to form durable joints within 24 hours. Foot traffic should be kept off the surface for at least 24 hours. Cars and bikes should be kept away for a minimum of 48 hours.
In most parts of the country, later spring and summer are ideal times to apply polymeric sand to pavers. For best results, you should add sand during a consistent period of dry weather with temperatures above freezing. Warm, dry conditions give the activated polymers within the sand time to cure and harden to create a rigid, durable surface. If polymers don't have an opportunity to cure properly, there's a risk of sand washing that will force you to redo the project.
Learning how to use paver sand is a realistic DIY project for most homeowners. For the average homeowner, the biggest challenge is renting a vibrating compactor. This large, vibrating machine can be intimidating to use. Additionally, you need to be familiar enough with stone types to know if your particular pavers are durable enough for motorized compaction. While vibrational compaction is the best way to create a firm, cohesive sand bed, it could cause delicate or large pavers to break.
If you prefer to get this project done professionally, hire a company offering paver installation near you when installing a new paver surface or adding extra sand as part of paver maintenance.
From average costs to expert advice, get all the answers you need to get your job done.

A deck skirt can improve the form and function of a deck. Find out what it could cost to install deck skirting in your backyard with this guide.

Flagstone gives your outdoor space a gorgeous, rustic feel. Find out the cost of flagstone per square foot or per ton. Our expert cost guide helps you plan your budget for your flagstone project from walkways to patios to walls.

Learn the cost of a metal awning for your home. Discover the essentials of installation, materials, and labor, and explore ways to save on your project.

Ready to upgrade your outdoor spaces? Turn your deck into a place you love to show off with these 15 rail design ideas.

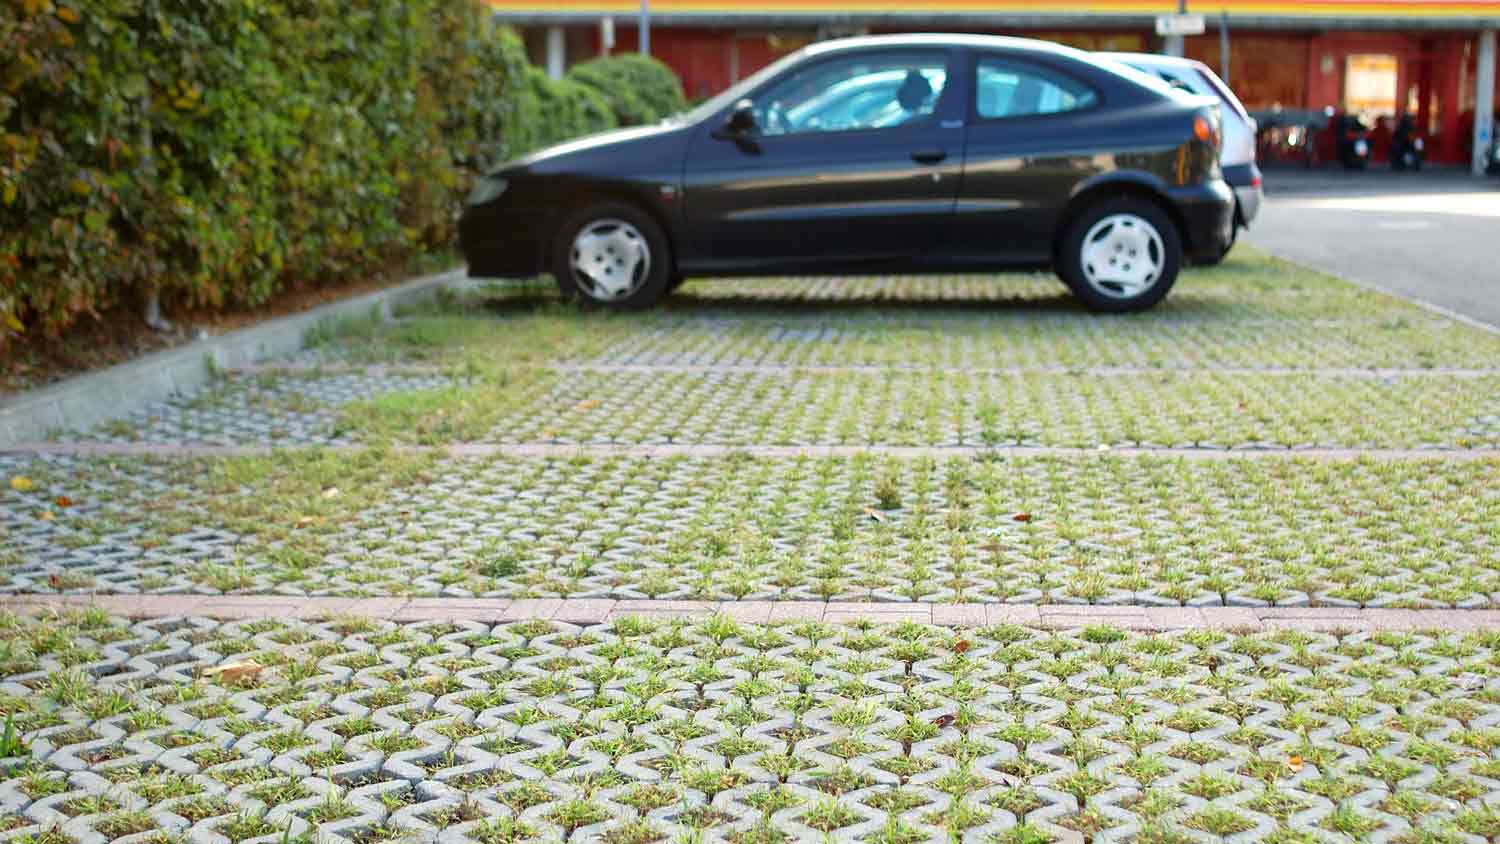
Permeable pavers help reduce runoff, prevent flooding, and boost curb appeal. Use this guide to learn how much permeable paver installation costs based on factors like size and material.

Sealing a deck can protect it from moisture and rot. But will liquid rubber cover between deck boards? Learn all about liquid rubber for decks here.