
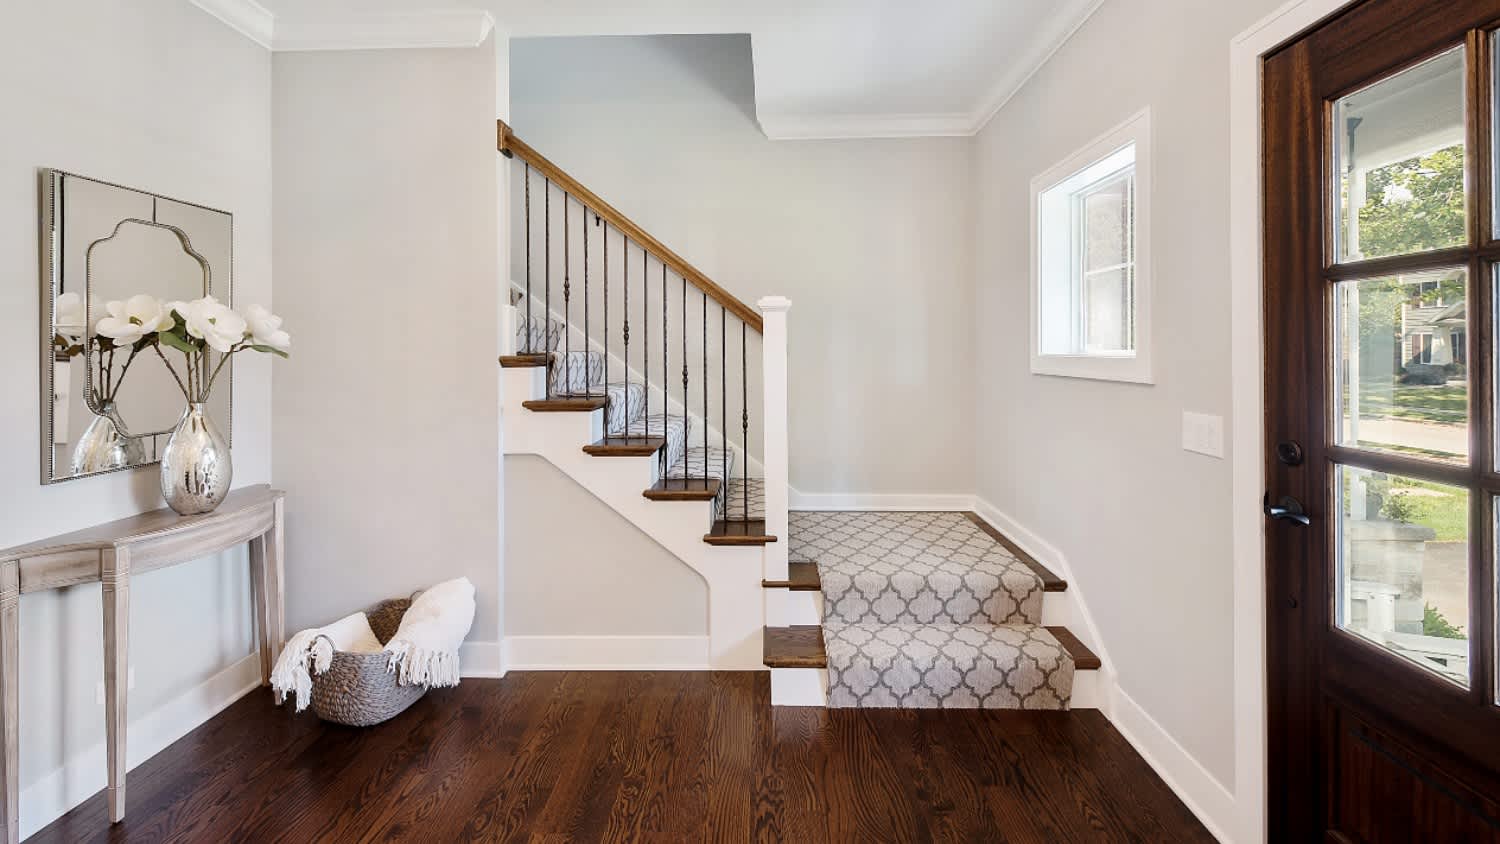
Installing new baseboards can totally refresh the look of your walls. Learn about the cost to install baseboards in your home.
Here’s how to hide gaps for good

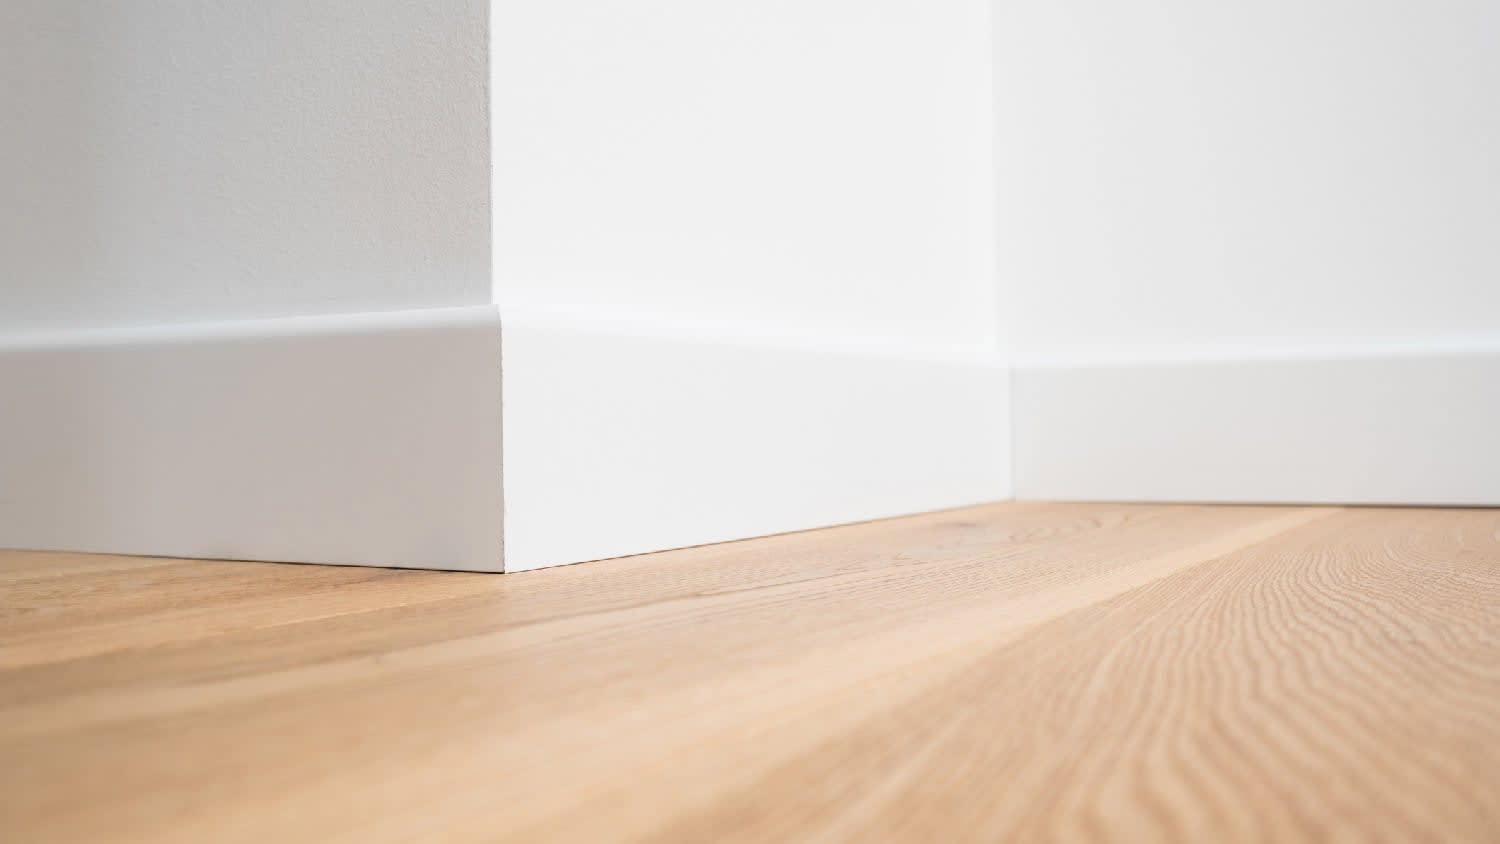
Gaps between your floor and baseboards form from house settling, improper flooring installation, seasonal wood movement, or baseboard gap filler issues with trim positioning.
Paintable caulk handles gaps up to 1/2 inch wide and provides a smooth finish you can paint to match your baseboards after application.
Quarter-round or shoe molding covers larger gaps effectively, with installation requiring precise miter cuts and nailing into the baseboard to prevent splitting.
Hiring a local baseboard installation professional helps identify the root cause and complete repairs that prevent gaps from returning as your home settles.
Gaps between your floor and baseboards are more than just an eyesore—they're an open invitation for dust, debris, and even pests to gather in hard-to-reach places. Whether you're dealing with settling in new construction, flooring installation issues, or seasonal wood movement, these unsightly spaces can make even the tidiest room look unfinished. Learn how to fill the gap between your floor and baseboard, which is a straightforward DIY project that can dramatically improve your home's appearance and cleanliness.
Understanding why gaps appear between your floor and baseboards can help you choose the most effective repair method and prevent future issues. Several common causes create these unwanted spaces in your home:
House settling represents the most frequent culprit, especially in newer construction. As your home's foundation adjusts to soil conditions and seasonal changes, the walls can shift slightly, pulling the baseboards away from the flooring. This typically occurs within the first few years after construction.
Improper flooring installation often leaves gaps when contractors don't account for baseboard positioning during installation. Pros should maintain consistent spacing, but DIY installations or rushed professional work sometimes result in uneven gaps along the wall's length.
Seasonal wood movement affects both hardwood floors and wooden baseboards as humidity levels fluctuate throughout the year. Wood expands during humid summer months and contracts in dry winter conditions, creating varying gap sizes depending on the season.
Baseboard installation issues can leave gaps when trim pieces aren't properly fitted to uneven floors. Old homes with settling floors or walls that aren't perfectly straight often present challenges during baseboard installation.
The best time to fill gaps is when you’re about to tackle touch-ups or painting, as most filling methods require painting or staining to match existing trim work. However, not every gap requires immediate attention, but certain situations make repair a priority for both aesthetic and practical reasons.
Gaps larger than 1/4 inch should be addressed promptly, as they collect significant dust and debris while allowing air infiltration that can impact energy efficiency. These larger spaces also provide hiding spots for insects and small pests.
Visible gaps in high-traffic areas such as living rooms, dining rooms, and main hallways create an unfinished appearance that you’ll notice (and find annoying) every time you pass by.
Gaps that trap dirt and debris require attention regardless of size, especially in homes with pets or children. Areas near entryways or kitchen spaces accumulate grime quickly in unsealed gaps.

The best method for filling gaps depends on the size of the gap, your skill level, and the desired aesthetic outcome. Each technique offers specific advantages for different situations.
Paintable latex caulk provides the most versatile solution for gaps up to 1/2 inch wide, creating a smooth, professional-looking finish that can be painted to match your baseboards.
Materials needed:
Paintable latex or latex-silicone caulk
Caulking gun
Painter's tape
Putty knife or smoothing tool
Primer and paint to match baseboards
To caulk your baseboards, apply painter's tape along the floor edge to protect the flooring. Load your caulking gun and apply steady pressure while moving along the gap, maintaining a consistent bead size. Use a putty knife or your finger to smooth the caulk flush with the baseboard face, creating a seamless transition.
Remove the tape immediately after smoothing while the caulk remains wet. Allow the caulk to dry completely before priming and painting your baseboards, ensuring the caulk blends seamlessly.
Flexible trim strips provide an easy solution for irregular gaps that traditional methods can't address effectively.
Materials needed:
Flexible trim strips
Utility knife
Measuring tape
Adhesive (if required by manufacturer)
These modern products conform to uneven surfaces and varying gap sizes along a single wall. Simply measure, cut to length, and press into place. Most flexible strips feature adhesive backing for easy installation without tools.
This method works particularly well for temporary solutions or rental properties where permanent modifications aren't permitted.
Wood filler works best for gaps smaller than 1/8 inch, particularly when you want to maintain clean lines without adding molding. This method creates the most seamless appearance but requires more skill and patience to achieve professional results.
Materials needed:
Paintable wood filler
Putty knife
Sandpaper
Primer and paint
Apply wood filler with a putty knife, slightly overfilling the gap. Let the putty dry completely, then sand it smooth. Next, prime and paint to match the surrounding surfaces.
Quarter-round molding excels at covering significant gaps between baseboards and flooring, with its larger radius providing excellent coverage for gaps up to 3/4 inch. Shoe molding offers a sleeker profile than quarter-round while effectively covering gaps between baseboards and floors, creating a smooth transition and finished appearance. The thinner design works particularly well in modern homes or spaces where you want minimal visual impact.
Materials needed:
Quarter-round or shoe molding
Finish nails (1.5-2 inches)
Miter saw
Nail gun or hammer
Wood filler
Sandpaper
Paint or stain
For quarter-round, measure and cut pieces using a miter saw, cutting baseboard corners to create 45-degree angles for professional-looking joints. Position molding against both the baseboard and floor, ensuring consistent contact along the entire length.
For shoe molding, cut precise miter joints at corners and nail into the baseboard rather than the floor to allow for natural wood movement. This installation method prevents gaps from reopening as seasonal humidity changes affect your flooring.
Nail through the center of the molding into the baseboard every 12 to 18 inches to prevent splitting and ensure secure attachment. Fill nail holes in your baseboards with wood filler, sand smooth after drying, then paint or stain to match your baseboards or flooring.
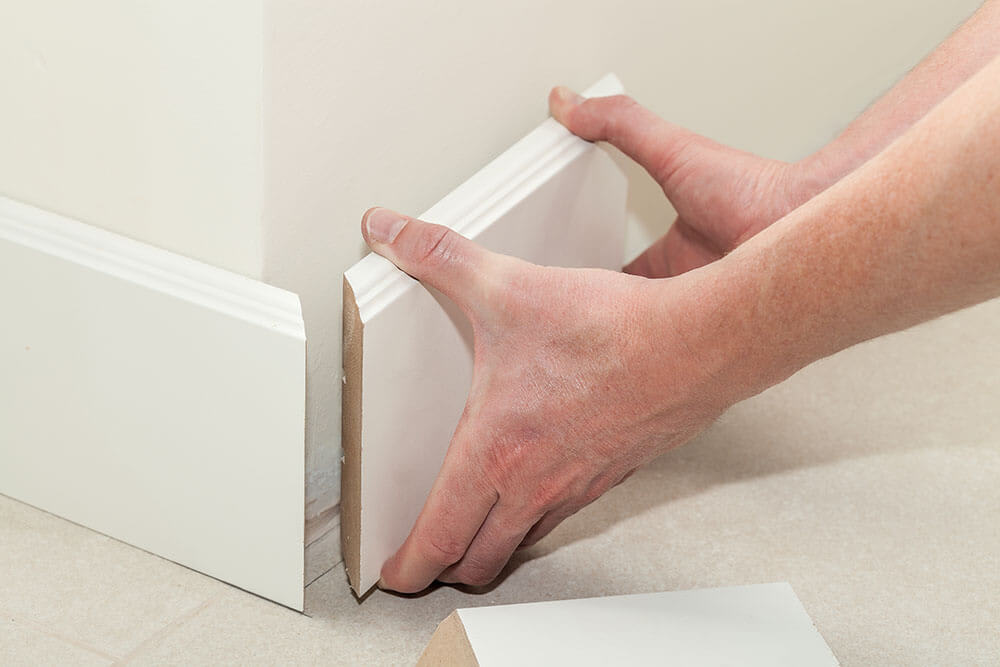
Replacing baseboards becomes the best solution when there are numerous gaps exceeding 1 inch, the existing baseboards are damaged or warped, or you're renovating the entire room and want a fresh start with properly fitted trim.
Materials needed:
New baseboards
Miter saw
Nail gun or hammer
Finish nails
Pry bar
Wood filler
Sandpaper
Paint or stain
This comprehensive approach ensures a perfect fit and eliminates gap issues entirely. Start by carefully removing baseboards to avoid wall damage. Use a pry bar to gently separate trim from walls, working slowly to preserve pieces that might be reused elsewhere.
Choose the best wood for baseboards based on your room's moisture levels and aesthetic preferences. For example, pine works well for painted applications, while hardwoods such as oak provide durability for stained finishes. Choose from the many types of baseboards for your space, or match your existing trim.
Cut carefully, then install new baseboards flush against the flooring, ensuring consistent positioning along the entire wall length. After installation, fill any nail holes using before applying primer and finish coats.
Complete your project by caulking baseboards where they meet walls, creating seamless transitions that prevent future gap formation. This final step ensures your new baseboards look professionally installed and remain gap-free for years to come.
Preventing gaps saves time and maintains your home's finished appearance year-round. Proper installation techniques and environmental controls minimize gap formation. Aim to:
Control indoor humidity levels between 30% to 50% using humidifiers in winter and dehumidifiers in summer. Stable humidity reduces wood movement that creates gaps as materials expand and contract.
Install properly when getting new flooring or baseboards. Leave proper expansion gaps for wood flooring while ensuring baseboards sit close enough to cover these spaces effectively.
Address settling issues promptly by monitoring new construction for gap development during the first two years. Early intervention prevents small gaps from becoming bigger problems.
Regular maintenance inspections help catch developing gaps before they become noticeable. Check areas prone to movement, such as exterior walls and corners, seasonally for emerging issues.
Most homeowners can successfully tackle baseboard gap filling as a DIY project, especially for straightforward applications using caulk, flexible strips, or wood filler.
DIY advantages include significant cost savings, flexible timing, and the satisfaction of completing your own home improvement. Professional help becomes valuable for complex installations involving intricate molding profiles, extensive miter work, or homes with significant settlement issues that require a structural assessment. Baseboard installers near you can evaluate underlying causes and recommend comprehensive solutions.
Incredible workers! Very skilled with the machinery, climbing, cutting, roping, and removal. Handled everything. Professionals!
 Hoffman Expert Tree Services
I m so impressed with Custom Paint Jobs LLC s craftsmanship. They truly care about quality.
Window Depot did an amazing job on my deck. I wasnt sure what I wanted to do, but their composite decking was affordable and will last a long time. I am excited to have family over, and I am no longer embarrassed by my backyard. Jeff and the ground crew were polite, respectful, and caring for...
Storms Mobile Welding was great to work with. They were prompt, professional and did an overall excellent job on the project. I highly recommend.
Great job...edging and pre clean up went well with a great job with seal coat. Friendly, efficient and professional.
 All Star Paving and Sealing
Great tree company, very professional and honest. Glad we found them, they had the best pricing
It was wonderful working with Yordy and his team. They were very professional and are experts in what they do. They have completed the work on time, with better quality and with in fairly reasonable price. We just started with backsplash work , but liking his work, we went on to provide...
The job went extremely well. Work was done as promised and the job came out better than expected due to Mr. Moyer's commitment to excellence and personal pride in providing the best work possible. He is one of those professionals who is not satisfied until the customer is completely happy...
 Pro Flooring
We needed to have a wall cabinet resized so that we could fit a larger refrigerator underneath. I removed the cabinet from the wall myself and brought it in, where Wally was able to resize it for me in his shop. The results were perfect: it's exactly the size that I asked for, and...
 Pioneer Woodworks
The work was almost completed when we gave the owner Tim Barton $400 as a downpayment to be put on his list for work in the future after we had new woodwork installed.The next day Mr. Barton had difficulty installing a door handle and took the position that it was broken before his employee...
 Above And Beyond Painting LLC
From average costs to expert advice, get all the answers you need to get your job done.
Installing new baseboards can totally refresh the look of your walls. Learn about the cost to install baseboards in your home.

Yes, you can fix gaps in laminate flooring. Use these helpful tips to repair end gaps and parallel gaps in floating laminate wood floors.

If you’re putting in new carpeting, you may be wondering if you should install your baseboard before or after carpet. Here’s how to do it the right way.
Baseboard holes are no small blemish. They're easily visible in a room. Learn how to fill nail holes in baseboards to keep walls clean and smooth.
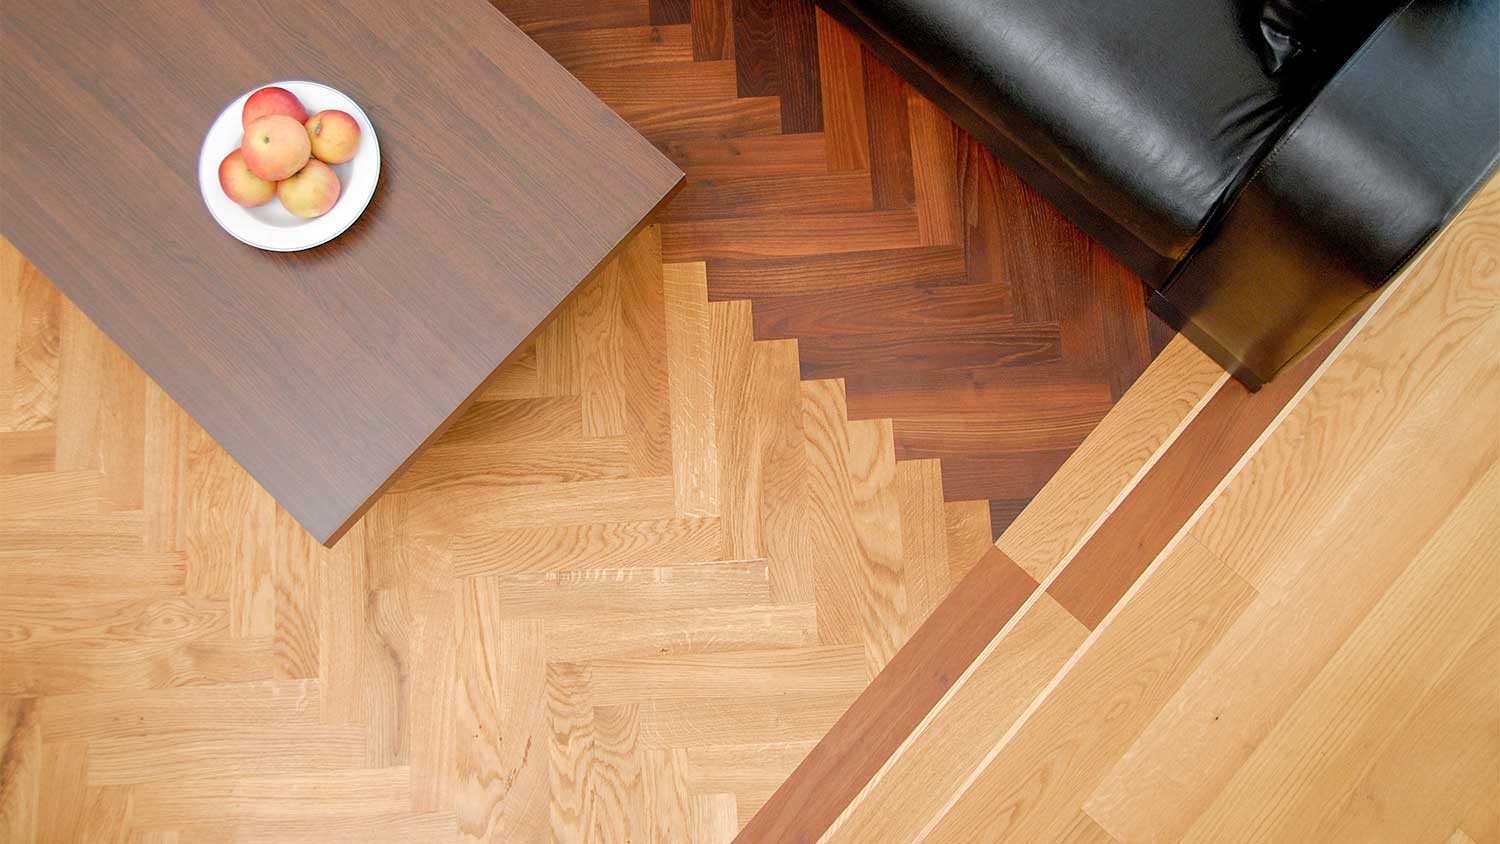
Blending your flooring from room to room is an artform, but one you can learn. Learn how to transition between two different wood floors.
As homes settle, baseboard may separate from the wall and leave pesky cracks. Learn how to caulk trim and baseboards and refresh your space in this guide.