Get a clear estimate of the cost of a custom desk, including average prices, key cost factors, and tips to help you budget for your home office project.
Heavy is the head that installs the crown molding


Crown molding adds timeless elegance to any room, but installing it requires skill, precision, and the right tools. When hiring a crown molding installer, opt for a local crown molding installer, such as a trim carpenter or finish carpenter, with experience in interior molding and custom millwork. They’ll ensure clean corners, secure placement, and a professional finish (and bonus: no mistakes for you to shake your head at every time you walk by).
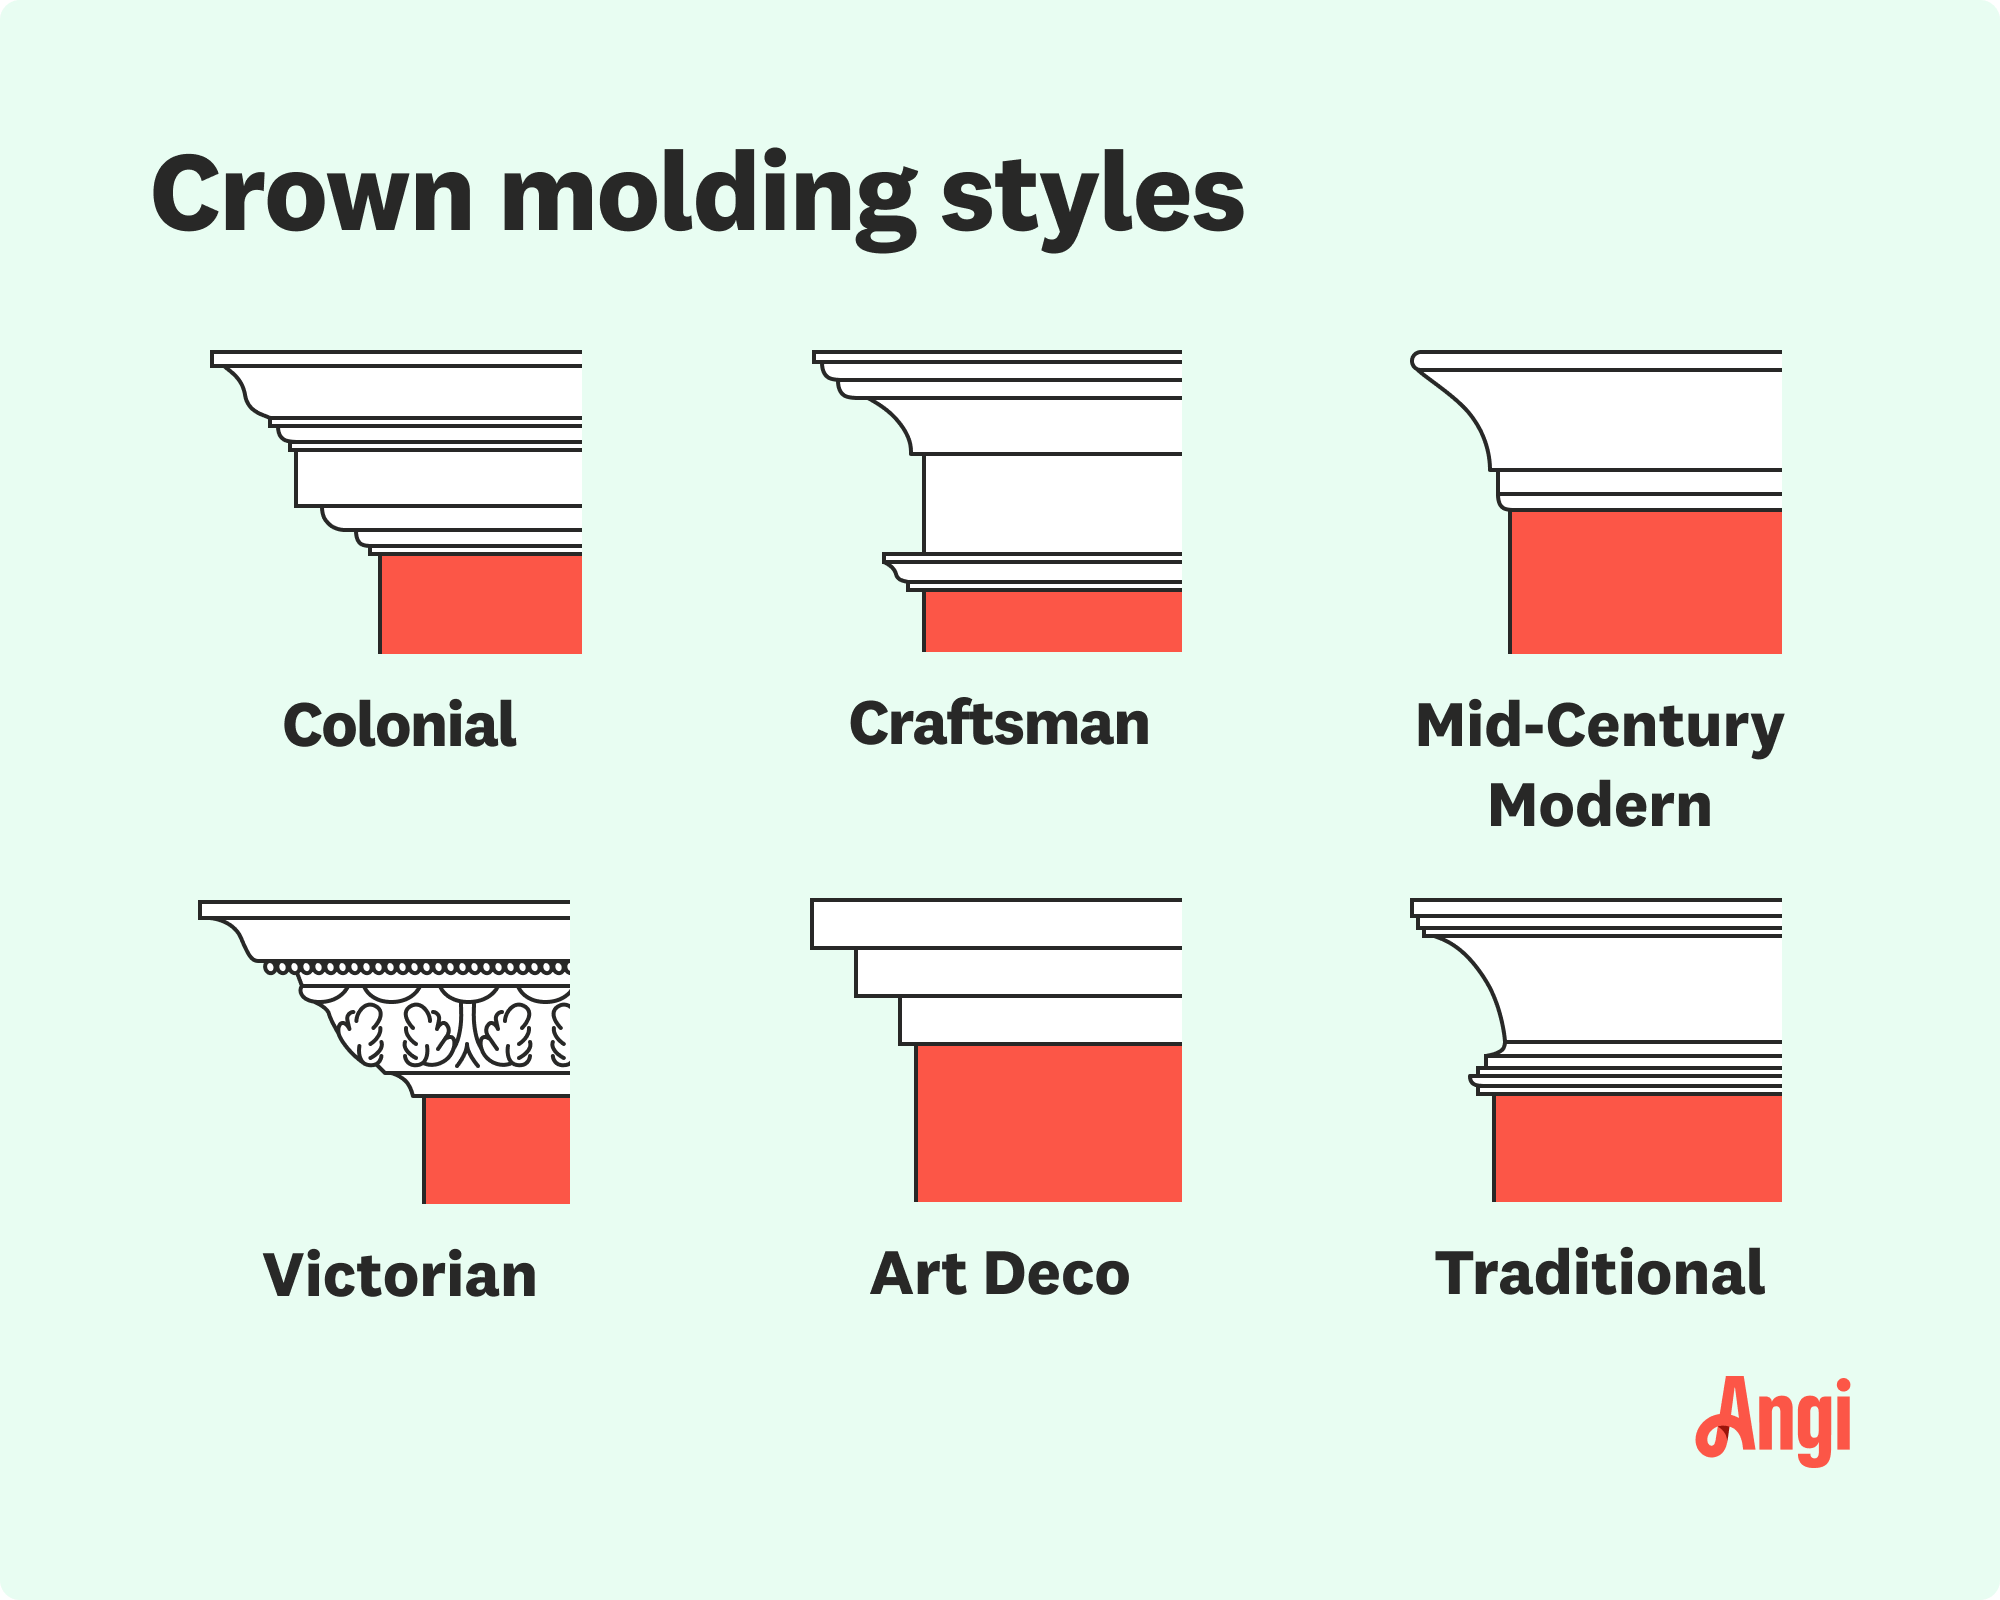
Trim carpenters and finish carpenters are the best professionals to install crown molding. They specialize in intricate woodwork, including baseboards, door casings, and molding, ensuring precise cuts and seamless joints. These pros bring the right equipment and know-how to handle tricky corners, irregular ceilings, and intricate designs.
Benefits of hiring a trim carpenter include:
Precision cutting: They know how to make accurate compound miter cuts for perfect corner joints.
Experience with ceiling variations: Homes aren’t always level, but trim pros can adjust cuts to match.
Finishing touches: They’ll caulk, fill, and paint for a seamless, built-in look.
Time savings: What could take a DIYer two weekends might take a pro just a few hours.
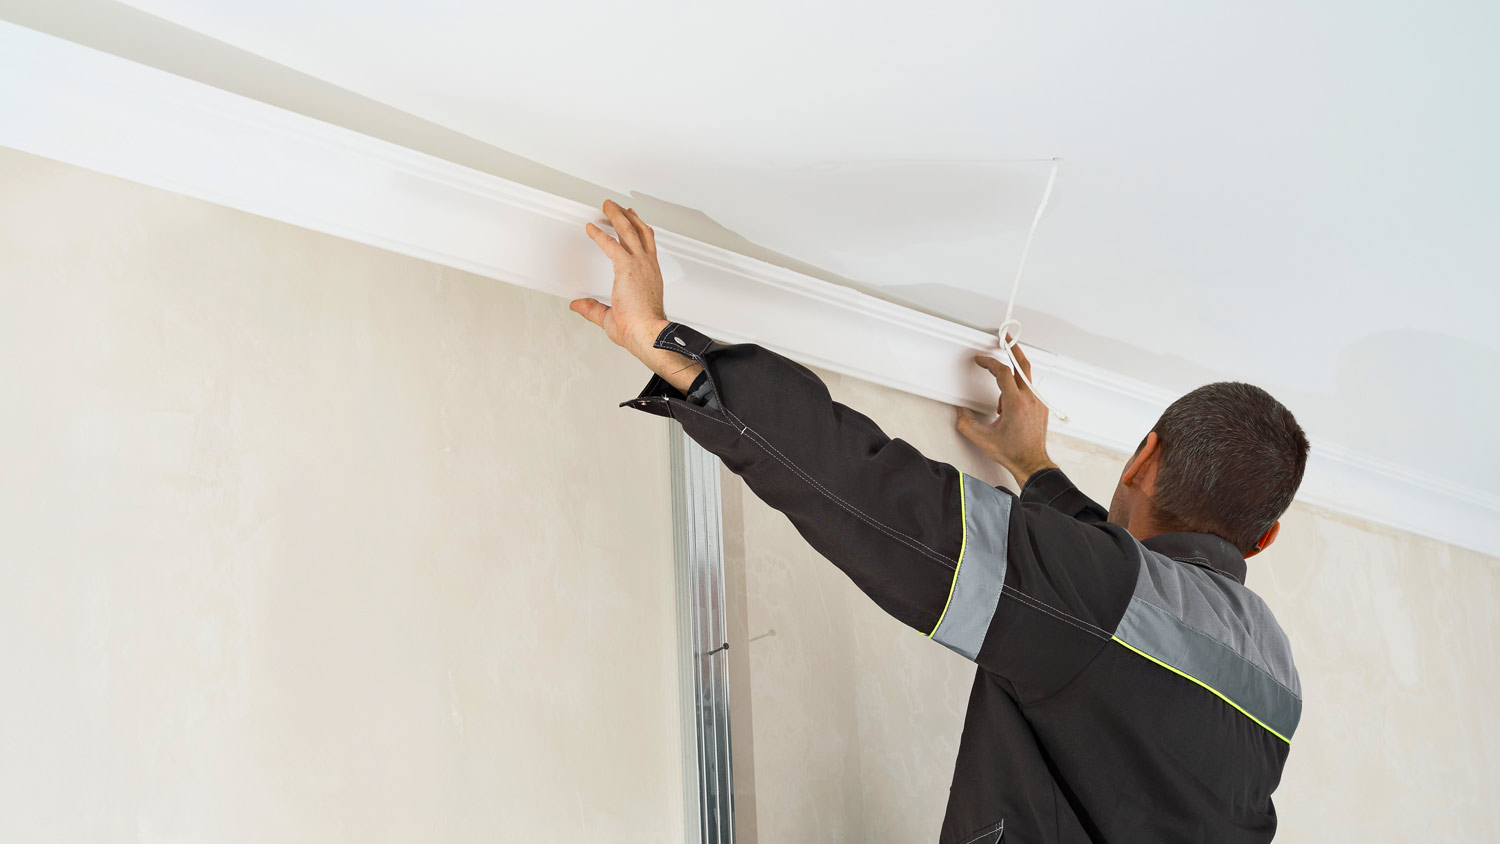
Yes, you can hire a handyperson to install crown molding, especially for smaller or more straightforward projects. However, not all handy people have the precision skills needed for intricate trim work. Crown molding requires compound miter cuts, which can be tricky without specialized tools or experience. If you're aiming for a high-end result or dealing with tricky cuts, hiring a finish carpenter is a smarter long-term investment.
Installing crown molding isn’t just about attaching trim—it’s a multi-step process that requires accuracy, patience, and the right materials. Here’s how a pro typically handles the job:
Measure the space and map out cuts to match the room’s corners and angles.
Choose the right materials, factoring in moisture resistance, paintability, and room style.
Make precision cuts using a miter or coping saw, depending on the corners.
Locate studs and apply construction adhesive where needed.
Secure the molding with a nail gun or finishing nails.
Fill gaps and seams with caulk or wood filler.
Paint or stain the molding to match your room’s aesthetic.
The cost to install crown molding ranges from $4 to $23 per linear foot, depending on the type of molding you choose and the room’s complexity. Intricate designs, high ceilings, or custom molding may increase the price. Compared to the cost of your crown molding materials, expect labor to account for more than 50% of your total project cost.
Installing crown molding in your home can offer a healthy ROI of between 50% and 80% on average. Thanks to its aesthetic value, your investment return on a premium finish like this will be at the top of that range in high-end or move-in-ready markets.
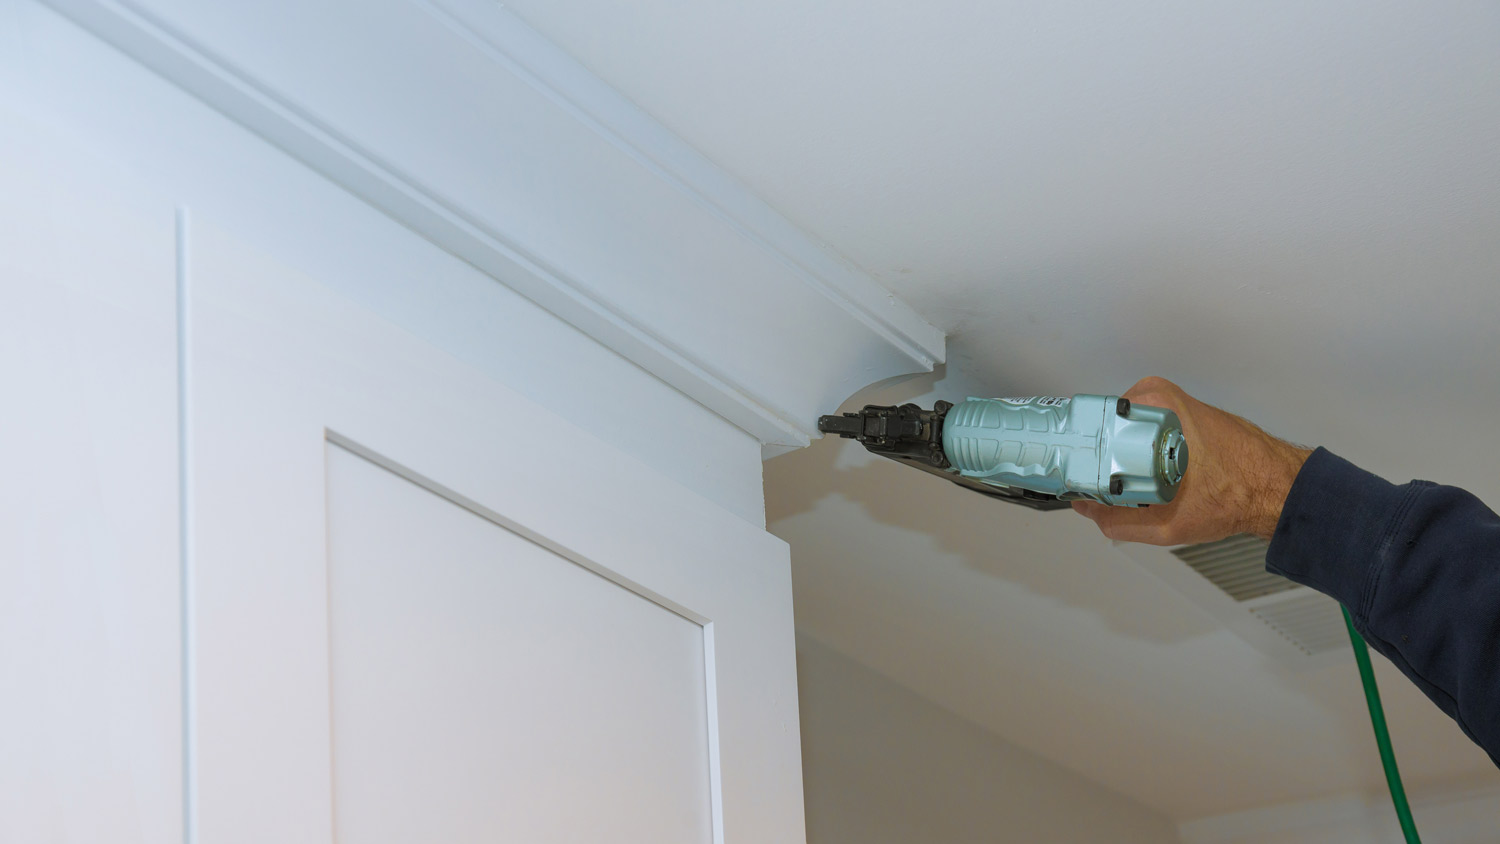
DIY crown molding is possible, but hiring a pro ensures tight joints, clean cuts, and a polished look—especially for angled walls or intricate styles. With DIY, you may save on labor costs and have complete control over the design. However, you’ll have to tackle challenging cuts and angles yourself, run the risk of gaps or a poor finish, and, of course, take up your precious time.
From average costs to expert advice, get all the answers you need to get your job done.

Get a clear estimate of the cost of a custom desk, including average prices, key cost factors, and tips to help you budget for your home office project.

The cost to install wainscoting depends on labor, materials, and square footage. This guide will help you budget for your next project.

Whether you need to heat your home for the winter or simply enjoy lighting a fire occasionally, it's helpful to know the cost of a cord of wood in your area.
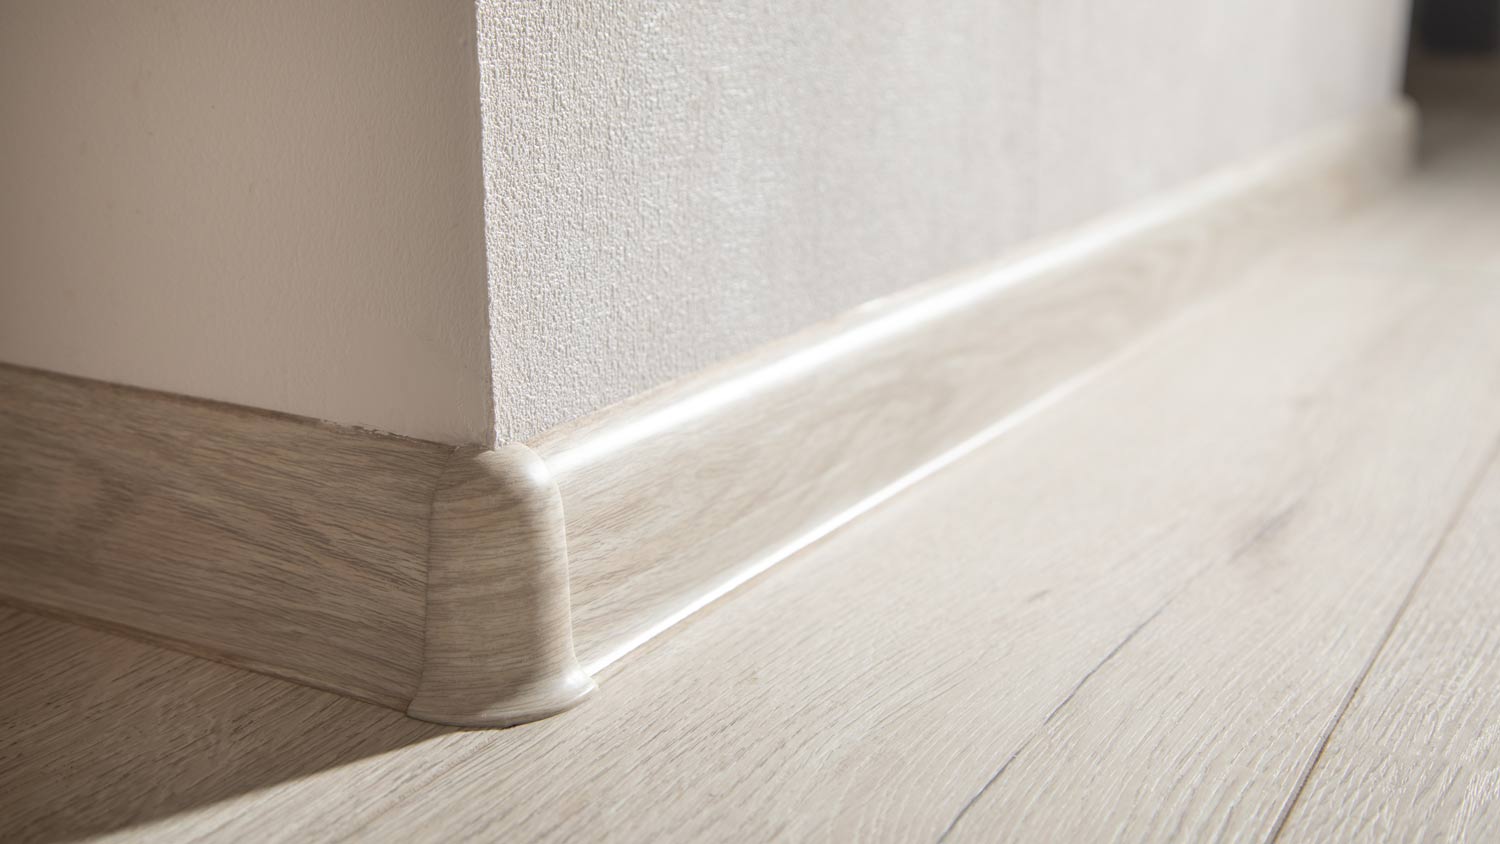
Installing vinyl baseboards can be a great DIY project for those who like to tackle smaller projects. Learn what steps to take to ensure a proper installation that looks amazing.

What are baseboards? They’re the narrow pieces of trim that fit along the walls near the floor, providing a stylish look and protection for walls.

While both can perform most carpentry work required for house projects, the major difference between a journeyperson vs. a master carpenter is their years of experience.