

If your crown molding has edges or seams, you may want to caulk it. You can DIY this work or hire a pro—use this guide to learn the cost for both.
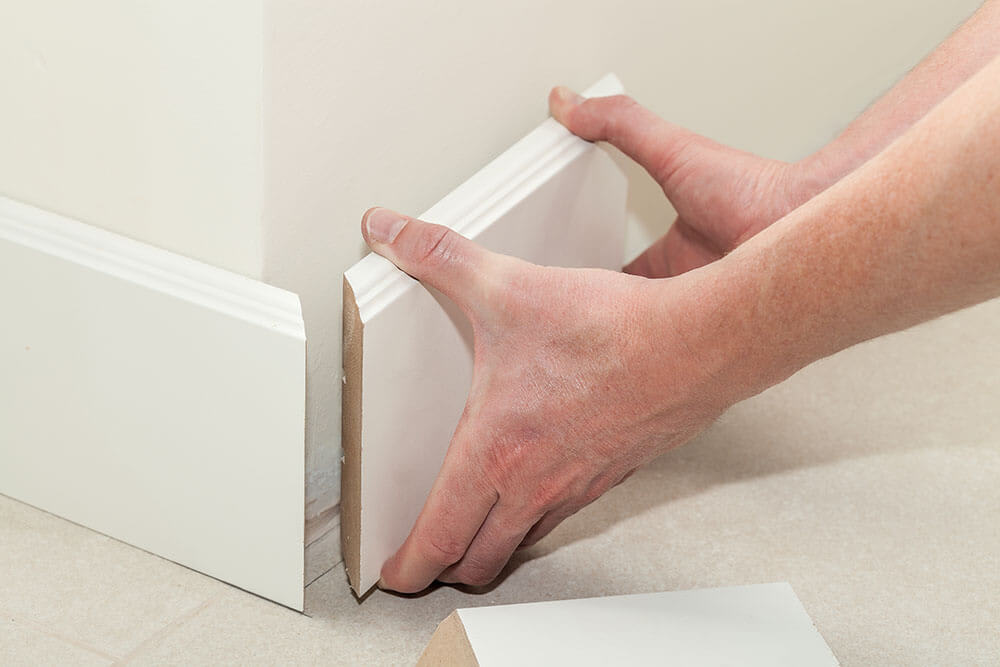
Easily refresh your baseboards by sealing small cracks between walls and trim

The best way to cut a caulk tip is at a 45-degree angle with a utility knife, creating an opening slightly larger than the seam you need to fill.
Expect to pay $3 to $65 for DIY baseboard caulking materials, including caulk, a caulking gun, painter's tape, and basic supplies for your project.
Wet your fingertip with warm soapy water before smoothing the caulk bead, and remove painter's tape while the caulk is still wet to avoid pulling off dried material.
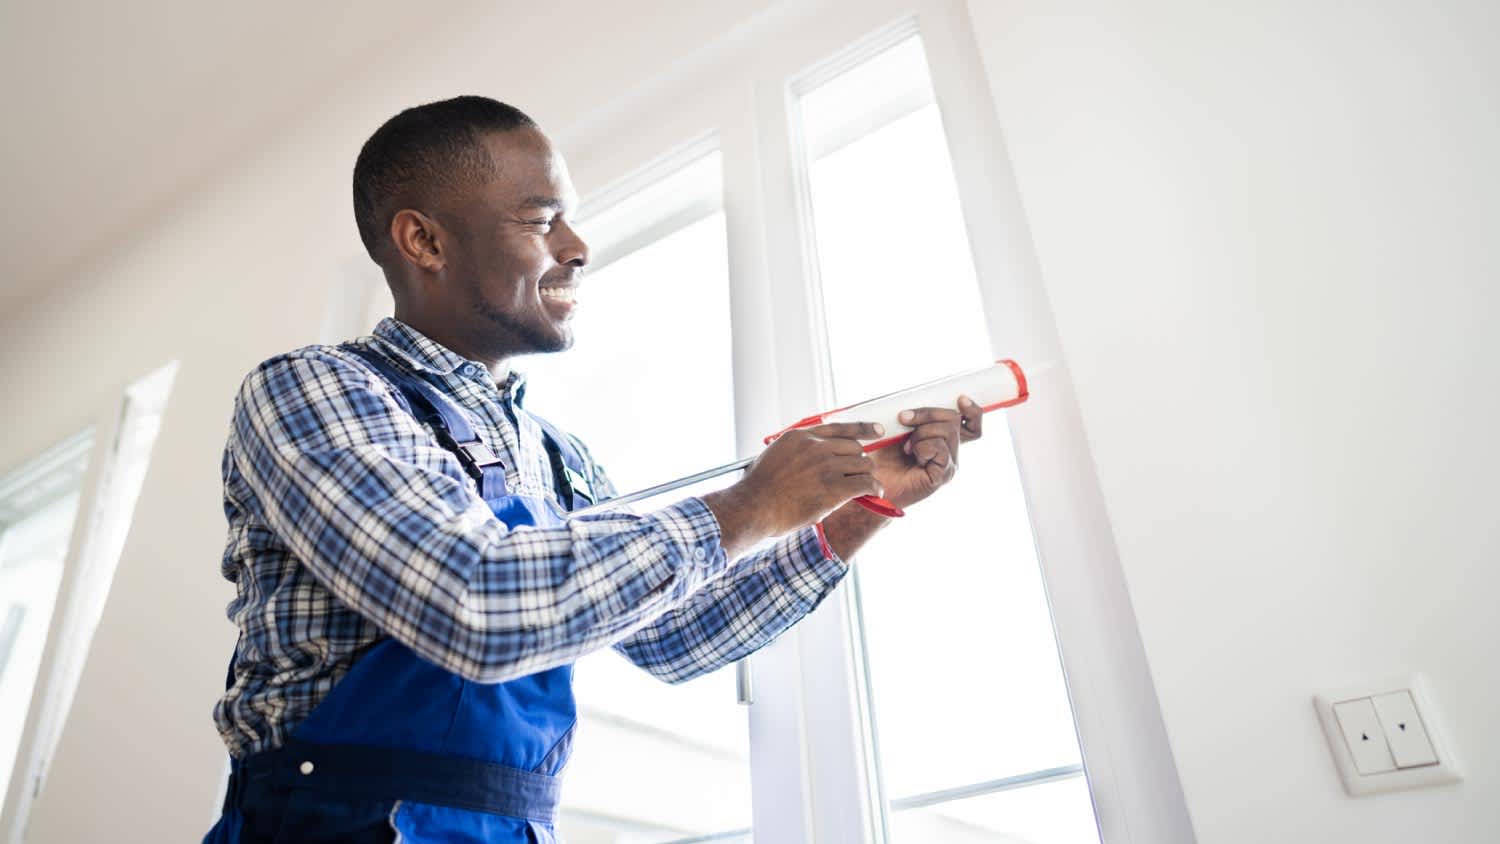
Hiring a local handyman professional takes the guesswork out of caulking baseboards, ensuring smooth application and proper surface preparation for a lasting seal.
Cracks between your baseboards and wall can happen as your home settles over time, leaving pesky gaps and crevices. With caulk, you can fill these gaps to bring new life into your existing space without much effort.
Caulking baseboards is a fairly easy DIY project, as long as you understand what goes into the process. But if done incorrectly, the end result can be worse than when you started. Follow these steps to ensure a long-lasting and attractive seal.
You may be surprised to find out that there are many different caulking compounds to choose from. For this project, you’ll want a paintable caulk, which is different from the caulk you may use when sealing your countertop or caulking your shower.
Look for a latex-based caulk at the hardware store that will allow you to paint your trim and the substance. Words to look for include latex, acrylic, and paintable.
Filling the gaps between your wall and baseboards is an easy weekend DIY project that can make a big impact. With just a few supplies and a little elbow grease, you can bring new life to your space in just six steps.
It’s extremely important that you take time to prepare all your surfaces to get a smooth and lasting caulk application.
Follow these steps to get your baseboards ready for caulk repair:
Remove old caulk: Using your putty knife, cut out all old caulk so that the surface is smooth and empty.
Check for damage: Look for any nails sticking out or damage to your current baseboard and sink them with a nail set and hammer. Fill and sand any holes with wood filler.
Clean up grime: Baseboards often become a landing place for dust, pet hair, and dirt, so dust or wash your baseboards before you begin.
Wash joint: As a final step, wash the joint surface with water or an all-purpose spray.

For beginners, painter’s tape can make or break many DIY projects—including caulking baseboards and trim. Apply painter’s tape in a straight line along both the baseboard molding and the wall, leaving a small strip for the caulking.
This step will ensure a straight and smooth line.
To open a caulk tube, use a utility knife to cut the tip of the nozzle at a 45-degree angle. Then, insert a long, clean nail or wire into the nozzle a few times to puncture the inner seal.
You can also buy a caulk gun with a built-in snipper and included puncture wire to simplify this step.
How you open the caulk tube will determine the size of your seam, so be thoughtful during this step. You want the opening to be just slightly larger than the seam you’re trying to fill.

Apply the caulk at a 45-degree angle along your baseboard, slowly drawing the tip of the tube along the length of the joint as you gently squeeze the handle of the caulk gun.
Work in a continuous direction using a steady amount of pressure to produce an even bead of caulk along the seam.
Note: If you’re unsure about this step, take a moment to first test your approach on a piece of paper. This will help you see if you’re using the right amount of pressure and if your opening is appropriate. Then, start in a hidden corner of the room just in case it takes a few runs to get it right.
Wet your fingertip in warm soapy water and lightly drag it along the length of the bead. Make sure to wash off any excess caulk on your finger routinely throughout the process, as this can lead to a bumpy or patchy caulk line.
Even if you don’t get excess caulk on your finger, remoisten regularly. Water will act as a lubricant and thinning agent to help properly smooth the joint.
You can also use a caulk finishing tool for this step as well.

While the caulk is still wet, remove the tape by pulling upwards at a 45-degree angle away from the surface. If there’s any excess caulk left after removing the tape, wipe it away with soapy water.
Waiting too long to remove the tape can result in pulling off dry caulk and needing to possibly start the project over again.
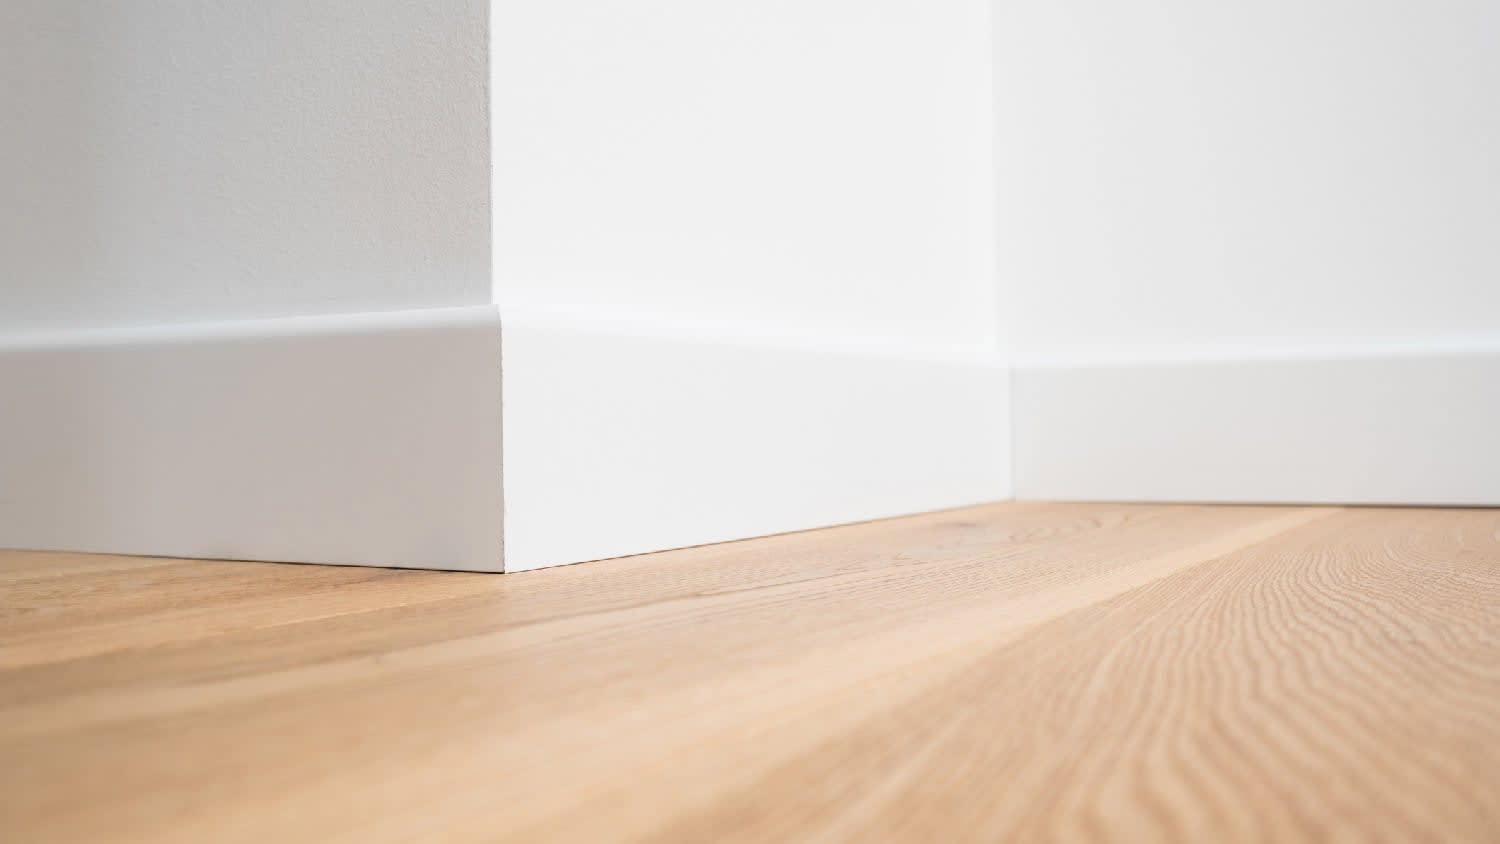
As you can tell, caulking a baseboard is a pretty easy process, albeit a bit lengthy in steps. And luckily, because this project is mostly cosmetic, doing it incorrectly can be fixed with some simple paint or by using a scraper.
A tube of caulk costs between $3 to $10, plus $5 for a caulking gun (unless you buy a squeezable tube). For those who have the rest of the supplies already, buying caulk is usually the only real cost with this project. If you need to purchase the rest of the materials, you should expect to spend an additional $20 to $40.
If you don’t have the time or patience to properly check off every step or have larger cracks or damage that needs repaired, you can hire a local handyperson to do it for you. The cost of hiring a handyperson is between $60 to $125 per hour on average.
Look for labels on the caulk like latex, acrylic, or painter’s caulk. These are all appropriate caulk options for this project.
If the gap continues to return even after applying caulk, you may want to purchase a more flexible caulk formula, like a hybrid of silicone and polyurethane.
Gaps are common in older homes as they settle. You can use most of the steps above for large gaps between your trim or baseboard molding and wall, making sure to cut a bigger hole in your caulk before beginning. You want your hole to be slightly larger than the gap that you’re trying to fill.
Excellent, Prompt, Courteous Service!!! They were super friendly and quite personable. I felt very comfortable with the gentlemen that did the installation. They installed it exactly where I asked them to and they did an excellent job!! I loved their service so much.
Ace Fireplace Services' chimney sweep service is truly exceptional. They used advanced technology to ensure a thorough cleaning process, and my chimney has never looked better. I highly recommend their services.
 Ace Fireplace Services
Binion and Alex did such a good job. Fast, fair, efficient. Would def use them again. Best experience Iâ ve had in moving - someone should give them a raise. Will undoubtedly recommend this service.
Great customer service. The owner Ilia was wonderful to work with. Would definitely recommend this company.
I definitely recommend Ramonaâ s cleaning service! I have booked services with her many times and she arrives on time, ready to work and provides a great service.
Excellent experience! Left my place looking great. Friendly customer service too. Would recommend!
The service was excellent! They gave me a quote, and had it done 4 days later. My driveway looks amazing, very professional! I would definitely recommend their service to anyone. I have had neighbors stop by and ask for their information as well.
 All Star Paving and Sealing
Webb â s was priced well, flexible on scheduling, great with communication, and detailed in their work. Iâ ll definitely use their services again.
They’ve been great to work with. All of my clients that have used them have nothing but good things to say about the experience. Quick responses and fast service. They’re a trustworthy team!
 Total Home Roofing
Mary cleaning service does an amazing job cleaning my home. They go over and beyond the cleaning services that I have had in the past. They are very punctual and thorough with cleaning my home, I’m extremely happy with the service they provide and I highly recommend them.
From average costs to expert advice, get all the answers you need to get your job done.
If your crown molding has edges or seams, you may want to caulk it. You can DIY this work or hire a pro—use this guide to learn the cost for both.

For a bathroom remodel, touch-up, or home perimeter, caulking is worth the investment. Find out average costs for window caulking, shower caulking, and more.
Installing new baseboards can totally refresh the look of your walls. Learn about the cost to install baseboards in your home.

Learn how to close gaps between your floor and baseboard with caulk, molding, or strips. Discover the best methods for different gap sizes in this DIY guide.
Caulking isn’t as easy as it looks, but with some tricks, even a beginner can do it like a pro. This guide will show you how to caulk in nine simple steps.
Baseboard holes are no small blemish. They're easily visible in a room. Learn how to fill nail holes in baseboards to keep walls clean and smooth.