
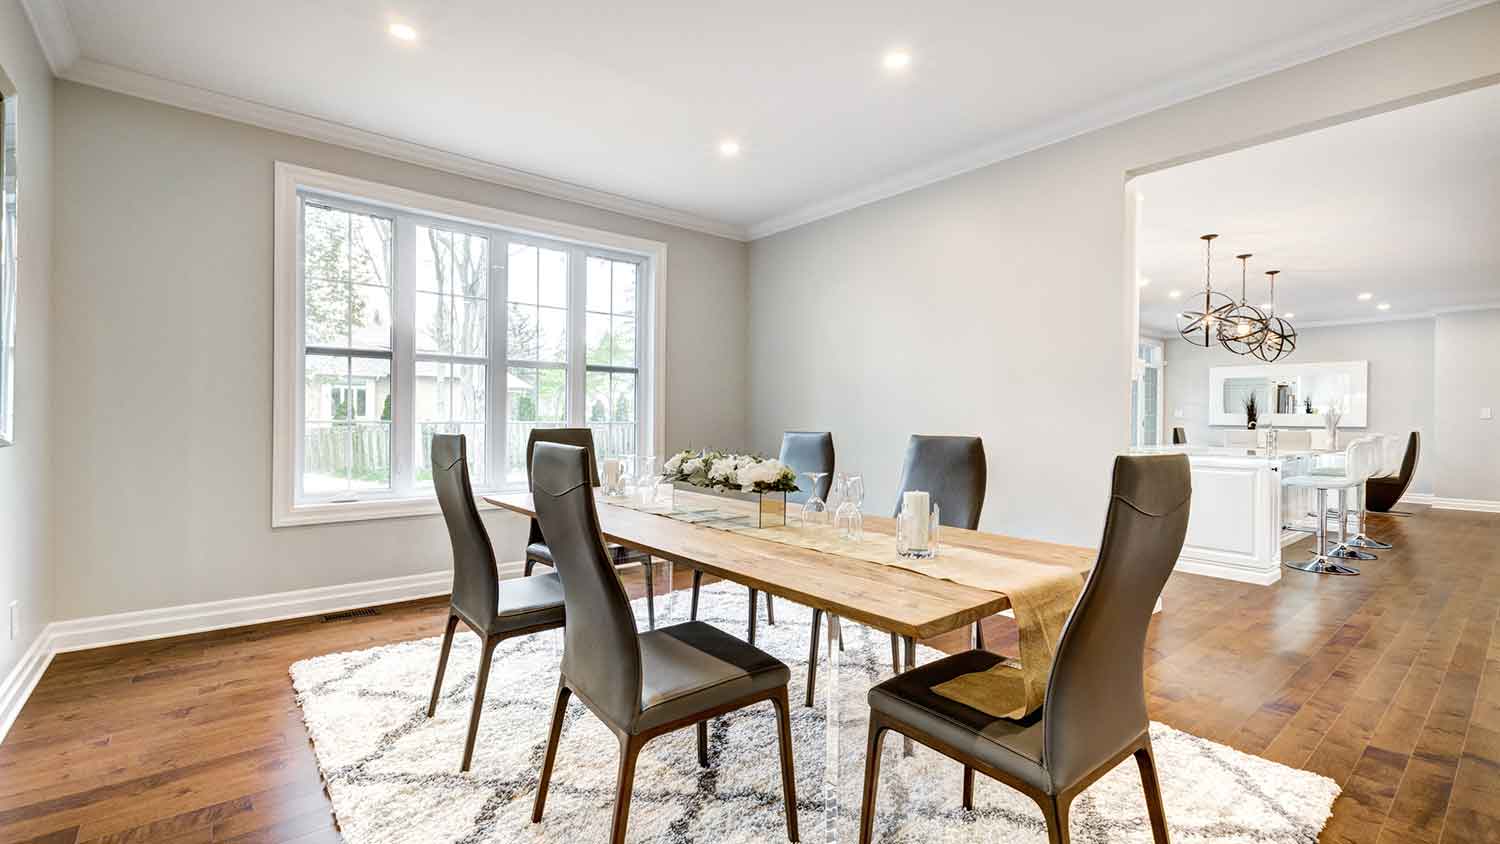
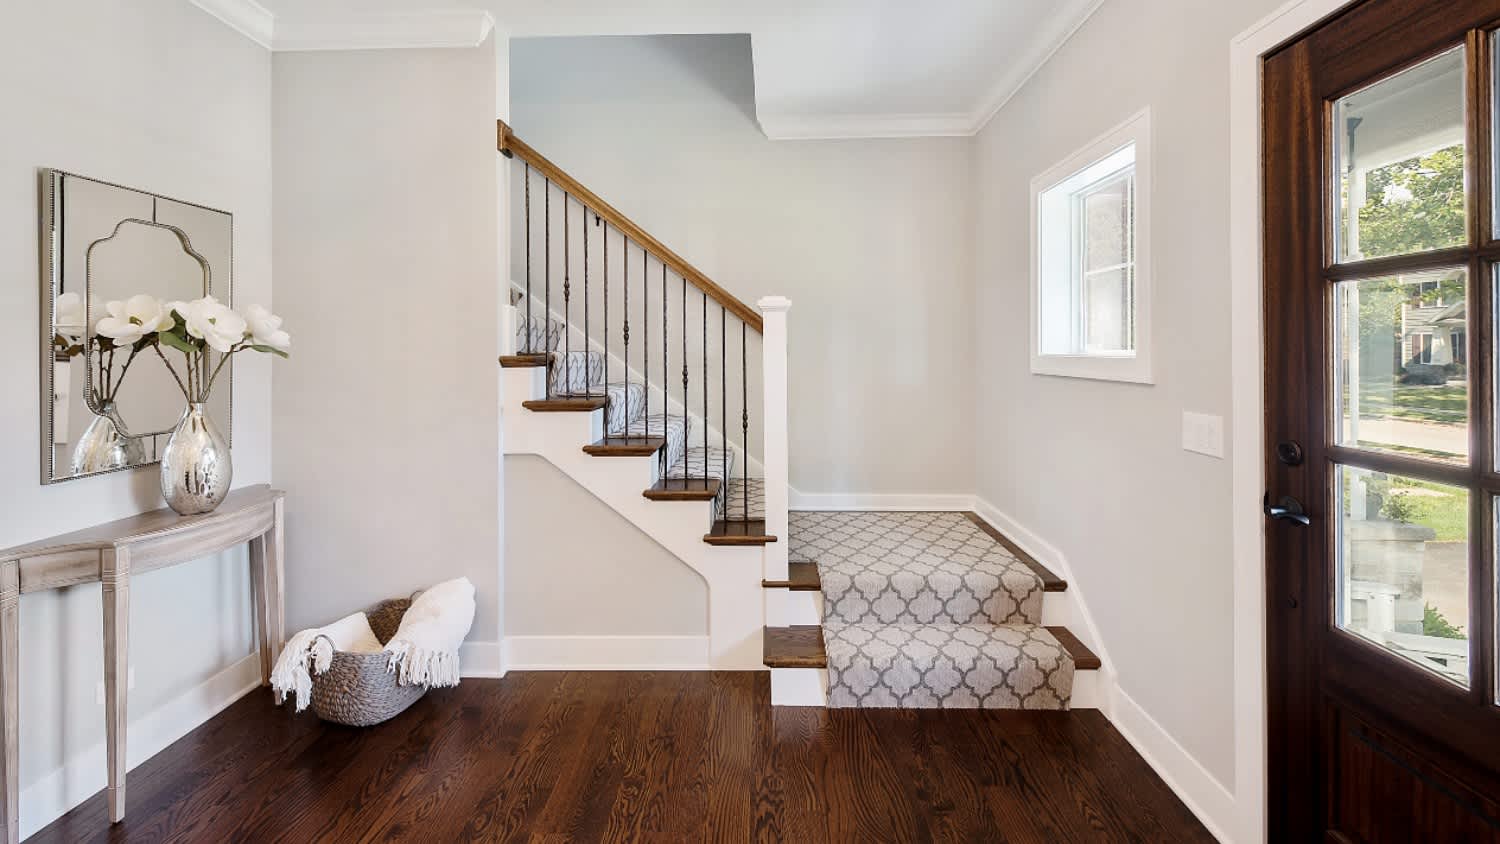
Installing new baseboards can totally refresh the look of your walls. Learn about the cost to install baseboards in your home.
Grade-school geometry comes to life when cutting baseboard corner angles

Installing baseboards is an easy process—at least until you reach the corner. If you’re scratching your head when you arrive at this point, it’s time to dust off the things you learned in school about geometry and right angles. Learning how to cut baseboard corners becomes easier when you have a miter saw available and know how to measure the angle of the corner extremely accurately. Yes, there’s math, but don’t worry—there’s not much of it.
Many carpentry projects come with some risk to personal safety. Always wear eye and ear protection and don a dust mask or respirator when cutting, sanding, or working with natural or treated wood. Steel-toe boots and sturdy work gloves can prevent splinters and cuts from stray pieces of wood and sharp power tools.
You’ll first need to determine the length of the baseboards that will meet at the corner. Measure the length with the tape measure. Then add two or three inches to give yourself room in case you make an error with the miter saw. Cut the boards to that adjusted length. (You can later trim the excess off the end that’s opposite the angled cut.)
For this job, we’ll focus on cutting baseboards for a miter joint as opposed to a coping joint. Use the sliding bevel (also called a sliding T-bevel) to accurately measure the angle of the wall. Loosen the nut and maneuver the blade to match the angle of the corner. Retighten the nut to hold the blade in place and read the measurement in degrees.
Take the angle measurement near the floor where you’ll be attaching the baseboard, just in case the corner isn’t perfectly straight along the entire height of the walls.
Although you’d expect the corner to be 90 degrees, it might be off by a degree or two. It’s not important whether it’s an exact 90-degree angle—it’s far more important to have an accurate measurement.
The measuring and cutting process is the same for an inside or outside corner when you use the miter joint process.
Divide your angle measurement by two to determine the angle of the cuts. If you have a 91-degree measurement, for example, you’d need to make two 45.5-degree cuts.
Mark the angles on the edges of the two pieces that will meet at the corner. Adjust the sliding bevel to help you precisely draw the line for the angled cuts.
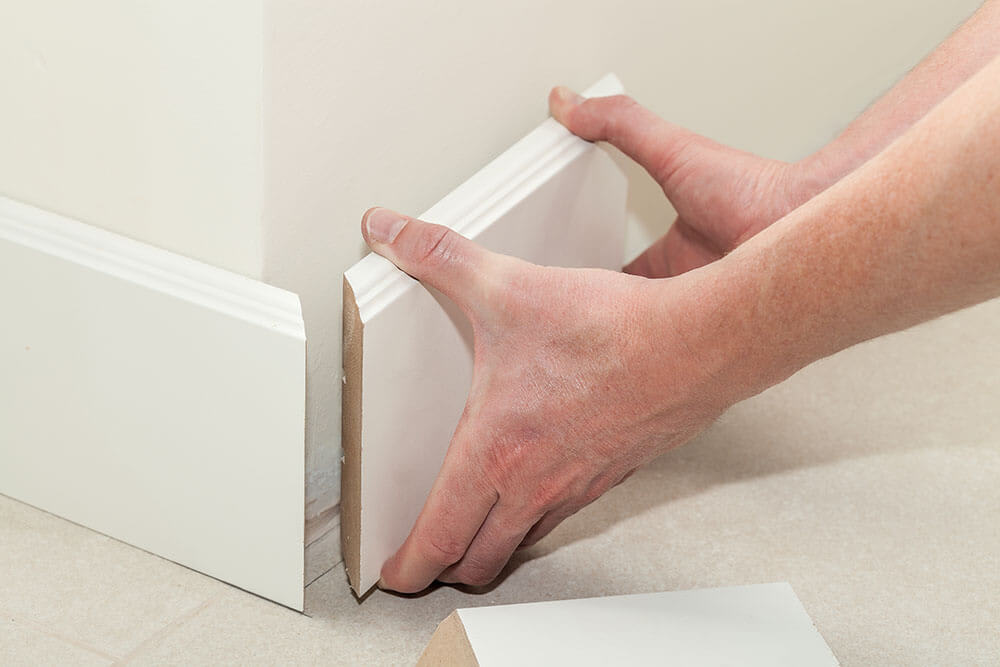
After drawing the angles, picture how the two boards will fit together after you cut them. Hold them up to the corner to help you visualize what the cuts will look like and ensure you drew the lines correctly. If they don’t look right, you might need to redraw the lines.
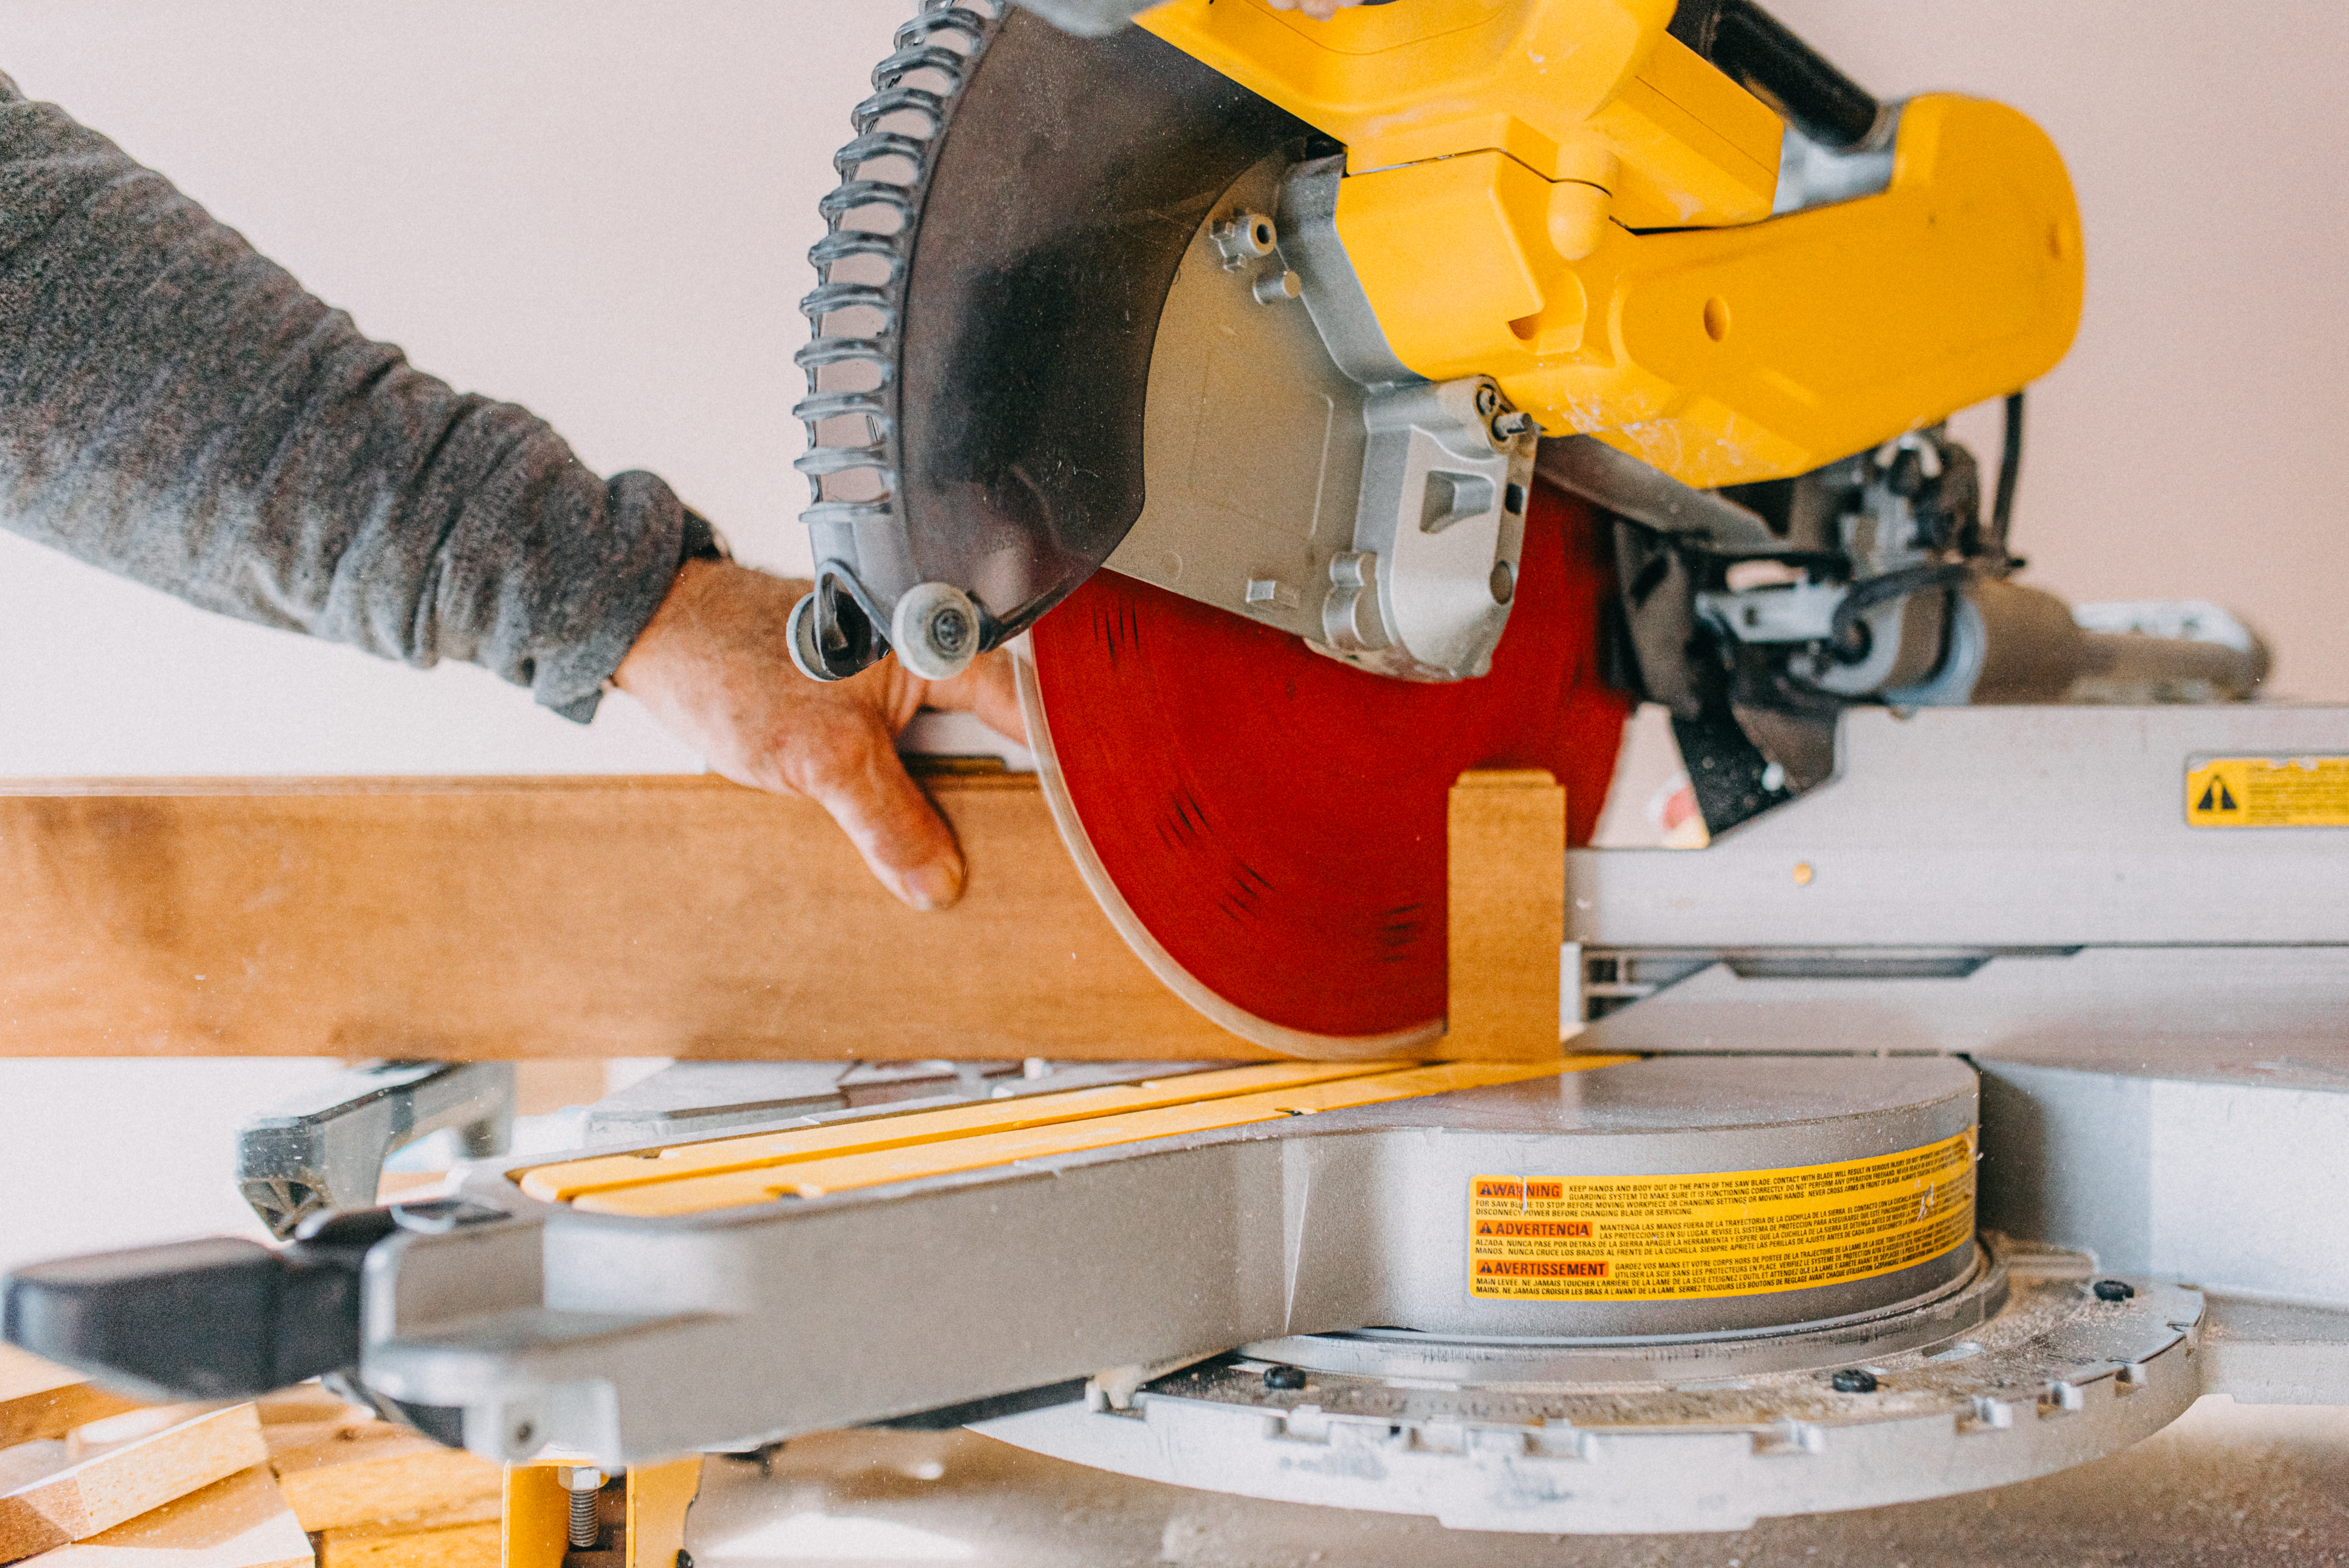
Set the miter saw blade to the calculated angle. Secure the board so you can make the correct cut without it slipping out of place.
After making the first cut, adjust the blade to cut the opposite angle for the other board. Secure the other board and make the cut along the mark.
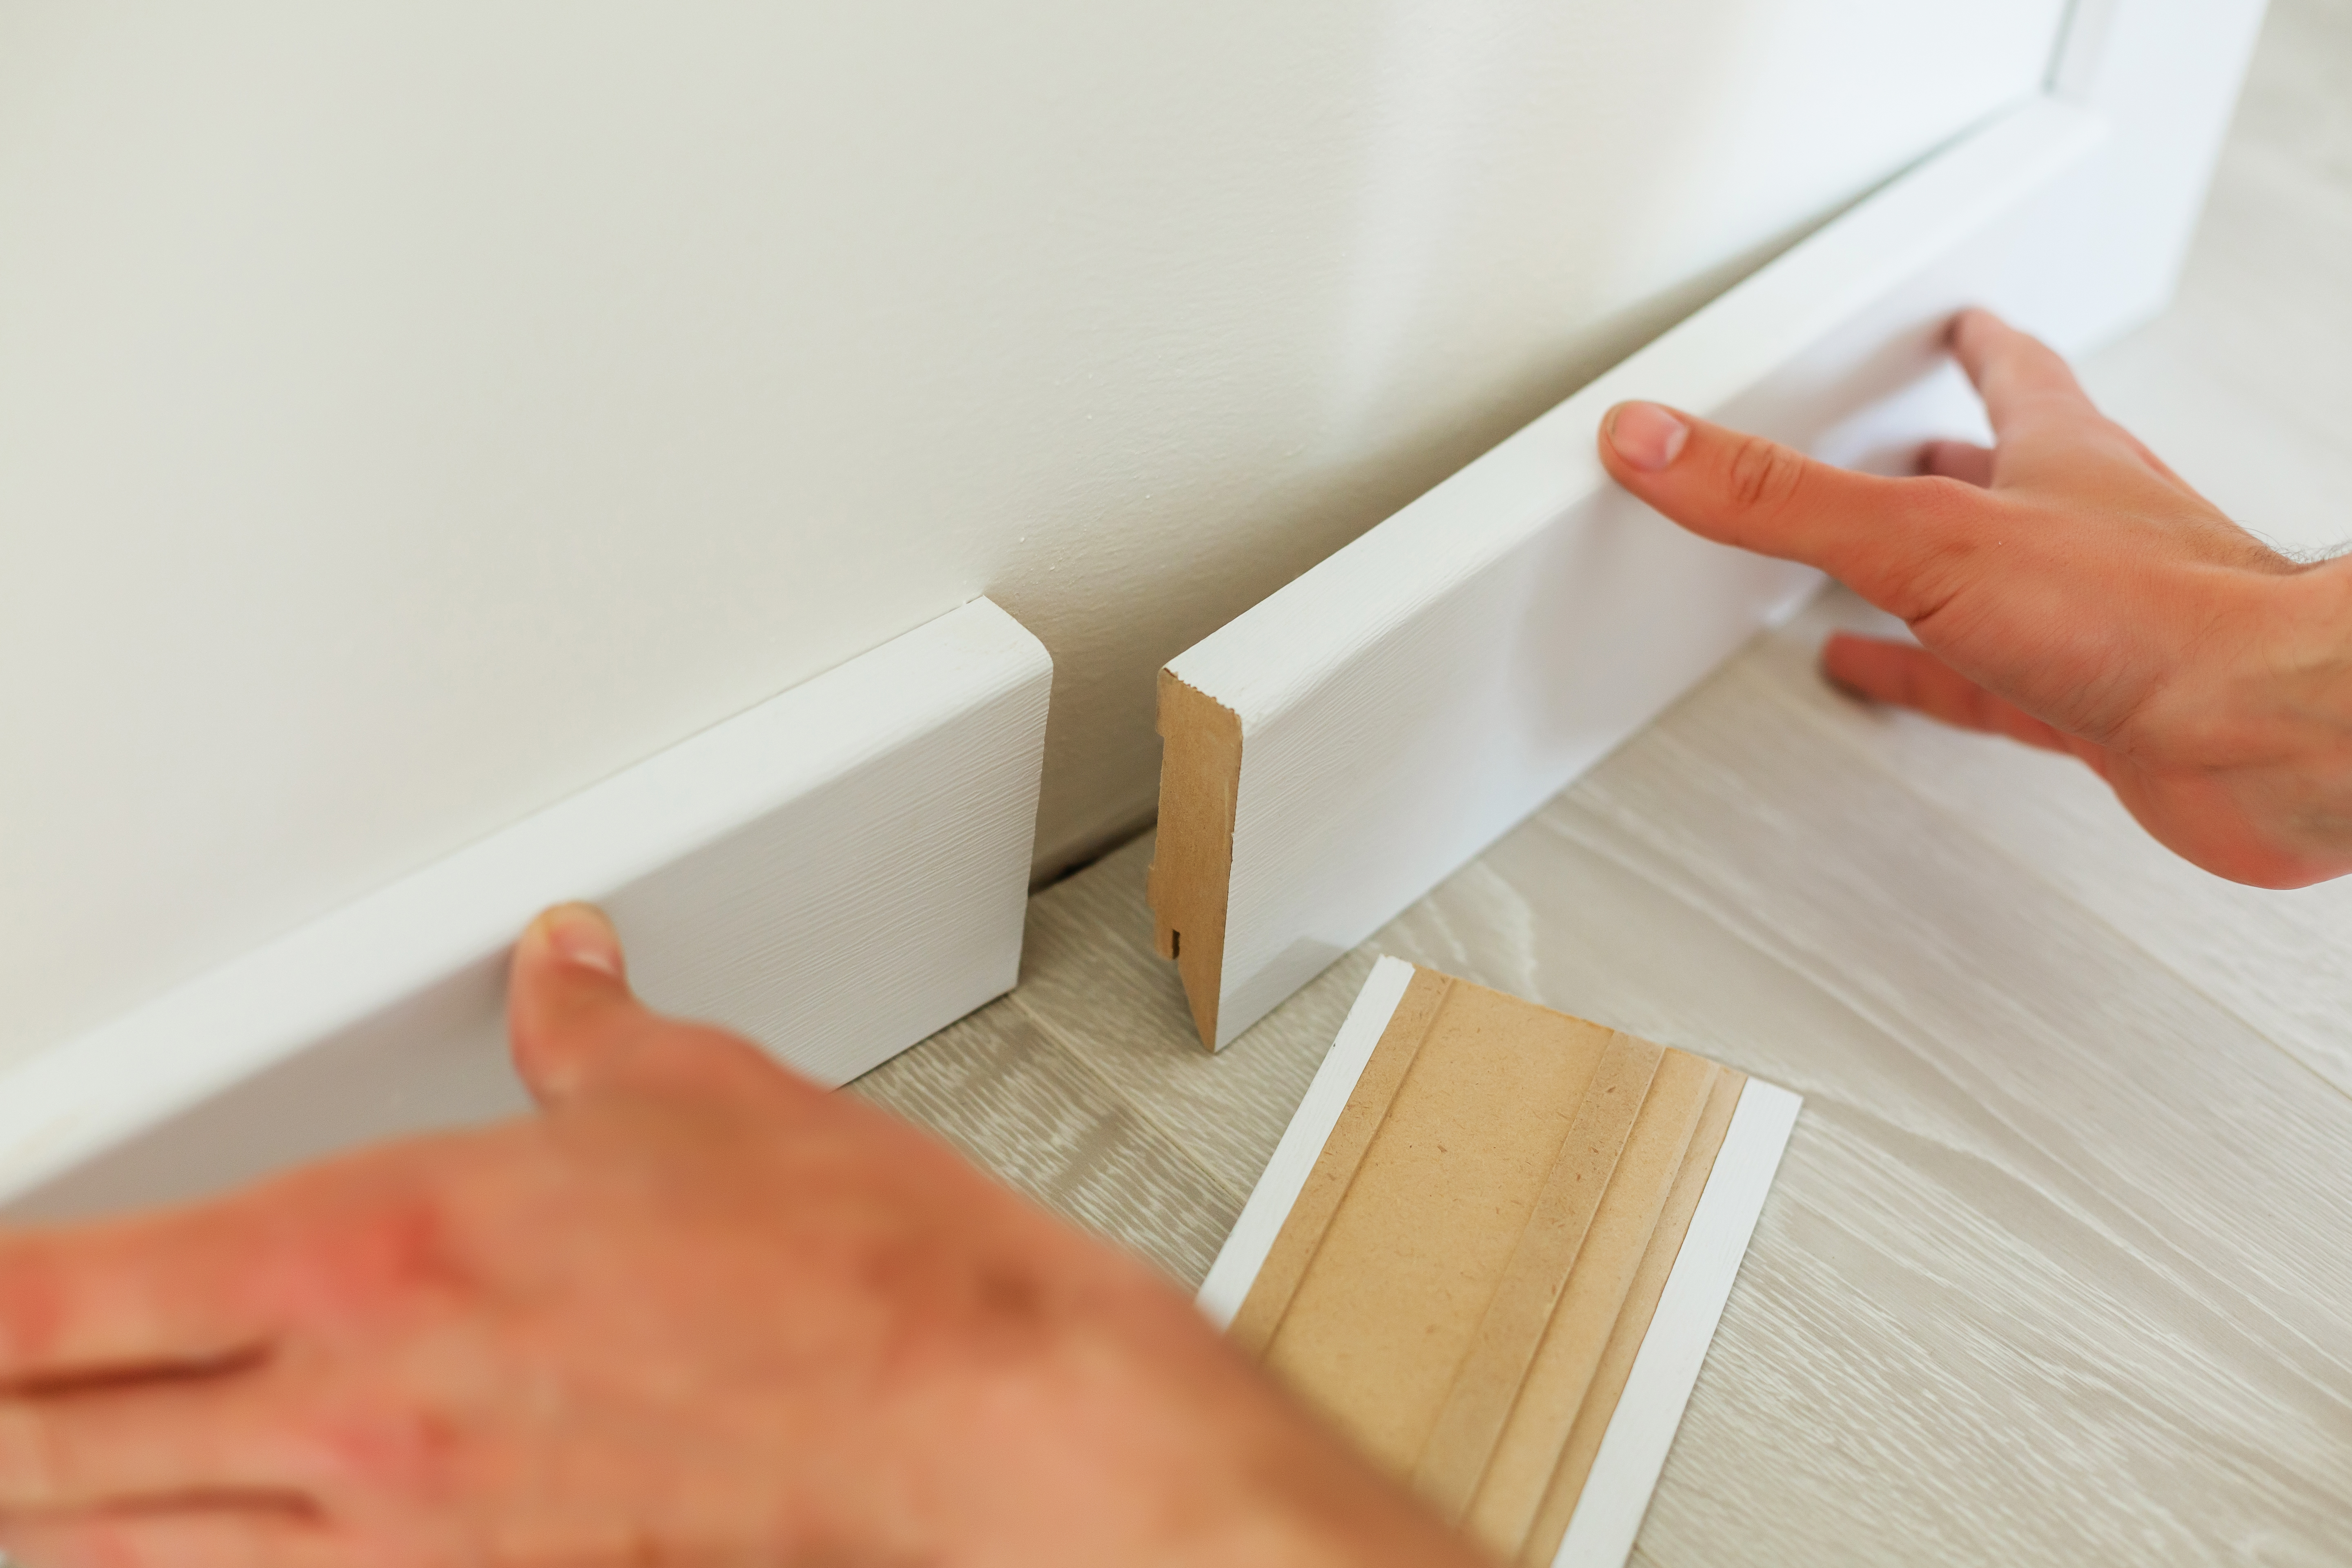
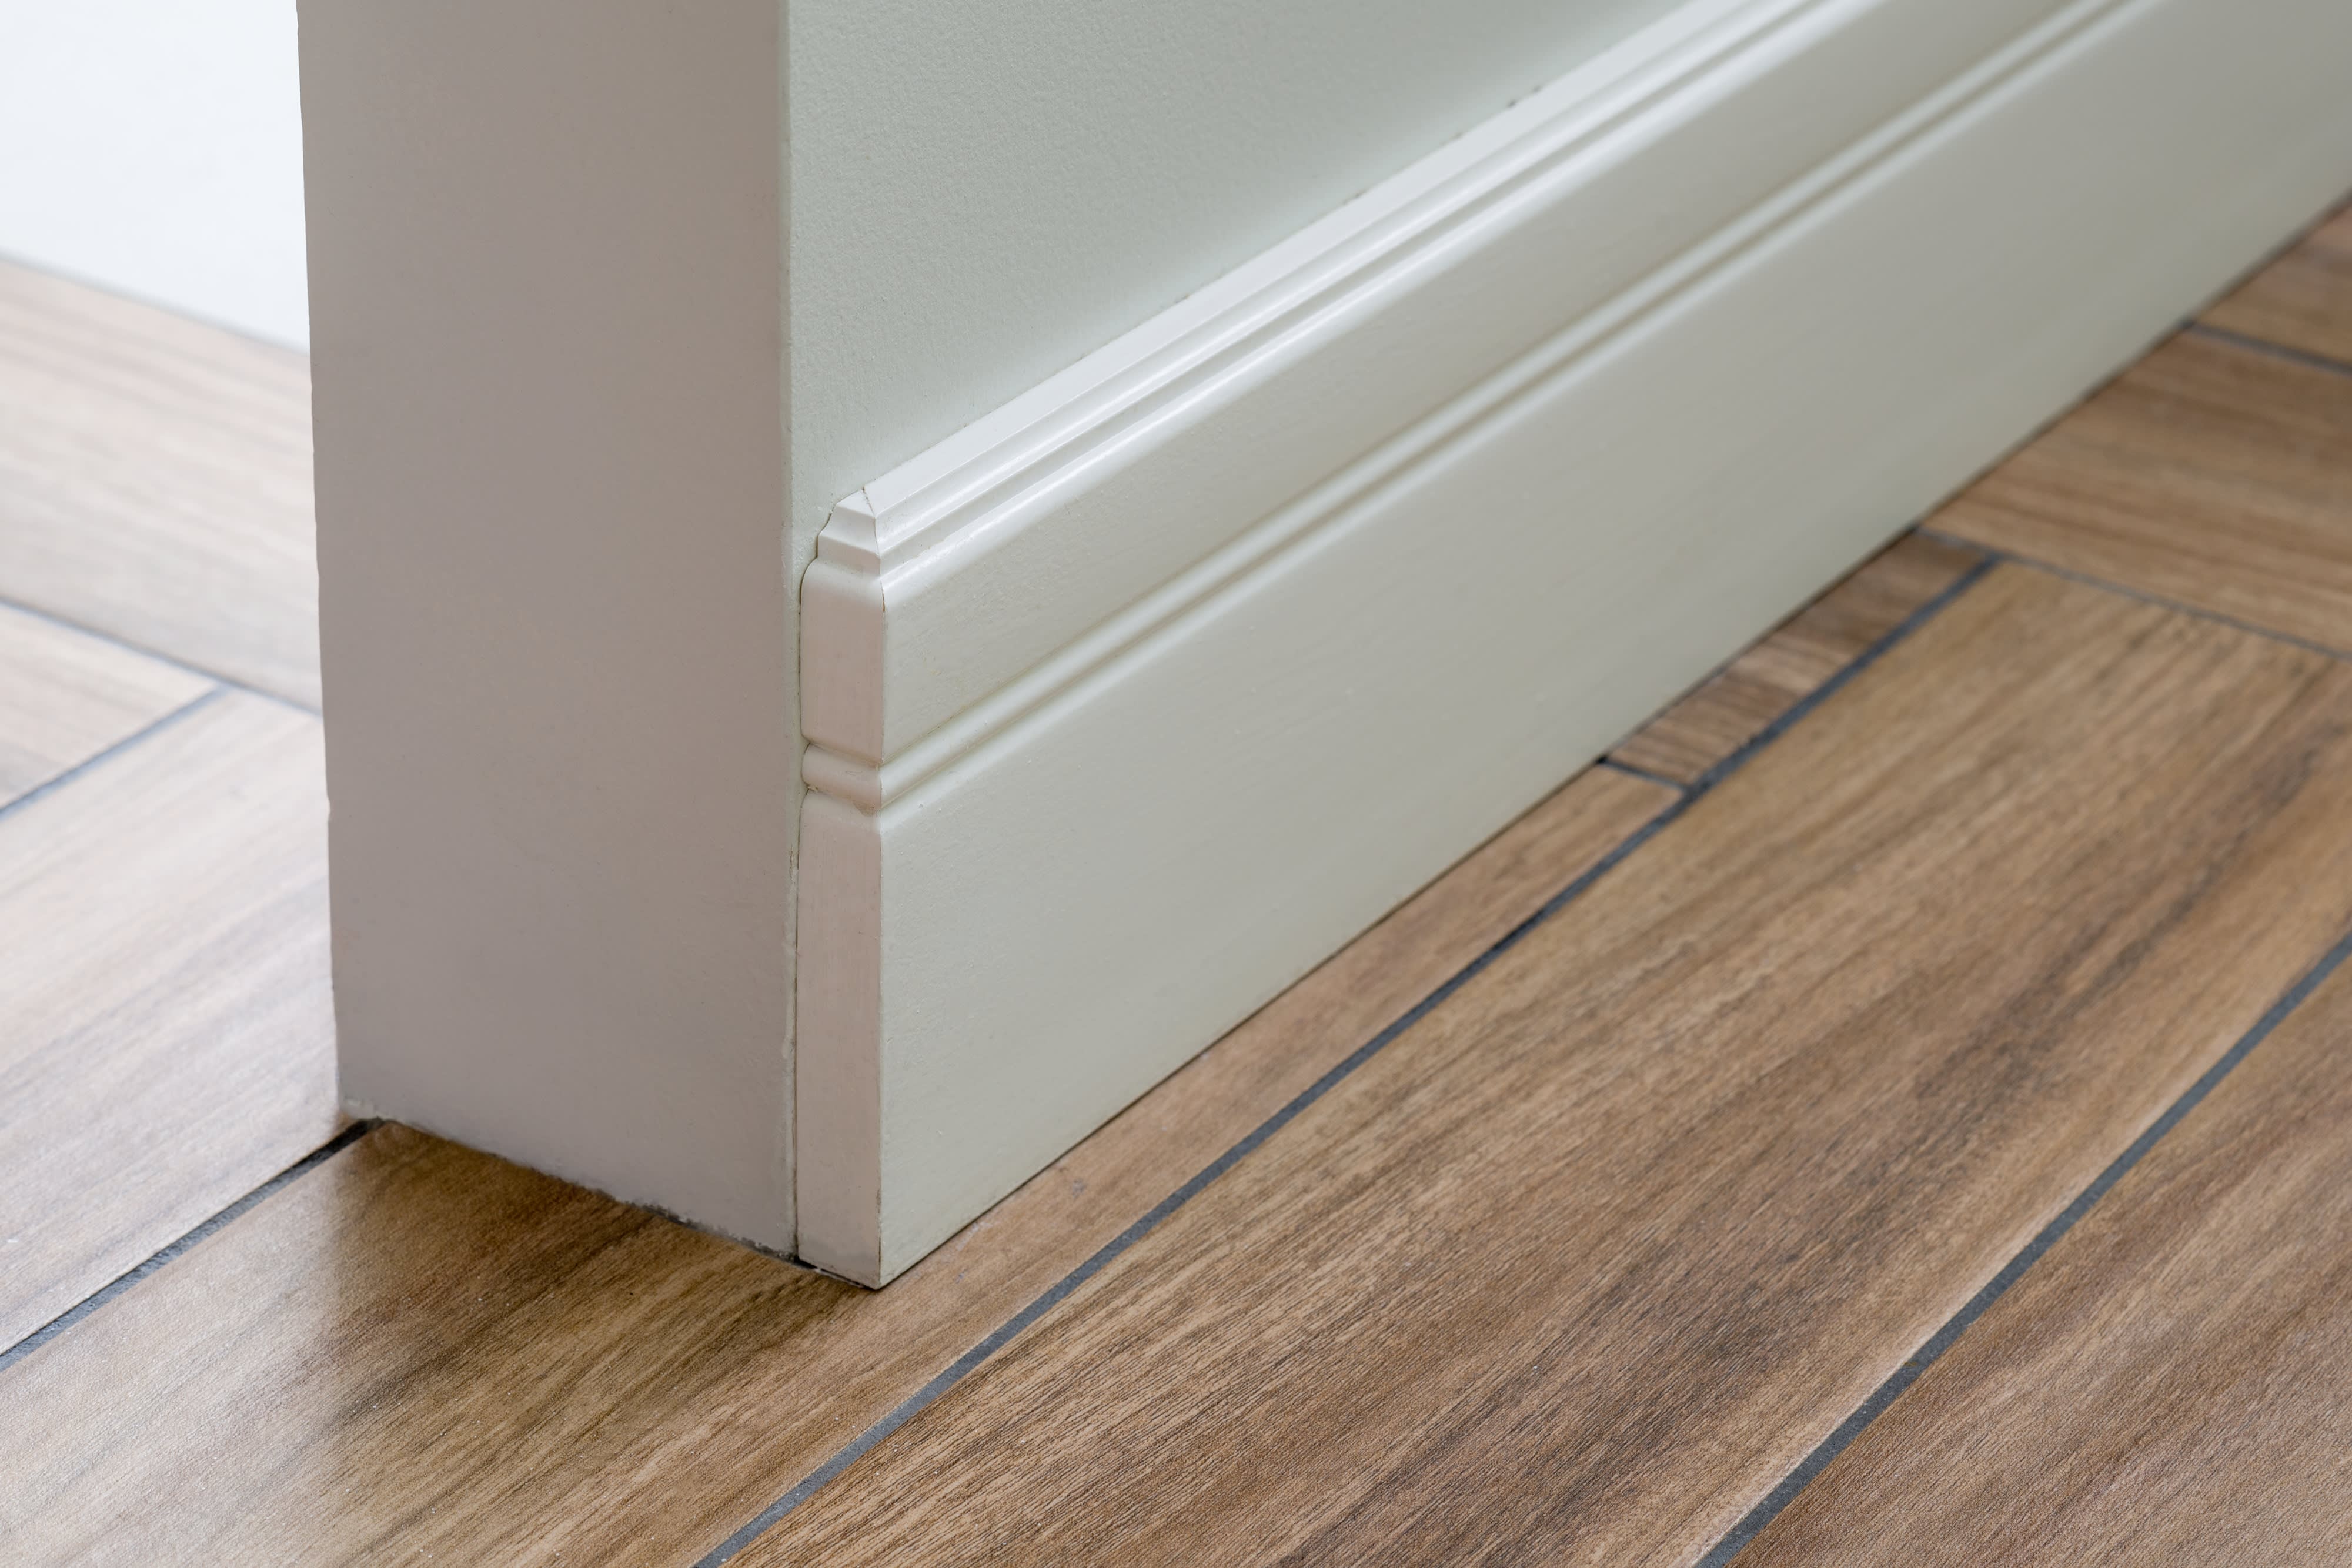
With the cuts made, slide them together at the inside or outside corner and test the fit. Ideally, they will fit tightly with no gap.
If not, mark any spots on the edges that may need some material removed.
If the cuts are completely off, you probably made an error. Go back over your steps and see where things went wrong. If you can’t seem to wrap your head around making these angled cuts, you always have the option of reaching out to a professional.
If the edges are off a little bit, you can use a file or sandpaper to try to create a perfect fit. After removing some material, dry-fit the edges again. Continue the process until the pieces fit correctly and look great.
If you can’t achieve a perfect fit, don’t fret—you can take steps for caulking baseboards to cover minor imperfections and fill in tiny gaps.
Once you’re happy with the fit, you can complete the final steps for installing baseboards. You should always paint the boards before you attach them to the wall to avoid creating paint splatters on the wall or floor.
To help you have more success with how to cut baseboard corners, here are some of the most common mistakes people make.
Assuming a 90-degree angle: If your walls are not perfectly square, which is more common than you may think, the angle of the corner will be slightly less than or greater than 90 degrees. Always measure the angle. In addition to walls that are slightly out of square, excess drywall mud on the corner can affect the angle, preventing it from being a 90-degree right angle.
Rushing through the job: Failing to cut the end at the correct angle will waste the material. Measure the angle and double-check your measurements before making the cut.
Pushing too hard with the saw: If you use excess force with the saw blade, you could chip the board or make a slightly crooked cut. Gently lower the miter saw blade and let it carve slowly through the wood. Make sure the board is tightly secured before cutting it.
Not waiting for the blade to fully spin up: Turn on the miter saw and let the blade reach full speed before starting to cut. Cutting while the blade is spinning up to full speed could chip the wood, which is undesirable for the look of a trim piece.
You can do this work yourself as long as you have a miter saw and are willing to do the math needed to cut the angles for inside or outside corners correctly.
However, hiring a local baseboard installation professional will make the job go faster and eliminate the chance of wasted material from making errors in calculating the angled cuts.
If you prefer coping cuts to mitering cuts, you may want to hire a pro instead of doing it yourself. Perfect coping cuts require quite a bit of skill and practice, but some people prefer the look they receive compared to making miter cuts.
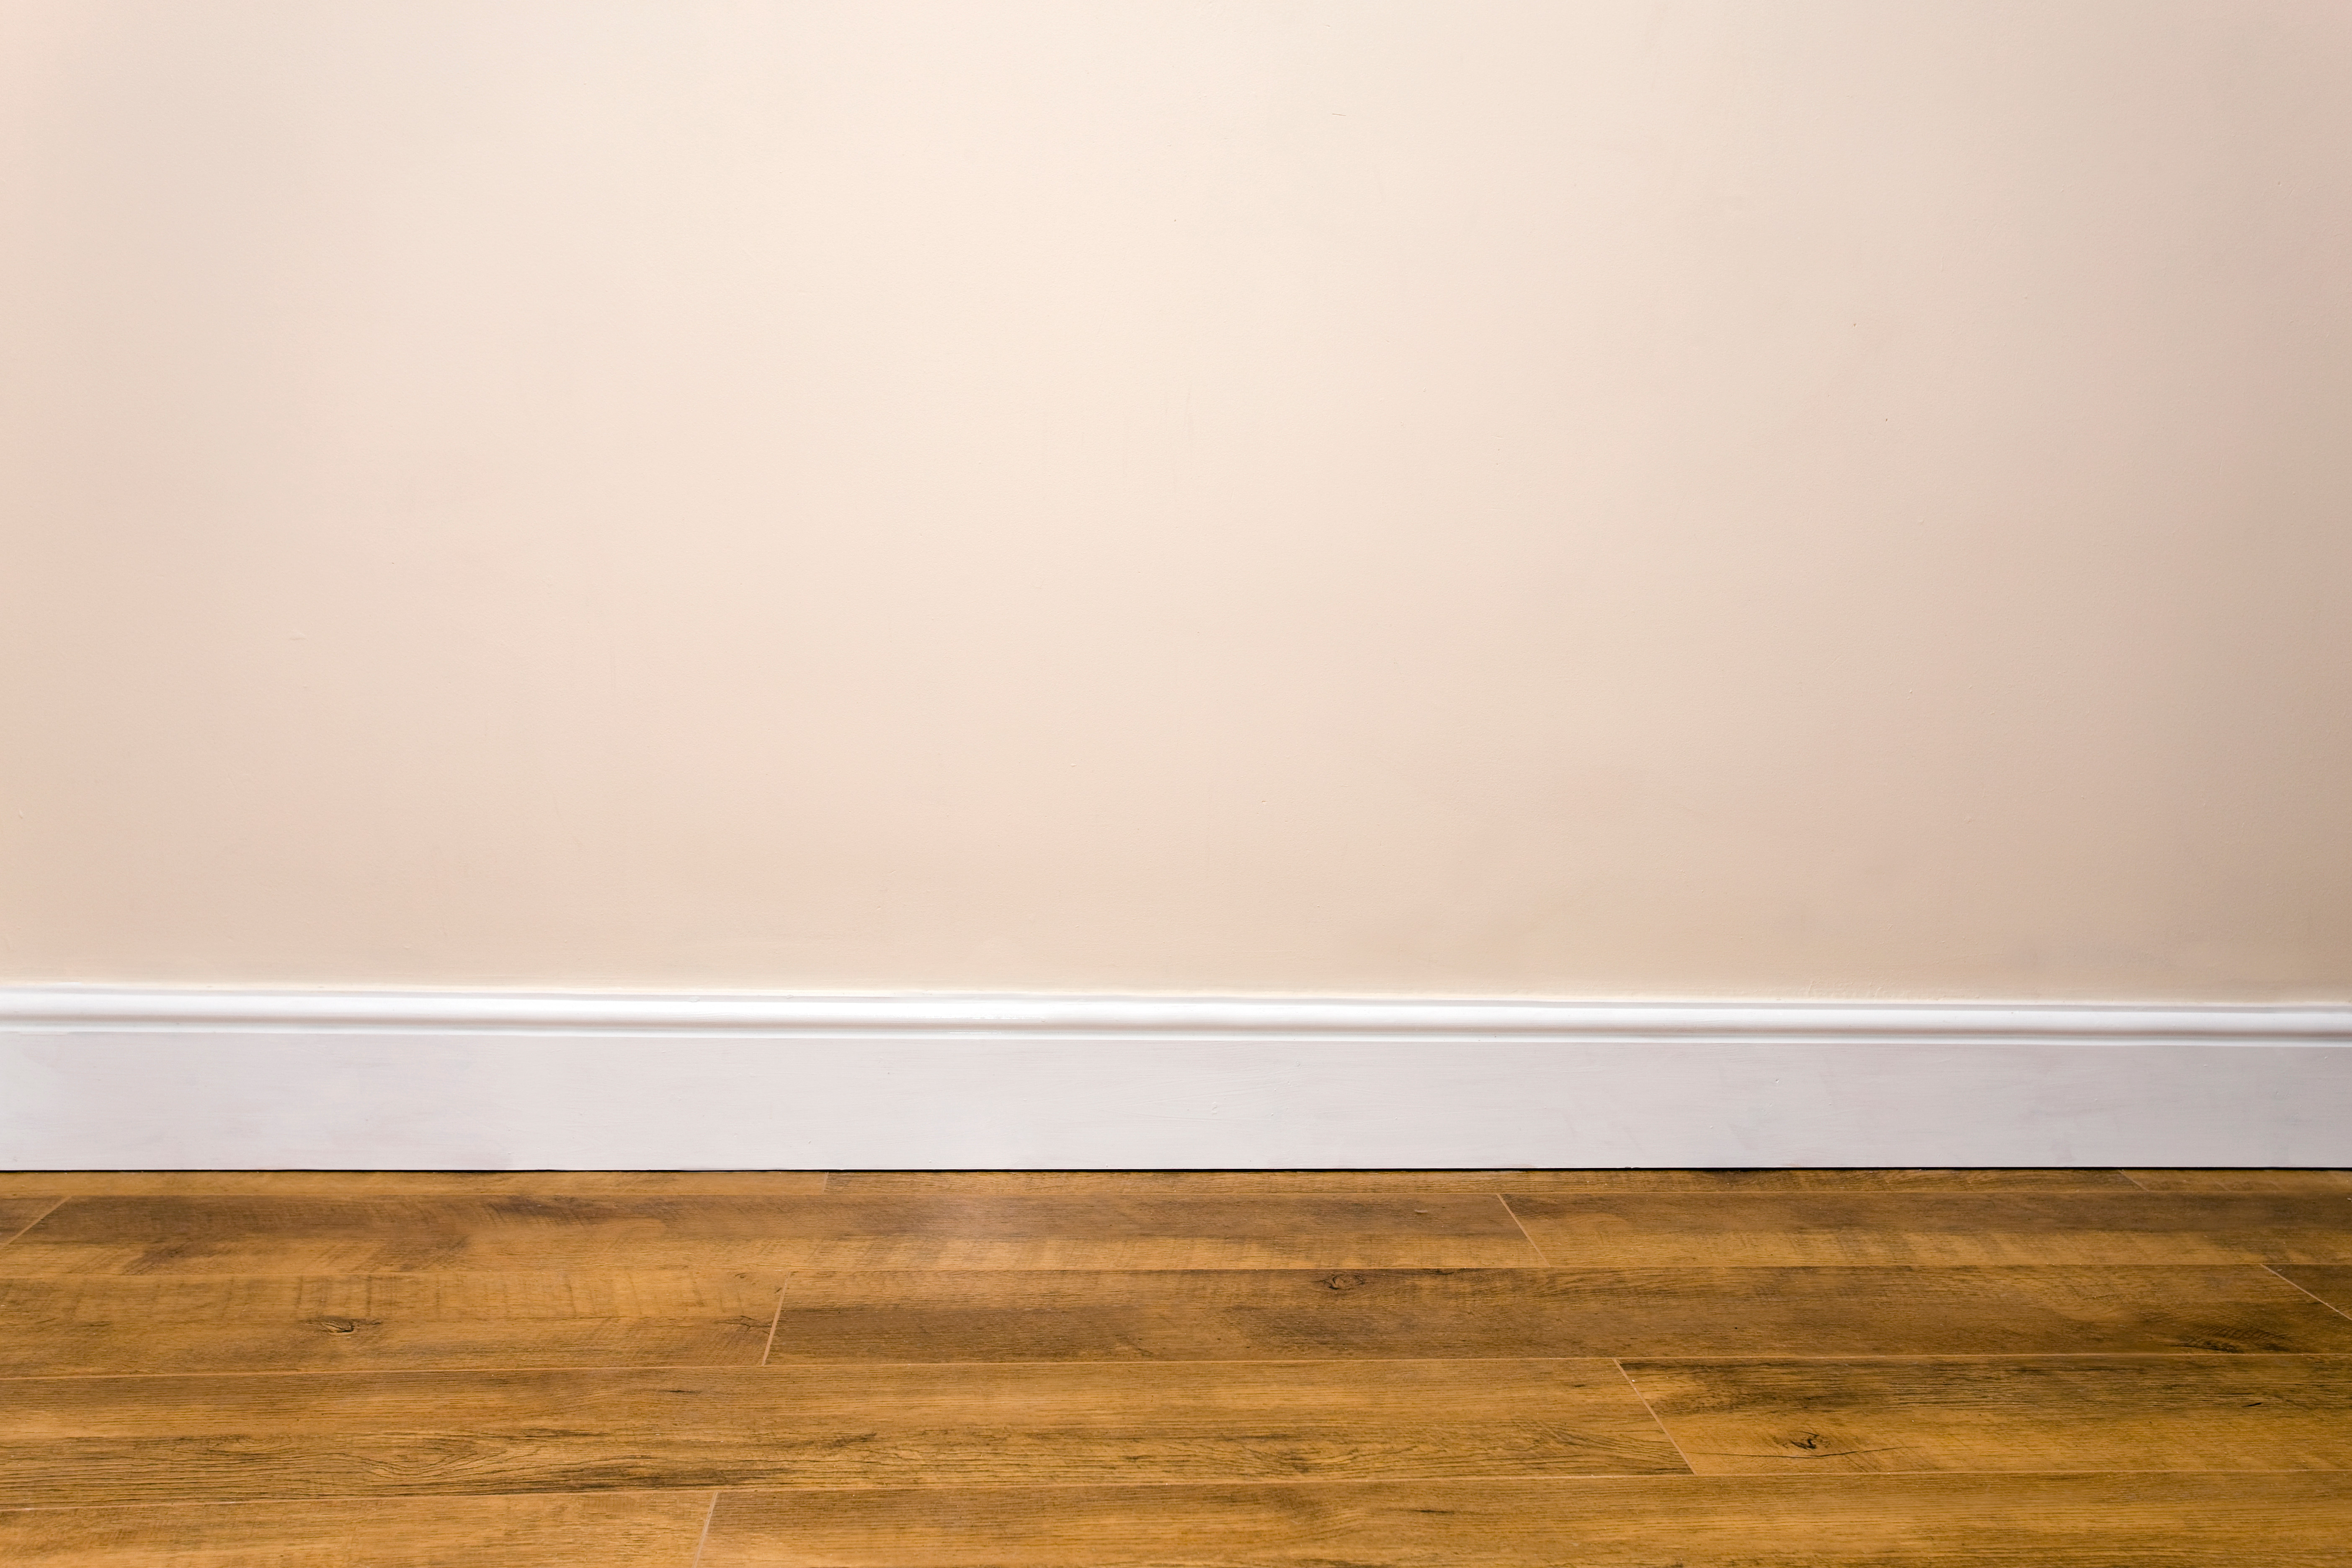
One advantage of hiring a professional is that this expert can do the finishing touches for you. The pro can figure out how to fill a gap between the floor and baseboard if your floors or walls aren’t quite square. The pro can determine how to fill nail holes in baseboards so they don’t show, and the finished product looks amazing. Additionally, the pro can suggest the best wood for baseboards that matches your home’s style or provide ideas for using another material in the baseboards.
Incredible workers! Very skilled with the machinery, climbing, cutting, roping, and removal. Handled everything. Professionals!
 Hoffman Expert Tree Services
I m so impressed with Custom Paint Jobs LLC s craftsmanship. They truly care about quality.
Window Depot did an amazing job on my deck. I wasnt sure what I wanted to do, but their composite decking was affordable and will last a long time. I am excited to have family over, and I am no longer embarrassed by my backyard. Jeff and the ground crew were polite, respectful, and caring for...
Storms Mobile Welding was great to work with. They were prompt, professional and did an overall excellent job on the project. I highly recommend.
Great job...edging and pre clean up went well with a great job with seal coat. Friendly, efficient and professional.
 All Star Paving and Sealing
Great tree company, very professional and honest. Glad we found them, they had the best pricing
It was wonderful working with Yordy and his team. They were very professional and are experts in what they do. They have completed the work on time, with better quality and with in fairly reasonable price. We just started with backsplash work , but liking his work, we went on to provide...
The job went extremely well. Work was done as promised and the job came out better than expected due to Mr. Moyer's commitment to excellence and personal pride in providing the best work possible. He is one of those professionals who is not satisfied until the customer is completely happy...
 Pro Flooring
We needed to have a wall cabinet resized so that we could fit a larger refrigerator underneath. I removed the cabinet from the wall myself and brought it in, where Wally was able to resize it for me in his shop. The results were perfect: it's exactly the size that I asked for, and...
 Pioneer Woodworks
The work was almost completed when we gave the owner Tim Barton $400 as a downpayment to be put on his list for work in the future after we had new woodwork installed.The next day Mr. Barton had difficulty installing a door handle and took the position that it was broken before his employee...
 Above And Beyond Painting LLC
From average costs to expert advice, get all the answers you need to get your job done.
Installing new baseboards can totally refresh the look of your walls. Learn about the cost to install baseboards in your home.

Learn how to close gaps between your floor and baseboard with caulk, molding, or strips. Discover the best methods for different gap sizes in this DIY guide.
How do you cut crown molding inside corners? The answer requires practice with a coping saw and patience for detailed adjustments that create tight seams.
Baseboards see a lot of traffic and are susceptible to dents, dings, and water damage. Learn how to repair damaged baseboards to keep your trim looking good as new.
As homes settle, baseboard may separate from the wall and leave pesky cracks. Learn how to caulk trim and baseboards and refresh your space in this guide.
Baseboard trim protects your walls and adds character to your home. Our guide explains common baseboard trim sizes and how to choose the right one.