

The cost to install wainscoting depends on labor, materials, and square footage. This guide will help you budget for your next project.
Small fix, major room upgrade


While hiring a pro to repair baseboards costs $5.70 to $9 per linear foot, it’s a good way to ensure a high-quality job.
Filling nail holes in baseboards is DIY-friendly, but if you’re in a rush or have a lot of trim, hire a pro.
If you tackle this job yourself, you’ll need to decide whether to use wood filler, spackling compound, caulk, or another material.
A local baseboard installation pro can determine the best approach, depending on the size of the nail holes and the type of baseboard.
Filling nail holes in baseboards is a simple and crucial step in achieving a polished finish for any room. Whether you're installing new trim or touching up existing molding, those tiny holes left behind by nails can be surprisingly noticeable once the paint or stain goes on. Fortunately, you can choose from a few effective methods to conceal them, each suited to different materials, finishes, and levels of durability.
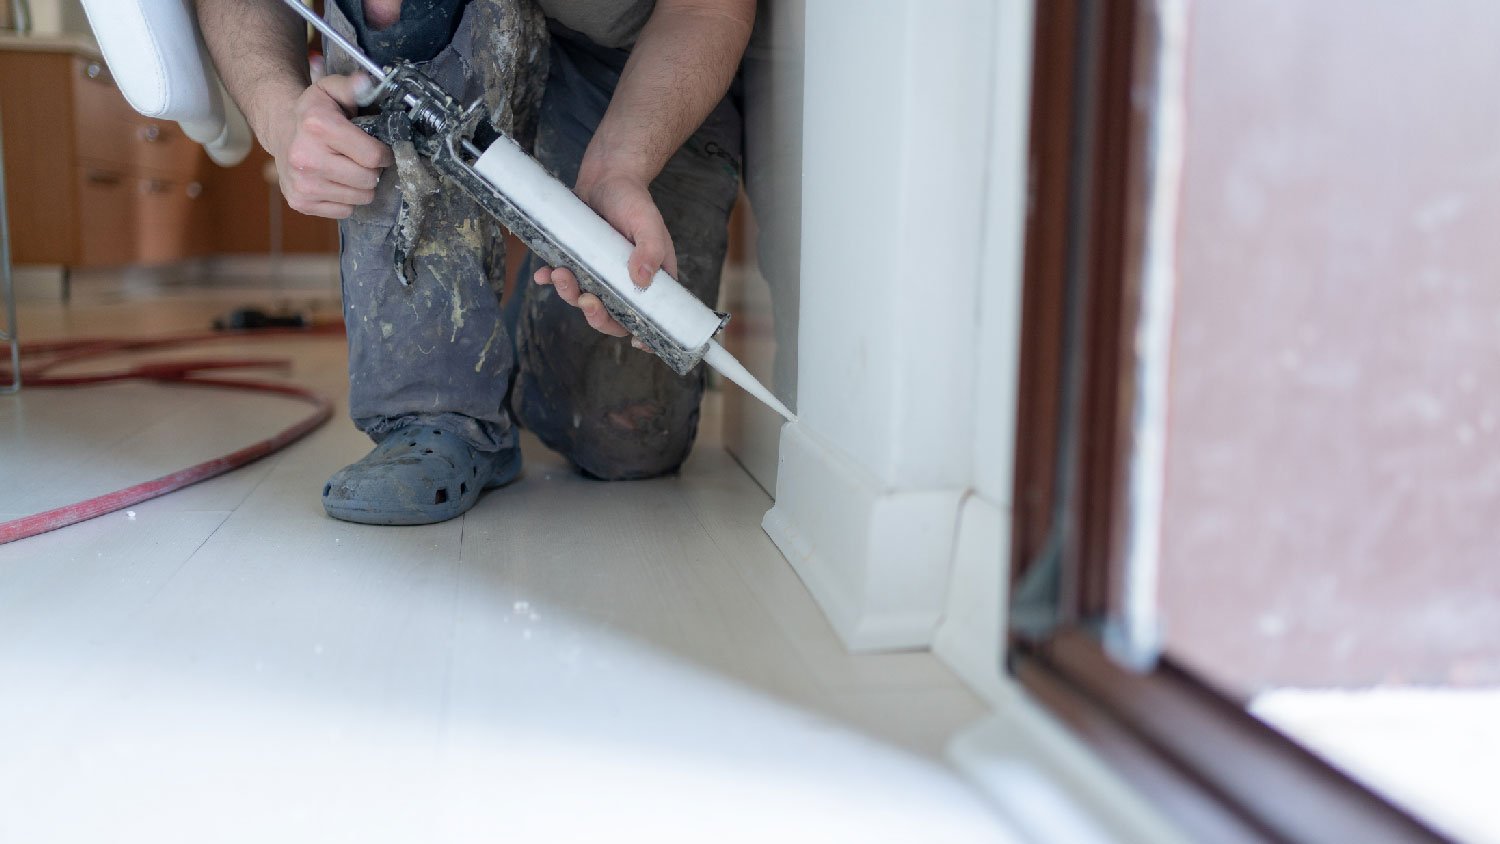
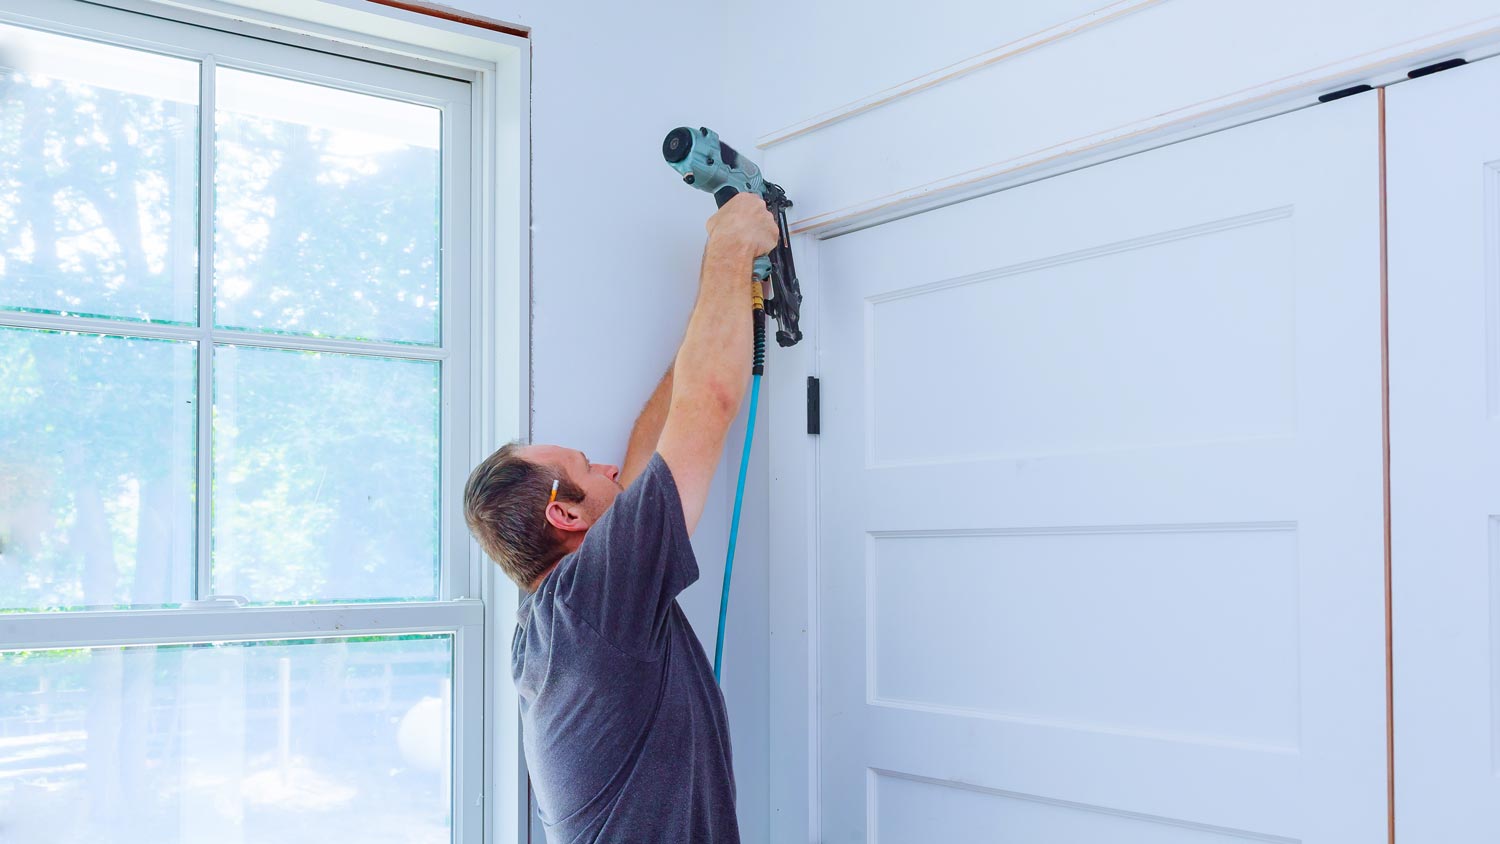
Nails are used during baseboard installation to secure baseboards to wall studs or drywall. This process leaves behind tiny nail holes that should be filled with wood filler, putty, or caulk, then sanded and painted or stained over for a smooth finish.
Unfilled baseboard holes easily stand out, especially once the trim is painted or stained, drawing attention to imperfections that disrupt the appearance.
Beyond aesthetic reasons, filling nail holes protects the baseboards from wear and damage. Small holes can collect dust and moisture or expand with changes in humidity, leading to cracks or paint chipping.
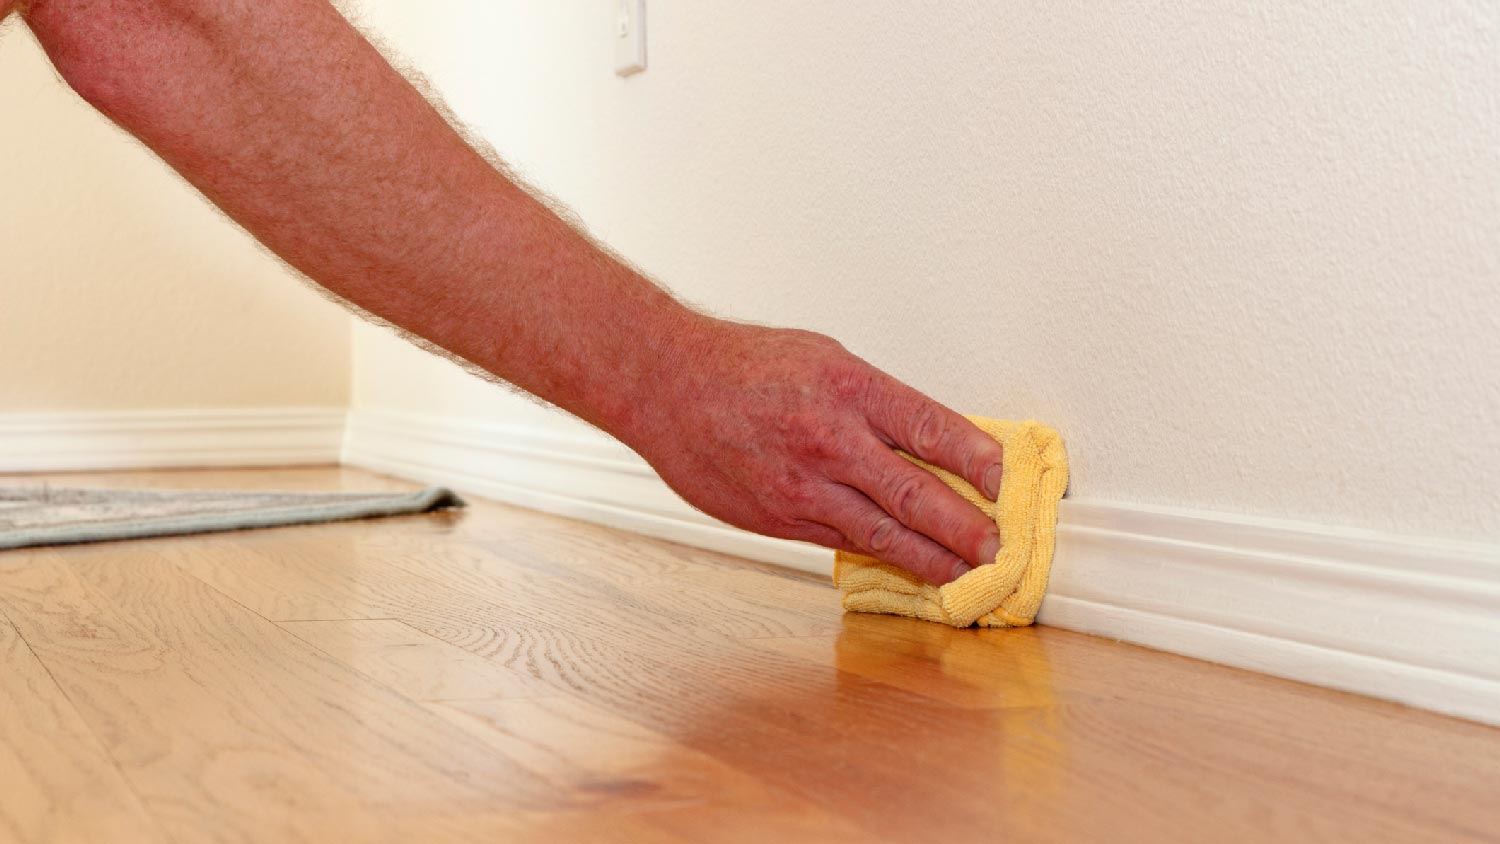
Fill nail holes in baseboards after the baseboards are installed but before the final coat of paint or stain is applied. Once the trim is securely nailed in place, go through and fill any visible holes or gaps using your chosen filler, allowing it to dry completely. After it's dried, sand the filled areas smooth so they blend seamlessly with the rest of the trim. This ensures a clean, uniform surface that will hold paint or stain evenly.
You have a few options for filling holes in baseboards. What you choose can depend on the size of the hole, the types of baseboards and material, and what products you might already have on hand.
Wood filler is one of the most common and effective ways to fill nail holes in baseboards, especially when they're made of real wood, one of the best woods for baseboards. Available in solvent-based or water-based formulas, wood filler is durable and designed to be sanded smooth and painted or stained to match your trim. It's best used for larger holes, but can work on holes of any size.
To apply, simply press the filler into the hole using a putty knife, let it dry completely, and then sand it flush with the surface before painting or staining. Be aware that some types of wood filler can shrink or crack if applied too thickly, so it may take two coats to get a flawless finish.
Spackling compound is an easy-to-use option that works great for small nail holes. It’s a lightweight material that dries quickly and sands easily, making it a go-to for paint-grade trim. It may shrink slightly as it dries, but this isn’t a major issue for tiny holes.
To use it, apply a small amount with your finger or a putty knife. Allow it to dry and then sand it smooth before painting over it.
Joint compound, which is frequently used for drywall, can be used to fill small nail holes in painted trim. While it’s not specifically designed for wood, it can work well if you’re already working on drywall or patching areas nearby. It’s easy to apply, sands to a smooth finish, and is affordable. However, joint compound is prone to cracking over time and doesn’t offer the same durability as wood filler.
To apply, use a putty knife to press the compound into the hole, let it dry thoroughly, then sand and paint. It’s best suited for low-impact areas where the finish doesn’t need to be highly durable.
Wood putty is a good option if your baseboards are stained and you don’t plan to paint over them. This type of filler is available in a range of wood tones to match your existing trim color, and it comes in stick or paste form. Unlike wood filler, wood putty doesn’t harden completely and remains somewhat flexible, which makes it ideal for cosmetic touch-ups rather than structural fixes.
To use wood putty, rub or press the putty into the hole. Wipe away the excess and gently buff the area until smooth.
Painter’s caulk, also known as paintable latex caulk, can be used for quick touch-ups on tiny nail holes, especially when you're already caulking gaps along the trim. While it’s not sandable or ideal for larger or deeper holes, caulk is flexible, paintable, and easy to apply.
Here's how to caulk baseboards: squeeze a small amount of caulk into the hole and smooth it out with a damp finger or cloth. Allow it to dry completely before painting.
For a strong, permanent solution, especially in high-traffic or damage-prone areas, two-part epoxy wood filler is your best bet. This heavy-duty filler consists of a resin and hardener that must be mixed together before application. Once cured, it forms a solid surface that can be sanded, painted, or stained. It bonds tightly to wood and resists cracking, shrinking, and moisture. This filler is best for larger repairs or areas that need exceptional durability.
This method requires more effort. You’ll start by mixing the components and then applying the filler quickly before it hardens. Let it cure, then sand and finish.
To avoid having to go back over these holes, here's how to ensure a smooth, lasting finish when filling nail holes in baseboards:
Clean the area first: Wipe away dust, dirt, or loose paint around the hole to help the filler adhere properly.
Don’t overfill the hole: Apply just enough filler to slightly overfill the hole so you can sand it flush later without indentations.
Use a putty knife: A flexible putty knife helps press filler into the hole and smooth the surface evenly.
Let it dry completely. To avoid cracking or peeling, follow the manufacturer’s drying time before sanding or painting.
Inspect in good lighting: Use natural or bright lighting to spot any imperfections that may need a second round of filler or sanding.
Filling nail holes in baseboards is an easy DIY task that can cost between $25 and $50 for tools and supplies. However, if you want a flawless finish without the hassle or are dealing with extensive trim work, high-end finishes, or tight timelines, hiring a local baseboard installer is a good idea.
However, you will pay more by delegating the task to a pro. Baseboard installers charge $5.70 and $9 per linear foot for repair. Then, if you plan on offloading the painting step, the average baseboard painting cost ranges between $1 and $4 per linear foot.
From average costs to expert advice, get all the answers you need to get your job done.
The cost to install wainscoting depends on labor, materials, and square footage. This guide will help you budget for your next project.

Discover the cost to install a stair railing, including average prices, key cost factors, and tips to save on your project.
Discover the cost of widening a doorway, including average prices, key cost factors, and tips to help you budget for your project.
Shopping for budget-friendly wood trim options? Compare MDF baseboards versus pine for a look that best suits your design needs while staying on budget.

If you’re preparing to install or replace stairs or railings made of wood, here are the stair and railing questions you should be asking a pro about the project.

PVC is plastic, and wood is natural, which is just one of the many differences between these two baseboard materials. Learn the pros and cons of each to help you decide.