
Find out how much it costs to install crown molding by type and size. Use our expert guide to figure out how much crown molding you need, how much crown molding costs near you, and whether you need to hire a pro.
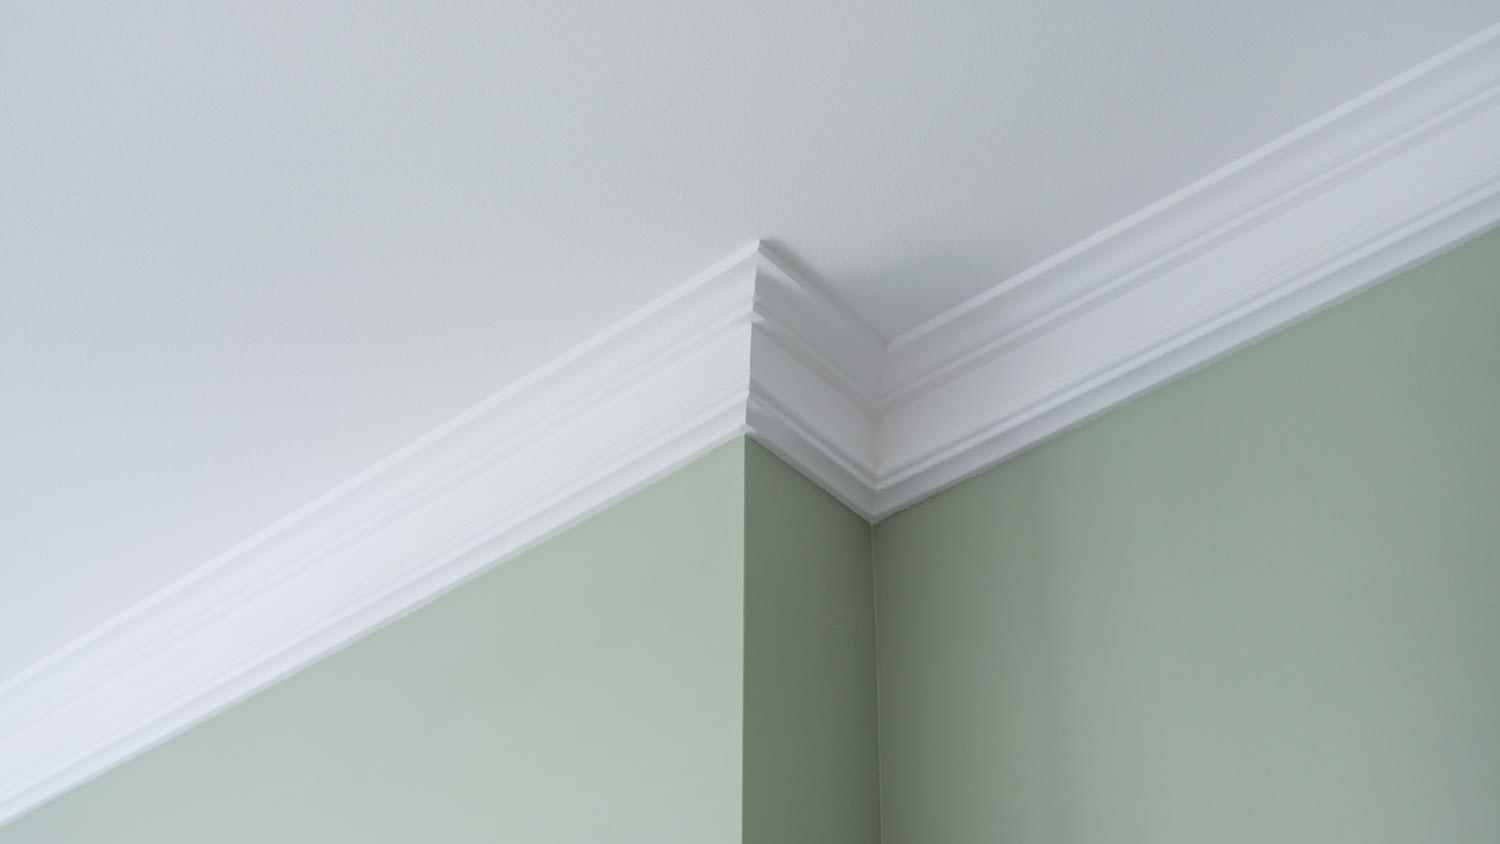
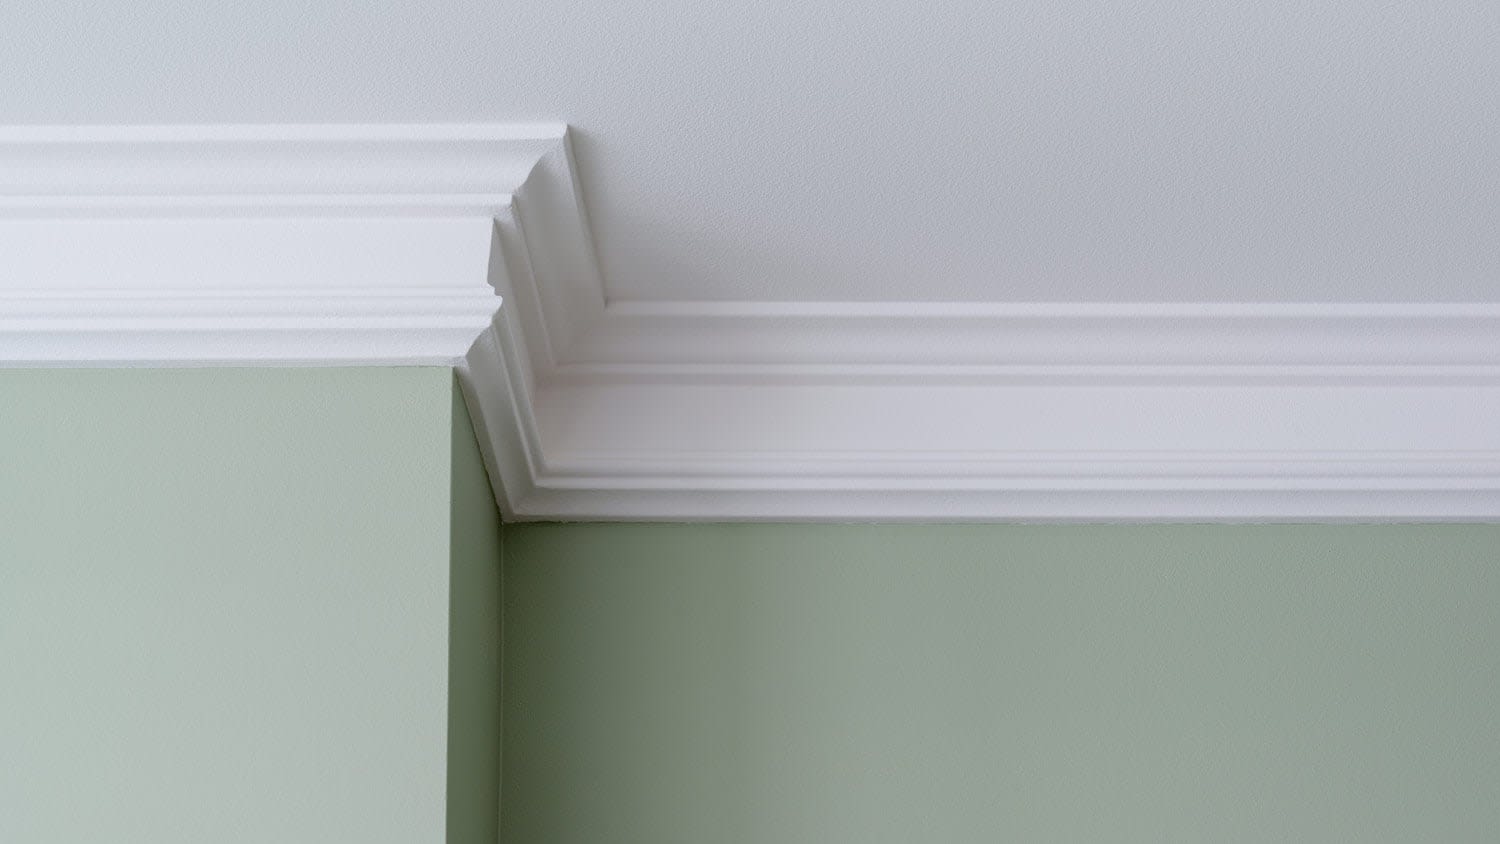
Coping just isn't enough

This project requires a lot of experience, so we don’t recommend DIYing it. Hire a pro with the special skills and tools necessary to complete the job safely.
If you're wondering how to install crown molding on a vaulted ceiling, you're not alone. Crown molding adds distinction and style to any room, and making precise cuts is the key to success. Most of the necessary cutting is straightforward. However, transitioning to a vaulted ceiling at an inside corner requires extra patience and high-level carpentry skills.

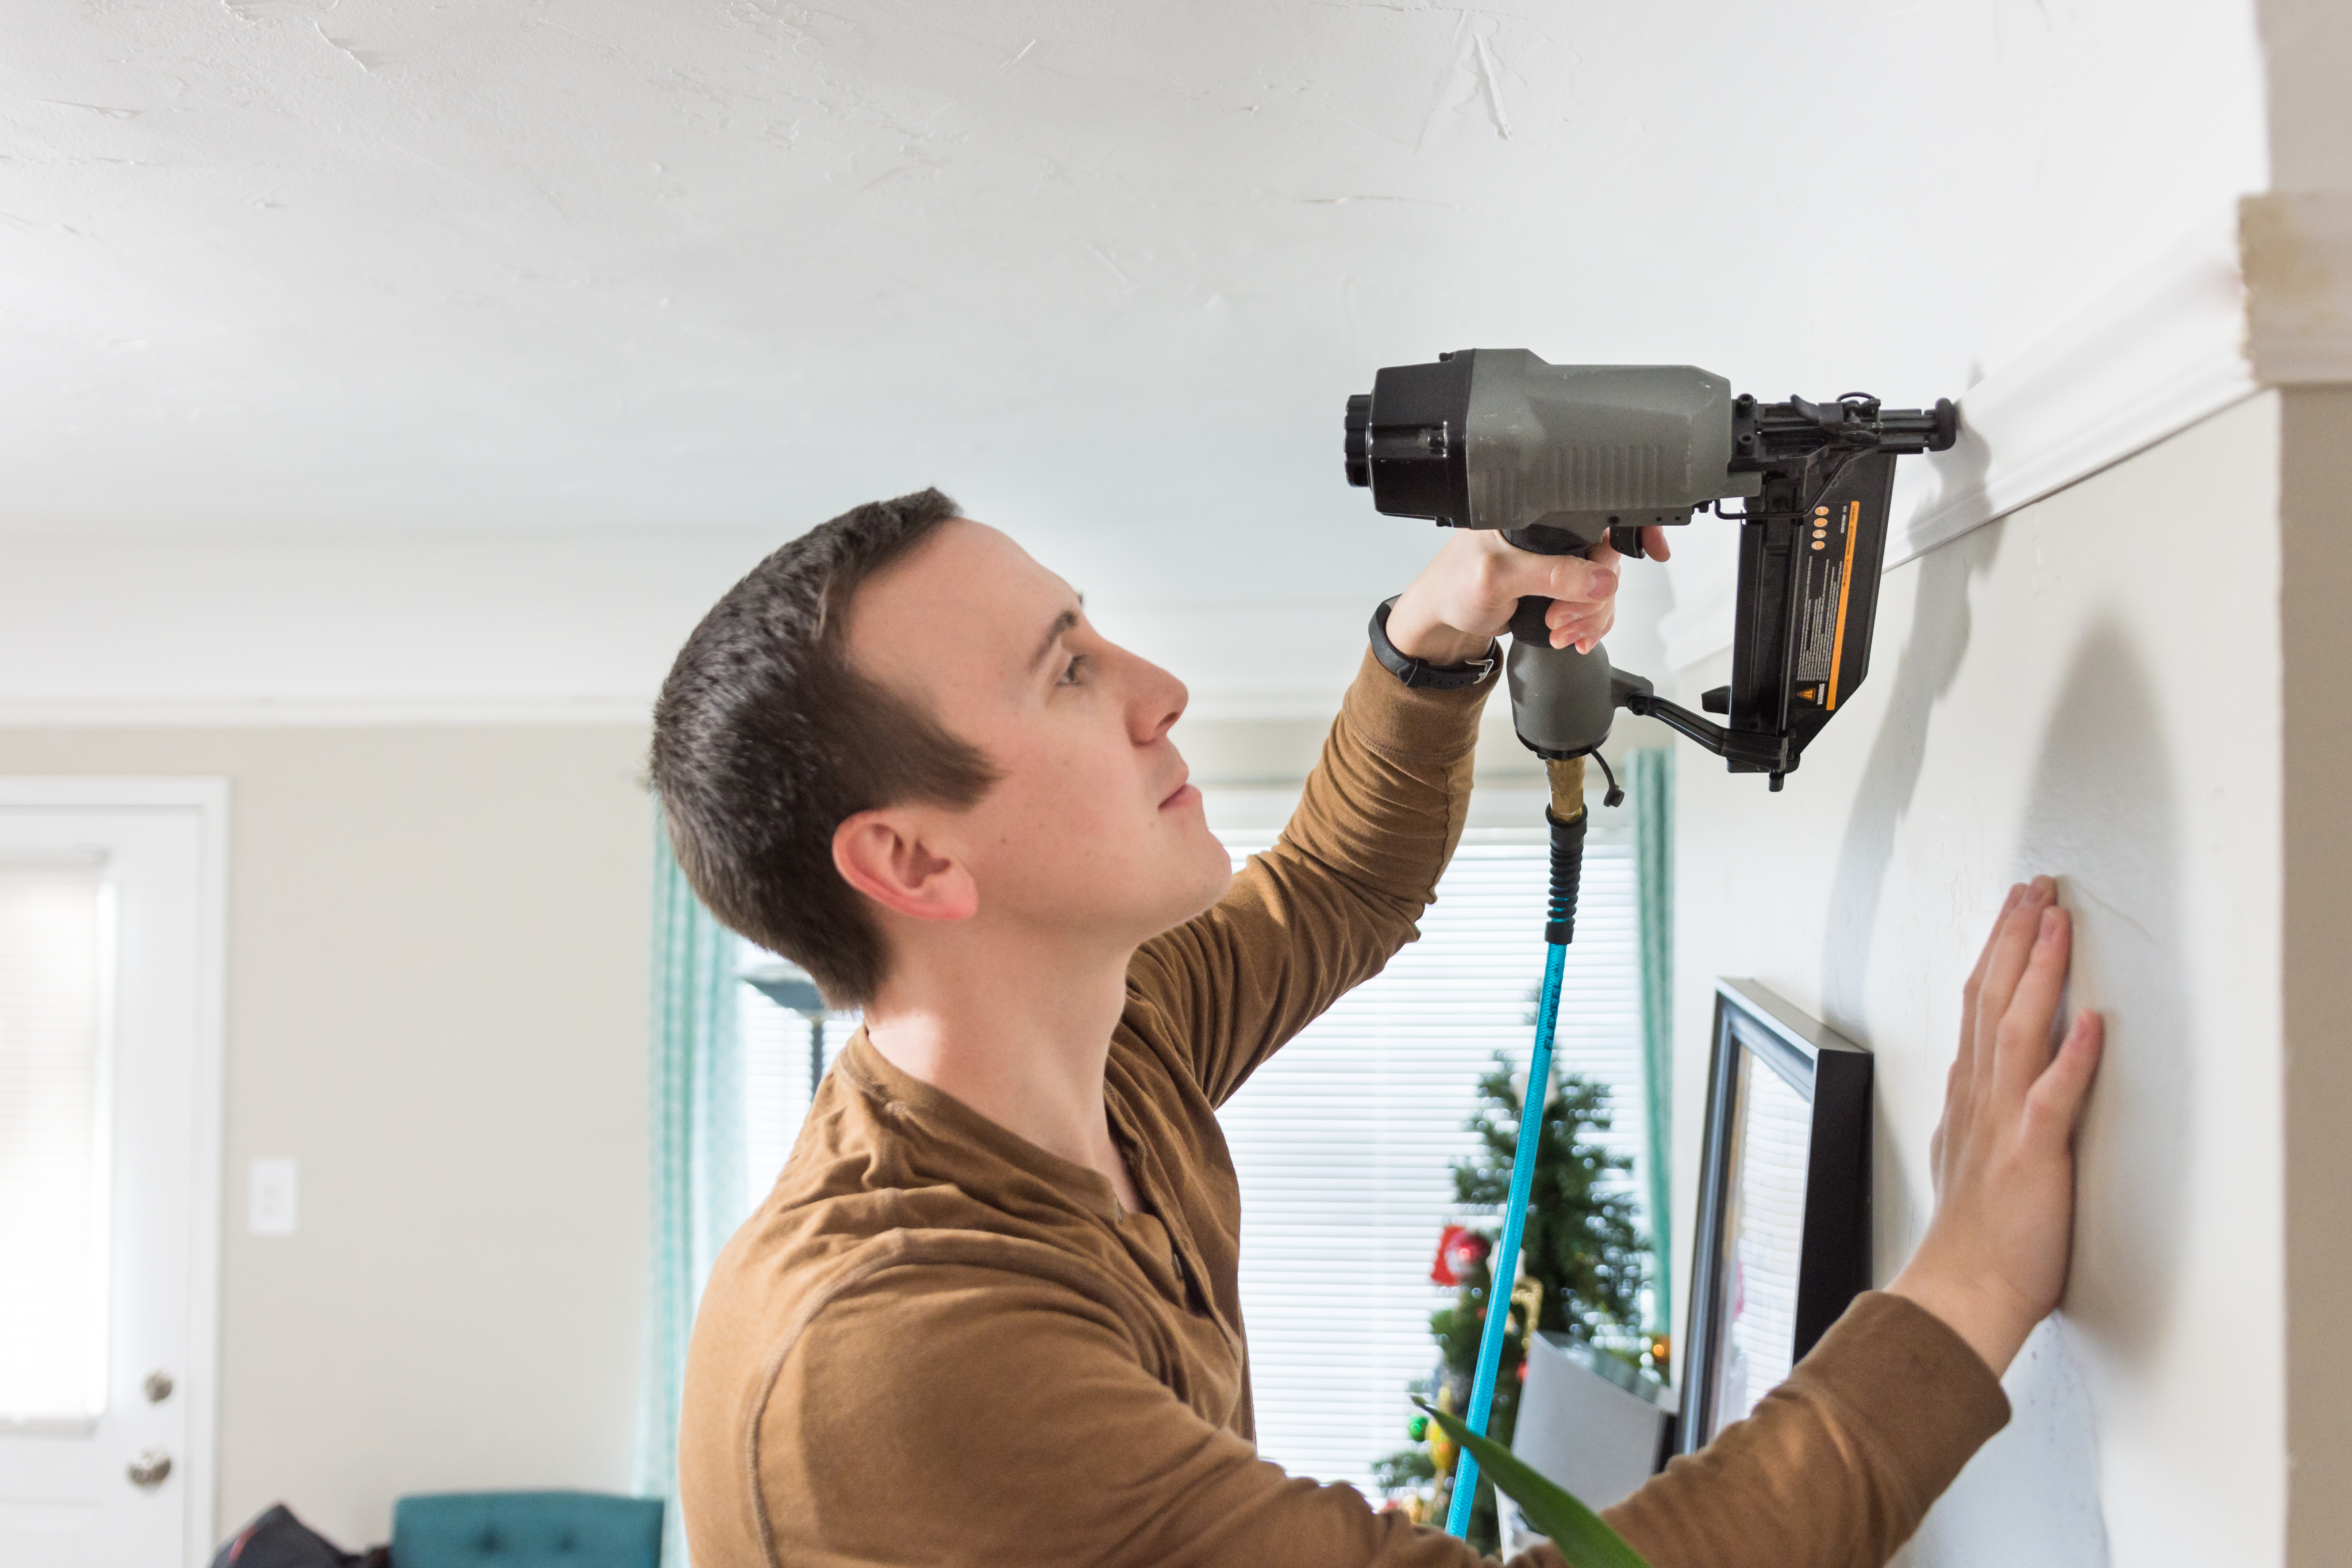
There are two significant safety factors that make installing crown molding on a vaulted ceiling a job for well-experienced DIYers only. First, you'll need to work from a ladder while fitting together complex trim pieces overhead. It can be easy to become distracted. Follow all ladder safety protocols first and foremost.
Second, creating inside corners with crown molding where a vaulted ceiling meets the horizontal plane requires more than using simple coping cuts. Instead, you'll need to cut small transition blocks with an electric miter saw. Be sure to understand and follow the safety guidelines for working with this type of equipment, especially when making small pieces.

The easiest and most precise way to make accurate and repeatable cuts when working with crown molding is to build an additional temporary fence for your miter saw. Use a piece of scrap lumber and C-clamps to fashion a second, parallel fence on your saw that matches the distance from the wall to the outside edge of the crown molding piece where it will land on the ceiling. Base your measurement on the crown molding size and installation angle.
Use one of two ways to determine the angle of your vaulted ceiling. Precise measuring is necessary for success. Use a slope gauge resting flat against the ceiling slope or draw short, intersecting lines on the wall, one horizontal and one parallel to the ceiling, and measure with an angle finder or protractor. Keep this measurement handy.
While, depending on the type of crown molding, you can use simple coping cuts for normal inside corners, transitioning to a vaulted ceiling is where this particular project becomes challenging. For most of these cuts, except when making the transition piece, use the primary and your temporary fence to hold your piece at a 45-degree angle in the saw.
To cut the sloping crown molding piece, measure so that the ceiling edge of the trim will meet the wall corner. Using that measurement, set the piece in your saw at a 45-degree angle. Set your bevel to zero and the blade to half the degree angle of the ceiling. Rest the wall edge on the saw base and the ceiling edge up and toward you, against your temporary fence. Put on your safety glasses before cutting.
The transition piece will be a small triangular piece that fills the gap between the different angles created by the corner. It requires making two cuts.
For the first cut, set the blade to half of the ceiling degree angle while the piece rests in the saw so the wall edge is against the saw base and the saw's fence, and the ceiling edge is up and facing you. Your cut will start from the ceiling corner of the piece to create the triangle.
For the second cut, remove your temporary fence from the saw and lay the transition piece flat on the base so the point of the triangle touches the saw's fence. Set the blade to half the degree angle of the ceiling. Use extreme caution when making this cut. We recommend fashioning a jig to hold the piece in place to keep your fingers away from the blade.
To make the cut in the horizontal section that will meet the transition piece, set the blade to 45 degrees and reset your temporary fence. Make your cut while the molding's ceiling edge rests on the saw base and against its fence.
Install the pieces starting with the sloping edge, followed by the transition triangle, and the horizontal piece. Use construction adhesive to secure the transition, as it may be too fragile to accommodate nailing. Additionally, after dry-fitting the piece, add wood glue to the edges to help secure it.
To create the corners where your vaulted ceiling meets a flat ceiling above the slope, you'll need simple cuts. First, cut the horizontal piece where it meets the slope at half the degree angle of the ceiling slope. When cutting, use no bevel on the saw and set the piece in the saw so the ceiling edge is up and facing away from the saw's fence. For the second cut that runs down the slope, make the same cut with the installation piece extending out the other side of the saw.
Install the rest of the crown molding around the room as you normally would. Remember to nail into wall studs or ceiling joists as you go.
Regardless of which crown molding material you're using, installing crown molding on a vaulted ceiling is significantly more challenging than installing it in a room with only flat ceilings. The challenges include making several precise cuts and fitting them together seamlessly. However, the safety aspect is a more significant concern.
Most homeowners choose to contact a local crown molding installer to handle the task. Doing so is safer for your fingers and your frustration level.
Incredible workers! Very skilled with the machinery, climbing, cutting, roping, and removal. Handled everything. Professionals!
 Hoffman Expert Tree Services
I m so impressed with Custom Paint Jobs LLC s craftsmanship. They truly care about quality.
Window Depot did an amazing job on my deck. I wasnt sure what I wanted to do, but their composite decking was affordable and will last a long time. I am excited to have family over, and I am no longer embarrassed by my backyard. Jeff and the ground crew were polite, respectful, and caring for...
Storms Mobile Welding was great to work with. They were prompt, professional and did an overall excellent job on the project. I highly recommend.
Great job...edging and pre clean up went well with a great job with seal coat. Friendly, efficient and professional.
 All Star Paving and Sealing
Great tree company, very professional and honest. Glad we found them, they had the best pricing
It was wonderful working with Yordy and his team. They were very professional and are experts in what they do. They have completed the work on time, with better quality and with in fairly reasonable price. We just started with backsplash work , but liking his work, we went on to provide...
We hired Jim to replace our hardwood floors with new hardwood. He and his helper Jerry did a fantastic job. Their work ethic is impeccable!! We would highly recommend McColl Floors!
The job went extremely well. Work was done as promised and the job came out better than expected due to Mr. Moyer's commitment to excellence and personal pride in providing the best work possible. He is one of those professionals who is not satisfied until the customer is completely happy...
 Pro Flooring
We needed to have a wall cabinet resized so that we could fit a larger refrigerator underneath. I removed the cabinet from the wall myself and brought it in, where Wally was able to resize it for me in his shop. The results were perfect: it's exactly the size that I asked for, and...
 Pioneer Woodworks
From average costs to expert advice, get all the answers you need to get your job done.
Find out how much it costs to install crown molding by type and size. Use our expert guide to figure out how much crown molding you need, how much crown molding costs near you, and whether you need to hire a pro.
Installing foam crown molding is a cost-effective way to elevate your home. Costs can be kept low by matching molding to existing wall colors and doing some DIY work.

Discover how much it costs to remove crown molding based on factors like its size, location in your home, material, and more.
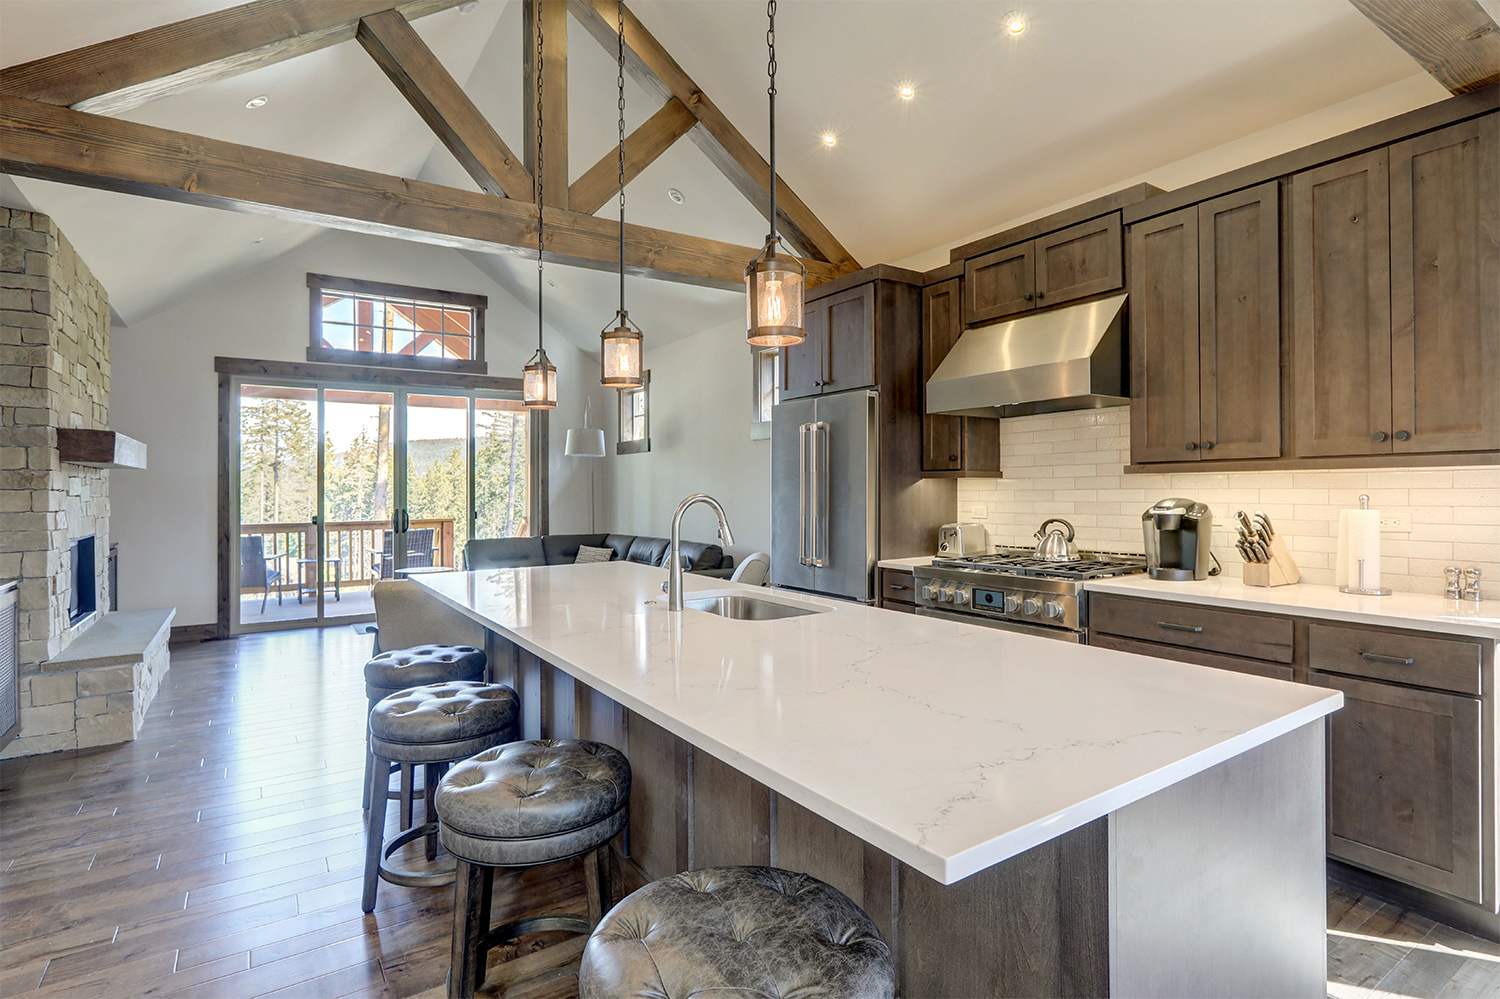
Crown molding is a decorative element that seamlessly ties your wall and ceiling together. But it can be tricky to install on vaulted ceilings. Learn more about how to install this design feature.
Make tough trim work cuts look easy. Get started installing your crown molding by learning a simple method to achieve near-professional looks.

Crown molding is a type of decorative molding that sits in the corner between the wall and the ceiling. This guide will help you figure out exactly what crown molding looks like, plus when it makes sense to use it in your home.