
If you’re looking to refinish your countertops, epoxy will make them shine for years to come. This guide will help you budget for epoxy countertop costs.
Learn more before you pour

Food-safe epoxy resin kits work on various surfaces like laminate, wood, tile, and concrete, so you can transform your existing countertops with the right product.
Professional epoxy countertop installation costs range from $2,000 to $7,000 for brand-new counters, while DIY epoxy coating projects can start as low as $100 for materials.
Mix your epoxy slowly with a flat paint stick to prevent air bubbles, and apply a seal coat on porous surfaces to help you achieve a smooth, professional-looking finish.
Hiring a local countertop professional provides reliable guidance on epoxy selection and application techniques, helping you avoid common mistakes like improper mixing or uneven coating.
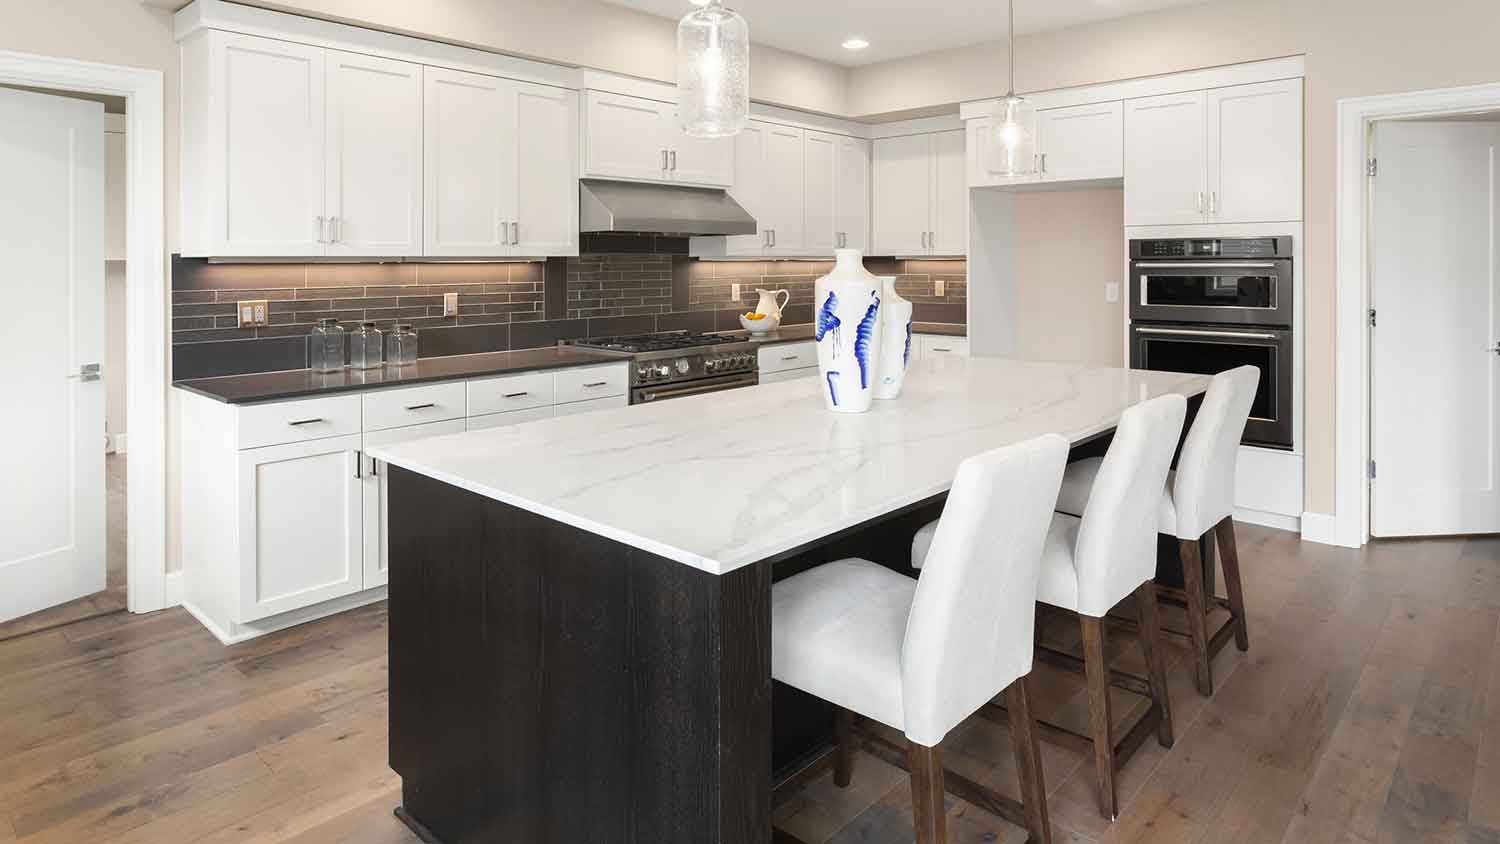
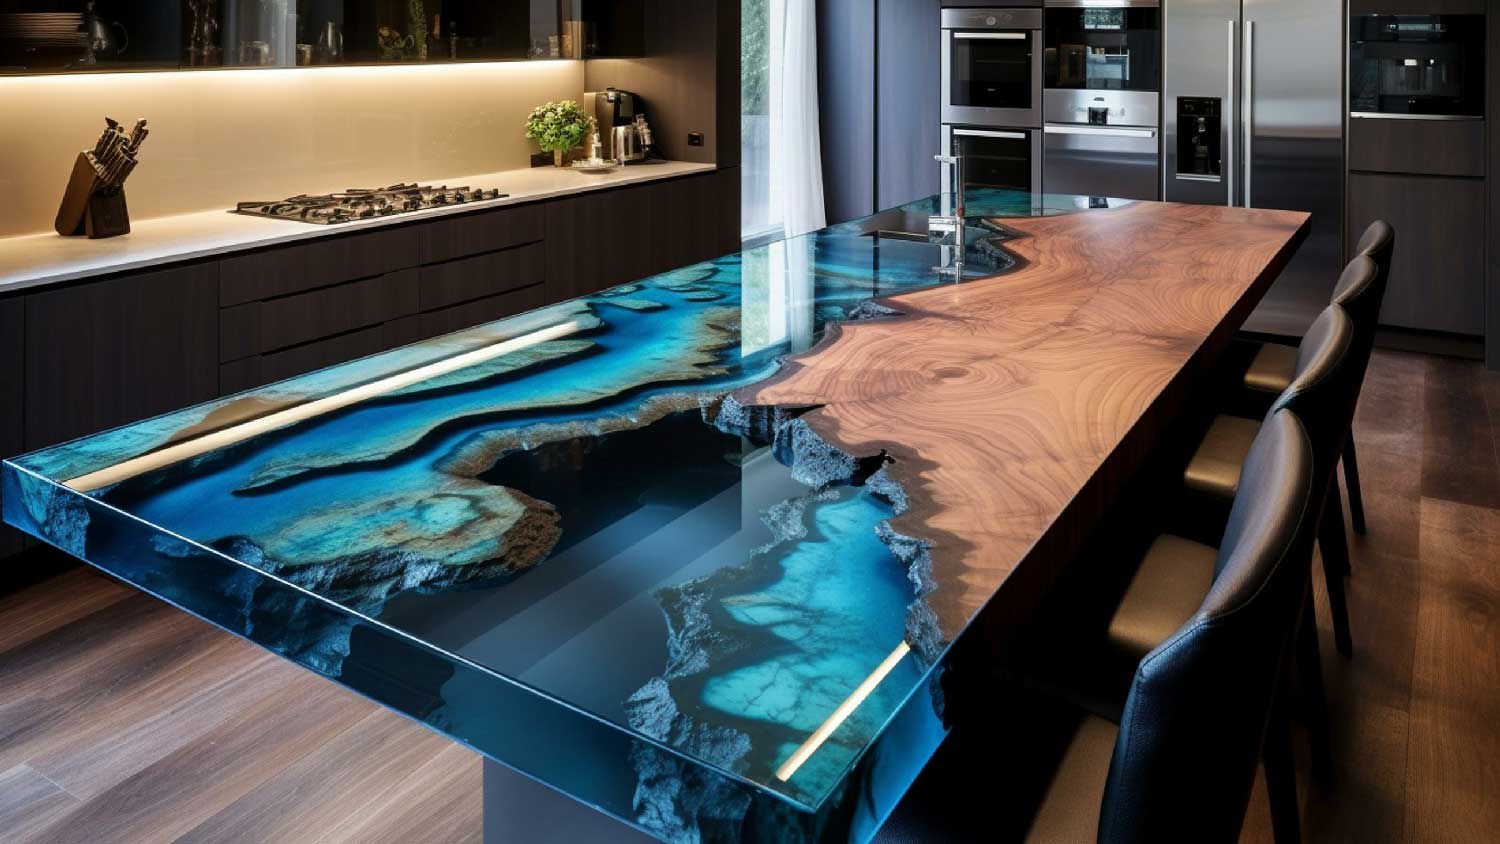
Epoxy countertops look incredible thanks to their incredible glossy finish. But anyone who has worked with epoxy knows the devil is in the details. For those wanting to understand how to epoxy countertops, these trustworthy tips will help you create the shiny, durable finish of your dreams.
Many homeowners love epoxy because it strengthens just about any porous surface, making it more durable and resistant to moisture—no regular sealing is required. You can pour it on to create level surfaces and fill gaps or roll it on for a smooth, even finish.
You will find different epoxies made for specific purposes, including countertop repairs or coating floors, patios, and furniture for indoor and outdoor use.
Use a food-safe epoxy resin kit for countertop projects on counters, bar tops, or tables. Most options work on various surfaces, including concrete, MDF, laminate, wood, tile, ceramic, natural stone, and marble. If you plan to coat an outdoor countertop, ensure the epoxy you pick is rated for outdoor use and is highly UV-resistant to avoid yellowing.
DIYers need to know that epoxy is super sticky and very difficult to remove from skin. Additionally, even if the product they use is labeled “low VOC” or “non-toxic,” wearing protective work gear, including long sleeves and pants, gloves, and a mask or respirator, is essential.
While epoxy should be applied in a dust-free environment, keeping the windows open or working in a well-ventilated area is a good idea.

A seal coat is similar to a paint primer. It preps the surface for the epoxy coating. On porous surfaces like wood, a seal coat significantly reduces the formation of air bubbles, enabling homeowners to achieve a more professional finish.
Unlike the way you whip eggs, you can't rush mixing epoxy. It needs to be stirred slowly and steadily to avoid air bubbles. Following the manufacturer's instructions for mixing times is always best, but the process usually takes several minutes. Mix it manually with a flat paint stick instead of a drill attachment. Ensure you scrape the mixing container's sides and bottom for even blending.

While epoxy is a clear resin, you can mix it with colors to create different effects. Pigments include metallic powders, liquid dyes, and mica pigments made from natural minerals. Pre-tinted kits are also available if you are uncomfortable with mixing colors.
However, just as homeowners need to test house paint on walls to get a feel for the color, you need to do the same with epoxy colorants. The countertop surface, lighting, and even the thickness of your pour can all affect the final color’s appearance.
Mix a small test batch first and apply it to a discreet area to avoid any unexpected surprises. This quick step can save you from a color catastrophe and help you fine-tune the mixture before you commit.
Air bubbles can still appear after pouring epoxy, even when you mix it carefully and apply a seal coat. Fortunately, DIYers can use a heat gun to pop bubbles without disturbing the applied epoxy. The trick is to glide the heat gun over the epoxy surface, never lingering in one spot. Pros use a propane torch, but they have the experience not to burn the resin or the countertop's surface.

An epoxy surface feels dry to the touch after 12 to 24 hours, but it needs up to seven days to reach maximum hardness. That means using your counter before the epoxy finishes curing can lead to scuffing, scratching, and smudging.
When in doubt about cure times, always follow the manufacturer's instructions. This is especially important in areas with high humidity, where homeowners may need to take additional steps to ensure their counters fully cure.
Unused mixed epoxy will eventually harden. So, you should never pour it down the drain, as it can wreck your plumbing. Homeowners should also avoid tossing unmixed epoxy in the trash, as it is an environmental hazard.
If you have small amounts of leftover resin and hardener, the best disposal method is to mix them in the correct ratio and let them fully cure. Once the epoxy is cured and hardened, it’s considered inert and can usually be tossed with the regular household trash. Check your local trash guidelines, or find a pro who disposes of hazardous waste.
While experienced DIYers can epoxy their countertops for as low as $100, it is a messy job that can deliver mixed results for first-timers.
Working with a local countertop contractor with epoxy experience will deliver predictable results whether you decide to epoxy an existing counter or have new ones installed. The cost of epoxy counters depends on materials, the size of your kitchen, and labor costs in your area. Typically, homeowners can expect the price for brand-new countertops to range from $2,000 to $7,000.
I had FabClean 614 clean my apartment, and she did an outstanding job. She was so professional and efficient. My apartment looks absolutely spotless every surface, every corner, all cleaned to perfection. Definitely highly recommend FabClean 614 if you're looking for top-notch cleaning...
Cole has been handling plumbing and general contracting for our four properties over the past three years, and he’s always done a great job. Most recently, he installed a sink and countertop in our retail store where none existed before, and it turned out exactly how we needed. He’s...
 ANB Renovations LLC
This company is my go to resource for all my post renovation clean ups. They get the place spotless! All we have to do after is stage the place and sell, sell, sell! They are super professional and have some amazing scent that is left in every property. I highly recommend!
I had Ace Fireplace Services install custom chimney caps for my home, and the results are stunning. They fit like a glove and have added a touch of sophistication to my chimney. I can't recommend their services enough.
 Ace Fireplace Services
Supreme Brick & Chimney did an excellent job restoring the brick and mortar joints on my home. Their team was professional, knowledgeable, and completed the work on time. I highly recommend them and will hire them again in the future! Thanks!
 Supreme brick & chimney
I recently hired Custom Paint Jobs LLC to repaint my home, and I couldnt be happier with the results. Their attention to detail and professionalism were outstanding. Highly recommended
Window Depot did an amazing job on my deck. I wasnt sure what I wanted to do, but their composite decking was affordable and will last a long time. I am excited to have family over, and I am no longer embarrassed by my backyard. Jeff and the ground crew were polite, respectful, and caring for...
If I could give 10 stars for Kitchen Tune Up, I would. I cannot say enough good things about my experience with Kitchen Tune Up and the entire team involved in the process of my kitchen project. They went above and beyond as far as service and quality with my cabinets, paint, countertops, and...
Great job...edging and pre clean up went well with a great job with seal coat. Friendly, efficient and professional.
 All Star Paving and Sealing
They are very reliable and available. They the drains all the time
 The Waterworks
From average costs to expert advice, get all the answers you need to get your job done.
If you’re looking to refinish your countertops, epoxy will make them shine for years to come. This guide will help you budget for epoxy countertop costs.
A coat of epoxy can help extend the life of your countertops. But how long does an epoxy countertop last? This guide will give you an idea of what to expect.
Find out the similarities and differences between epoxy versus granite countertops so you can make the best decision for your next kitchen remodel.
If you’re changing up your kitchen decor, you may want to paint Corian® countertops to match rather than installing brand-new countertops.
Whether you’re installing an epoxy floor or epoxy countertop, this calculator will help you determine how much epoxy you need to complete your project.
Cracked, chipped, and stained countertops can make your kitchen look drab. Learn how to repair kitchen countertops to bring your kitchen back to life.