
This guide covers the cost to tile a kitchen countertop and the main cost factors, including tile type and grade, kitchen size, and whether you hire a pro for the installation.
Gear up for this labor-intensive project

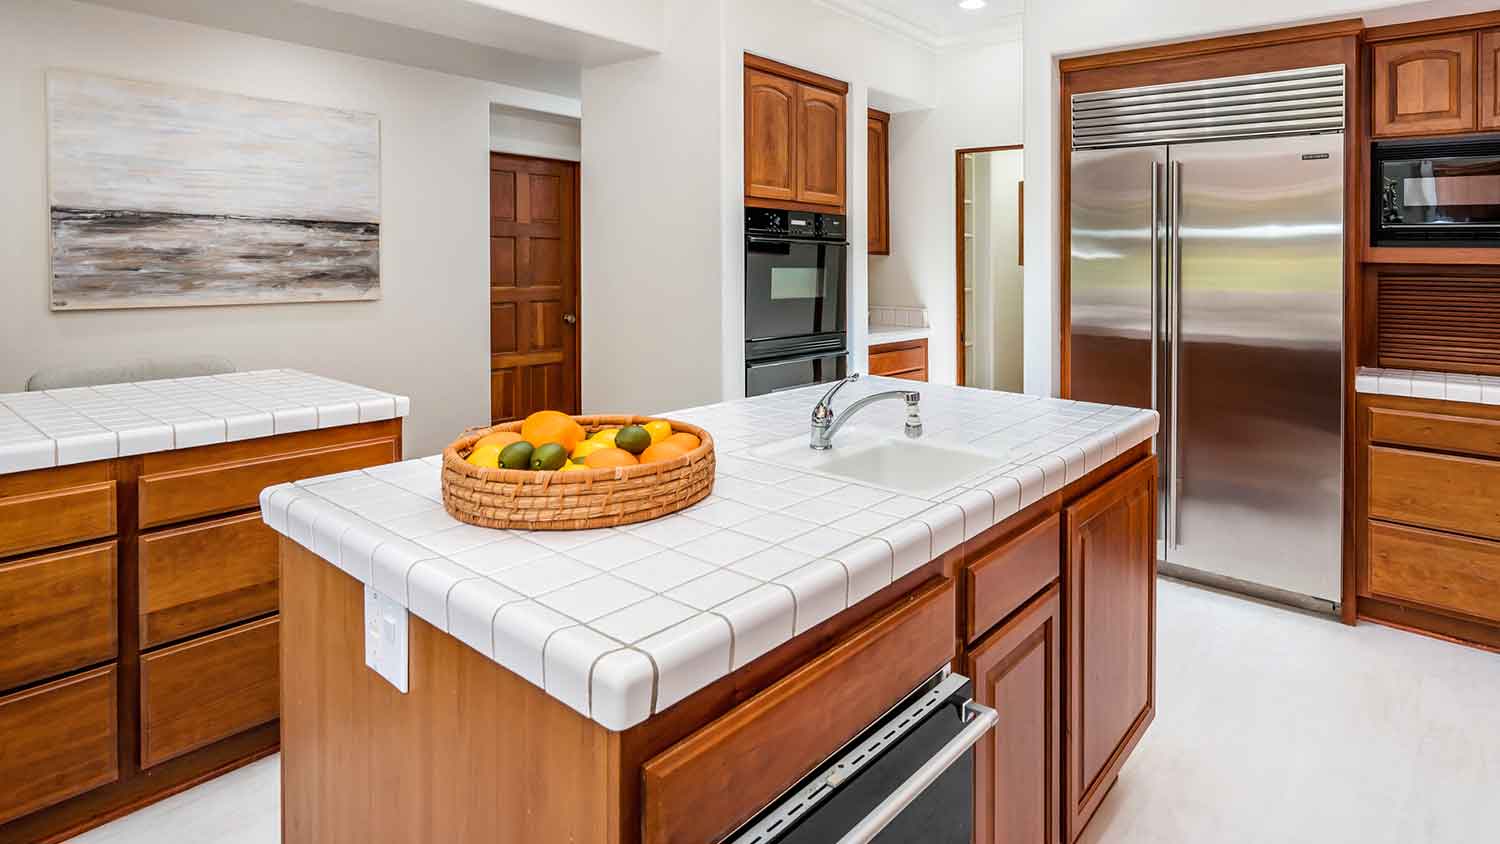
When it is time to toss your outdated tile counters, you need to know how to remove a kitchen tile countertop without damaging your cabinets—or, worse, yourself. The good news is that with a lot of patience, safety precautions, and the right tools, it's a manageable project for homeowners with DIY experience.
This project is extremely messy, and you can expect flying debris. For those reasons, protecting yourself and your kitchen is essential. In addition to wearing head-to-toe protective gear, ensure your countertops are clear and your other kitchen surfaces are fully protected. Cover your cabinets, appliances, and floor with drop cloths and secure them with painter's tape.
Additionally, this project will generate a lot of dust, so consider covering kitchen entryways to prevent it from spreading to other rooms.

Your tile countertops may include a built-in cooktop or sink. To avoid damaging them, disconnect and move these items out of the way. First, shut off the water, gas, or electrical lines before disconnecting the plumbing and other connections. It is also wise to refer to the manufacturer's instructions when moving appliances.
Use your utility knife to cut through the caulk sealing the countertop along your walls and backsplash. Apply gentle pressure as you slice through the caulk edges. The aim is to loosen the bond to avoid unnecessary damage to these surfaces when prying up the tile.
Your tile counters may be held in place by glue or a construction sealant. When that is the case, you can use a heat gun or even your hair dryer to soften the adhesives for tile removal. You may need to repeat the process as things cool down.

Now, you are ready to demolish your tile countertop. Start at the counter edges, using a hammer, chisel, and putty knife to bust up the grout lines. Grab your pry bar and gently lift tiles to avoid flying shards.
If the tiles are not budging, gently tap them with your rubber mallet or hammer to loosen them. Reheating the tiles with your heat gun to soften any adhesives during this stage may be very helpful.
We must stress the importance of wearing protective gear during this process. The bare minimum includes safety goggles, gloves, and long sleeves.
Congratulations! Most of the hard work is complete. Now it's time to remove the exposed board that held your old countertop in place.
Use a drill to take out any screws securing it to the base cabinets. If it's glued down, apply heat to loosen the adhesive, then insert a pry bar at one corner and carefully lift it around the edges. Be mindful of the cabinetry below to prevent damage. You can use a reciprocating saw to cut the base into smaller sections for easier removal.
Now that your tile countertop is gone, remove any glue and caulk left behind. Use a heat gun or hair dryer to soften the adhesive, then scrape it off with a putty knife. For particularly stubborn adhesives, you can use a remover like Goo Gone.
Next, sweep up large chunks of debris using a broom and dustpan, then make a second pass with a shop vacuum to capture all the smaller broken shards. Wipe down any dust on surfaces with a damp sponge in preparation for the new countertop installation. The estimated cost to install a new countertop ranges between $1,880 and $4,475, based on your location and required materials.
Lastly, remember to use contractor bags when it is time to remove debris from your home. Broken tiles can’t easily tear these durable trash bags.
One of the biggest mistakes to avoid is rushing the process. It increases the chances of costly damage. Examples of rushing things include:
Skimping on the prep work, for example, not covering cabinetry and appliances
Failing to cut through caulk before demoing; this can destroy your backsplash and drywall
Not disconnecting power sources and plumbing, which could lead to water damage or electrical and gas hazards
Also, it bears repeating: Wear your protective gear, including goggles, a dust mask, gloves, and long sleeves and pants. These are all essential for avoiding injury from tile shards, fumes, and dust.
While removing a tile countertop is possible for homeowners with the right tools and previous DIY experience, hiring a pro is the safer and more efficient choice. While you don't need specific technical skills for this project, it is very labor-intensive and dangerous, meaning you can risk harm to yourself or your kitchen.
To sum up, local countertop contractors have the experience to avoid damaging your cabinets, walls, and appliances. Even better, they handle cleaning and removing hazardous materials like sharp tile shards and dust. In most cases, bringing in a pro guarantees a smoother, safer job with less hassle. The cost to demo a countertop ranges from $50 to $300.
I had FabClean 614 clean my apartment, and she did an outstanding job. She was so professional and efficient. My apartment looks absolutely spotless every surface, every corner, all cleaned to perfection. Definitely highly recommend FabClean 614 if you're looking for top-notch cleaning...
Cole has been handling plumbing and general contracting for our four properties over the past three years, and he’s always done a great job. Most recently, he installed a sink and countertop in our retail store where none existed before, and it turned out exactly how we needed. He’s...
 ANB Renovations LLC
This company is my go to resource for all my post renovation clean ups. They get the place spotless! All we have to do after is stage the place and sell, sell, sell! They are super professional and have some amazing scent that is left in every property. I highly recommend!
I had Ace Fireplace Services install custom chimney caps for my home, and the results are stunning. They fit like a glove and have added a touch of sophistication to my chimney. I can't recommend their services enough.
 Ace Fireplace Services
Supreme Brick & Chimney did an excellent job restoring the brick and mortar joints on my home. Their team was professional, knowledgeable, and completed the work on time. I highly recommend them and will hire them again in the future! Thanks!
 Supreme brick & chimney
I recently hired Custom Paint Jobs LLC to repaint my home, and I couldnt be happier with the results. Their attention to detail and professionalism were outstanding. Highly recommended
Window Depot did an amazing job on my deck. I wasnt sure what I wanted to do, but their composite decking was affordable and will last a long time. I am excited to have family over, and I am no longer embarrassed by my backyard. Jeff and the ground crew were polite, respectful, and caring for...
If I could give 10 stars for Kitchen Tune Up, I would. I cannot say enough good things about my experience with Kitchen Tune Up and the entire team involved in the process of my kitchen project. They went above and beyond as far as service and quality with my cabinets, paint, countertops, and...
Great job...edging and pre clean up went well with a great job with seal coat. Friendly, efficient and professional.
 All Star Paving and Sealing
They are very reliable and available. They the drains all the time
 The Waterworks
From average costs to expert advice, get all the answers you need to get your job done.
This guide covers the cost to tile a kitchen countertop and the main cost factors, including tile type and grade, kitchen size, and whether you hire a pro for the installation.
The cost of porcelain countertops is affected by many factors, primarily the material's type (tile or slab) and finish, as well as your counter’s size and shape.
Removing tile flooring is a labor-intensive process. Here’s how much it costs to remove tile flooring, whether you hire the project out or do it yourself.

From marble to butcher block to surprisingly stylish laminate, these countertops will inspire your kitchen makeover.
Nonporous kitchen countertops offer many affordable and attractive-looking options while being relatively maintenance-free. Here are six options to consider.
Looking for stylish kitchen countertop ideas on a budget? Here are seven inexpensive ideas for rehabbing your existing countertop or choosing a new one in an economical material, like laminate, tile, and more. Keep reading.