
Countertop repair costs may be the deciding factor between replacing or repairing your counter. Let’s break down the cost to repair, resurface, or relaminate.
Give your countertops a luxurious makeover with a DIY paint job

Painting your countertops gives you a budget-friendly kitchen refresh without the thousands of dollars that new countertops require.
Expect to pay $300 to $500 for countertop painting supplies and tools when tackling this project yourself.
You need to sand your countertops with 100- to 150-grit sandpaper first, then finish with 220-grit for proper primer adhesion.
Hiring a local interior painting professional keeps your kitchen transformation stress-free, ensuring proper prep work and a durable finish that lasts.
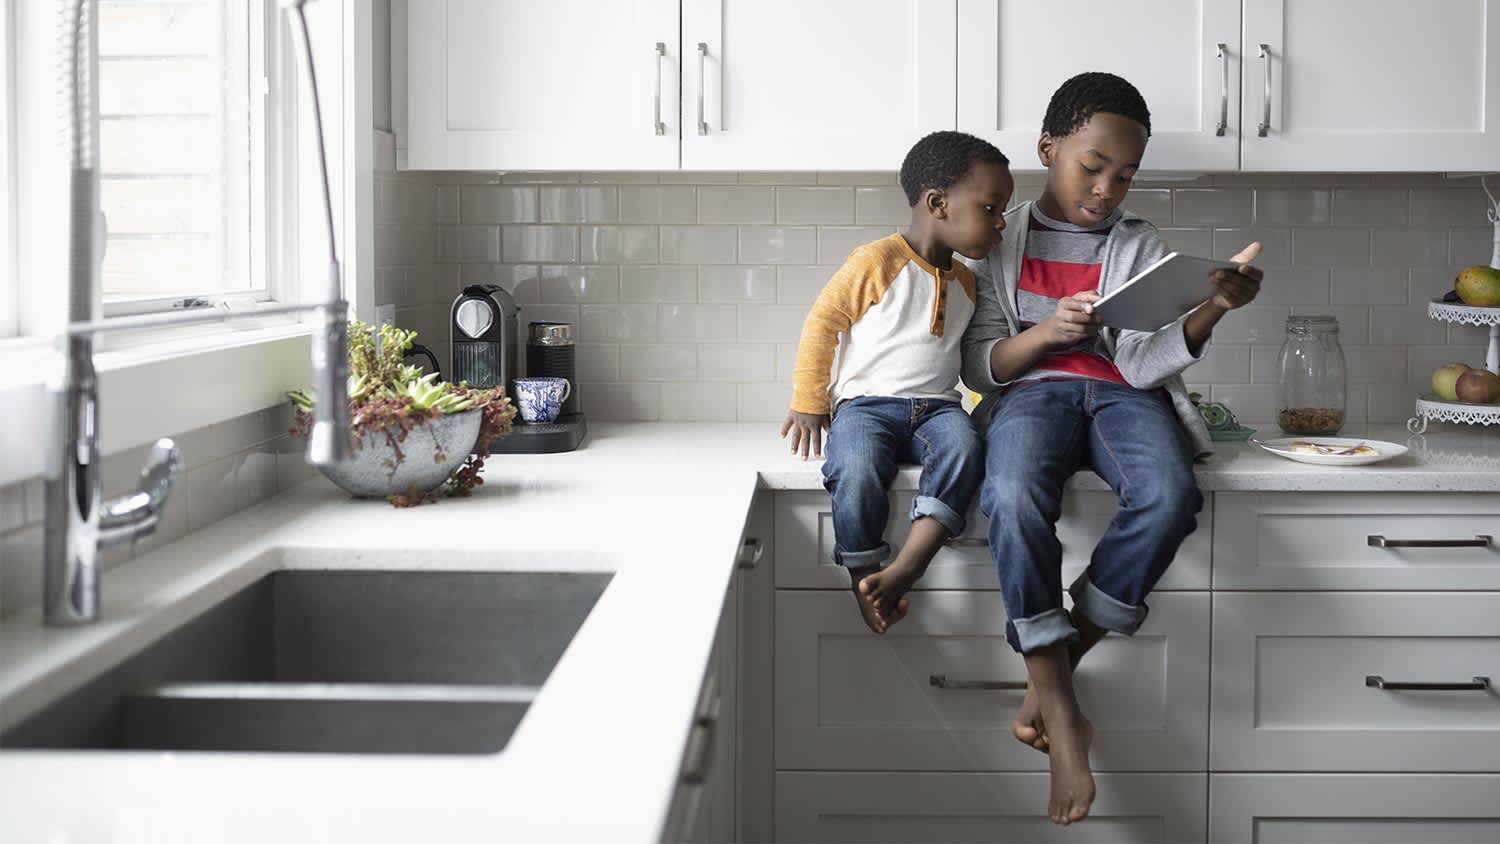
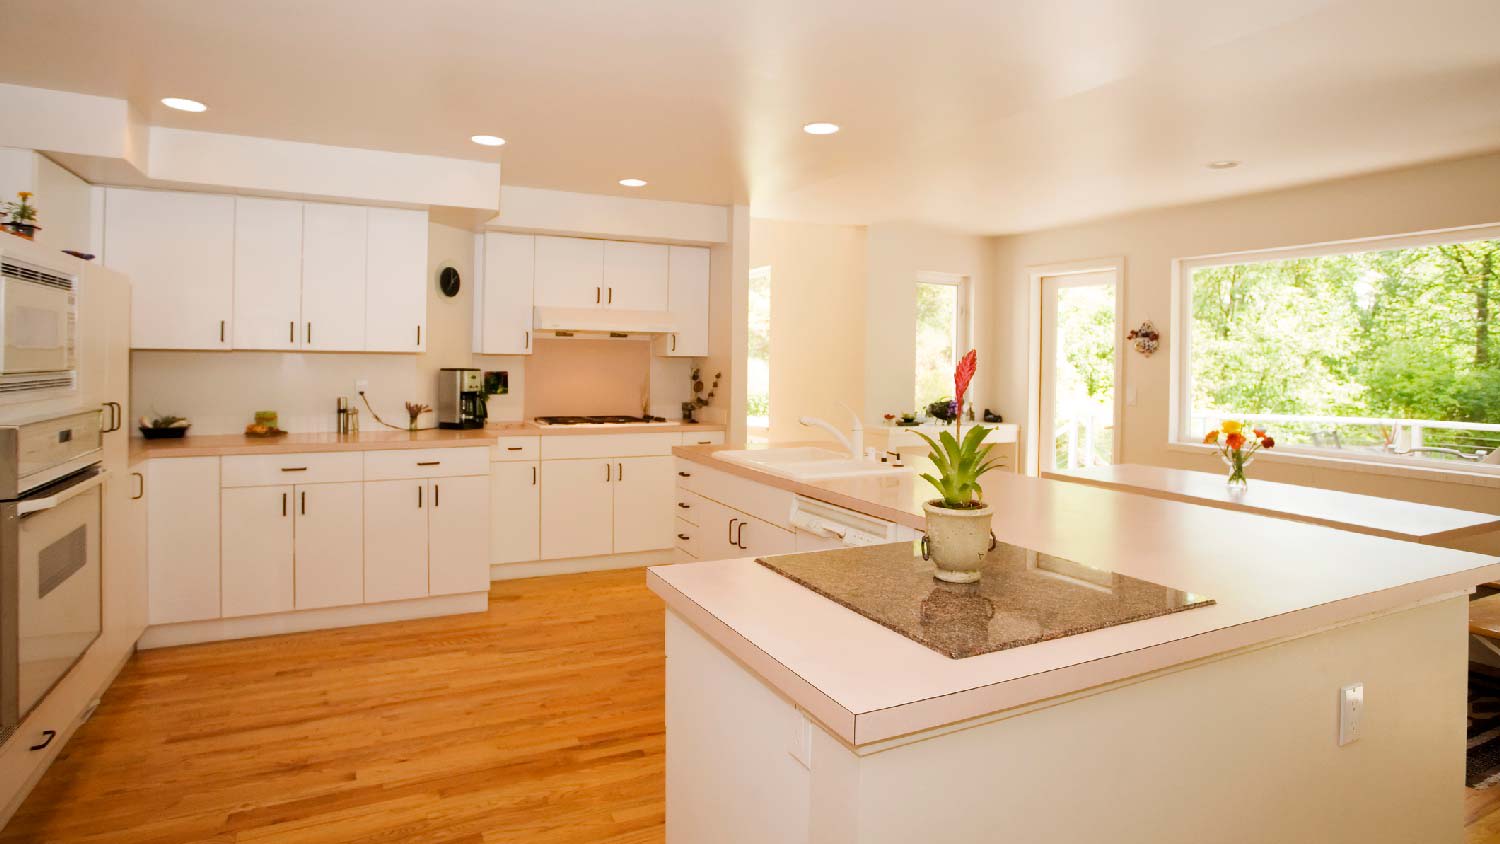
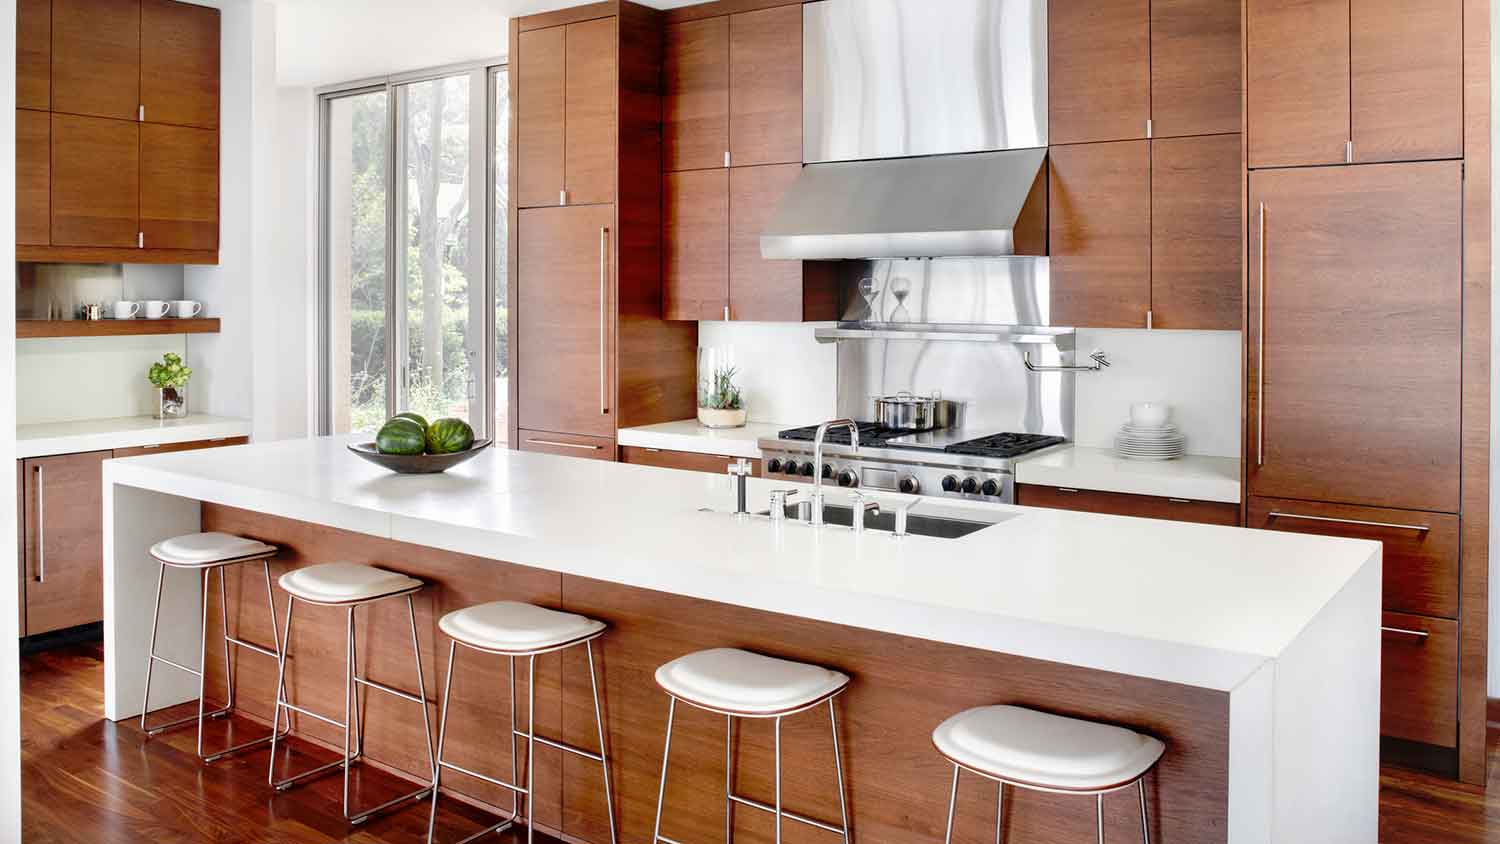
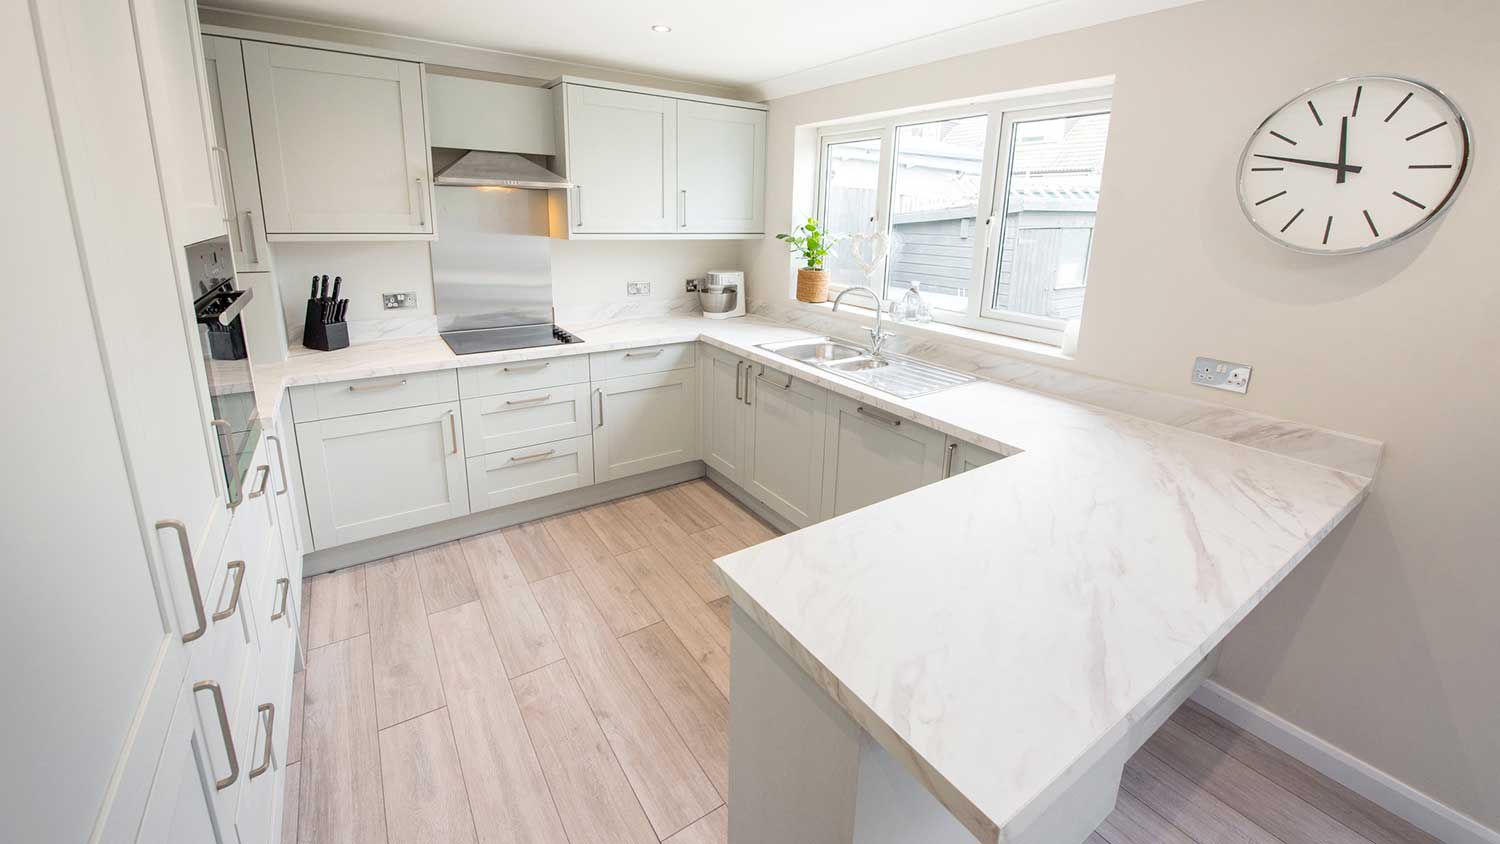
Do you want to give your kitchen a fresh look but spare the expense of new countertops? You can update your kitchen in a couple of days by learning how to paint your countertops. Whether you want your kitchen to pop with a vibrant solid color or love the look of marble countertops, you can achieve either look with paint.
Learn how to paint countertops correctly, plus tips for keeping them pristine once the job is done.
Rather than stay stuck with a countertop style you don’t enjoy, you can brighten up your kitchen with this DIY project. Plus, painting your countertops is a budget-friendly way to update your kitchen's look.
Painting your countertops is much more cost-efficient than replacing countertops, which can run about $3,000 on average. So, rather than forking over thousands of dollars for new countertops, you can spruce up your existing ones yourself.
Painting countertops yourself can save you money on labor costs. The cost varies depending on the size of your countertops and if you purchase products separately or opt for a countertop painting kit.
You will need to account for the costs of other tools and supplies, such as an orbit sander, if you don't have them. Typically you can expect to pay between $300 to $500 to paint your countertops.
Before we dive into how to paint countertops, there are some things you should consider first.
The type of countertop you have determines if this project is a good idea or not.
For instance, getting paint to adhere to stone countertops such as granite and quartz is more difficult because they are non-porous. Plus, stone countertops are typically more valuable than other types. In fact, quartz countertops cost around $4,500 on average. So you may want to try buffing and polishing them instead to restore their luster.
If you have laminate or wood countertops, they are much easier to paint and are less expensive.
You also need to decide if you want a solid color or multiple colors that can simulate marble or granite countertop colors. If you want a marble or granite look, then springing for a countertop painting kit may be easier because it has everything you need.
Another thing to keep in mind is that your kitchen will be out of commission for a couple of days while you complete this project. So you may want to prepare meals ahead of time or make dinner reservations to make things simpler.

Are you ready to tackle this DIY project and makeover your countertops? Grab these tools and materials for a successful paint job:
Drop cloth or tarp
All-purpose cleaner
Cleaning cloths or rags
Orbital sander
Sandpaper
Vacuum
Tack cloths
Rolling pan
Mini paint roller
Paintbrush
Protective eyewear
Paint respirator
Primer and Paint or Countertop Painting Kit
Top coat or resin
The first step is to buy the right paint and primer that works best for your countertop type. Speak with an associate at your local paint store if you need clarification on what kind of primer and paint you need.
Many experts recommend a water-based acrylic primer and paint or oil-based for countertop materials such as laminate or wood. They are an excellent choice because they are durable, can withstand daily use, and will last longer. Or you can opt for a countertop painting kit to have everything you need rather than buying items separately.
Start by cleaning your countertops with an all-purpose cleaner to remove dust, dirt, and grime. Make sure you are diligent about corners and cracks. Once you've cleaned your countertops, let them dry thoroughly before moving on.
Before sanding and painting, you should prepare the area by covering the floor with a tarp or drop cloth. This prep step can reduce mess and the risk of getting paint onto the floor. If you don't have these items, you can use an old sheet or other linens.
Make sure you wear protective eyewear and a respirator while sanding to avoid debris getting in your eyes and inhaling dust particles. For large, flat surfaces like countertops, you'll want to use an orbital sander with 100- to 150-grit sandpaper for the first pass, then 220-grit for the final polishing. You need to sand the surface so it has enough "tooth" for the primer to adhere.
Once sanded, vacuum and wipe clean with a tack cloth to rid dust and debris. Then apply painter's tape to cabinets, walls, and backsplash that you don't want to get paint on.

The most critical step in all paint jobs is the first coat. The rest of the project depends on a solid foundation of paint primer, so after you've sanded and cleaned the surface, apply the primer liberally and evenly with a brush or a roller.
You'll want to wear a respirator and open the windows during this step, especially if you use an oil-based primer. The fumes from oil primers are known to be hazardous.
Once the primer is dry, go back over the primed counters by hand with 220-grit sanding, creating as smooth a surface as possible. Then wipe off debris with a tack cloth before painting.
Use a mini paint roller to evenly spread the paint and cover the entire surface of the countertops. You can use a paintbrush to paint tighter areas like edges and corners. You will want to apply thin coats to allow faster drying time.
You may need several coats to get the coverage and results you desire. Follow the instructions on the paint product for recommended drying times between applications. A painting kit can make achieving a faux finish much easier.
However, if you want to try to get this look without the kit, it is possible. First, you should apply a base coat as the main color. Apply enough coats for full coverage and allow it to dry. Then come back with a sponge, plastic bag, paint brush, or another tool to create the desired stone look.
Once the paint is completely dry, seal the surface with a glossy topcoat formulated for countertops. You can also use epoxy resin, but it usually comes in two parts, and when mixed, it creates a spreadable liquid that hardens into a tough shell. Read the manufacturer's directions carefully to apply the sealer correctly.
You want to make sure to use a sealer that has a non-yellowing formula designed specifically for countertops. You can usually apply the sealer with a smooth roller and paintbrush. Wait until dry to remove the painter's tape.
Be advised that the type of sealer you use can depend on the cure time. Some can take a couple of days, but many can take up to 14 days to fully cure. Avoid putting heavy appliances and objects on countertops before the recommended dry time from the product manufacturer.
Don't let your hard work go to waste. Use these tips to keep your countertops gleaming for years to come:
Don't clean with harsh chemicals: Make sure to use a gentle cleaner or one that is formulated for the chosen type of topcoat sealer. This step can prevent damage and discoloration to your countertops.
Use a cutting board or chopping block: Using protective cutting tools will help you avoid scratching up surfaces while preparing food. Plus, it can keep bacteria off your countertops too.
Use hot pads or trivets: Never put hot pots or pans directly on the countertop because extreme heat can damage the surface.
The advantage of painting countertops yourself is you can save on labor costs. In addition to the cost of your supplies, painting labor costs between $20 to $50 per hour.
However, if you aren't sure you want to take on this project, you can always hire a local interior painter in your area. The primary benefit of hiring a professional is that they have experience, and you will have peace of mind the job will be done right. If your countertops don't turn out how you want, you will have to start over and pay for more supplies to redo them yourself.
Custom Paint Jobs LLC is the go-to choice for all your painting needs. They painted both the interior and exterior of my house flawlessly. Their work speaks for itself!
Beginning with the estimate, Larry and Peyton were super helpful in getting my new condo's interior re-painted. Not only was the job well done, but also done in a super timely manner as promised.
 Five Star Painting of Plain City and Powell
From average costs to expert advice, get all the answers you need to get your job done.
Countertop repair costs may be the deciding factor between replacing or repairing your counter. Let’s break down the cost to repair, resurface, or relaminate.
If your kitchen needs a facelift, you can give your outdated counters a new life by learning how to paint Formica® countertops.
Choosing your countertop paint colors is an important decision because it'll play a big part in your kitchen remodel. Read this guide for the inspiration you need.
If you’re changing up your kitchen decor, you may want to paint Corian® countertops to match rather than installing brand-new countertops.
Tired of your neutral-colored concrete countertops? Paint them for a fun DIY project that will totally transform your kitchen.
Hate your granite counters? Learn how to change the color of your granite countertops to refresh your kitchen and get a whole new look.