

•
Wondering how much it costs to refinish a table? Get average prices, cost factors, and tips to help you budget and choose between DIY or hiring a pro.
Upgrade your summer evenings in the yard in under four hours

The cost to build a picnic table ranges from $70 to $500, depending on your lumber choice and whether you tackle the project yourself.
Cedar, redwood, and douglas fir are lightweight wood options that hold up well outdoors, while pressure-treated wood resists moisture and weather damage better.
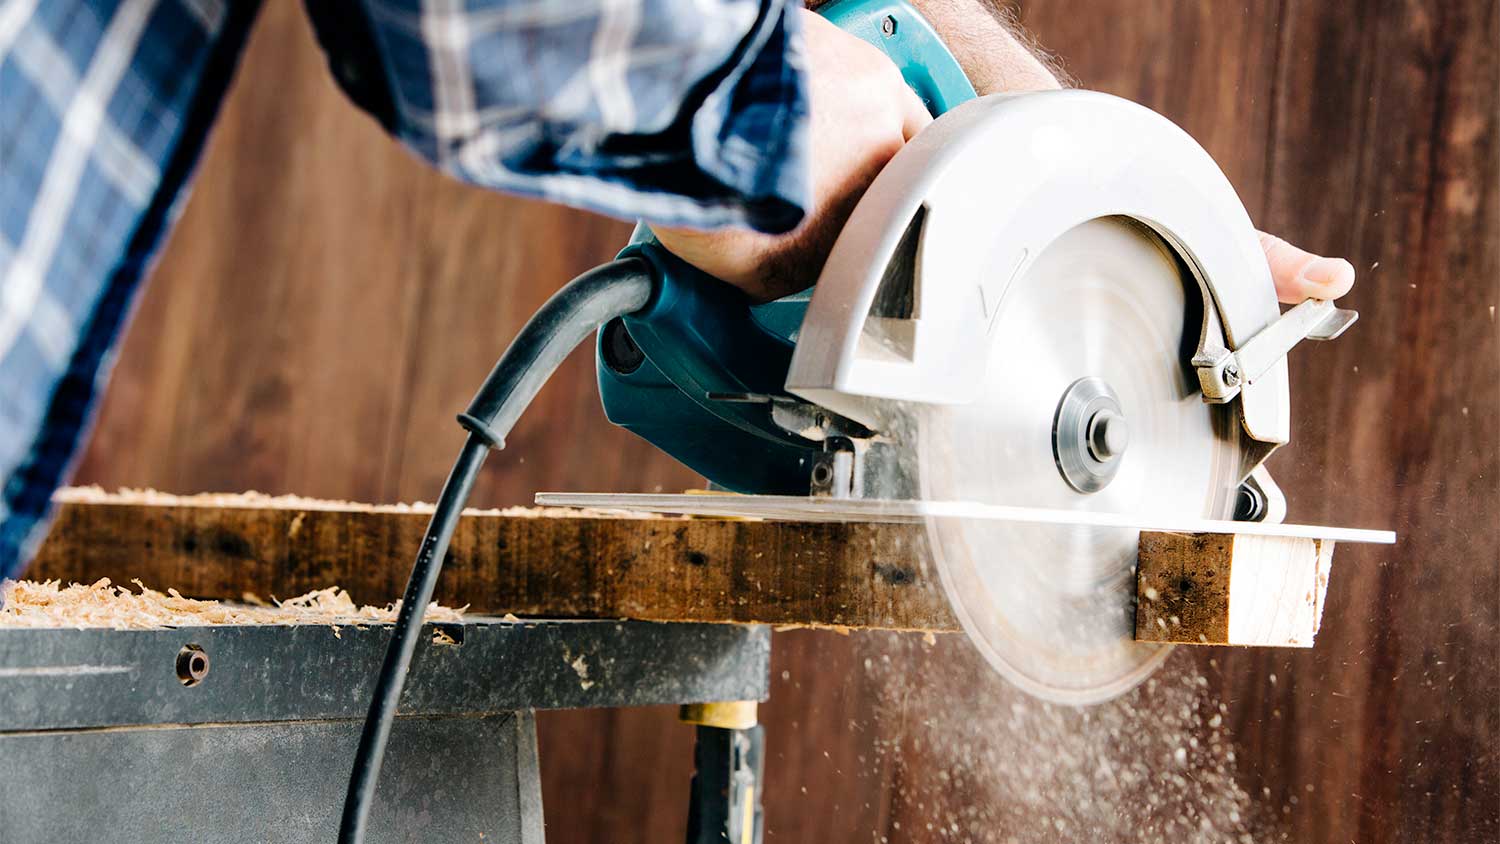
You'll save time by making all your lumber cuts first, then assembling the tabletop, building the A-frame, and finishing with paint or stain.
Hiring a local carpentry professional keeps your measurements accurate and your cuts precise, especially if you're new to handling saws or working with lumber.
Imagine serving dinner to your family or cracking open a few cold ones with old friends while you watch the sunset from your very own homemade picnic table. Guess what? Neither image is as far away from reality as it may seem. Building a DIY picnic table does take some time, but you'll save hundreds of dollars tackling the project yourself.
Learn how to build a traditional picnic table in this three-step guide.
Before you grab some lumber and get started, you’ll want to consider a few details first.
When prepping to build a picnic table, decide:
How big your picnic table will be
Your budget
What wood you'll use (this goes hand in hand with costs)
Cedar, redwood, and douglas fir are three popular lumber choices for picnic table builds because they’re lightweight and hold up in all types of weather. You can also use pressure-treated wood, as it holds up better to moisture and weather.
However, if you use pressure-treated wood, paint the cuts you make with a wood preservative to prevent moisture from ruining your lumber.
To make the project as simple as possible, make all your cuts at the beginning. But if you’re not experienced with handling a saw and cutting wood, it’s best to contact a local carpenter or a general contractor near you to ensure your safety and a job well done.
Here's your picnic table cut list:
Cut your 2x6x12' boards in half for the tabletop and seats.
Cut the legs of your A-frame from your 2x6x8' boards. (Pencil in and then cut 60-degree marks with a miter saw on the legs.)
Cut two brace boards for your A-frame; measure and then cut to the appropriate angle with a miter saw.
Cut two braces from your 2x4' boards to mount underneath your tabletop.
If you're using pressure-treated wood, you might want to leave an inch on the frame cuts that you can cut away later as you level the table.
With your cuts done, assemble the tabletop. Do this first, as it can take up to 24 hours for wood glue to dry.
Line your five cuts of wood up side by side.
Place a scrap piece of wood on top at each end, then clamp the five boards together.
Place a bead of wood glue on each end, then firmly pressure your 2x4 brace boards down.
Add screws at the brace board into the two outermost tabletop slats.
Use nails or screws to secure the three inner boards.
You have two choices: You can either assemble the frame directly to the base of the picnic tabletop, or you can build the A-frame separately, then assemble. The first option is probably easier.
Attach your 2x6x8' boards to the brace boards with screws. Reinforcing with carriage bolts along the side is recommended.
Attach a brace board to each A-frame approximately 12 inches below the tabletop with carriage bolts.
Place your remaining 2x6x12' boards (cut in half) on the overhanging A-frame brace, then secure with screws from the top..
If you have extra wood, adding a reinforcing beam along the top of the A-frame with nails or screws can help hold the frame to the base.

If desired, add a coat of paint or stain to your table and let dry. There are benefits to using stain or paint on wood, but you can decide which is right for your situation. Two coats of either will help the color you choose really pop.
Always stain or paint lumber in a well-ventilated area to avoid fumes.
Building a DIY picnic table can be a fun, rewarding project that you feel good about every time your family gets to enjoy a meal or social gathering in the yard.
That said, it requires a fair bit of accurate measuring and lumber cutting. If this is out of your wheelhouse, a trusted carpenter or even a handyperson near you can help with some or all of the job.
You might pay as little as $70 to build a picnic table yourself, depending on the wood you choose. It'll likely cost around $500 to bring in help.
Excellent, Prompt, Courteous Service!!! They were super friendly and quite personable. I felt very comfortable with the gentlemen that did the installation. They installed it exactly where I asked them to and they did an excellent job!! I loved their service so much.
Ace Fireplace Services' chimney sweep service is truly exceptional. They used advanced technology to ensure a thorough cleaning process, and my chimney has never looked better. I highly recommend their services.
 Ace Fireplace Services
Binion and Alex did such a good job. Fast, fair, efficient. Would def use them again. Best experience Iâ ve had in moving - someone should give them a raise. Will undoubtedly recommend this service.
Great customer service. The owner Ilia was wonderful to work with. Would definitely recommend this company.
I definitely recommend Ramonaâ s cleaning service! I have booked services with her many times and she arrives on time, ready to work and provides a great service.
Excellent experience! Left my place looking great. Friendly customer service too. Would recommend!
The service was excellent! They gave me a quote, and had it done 4 days later. My driveway looks amazing, very professional! I would definitely recommend their service to anyone. I have had neighbors stop by and ask for their information as well.
 All Star Paving and Sealing
Webb â s was priced well, flexible on scheduling, great with communication, and detailed in their work. Iâ ll definitely use their services again.
They’ve been great to work with. All of my clients that have used them have nothing but good things to say about the experience. Quick responses and fast service. They’re a trustworthy team!
 Total Home Roofing
Mary cleaning service does an amazing job cleaning my home. They go over and beyond the cleaning services that I have had in the past. They are very punctual and thorough with cleaning my home, I’m extremely happy with the service they provide and I highly recommend them.
From average costs to expert advice, get all the answers you need to get your job done.
Wondering how much it costs to refinish a table? Get average prices, cost factors, and tips to help you budget and choose between DIY or hiring a pro.
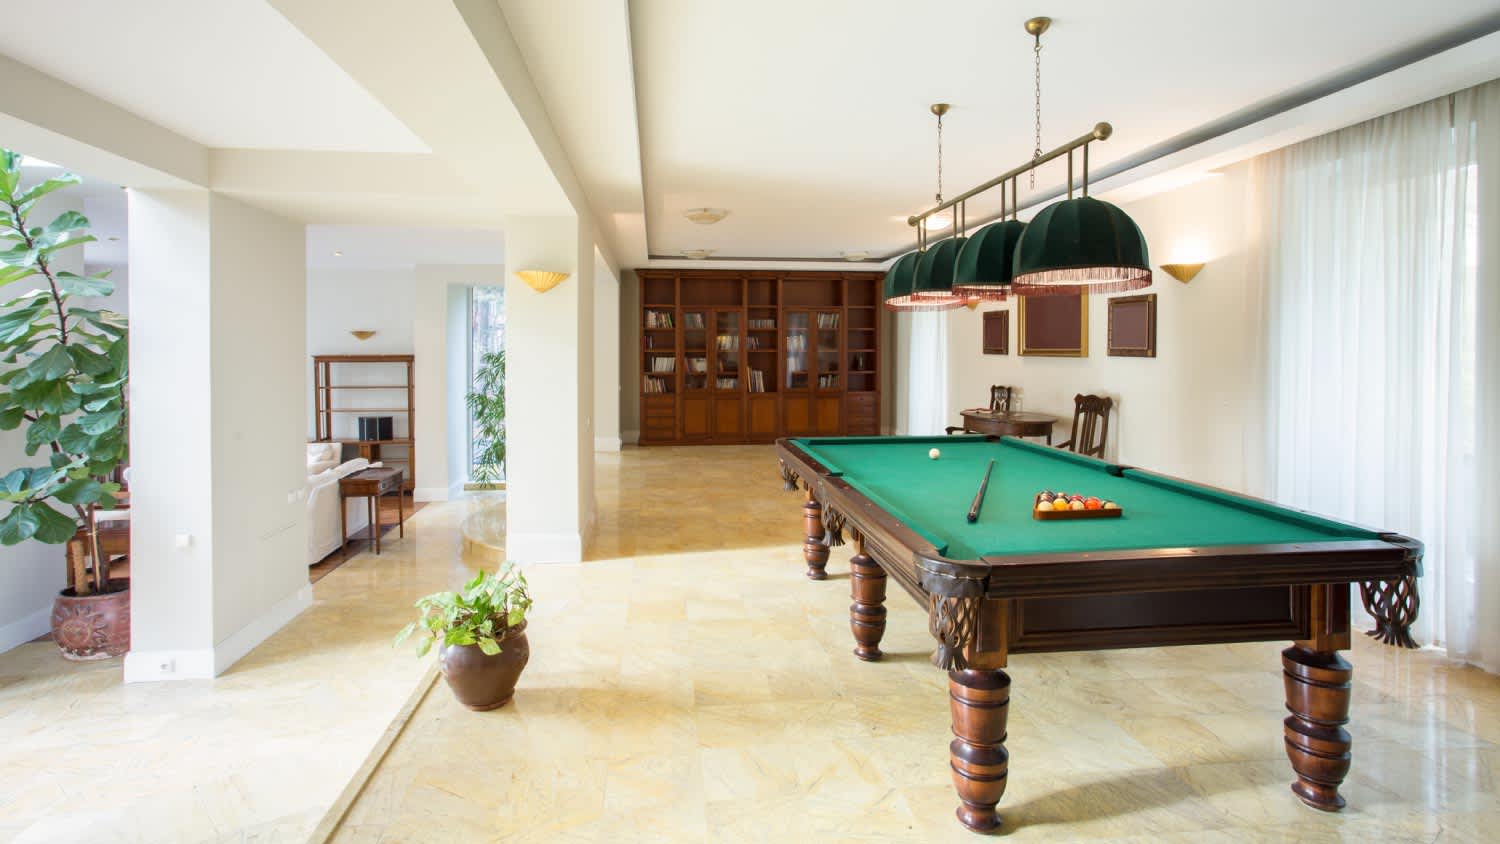
If you’ve ever tried moving a pool table, you know it’s a big undertaking. Here’s an overview of what factors into the cost to move a pool table.
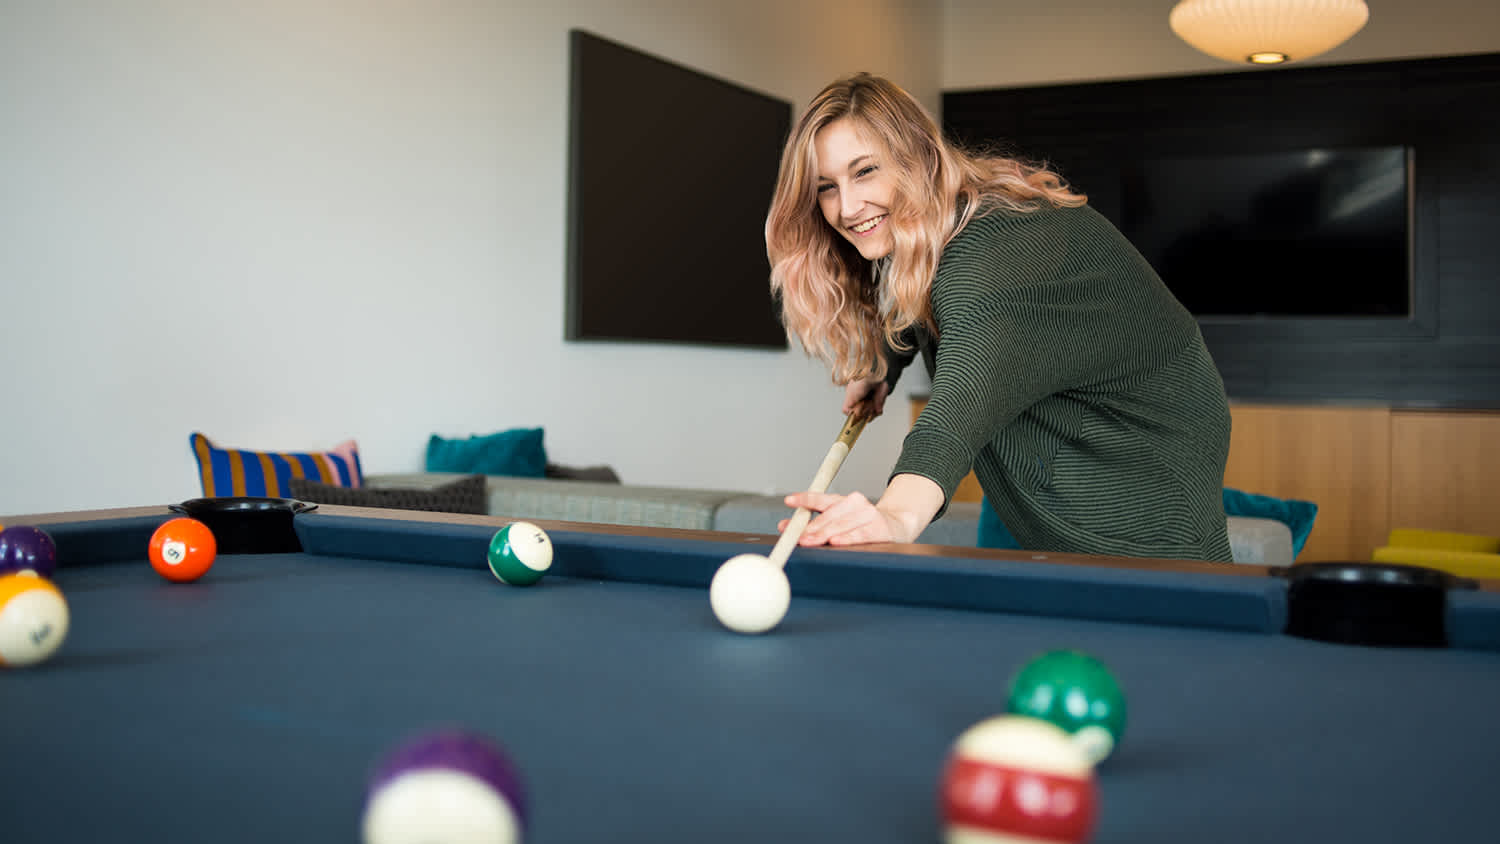
Learning how much it costs to refelt a pool table is the first step to getting your game back in top shape. Here's what to know about each type of table.
Want to build a farmhouse table that’s both stylish and sturdy? With a few tools and some hard work, you can tackle this task on your own.
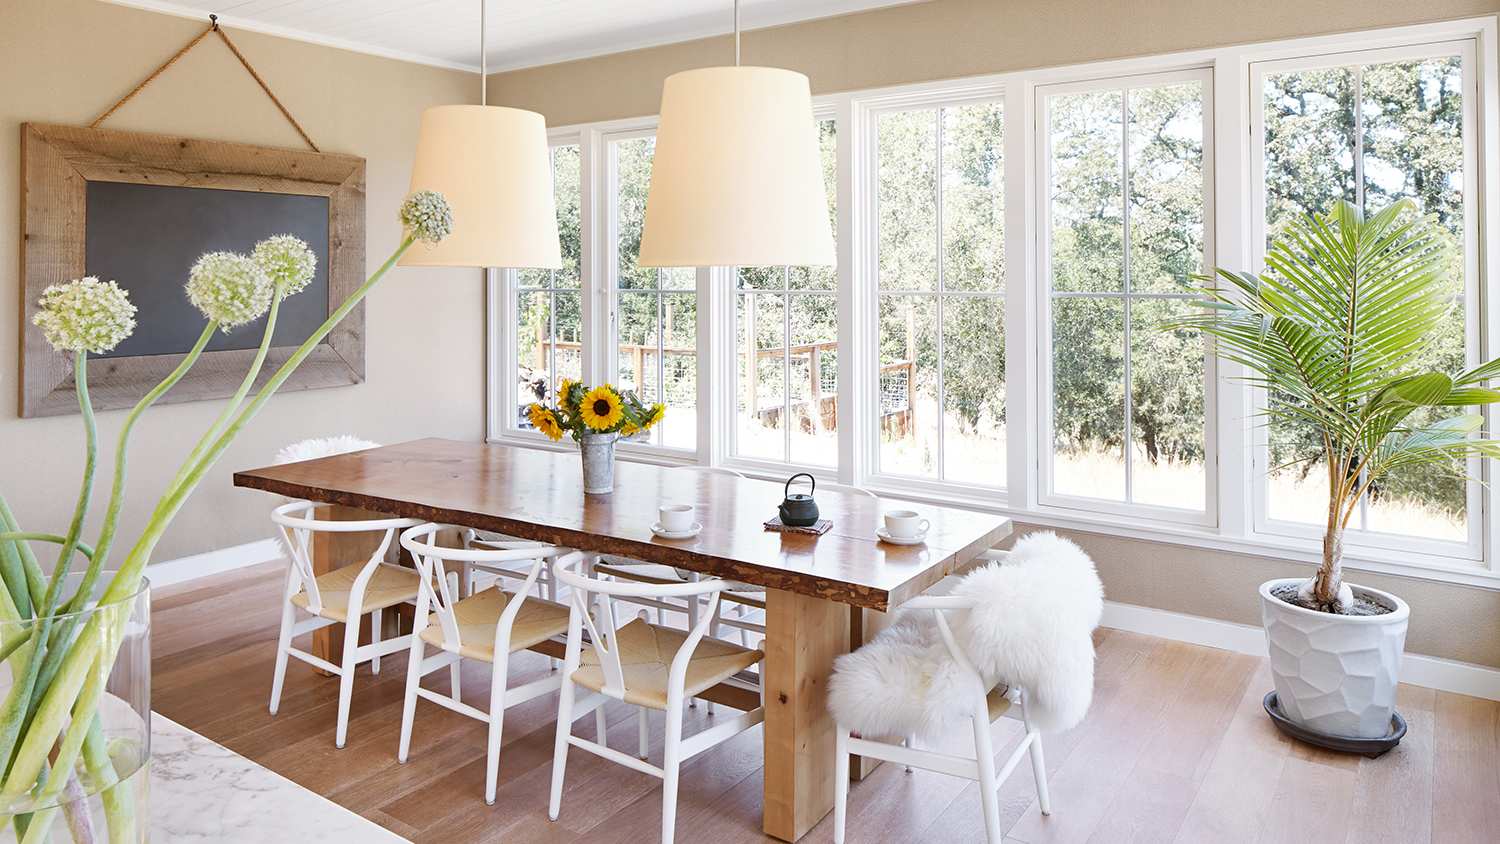
A dining room table is an important component of your home. Learn nine popular types of tables to find one that’s perfect for your family.
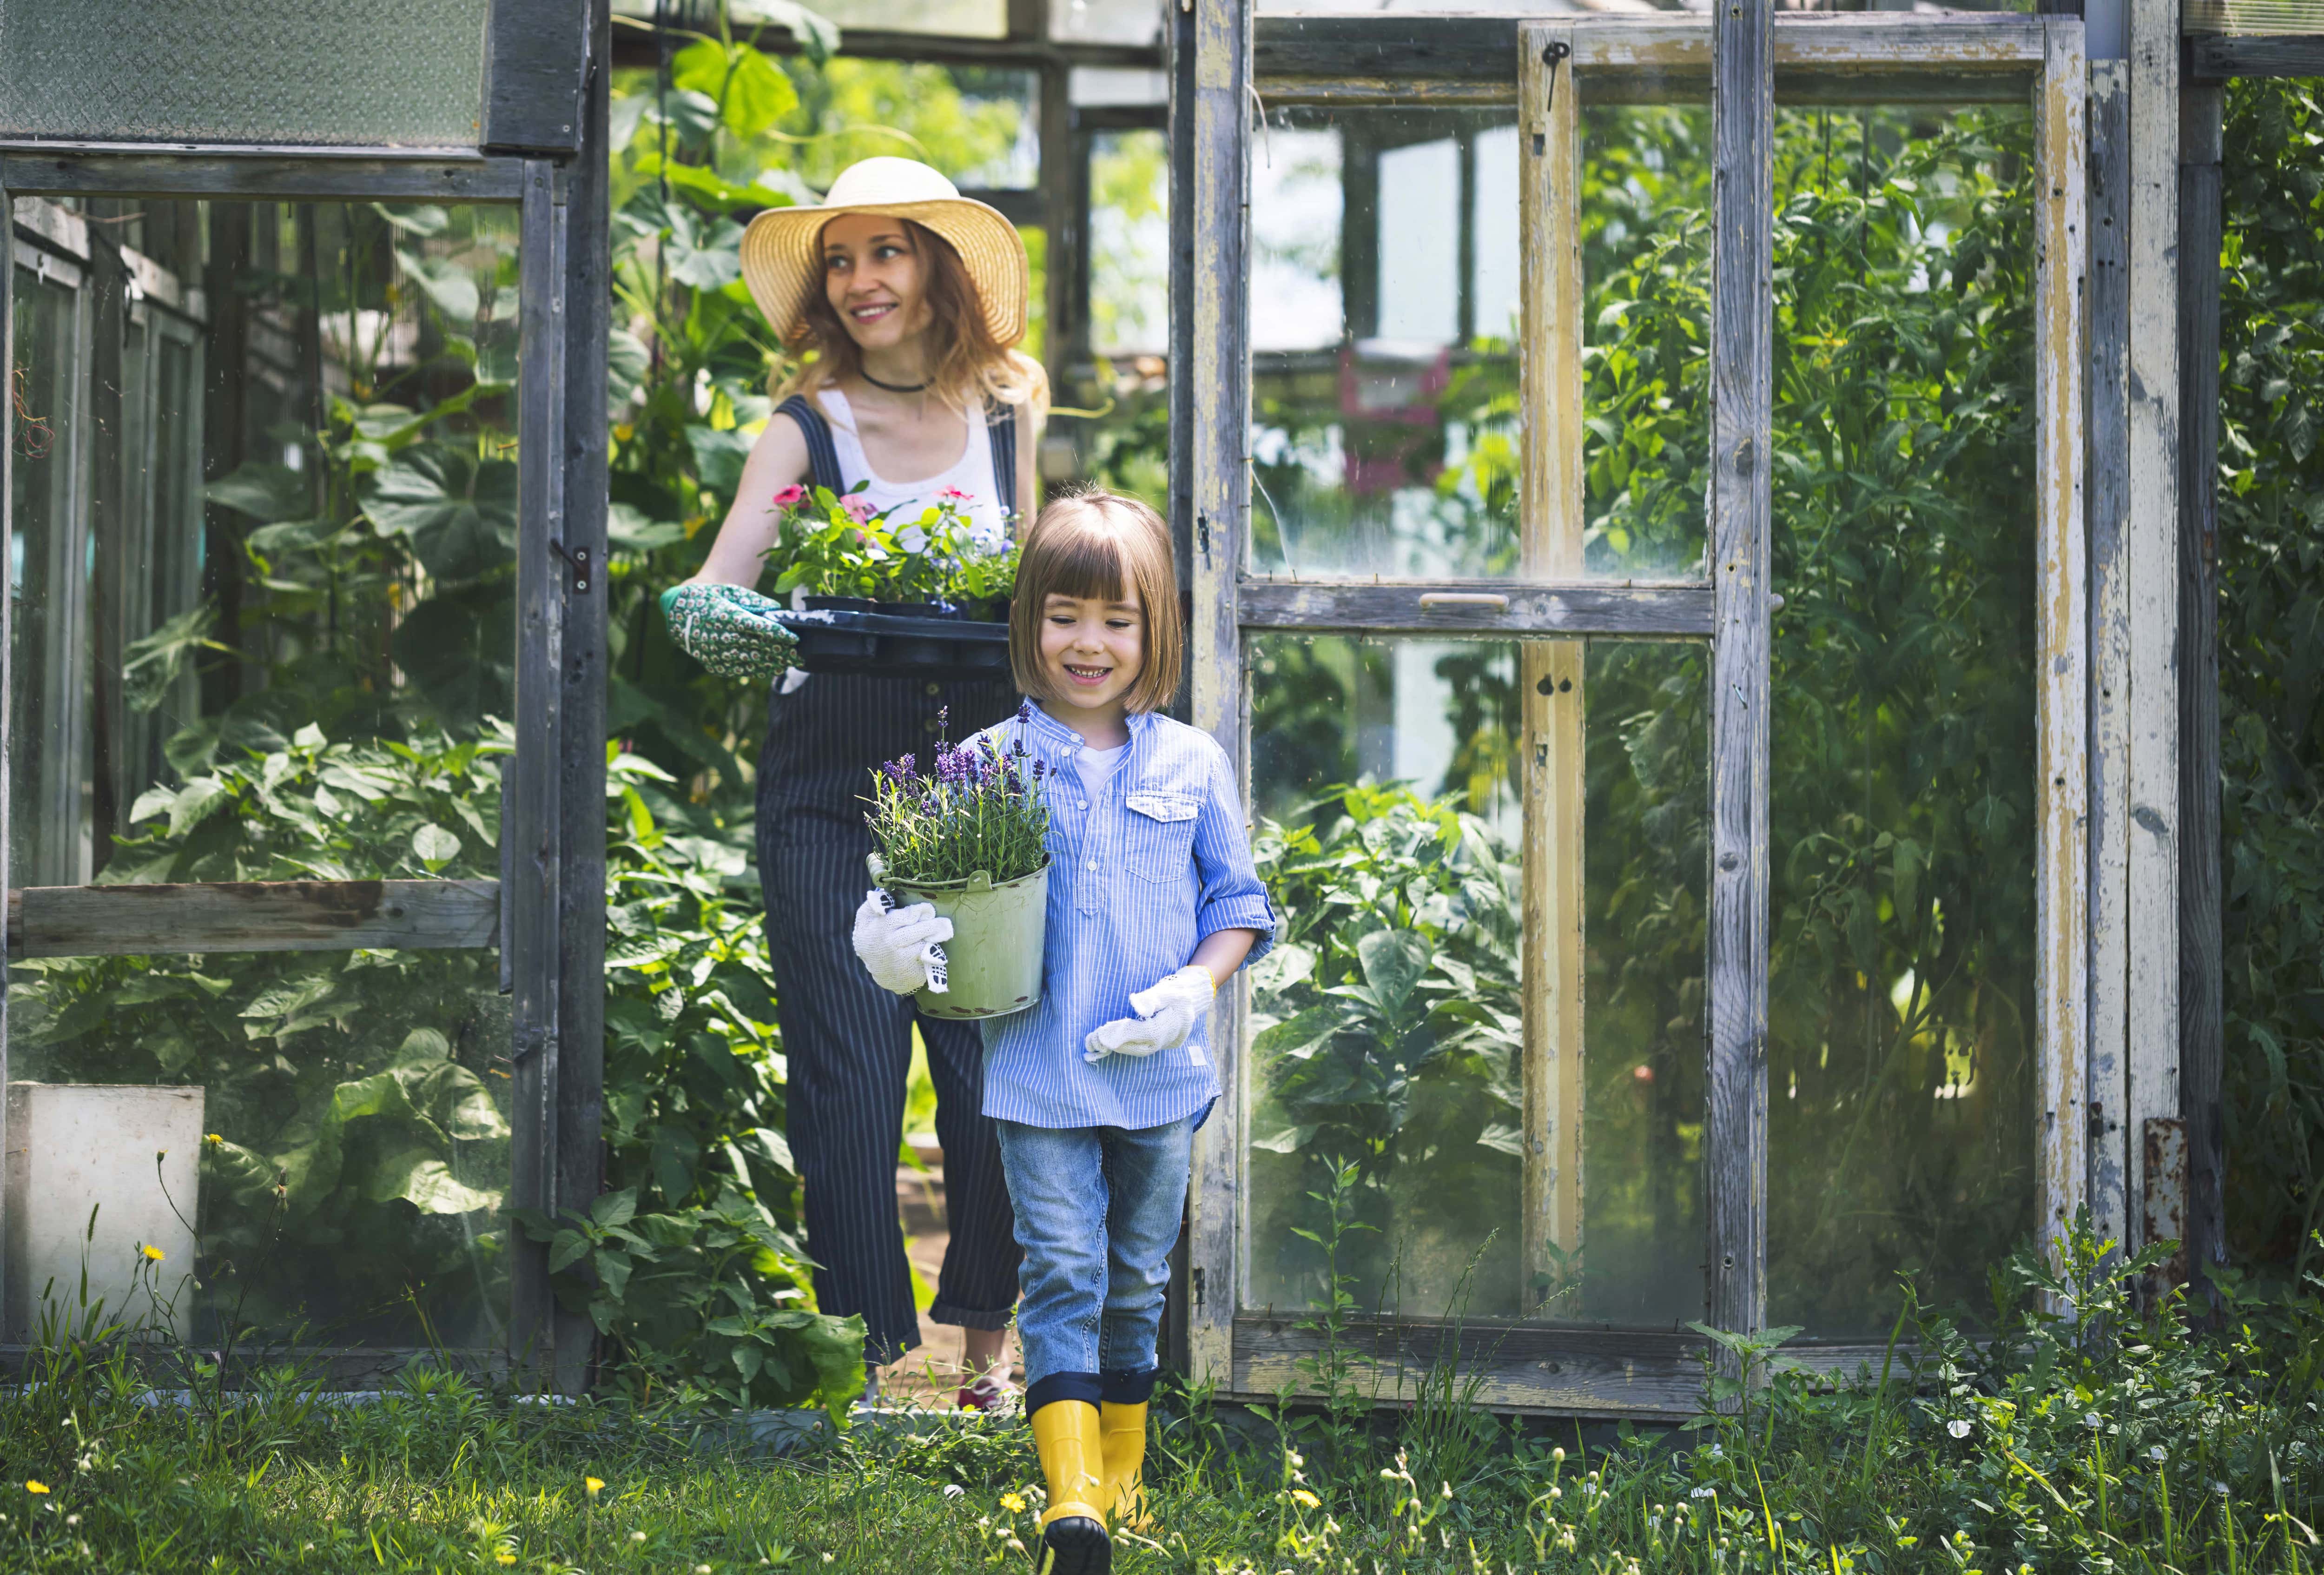
Use this guide to build a DIY greenhouse. You’ll also find important considerations to keep in mind and other options if a DIY build is out of your scope.