
How much a wood fence costs depends on the material, add-ons, and more. Read this guide to learn how each cost factor impacts the price of a wood fence.
Turn your fence plan on its side

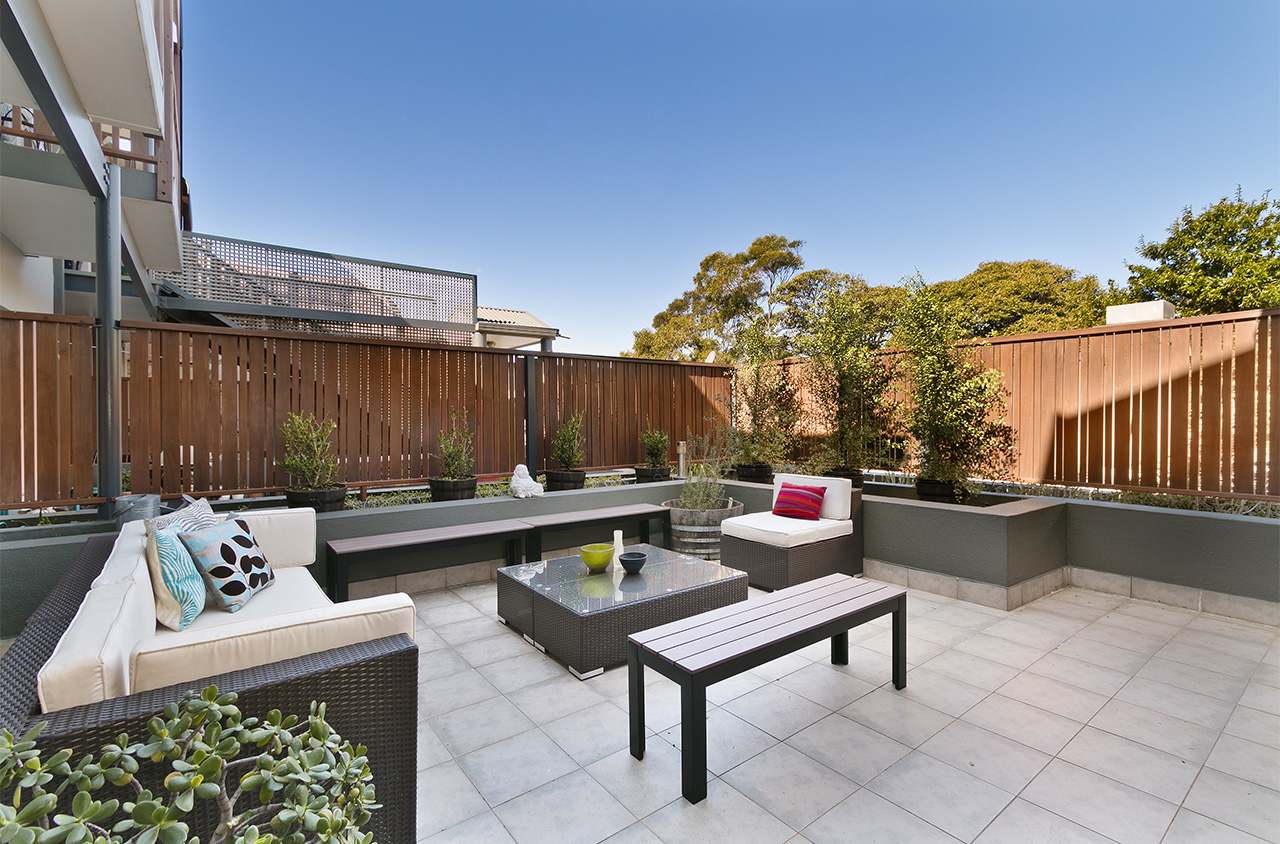
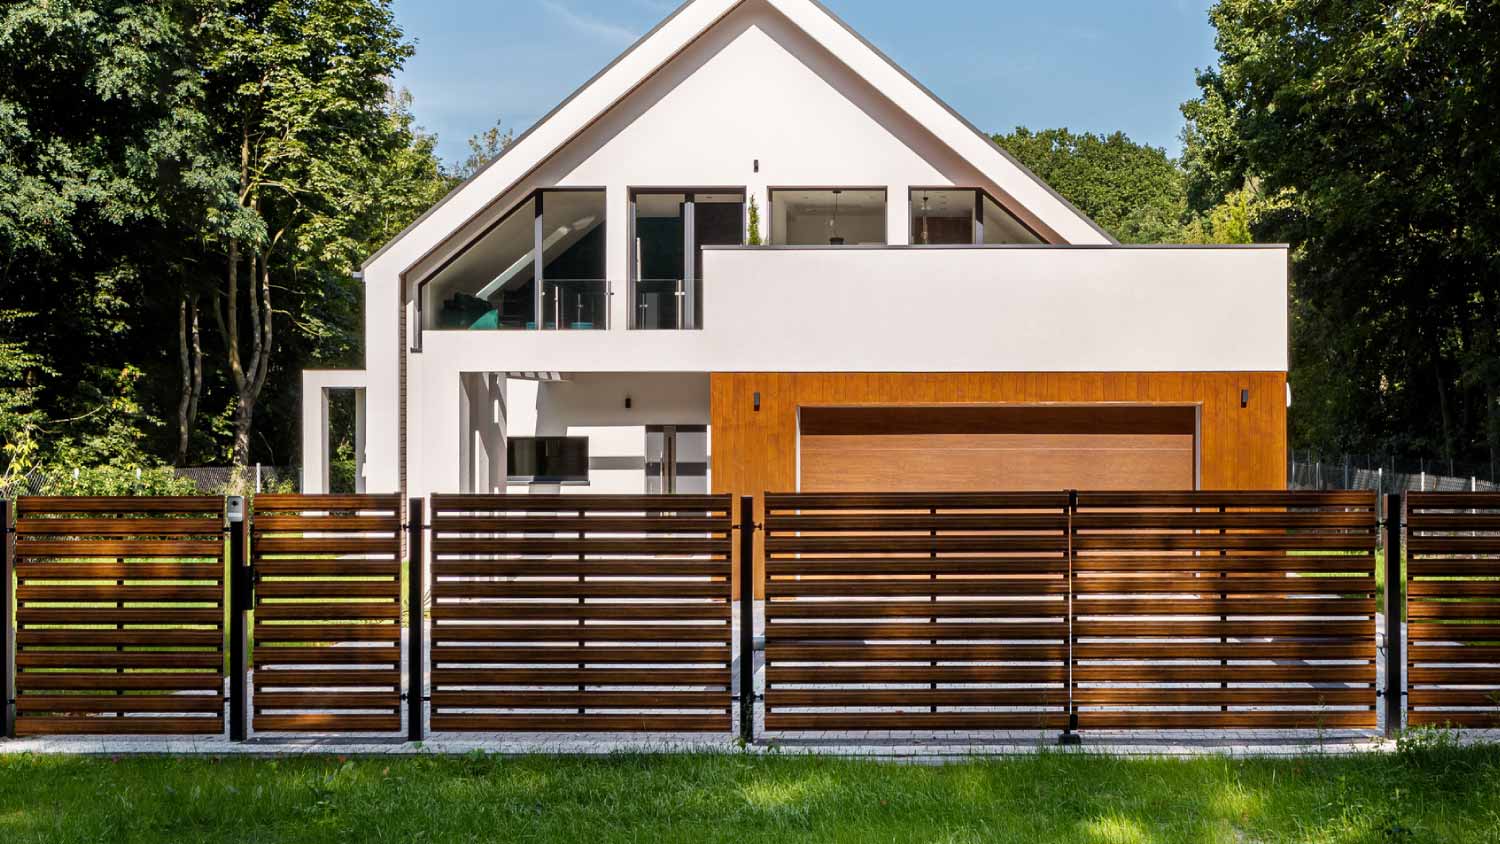
Looking for a variation on the traditional privacy fence? Try turning your fence project on its side by learning how to build a horizontal fence. This alternative to the typical picket fence will add a contemporary look to your yard and isn't any more complicated to build than other fence types. Here’s how to DIY a horizontal fence.

Before you head to the home improvement store to gather supplies for your fence, you’ll need to tackle a few prep steps to ensure a smooth and safe horizontal privacy fence installation.
As with any project that involves digging in your yard, start by calling 811. Electricity, gas, and water lines run in the ground in your yard, all of which present a serious hazard.
When you call 811, your utilities will dispatch representatives to your property to mark all the locations of your utility lines so you know where to place your posts (and where not to place them) when mapping out your new fence.
If you want to build a wood fence to add privacy between you and your neighbors, you’ll need to know where the property lines are when planning your fence. Look for the metal stakes or pins that surveyors use to mark these lines by walking the edge of your property. If you can’t find them, hire a land surveyor in your area to identify the property line for you.
Don’t “guesstimate” your property line even if you and your neighbor agree on its whereabouts. Inadvertently installing a fence on your neighbor's property could cause problems when you attempt to sell the house or when someone new moves in next door.
While building a horizontal fence isn’t more difficult than building a traditional fence, they do present more structural issues. Wood boards are weaker when running horizontally instead of vertically, making them more susceptible to sagging as gravity pushes down on them.
To avoid having a droopy fence, choose the right wood species. Pressure-treated pine is a relatively affordable option for a horizontal wood fence; however, this softwood is prone to absorbing water, which will cause it to sag. Western red cedar and redwood are more expensive but are naturally water-resistant, making them the ideal softwood for a horizontal fence.
Hardwoods, which are denser than softwoods, are the best building material for a horizontal hardwood fence, but they come with a much steeper price tag. Ipe and cumaru, two popular hardwoods for horizontal fences, cost five to ten times as much as Western red cedar.
If you don’t want to spring for hardwood, redwood, or cedar, consider sturdy two-by-six pressure-treated pine boards. These boards are much thicker than a standard picket fence, making them much less likely to bow.
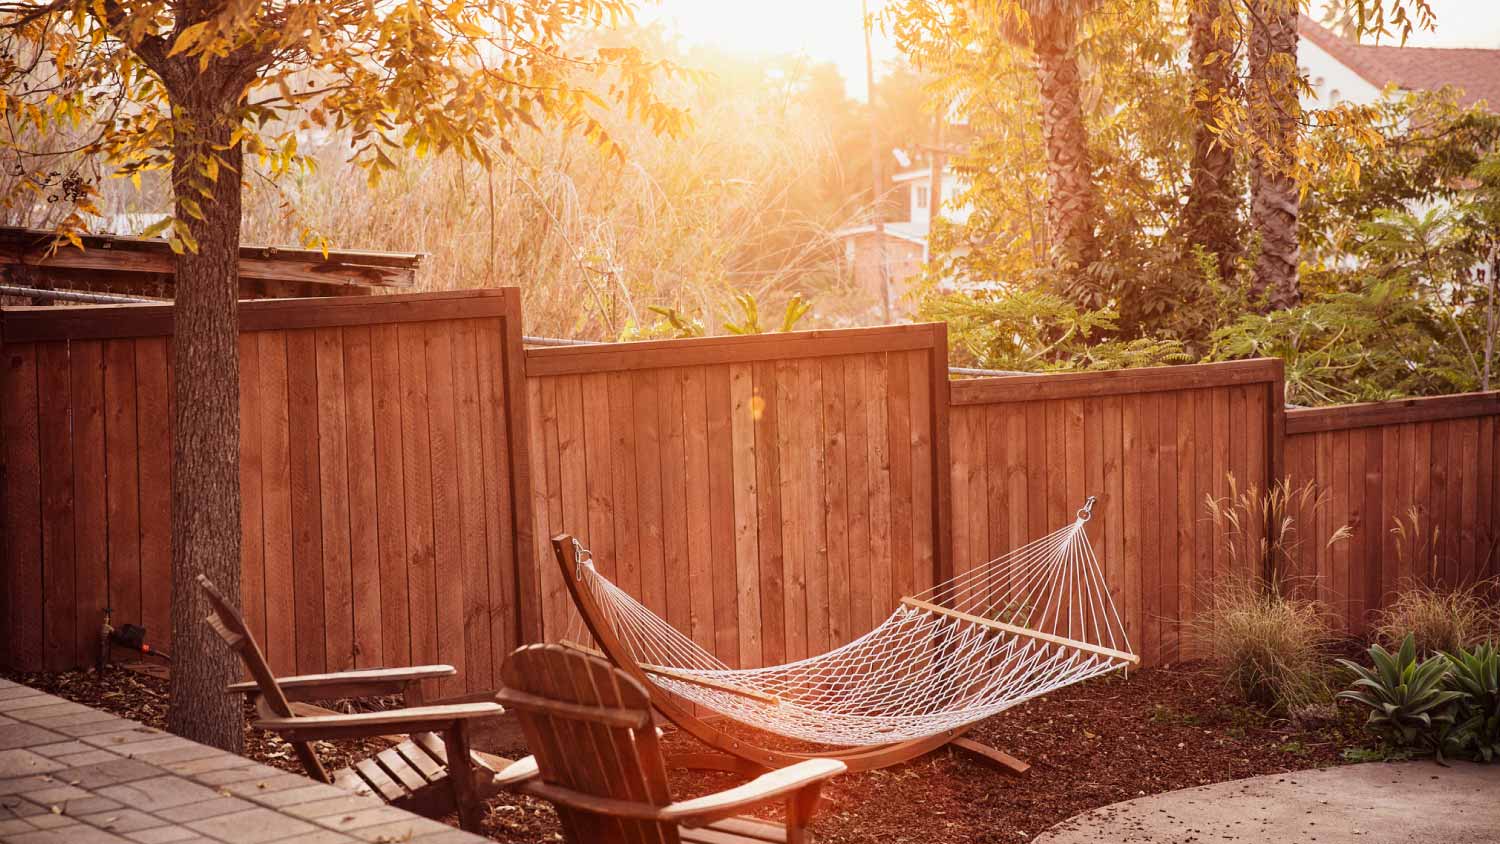
A horizontal fence is one of the best fence types for exploring your creative side. For example, you don’t need a uniform board width with a horizontal fence. Consider using a mix of one-by-sixes and one-by-threes or other board sizes to create interesting visual patterns. Also, try varying the spacing of the boards to control the amount of light that passes through the fence.
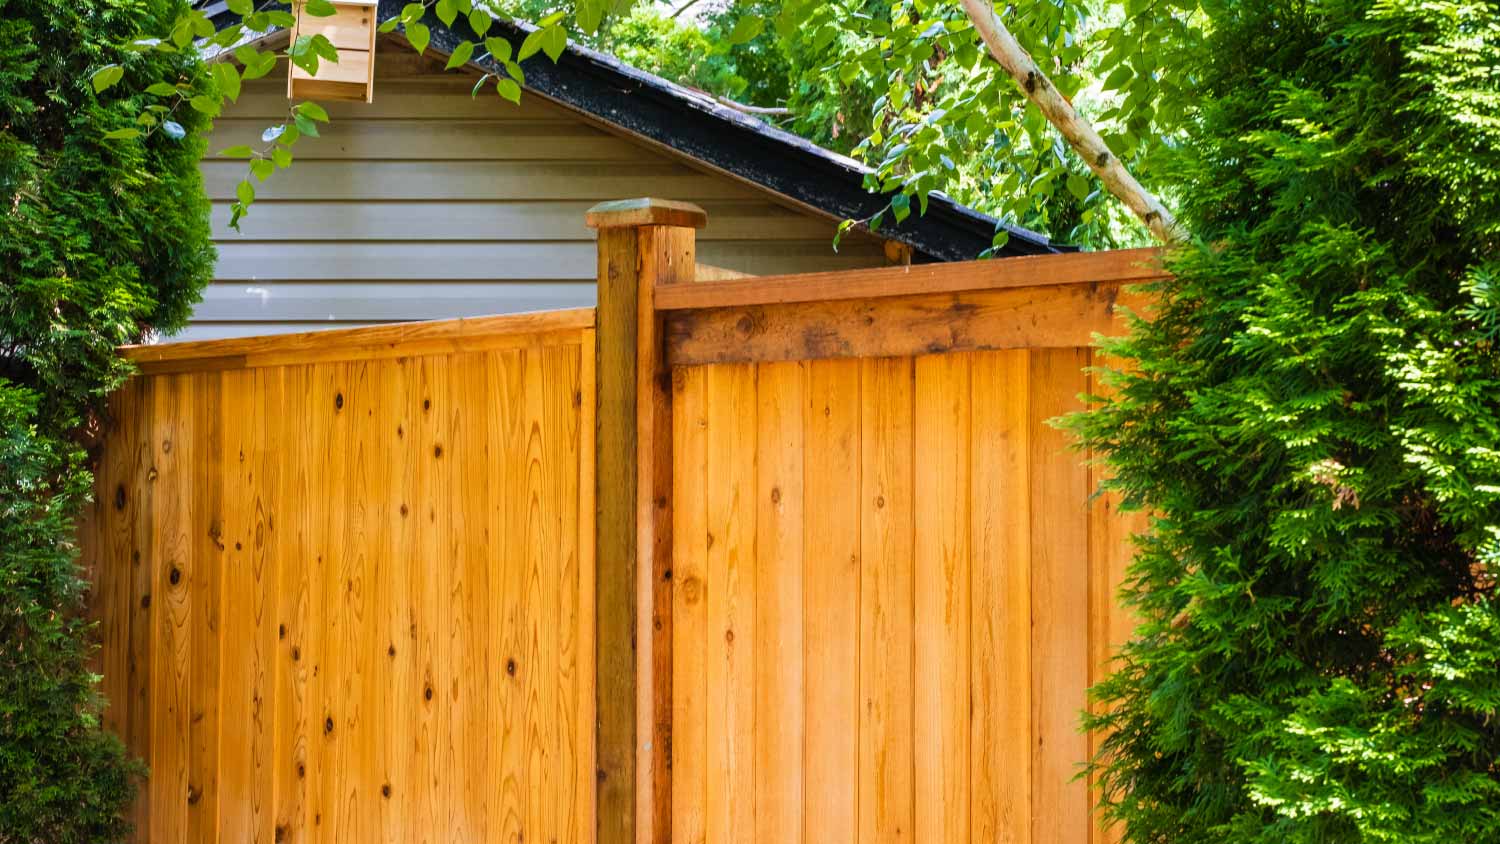
You can also create a more finished look to your fence by adding decorative molding over the seams between the panels and across the top of the fence and by installing stylish caps on the posts.
Begin your fence construction by mocking up a layout in your yard. Use a string line and stakes to mark the fence line. Next, identify your post locations. Measure the distance between each post so each board runs from the center of one post to the center of the next.
For example, if your plan calls for 6-foot-long boards, space each post 6 feet and 3 1/2 inches apart to account for the length of the board and the 3½-inch width of each four-by-four post. As you measure, mark each post hole location with spray paint.
As you plan your layout, prep your yard. Clear away any brush to make way for your new fence. Use a shovel and metal rake to smooth out any sharp changes in slope, leveling your lawn to make installation easier.

Use a post-hole digger to dig holes at your marked post hole locations. As a general rule of thumb, your posts should be 2 feet longer than the fence. If you’re building a 6-foot-high fence, you’ll need to use 8-foot posts. A 4-foot-high fence would require posts that are 6 feet long.
Since you’ll add a 6-inch layer of gravel to the bottom of each post hole, you’ll need to dig each hole 30 inches deep. The diameter of the post holes should be about three times the width of the post to ensure it has a solid base that can support the weight of each fence panel.
Add about 6 inches of gravel to each post hole, then tamp it down. The thick layer of gravel will help drain rainwater away from the base of the post and prevent wood rot.
Mix the concrete, then pour it around the fence posts, packing it, so it’s slightly above ground level. Use your trowel to slope the concrete away from the wood to prevent water from pooling around the post. Make sure the post is plumb with your post level.
You’ll need to build a temporary support for the post to ensure it stays plumb while it cures. Attach a scrap two-by-four to the post about a foot from the ground. Drive a wood stake into the ground about a foot away from the base of the post then attach the other end of the two-by-four to the stake. Add a second brace to the post that creates a 90-degree angle with the first brace. Give the post one more check with your post level, then leave it alone for two days to dry and cure.
With a vertical fence, the rails are responsible for holding up the pickets. While posts take over that job with a horizontal fence, the rails still serve an important purpose by adding stability. You’ll install two rails between each post, one near the top of the fence and one near the bottom.
Nail rail hangers into the sides of the posts. Cut the top rail to length, place it in the hangers, and secure it with nails. Hold off on installing the lower rail bracket until you install most of the horizontal boards.

While one-by-six boards are the most common lumber for a horizontal fence, you can also use one-by-four and one-by-eight boards or a combination of different sizes.
Cut your boards to the correct measurement using a chop saw or circular saw. Again, they should go from the center of one post to the center of the next. Attach the boards to the posts using hot-dipped galvanized nails or deck screws.
As you add boards, leave at least a ⅛-inch space between each board so the wood can expand and contract. Otherwise, they’ll push against each other and buckle when absorbing moisture in humid or rainy weather. Continue working your way down from the top, using spacers between the boards to create those necessary gaps until you’re within a few inches of the ground.
Leave a buffer of a couple of inches between the bottom board and the ground to prevent rot. Before installing the last board, attach the bottom rail bracket and rail so the lowest board on the fence conceals the rail from view.
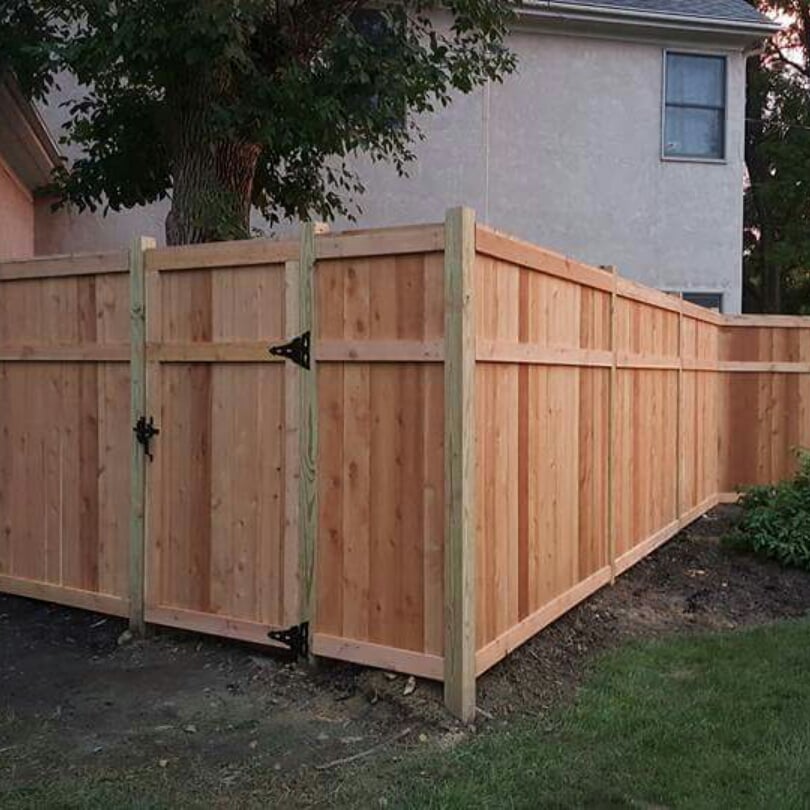
Some of the most vulnerable parts of any wood fence are the tops of the posts. That’s because their cut ends can absorb a lot of water, leading to rot. Add post caps to each post. The caps will keep rain off your post tops while adding aesthetic flare to your fence.
Consider adding trim to each post to give your fence a finished look. Trim consists of a board that runs up the entire post to hide the seam created by the butting ends of the fence boards. Attach the trim using nails, then use wood filler to cover the nail heads.
If you’re going to put the money and effort into erecting a horizontal fence around your property, you’ll want to take measures to ensure it stands as a testament to your fence-building prowess for as long as possible. One of the best ways to do that is by sealing your fence to defend it against rot and the sun’s harmful UV rays.
If you’re installing a cedar or hardwood fence, seal your wood fence right away to prevent the sun from fading the color. If you’re using pressure-treated pine, you’ll need to allow the wood to dry out for a few months, so the wood will accept the sealer.
While you can use a roller and paintbrush to apply the sealant, the job will go much faster with a paint sprayer.
With all the hole digging, cement mixing, and wood cutting that fence building requires, assembling a horizontal wood fence is no small feat. Many people choose to pay a local professional fence company to handle the installation.
If you’re willing to put in the work, you can save a lot on labor costs by taking on a fence project yourself. Expect to pay between $6 and $13 per linear foot for materials for a DIY horizontal fence. If you plan on hiring a pro to handle the job, you’ll pay between $16 and $23 per linear foot for the fence installation.
A reliable team for moves across state. My switch to a new place needed careful lifting through tight hallways. The movers checked the doorway first, then carried heavier pieces with slow, controlled movements. Their patience helped prevent damage, and I?d choose them again.
We have used Window Warriors many times with no issues. They arrived on time and were very professional . We have pets and Window Warrior team treated them very well, well trusted team.
We have bought and sold numerous times over the past 50 years. Sherman Hall and Top Line are top notch. Thorough and detailed, he explains every possibility, probability, and eventuality. High class and pleasant. The best.
 Top Line Home Inspections, LLC
Our homes curb appeal skyrocketed thanks to Custom Paint Jobs LLC s exterior painting.
Window Depot did an amazing job on my deck. I wasnt sure what I wanted to do, but their composite decking was affordable and will last a long time. I am excited to have family over, and I am no longer embarrassed by my backyard. Jeff and the ground crew were polite, respectful, and caring for...
Great job...edging and pre clean up went well with a great job with seal coat. Friendly, efficient and professional.
 All Star Paving and Sealing
Did an amazing job transforming my yard. Also installed sod in places, would recommend to everyone.
Manuel Calvillo is the best option in the area for roofing and you won't be disappointed.
We hired Andrew and the team from Midwest Lightscapes for a custom lighting design and installation on a Victorian Village home. The house had outdated low-voltage halogen outdoor lights and many of them were not working. Andrew designed and installed a new system including uplighting on the...
 Midwest Lightscapes
The work was completed in a day and a half. They cut small trees, pulled out an old swing set, pulled out railroad ties and left the place spotless when the job was complete. I am very happy with the fence and their efforts were above and beyond my expectations.
 Elite Fence
From average costs to expert advice, get all the answers you need to get your job done.
How much a wood fence costs depends on the material, add-ons, and more. Read this guide to learn how each cost factor impacts the price of a wood fence.
The cost to install a picket fence varies by height, material, labor, and more. Read this guide to help you budget for a picket fence installation.
A fence is a great way to add privacy and style to your yard. Compare two common options, horizontal vs. vertical fences, to see which is right for you.

Learn how to build a bamboo fence in seven easy steps to add character and privacy to your yard.
Cedar fences are a perfect blend of nature, style, and affordability. Use this guide to find your perfect design and upgrade your yard.
If you assumed your hilly yard disqualified you from building a fence, think again. Here’s how to build a fence on a slope, including two ways to do so.