
Popcorn ceiling removal costs depend on the size of your ceiling and any additional services like asbestos removal and resurfacing. Learn all the costs here.
Popcorn is for movie theaters, not your living room ceiling

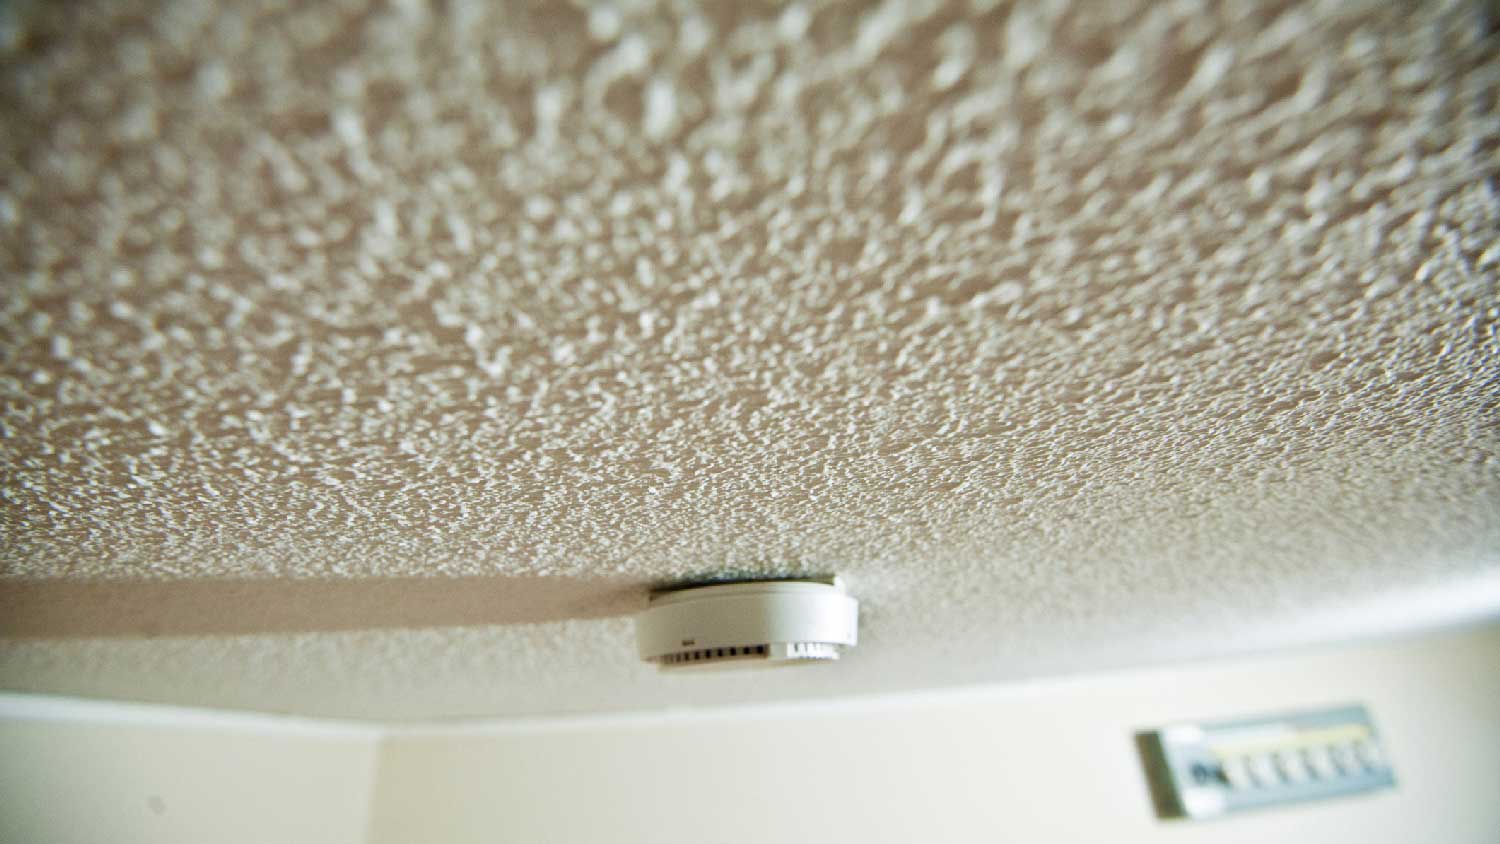
While popcorn ceilings once reigned the walls of households, today they’re considered outdated and may even contain harmful chemicals. Thankfully, popcorn ceilings aren’t permanent fixtures to your wall and can be removed with a little elbow grease. Keep these steps in mind on how to remove popcorn ceiling easily before you start scraping away for a seamless removal process.
This project can take a long time to complete if you work on it in your free time. Hiring a pro ensures a job done well and a quicker turnaround—plus, you get your weekends back.

Older homes with popcorn ceilings can contain harmful ingredients, like asbestos or lead. Asbestos was banned from textured ceilings in the late 1970s, while lead paint was banned in residential homes in 1970, according to the Centers for Disease Control and Prevention (CDC).
You can’t know how to tell if a popcorn ceiling has asbestos or paint by looking at it. Instead, you’ll want to test the paint for lead and or test for asbestos. While you can use a DIY test kit, it’s safest to send in a sample of your ceiling to a testing facility for the full rundown on what’s exactly in your popcorn ceiling. If you have any concerns about asbestos exposure, contact a local asbestos removal service to be on the safe side.

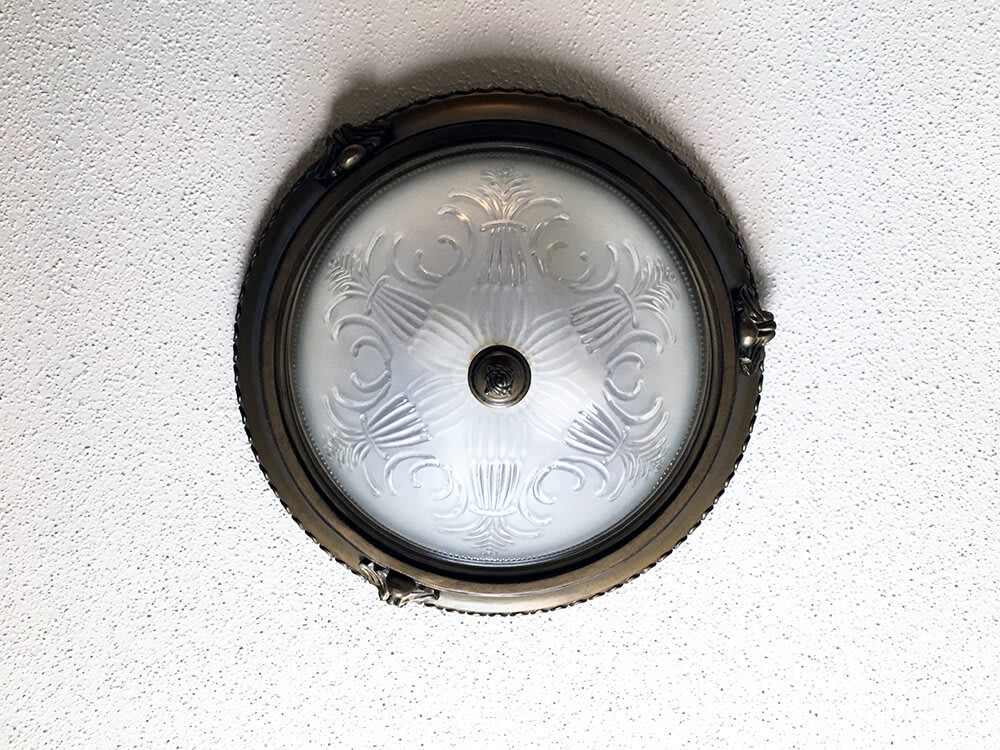
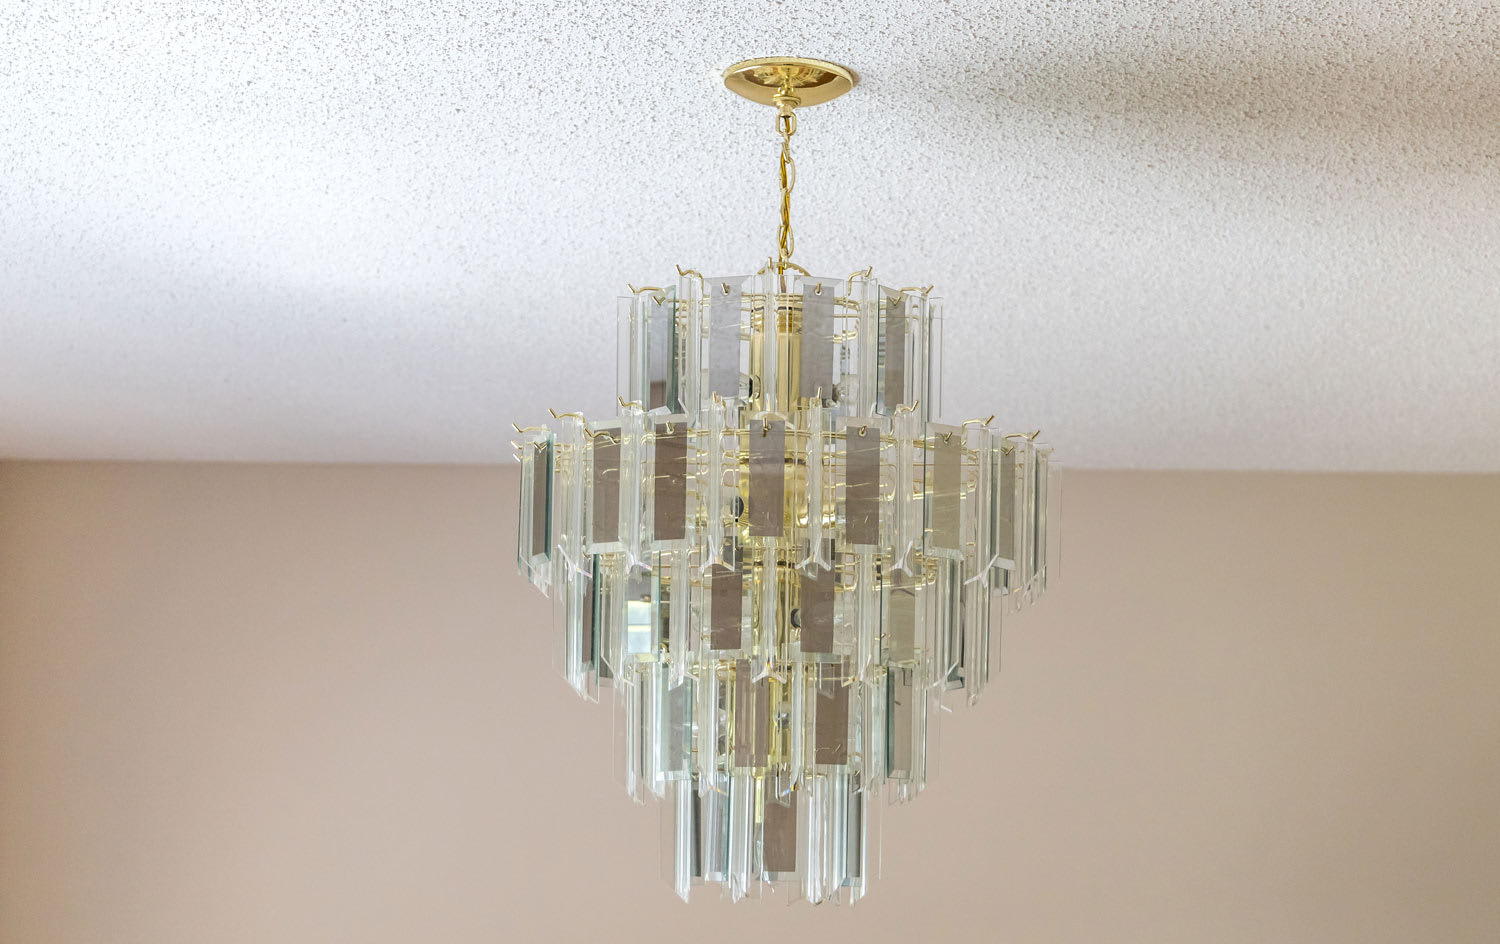
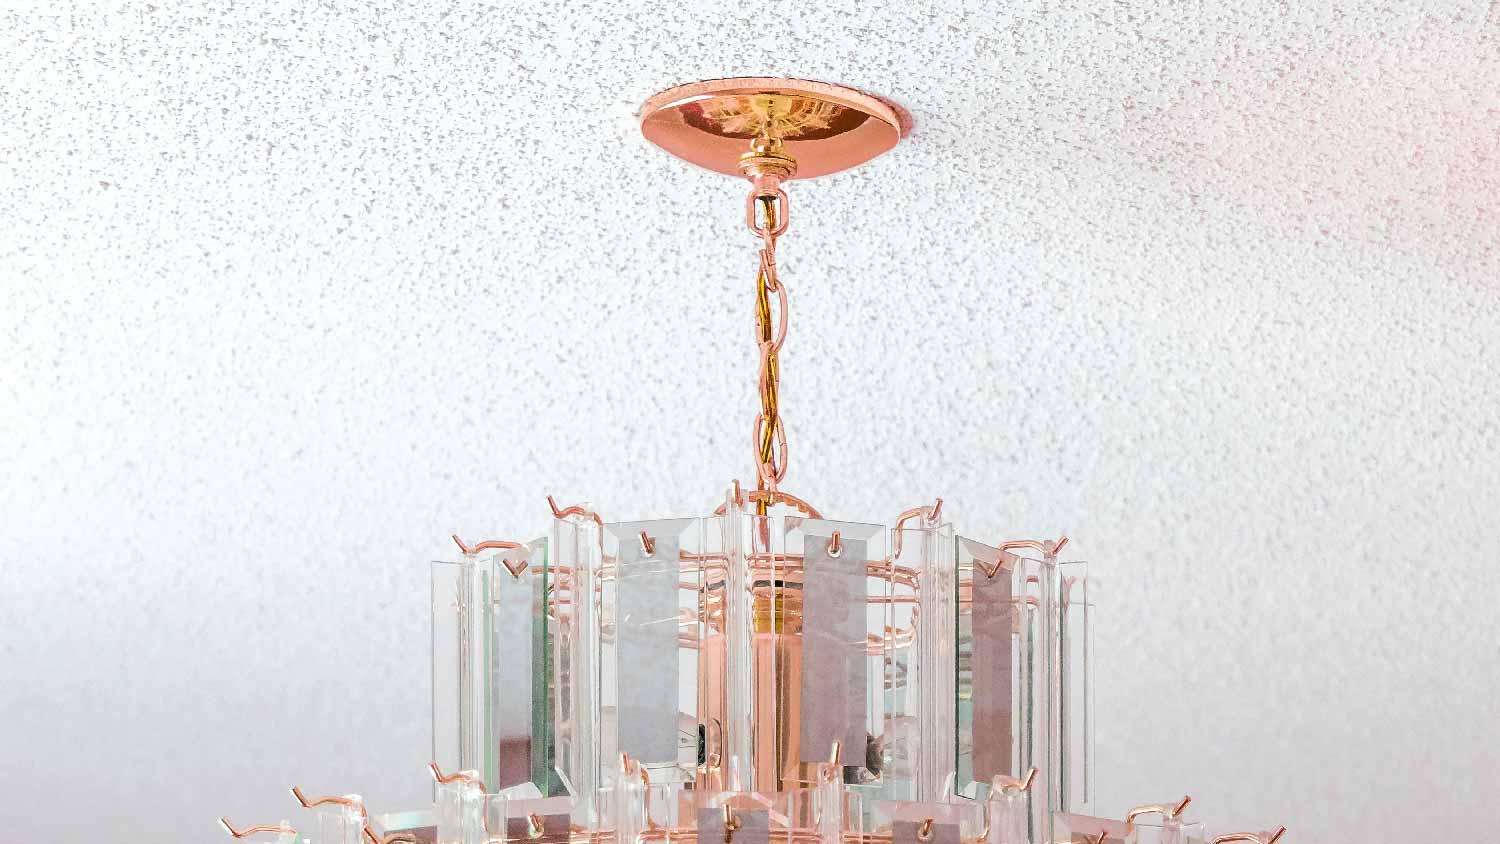
There’s no way around it—removing popcorn ceilings is messy. Remove as many belongings and ceiling fixtures as possible to make accessing the ceiling easy and keep your possessions free of debris. Popcorn ceiling particles are tiny and difficult to clean, so if you can’t remove lights, switches, or electrical boxes, cover them with drop cloths, plastic sheets, or tarps. While you’re at it, cover the floors and secure the covers with painter’s tape.
Your furniture isn’t the only thing that needs protection when removing the popcorn ceiling. You’ll also want to protect your eyes, nose, and mouth from the particles. Use a respirator mask, safety goggles, and gloves before chipping away at the ceiling.
While you can remove popcorn ceilings when they’re dry, dampening the area with water can expedite the process by softening the material. Wet the ceiling in four-foot sections with a spray bottle of warm water. Wait around 20 minutes for the ceiling to absorb the water, being sure to avoid oversoaking it—you don’t want to damage the materials behind the ceiling.

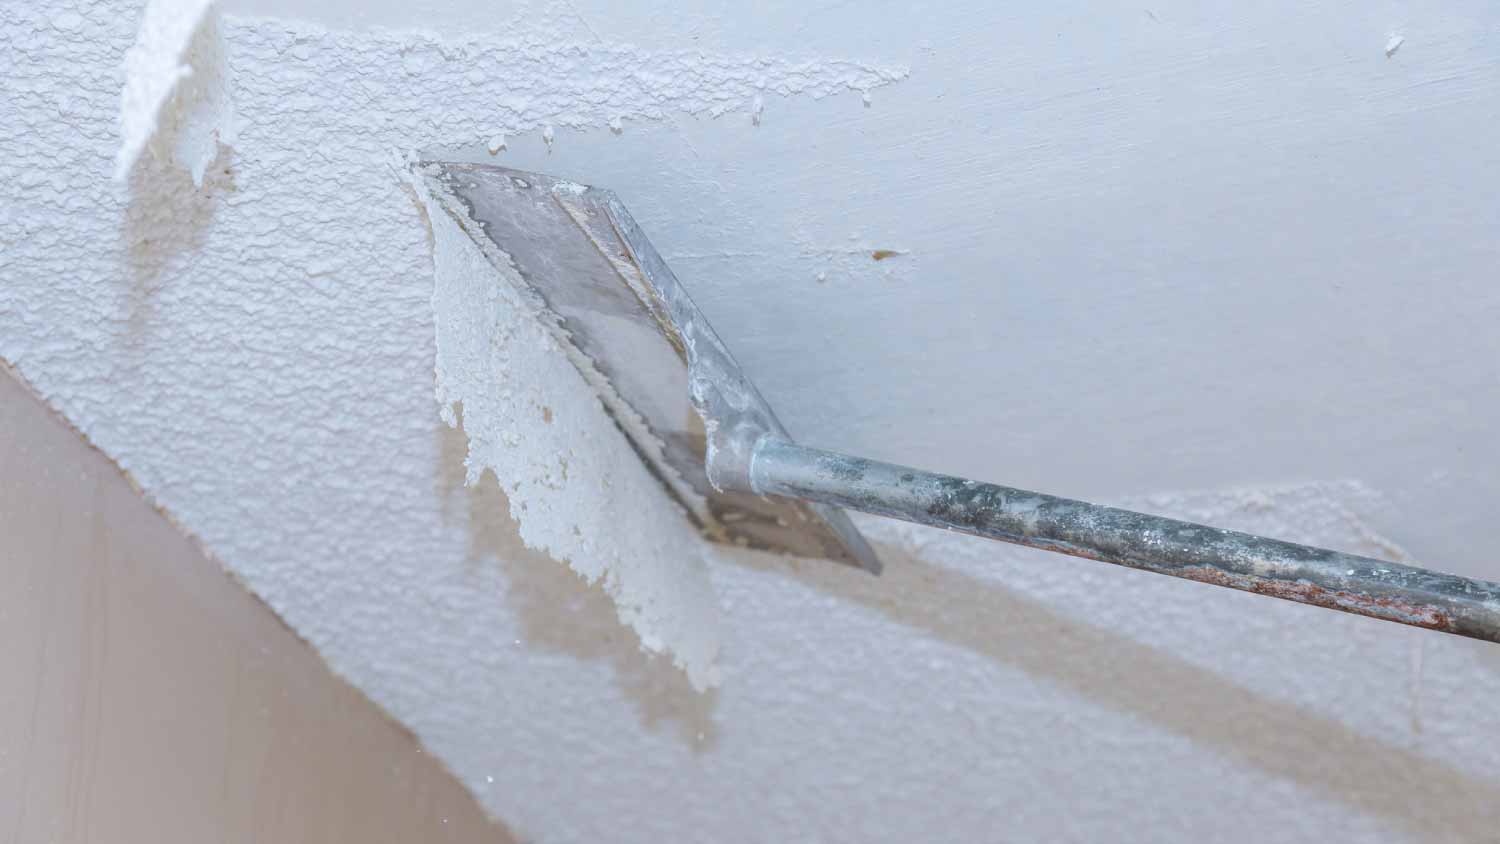
Now it’s time to learn how to scrape popcorn off the ceiling. Press your putty knife—or paint knife, if you’re removing painted popcorn ceiling—on the popcorn texture and firmly, but gently, scrape the knife across the ceiling. If you’re not careful, you can accidentally gouge your ceiling. To avoid this, file the edges of your knife. Continue to clear the section in four square foot sections, watering each section 20 minutes beforehand to clear the ceiling of popcorn.
After the ceiling dries from the water you sprayed on it, lightly sand the ceiling to smooth out any remaining bumps or rough sections. You may notice nails, joints, or screws protruding from the ceiling. Patch these areas using joint compound.
To restore your ceiling to a finished look, reapply joint compound across the surface using a paint scraper to smooth it. Once it dries, gently sand the ceiling using 100—to 120-grit sandpaper before painting it.
Your ceiling is finally popcorn-free, but you'll need to clean up and reorganize your belongings before you can celebrate with a movie and some popcorn. Remove the plastic sheets and dispose of them. If your bin can’t hold all of the sheets—or the sheets contain hazardous materials like asbestos—consider renting a dumpster or hiring a junk removal service near you to haul it away.
Removing popcorn ceilings is a labor-intensive process that requires precision, time, and dedication. There’s a learning curve to smoothly removing popcorn ceilings, and it can be easy to gouge the ceiling accidentally. If you’re working with painted popcorn ceilings, this can add an extra layer of material to scrape through. If wetting the ceiling doesn’t work, you may have to scrape the popcorn ceiling while it’s dry.
If that still doesn’t work, a paint stripper may be necessary to remove the paint before you can remove the popcorn ceiling. Applying chemical strippers requires additional safety, ventilation, and steps that are best left to a professional.
The best time to remove popcorn ceilings is before you move into a home, but if you’ve already lived in the home and want a change of scene, certain times of the year are still better than others for learning how to get rid of popcorn ceilings.
Avoid removing popcorn ceilings when it’s cold or hot outside. Working in extreme temperatures means your HVAC system will run more and can possibly blow around debris while you work. Turning off your HVAC while working can be uncomfortable if temperatures are too low or too high.
While you can remove popcorn ceilings alone, we advise against it, especially if your ceilings contain asbestos. To ensure safety, ceilings containing asbestos require specialized training, equipment, and correct disposal methods. High ceilings, unique architectural layouts, and large homes can make it challenging to remove popcorn, even if it’s asbestos-free.
Hiring a local popcorn ceiling expert to handle the removal process is best. A pro knows all the ins and outs of popcorn ceiling removal, which helps prevent your ceilings from getting damaged. The result is a smooth ceiling without the headache of manual labor.
Exquisite workmanship from Custom Paint Jobs LLC. My home has never looked better.
Visited my home for estimate same day that I called. Painted on Saturday. Great job. Good price!
Window Depot did an amazing job on my deck. I wasnt sure what I wanted to do, but their composite decking was affordable and will last a long time. I am excited to have family over, and I am no longer embarrassed by my backyard. Jeff and the ground crew were polite, respectful, and caring for...
The guys did an outstanding job and we had a great experience with CarifaTile. I appreciated that Joe reviewed the quotes with me and set expectations prior to the install. The crews showed up as scheduled and always left the areas clean upon leaving the house. We will definitely use...
 CarifaTile
Beginning with the estimate, Larry and Peyton were super helpful in getting my new condo's interior re-painted. Not only was the job well done, but also done in a super timely manner as promised.
 Five Star Painting of Plain City and Powell
BJ Trim Carpentry rescued me in the middle of a do-it-yourself project. I found I needed more expertise than I had...and more TOOLS! BJ Trim Carpentry responded quickly and completed what I needed expertly, politely and with a little humor!
This brownstone is historical and the carpentry work is very detailed. I was very happy to secure a company in NY and living in OH to complete the request. Wood work on this brownstone has been existing since approximately 1888 and West side did a GREAT JOB. I will not be able to...
 Westside Home Improvement
We had a great experience with Mark Rodgers Construction. We were in the process of seeking out estimates for possible foundation work for our front porch. Mark came out himself to provide the estimate. Turned out that the company deals mainly with concrete, so we wouldn't be getting an...
Overall this experience was incredible! I looked on Angies List for a cleaning service because I was planning a holiday party and wanted to make sure we found a reliable, thorough and efficient cleaning service to make sure everything was perfect for the party since we had co-workers and...
From beginning to end our experience with Joe was very good. He was professional and prompt in his estimate for the job and worked hard to meet our schedule so that he could remove our old backsplash the day before our new countertops were removed and return shortly after they were removed to...
From average costs to expert advice, get all the answers you need to get your job done.
Popcorn ceiling removal costs depend on the size of your ceiling and any additional services like asbestos removal and resurfacing. Learn all the costs here.
Wondering how much it costs to remove an acoustic ceiling? Get cost estimates, key factors, and expert tips to help you plan your ceiling update.

Looking to breathe new life into your space with a ceiling refresh? Learn about the cost to paint a ceiling and what factors can affect your total.
Wondering who you should hire to remove an ugly popcorn ceiling? We’ve got you covered with the best pros for the job, and whether to DIY this project.
Textured ceilings have long fallen out of fashion, but does removing a popcorn ceiling increase home value? The ROI depends on several factors.
Learn how to hire a popcorn ceiling removal contractor. Find qualified pros, questions to ask, and what to expect for a smooth, safe project.