
Popcorn ceiling removal costs depend on the size of your ceiling and any additional services like asbestos removal and resurfacing. Learn all the costs here.
Restore your ceiling to its former textured glory

Repairing a popcorn ceiling may seem daunting, but armed with the knowledge and tools, it's an achievable project. Patience and attention to detail are key, so take your time. With each scrape, patch, and paint stroke, you'll be one step closer to a flawless finish you can be proud of for years. This physically demanding DIY isn’t for everyone, so consider hiring a ceiling repair pro if you need help. For anyone ready to take it on, here’s how to repair a popcorn ceiling.
Gather the necessary tools and supplies and ensure the workspace is ready for repair. Lay down drop cloths or plastic sheets to protect floors and furniture from debris. You'll also want adequate ventilation, so consider opening a few windows.
Next, assess the extent of the ceiling's damage and plan your approach accordingly, whether scraping away damaged texture, patching holes, or applying primer. If your ceiling has extensive damage, call a ceiling repair specialist.
Use a spray bottle filled with warm water to mist the popcorn texture lightly. Allow the water to soak in to loosen it from the ceiling surface. Spray all the areas needing repair at the same time to soften up areas while you are scraping other spots.

When using a steamer, prioritize safety. Wear goggles, a mask, and work gloves to protect yourself from hot steam, fumes, and potential debris. Adjust the steamer settings according to the manufacturer's instructions, ensuring the steam isn't too hot or forceful. Consider testing the steamer in a small, inconspicuous area to gauge effectiveness without causing damage.
Start from one corner of the room and move systematically across the ceiling. Focus on small ceiling sections at a time, holding the steamer nozzle close enough for effectiveness with damage. Patience is key during this slow and methodical process, allowing the steam to soften the texture for easier removal without rushing or applying excessive force to avoid ceiling damage.

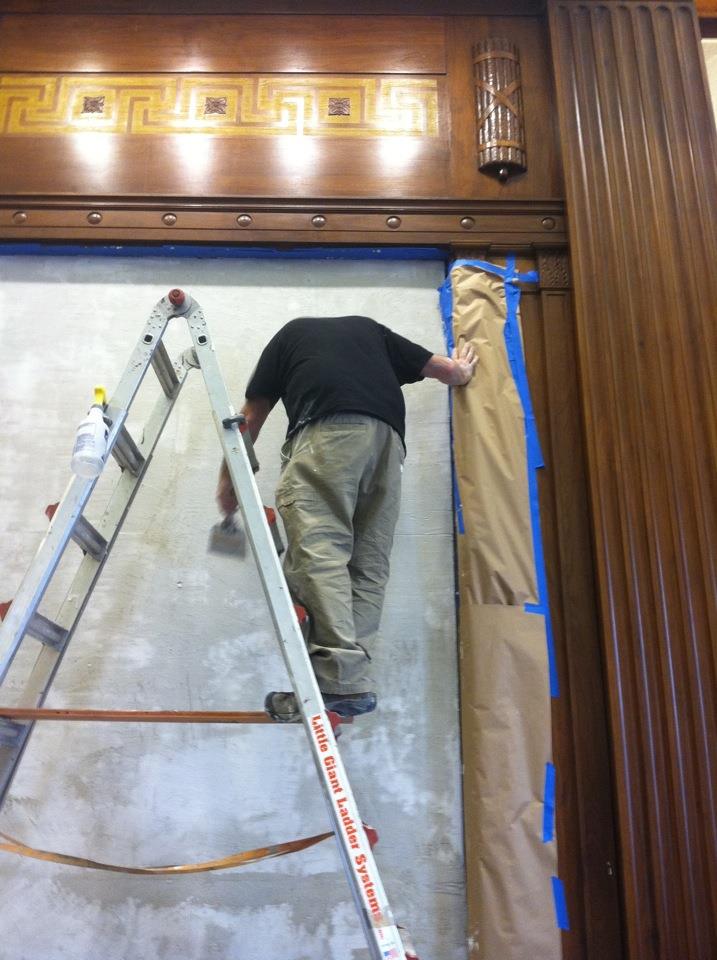
While the popcorn texture is soft, use a putty knife or scraper to remove the damaged sections. Hold your tool at a slight angle to the ceiling surface to minimize damage to the underlying drywall. Apply moderate pressure and vary your scraping motion by going across and diagonally to the texture pattern to loosen it more effectively.
Be prepared to encounter stubborn spots that may require extra effort and steam to remove. Take breaks during this process to avoid fatigue because scraping is hard work. Clean up periodically while scraping. Wipe the steamer nozzle and surrounding area to prevent debris and moisture buildup.

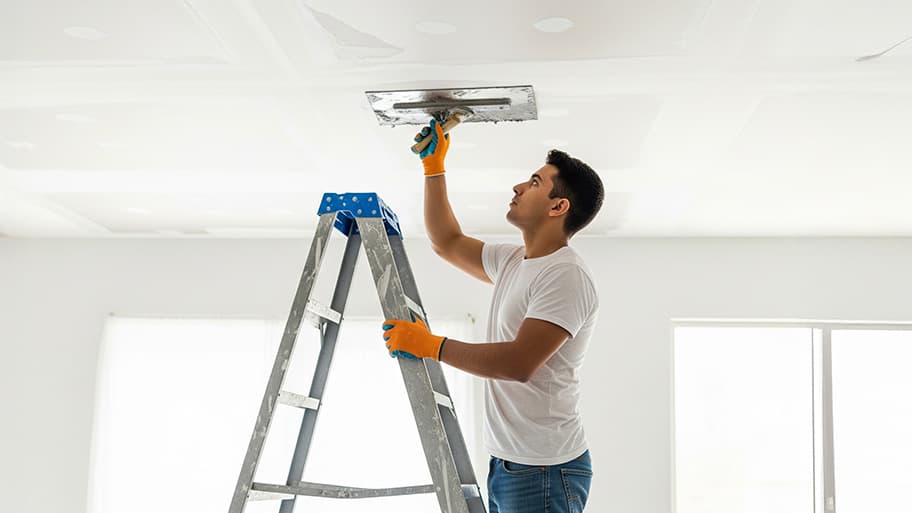
Inspect the ceiling for holes, cracks, or uneven areas. Grab a putty knife to apply joint compound to these areas, filling them in and creating a smooth surface. Work methodically, ensuring even coverage and feathering the edges of the patched areas to blend.
Once the joint compound has dried completely—which can take 24 hours—sand the patched areas using sandpaper or a sanding block working in circular motions to smooth out any unevenness.
After sanding, clean the ceiling surface with a damp cloth or sponge. You want to remove all lingering dust or debris.
Once the ceiling is dry, add the texture. When spraying on the popcorn texture, work in small sections at a time. Apply the first coat in one direction, slightly overlapping each stroke to ensure uniform coverage and avoid leaving visible lines or streaks behind.
Once the first coat has dried, apply the second coat in the opposite direction, perpendicular to the first. This cross-hatch technique helps ensure thorough coverage and fills in gaps or missed spots. Allow the second coat to set before moving on.

Apply primer evenly to the surface using a thick-nap roller to ensure adhesion and coverage.
Work in small sections. The primer must be completely dry before painting. Follow the manufacturer's instructions regarding drying times.
Follow the same process when painting, again using a thick-nap roller. Apply multiple coats as needed, allowing each coat to dry completely before proceeding to ensure a beautiful and durable finish.
Whether to fix a popcorn ceiling yourself or hire a local ceiling repairperson depends on your skill level and the extent of the damage. DIY can save money and offer a sense of accomplishment, but fixing extensive damage is exhaustive and exposes you to dust and debris.
Hiring a popcorn ceiling professional may be the better option to ensure quality results and avoid potential safety hazards like asbestos. Additionally, professionals have the expertise and specialized tools to tackle the job efficiently, saving you time and hassle in the long run. The average cost of ceiling repair is $1,020 but can be as little as $150.
Positive experience. As previously stated, the replacement/repair could not be completed (no fault of the plumbing tech) b/c misinformation was rec?d by property management maintenance. Thanks to the plumbing tech for your efforts. Appreciate you!
 The Waterworks
Carpet repair done well. Scheduling was easy. Showed up on time.
I would recommend this company to anyone! He showed up on time, was friendly, completed a very difficult repair on our dryer vent cover, was responsive, and pricing was extremely fair and competitive. I would have him back to do any of our repairs or cleanings without hesitation!
Everything from initial contact to completion was absolutely top notch. We contacted the business during off hours to leave a message, and the owner still reached out to feel out the issue within minutes. We were scheduled and repaired within 48 hours. I cannot say enough about the...
 Supreme brick & chimney
Ace Fireplace Services came to the rescue for my chimney repair. They were quick to pinpoint the issue and worked their magic to fix it. My chimney is now in excellent shape, and I'm a satisfied customer.
 Ace Fireplace Services
Great experience all together. Dog friendly, courteous, great results and honest with recommendations. Will certainly be using Cardinal in the future for any carpet repairs
Description says they handle window repair including rotten hardwood - they called me back right away but didnâ t leave a voicemail. I followed up 3 days later and they said they donâ t do that kind of work.
Very good experience. He even moved things around in my bedroom to get to the wall. I would highly recommend him for plaster. I plan to have him come back.
 Peter J Grady
Great guys. Spend a lot of time repairing and prepping our walls before doing the new paint. Home looks great now.
They did an excellent job with the repair, took care of all communication with the insurance company and had car rental service also with a very reliable, quality care
 Three C Body Shop
From average costs to expert advice, get all the answers you need to get your job done.
Popcorn ceiling removal costs depend on the size of your ceiling and any additional services like asbestos removal and resurfacing. Learn all the costs here.
A ceiling repair averages about $1,000, but multiple factors affect this number. Learn more about creating an accurate ceiling repair cost estimate with our tips.
Looking to breathe new life into your space with a ceiling refresh? Learn about the cost to paint a ceiling and what factors can affect your total.
Wondering who you should hire to remove an ugly popcorn ceiling? We’ve got you covered with the best pros for the job, and whether to DIY this project.
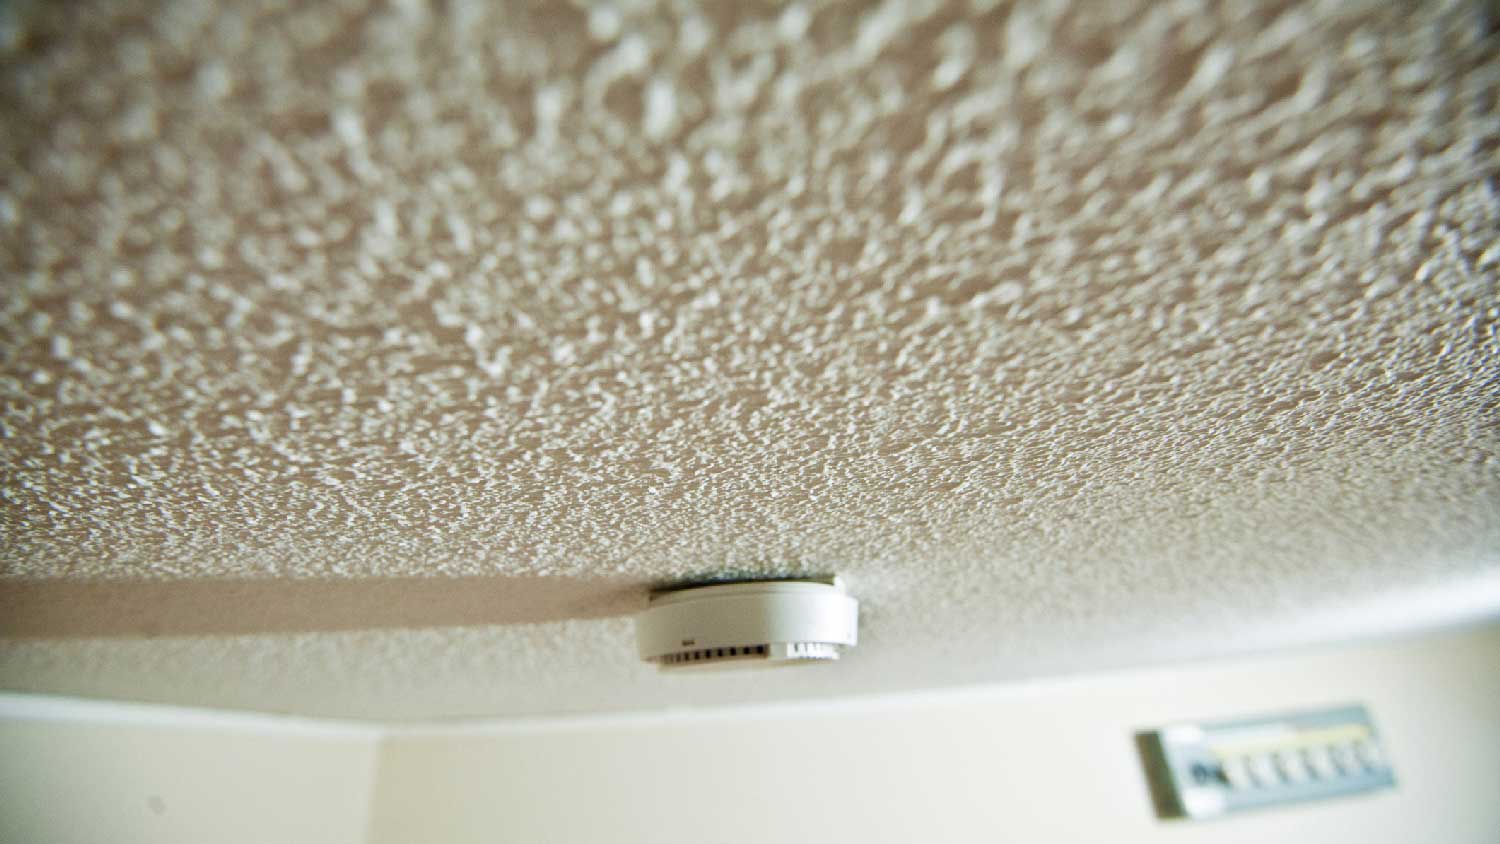
A textured, or “popcorn”, ceiling was once a popular home feature. Read on to learn about what a popcorn ceiling is and why it has mostly gone out of fashion.
Learn how to hire a popcorn ceiling removal contractor. Find qualified pros, questions to ask, and what to expect for a smooth, safe project.