
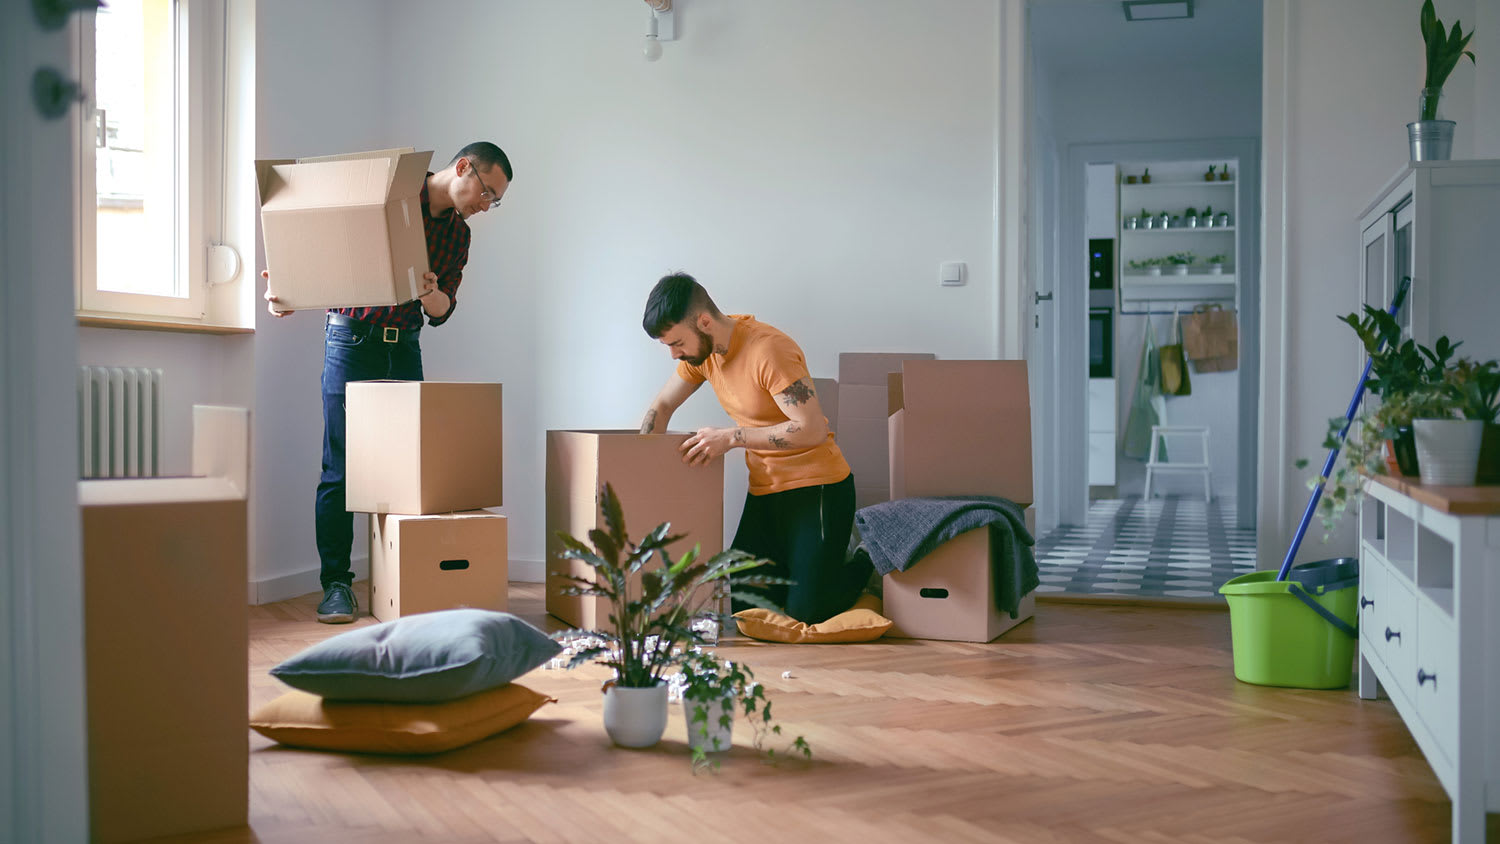
Is packing not your thing? Nonsense. You can pack like a pro and keep moving day chaos at bay with these tips to help you efficiently pack your household goods.
You can ensure safe travel for your lamps by packing them carefully for moving day

Lamps with bulbs need careful packing because electrical cords, bulb receptacles, bases, and shades can break when jostled during your move.
Expect to pay $25 to $140 for DIY lamp packing supplies, or $1,000 for professional packing services that handle all your belongings.
You should disassemble each lamp completely, wrap every part separately in bubble wrap or paper, and fill empty box space with packing material.
Hiring a local moving company provides reliable support with packing fragile items and protecting your lamps from damage during the entire move.
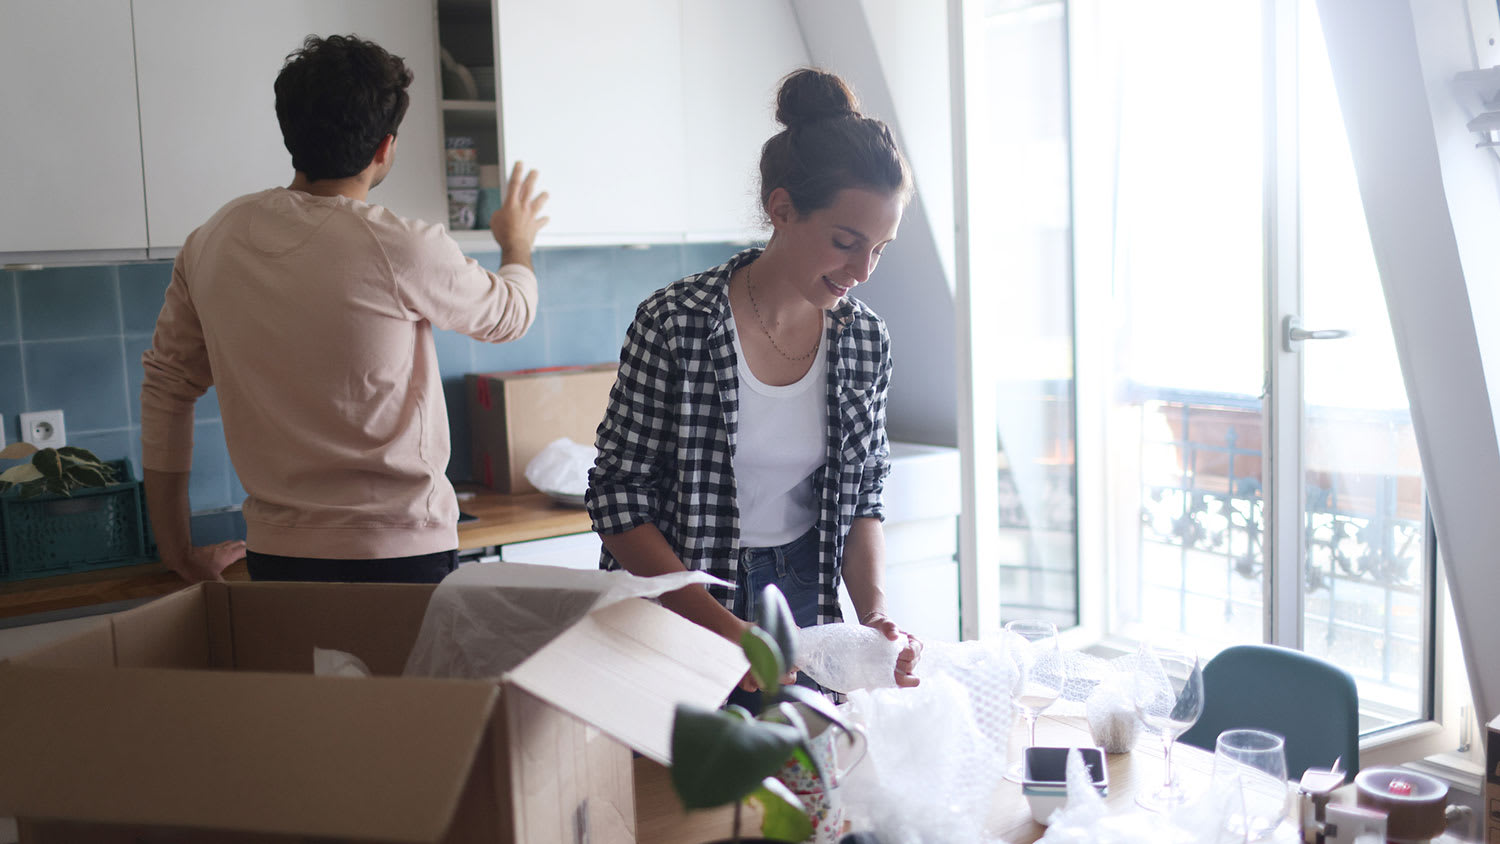
Wondering how to pack lamps for moving to ensure they reach your destination safely? Lamps have lots of parts that can get broken, making them harder to pack than most other home furnishings. But it’s worth packing them well to avoid damage, so let’s get set up to prep lamps for moving so you can use them for years to come in your new home. Plus, with the help of a local moving company, you can ensure other delicate items make it to your destination in one piece.

Since lamps are a fragile item with many delicate parts, they can get broken easily. Protecting electrical cords, lamp shades, bulbs, and bases is important for keeping your lamps working in your new space.
While they might not seem delicate, the cords strung through the base of a lamp can get twisted, pulling them out of the contacts for the light bulb, or the bulb receptacle could get crushed by a heavy object. Even an LED bulb can break by being jostled around on a hard surface, so keeping your lamp parts intact is an important step in your moving process.
The cost to pack lamps for moving is between $25 and $140. The primary expenses are the protection materials and moving boxes. Wrapping paper for delicate items costs between $20 and $33 for a 900- to 1,200-foot-roll, depending on the width. Bubble wrap will cost between $5 and $40 depending on the size roll you need.
If you repurpose or find a box from a grocery store or other reusable box, it will be free but might not fit snugly around your lamp. However, a specialty tall lamp box costs about $65 and will make packing and moving the item easier.

To keep your lamps safe, you’ll need to disassemble them first. Remove the bulb and shade and pack any loose hardware in a labeled ziplock bag will set you up for success. Once the parts are separated, wrap any of the fragile pieces in before boxing them up. This step includes glass shades, bulbs, and bases that can be broken or dented in transit.
Pay special attention to the cord, keeping the plug protected so the tines don’t bend. Once all the parts of the lamp are wrapped, you should place them in their boxes, making sure that all open space between parts is filled with packing material.

Follow these guidelines for packing different types of lamps and lamp parts for moving.
Once you’re ready to start packing, unplug your lamps and allow them to cool for at least ten minutes if they've been running. Then, remove the light bulbs from each of your lamps. Devote one of your moving boxes (or an unused box) to carry your light bulbs..
There are two ways to pack light bulbs:
Box dividers: Invest in box dividers where you can slot each bulb. These cost between $10 and $20.
Bubble wrap: Individually wrap each bulb in bubble wrap, and then pack them on top of each other in a small-to-medium-sized box.
Start by wrapping the base of the lamp in a layer of paper or other soft material. You should coil the cord and wrap it and the plug in bubble wrap or foam to protect it and prevent it from bouncing around and scratching the lamp base. Line the box with padding to cushion it from other objects, and then place the wrapped lamp base in the lined box.
Lamp shades can be fragile because they’re usually made from stiffened fabric, thin plastic, or glass. Because of their shape, they tend to be bulky, so boxing them up can be tricky. Wrap them in a layer of paper of other soft material and then stack similarly sized shades together as space in the box allows. You should never pack lamp shades with heavy items because anything that shifts during transit can damage the thin, delicate material.
Salt lamps need special consideration because they can be affected by moisture and since there is no way to separate the shade from the base, all the parts will go together in the same box. Use some stretch wrap to keep your salt lamp dry and use a desiccant in the box to help keep the lamp dry in transit. Once it’s wrapped in plastic, using bubble wrap or other packing material to fill all the empty space around the salt lamp will keep it safe.
Larger lamps can be hard to protect. If possible, break them down into the smallest parts possible. Be sure to remember how the lamp parts go together so you can reassemble it in your new home. Wrap all of the pieces in a layer of paper, foam, or bubble wrap and use stretch plastic to hold it in place if necessary.
To keep the lamp safe in transit, you can either use a large specialty box, or you can build a box around it from flat corrugated cardboard held in place with packing tape. Label any pieces that you separate from the base to make it easier to reassemble in your new place.
The trick to keeping lamps from breaking when moving is to make sure they don’t have space to bounce around in the box. To prevent damage to your lamps, you should follow these steps:
Wrap each part separately
Choose a moving box with a base that’s slightly bigger than the lamp
Create a soft barrier between the lamp parts inside the box
Make sure to line the box so the parts have a cushion outside the box
Coil the cord and wrap it to keep it from getting tangled
Use bubble wrap or a plug protector to keep the plug from getting damaged
Make the box rattle-proof by filling open spaces with packing material
Label your hardware carefully
Mark the box as “fragile”
Label all your parts separately
If you pack your own lamps, you could potentially complete this task for free if you repurpose boxes and newspaper for packing material. However, you’ll still need packing tape and markers so you can spend anywhere from $3.50 to $140, depending on the size of your lamp and how much packing material you need.
The cost to hire a professional packing service is about $1,000 but can cost less if you only need help packing a few specialty items. Most professional packers charge between $32 and $45 per hour.
A packing and unpacking service will handle packing all of your belongings, including lamps. They might charge extra for moving your items or packing a truck. There are often extra costs associated with a move, so getting to know the essential moving terms will help you figure out how much your moving services will cost.
I recently moved to another state and chose United Trust Van Lines after comparing several companies. Their team was punctual, professional, and extremely careful with my belongings. I was especially impressed with how they handled my home office setup and fragile items. Everything arrived on...
Showed up on time and cleaned carpets well, but didn?t move furniture.
A reliable team for moves across state. My switch to a new place needed careful lifting through tight hallways. The movers checked the doorway first, then carried heavier pieces with slow, controlled movements. Their patience helped prevent damage, and I?d choose them again.
**Would rate a 0 if i could** NEVER USE THIS COMPANY!!!!! They shattered my tv console and dresser, lost a mirror, and never finished the move. The broken furniture cost me over $600 to replace. They left me with 6+ hours of personal labor moving my 1BR apartment, when I was quoted a FULL...
 All My Sons Moving & Storage
I could not have moved without the help of Jen Stover! I was in my house for nearly 20 years, so the thought of clearing it out while working full time was overwhelming. Jen takes great joy in sorting and organizing while asking the hard questions with patience and compassion. Jen is...
Couldn't have been a worse experience. 3 of my belongings were lost and 5 belongings were damaged. My furniture was clearly dragged across the ground. The movers couldn't move the furniture I paid extra heavy weight fees for so I had to help them move my own furniture. The manager gave me...
 US Interstate and Rail
Excellent experience for me! They helped me a lot with my move. very reasonable price. Good communication with the office manager is excellent.
I was concerned about my possessions safety throughout the move but Bridge View Van Lines took all necessary security measures to make sure everything arrived in mint shape I am really appreciative of their effort and commitment They made my long distance move seem simple
This moving company is the best in Columbus, Ohio! They rescued me when my movers didnâ t show up. Do not ever use Plane Movers! They never showed up for my move, claiming that I never signed the contract. They didnâ t call me to follow up, communication was awful. The people that work for...
Ozie and Tyquese were great and worked fast. It was a good move
From average costs to expert advice, get all the answers you need to get your job done.
Is packing not your thing? Nonsense. You can pack like a pro and keep moving day chaos at bay with these tips to help you efficiently pack your household goods.
Confused about how to pack a kitchen for moving? Our DIY guide is brimming with helpful advice, ensuring your fragile and expensive items are protected.
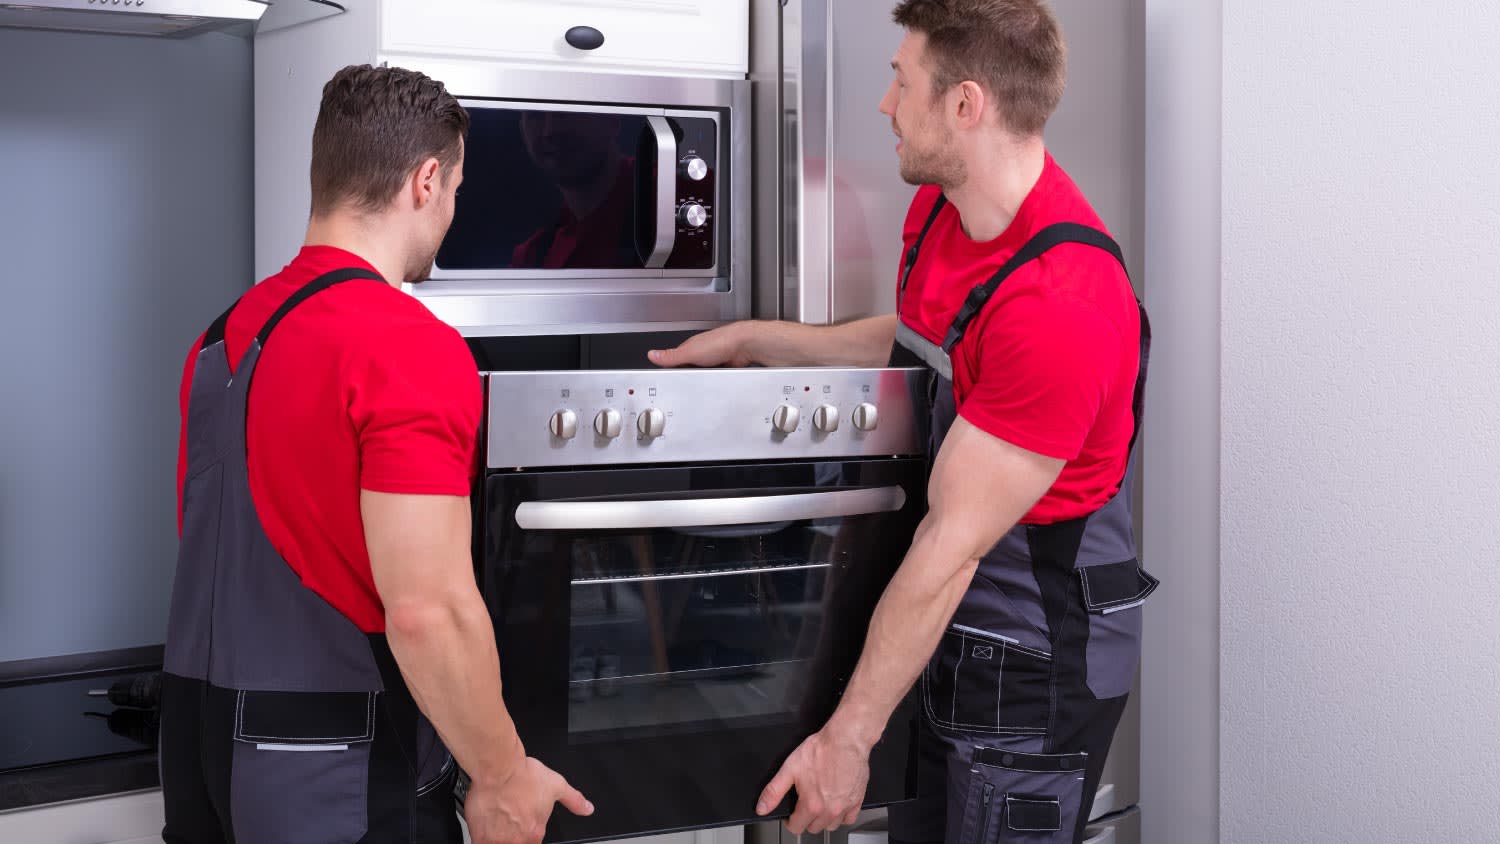
If you’re wondering how to pack appliances for moving, these tips will set you up for success whether you plan to DIY or hire professional movers.
Packing a moving truck doesn’t have to feel overwhelming. If you’re planning to move soon, these seven tips will help you pack your truck like a pro.

Ready to learn how to pack for a move? We’re going room by room in your home with all the top steps on packing up your belongings.
Packing dishes is often an overlooked part of the moving process. Learn how to pack dishes for moving in a safe and strategic way with this DIY guide.