

The cost of a radon mitigation system depends mostly on the type of system being installed. Use this guide to learn about your options.
Breathe with ease knowing your home’s air is safe

Only buy supplies if you’re comfortable with advanced-level DIY.
Radon is a naturally occurring radioactive gas that can seep into homes and pose significant health risks for you, your family, and your pets. The good news is that a radon mitigation system can remove the harmful gas from your home—or at least lower it to safe levels. So, can a homeowner install a radon mitigation system? DIY radon mitigation is possible if you're willing to dedicate time and effort. Here's a step-by-step guide to safely reducing radon levels in your home.
There are a few steps you can take to prepare for constructing your own radon mitigation system, including air quality testing and creating a strategy.
Before you begin radon mitigation, you must determine your home's radon levels. On average, professional radon testing costs $420, and a DIY testing kit starts at around $40.
DIY kits provide easy instructions for collecting air samples. The Environmental Protection Agency (EPA) recommends mitigation if radon levels exceed 4.0 pCi/L. If you don’t know how to test for radon, don’t worry—it’s fairly simple. Just place the test in the lowest living area of your home, away from windows, doors, or vents. Follow the manufacturer's guidelines for the duration, but expect this step to take about two to seven days. Once you complete the test, you will mail the sample to the designated lab for analysis. You should receive the results in about a week.
"The most important need for radon testing comes if anyone is living below grade in a house. Basement bedrooms or any space in the basement that will be occupied for periods of time need to be tested in areas where radon is present. That means, most of the United States. Radon is not evenly distributed and so one house might test at 1.5pCi/L and the house next door might test at 6pCi/L and need a radon mitigation system."
— Jonathan Culp, Design Principal for Land Agency, Denver, Colorado
There are a few methods to get rid of radon, but the most common DIY solution for lowering radon levels is an Active Sub-Slab Depressurization (ASSD) system.
To plan your mitigation strategy, you should start by identifying potential entry points. Inspect your basement or crawl space for cracks, gaps, or exposed soil. Next, secure the necessary equipment to mitigate the radon. You can purchase a radon mitigation fan and piping system from a hardware store or online supplier.
Before getting started, don’t forget to check local codes. Some municipalities require permits or inspections for radon mitigation work. Ensure compliance to avoid issues later.

Hiring a professional is the best way to tackle this project efficiently while keeping your home safe from the negative effects of radon. However, if you do decide to tackle this project on your own, these are the steps you need to take.
Sealing entry points is critical to stopping radon from entering your home. Bring a flashlight with you to find small openings in floors and walls. Use polyurethane caulk or epoxy to seal cracks and joints. For larger gaps, consider expanding foam. Lay a plastic vapor barrier over exposed soil in crawl spaces, sealing the edges with heavy-duty tape or adhesive.
Sealing alone won’t eliminate radon. You also need to install a PVC ventilation system. A PVC pipe system redirects radon gas from beneath your home to the outside. To install this system, you will need to drill a suction point. To do this, use a masonry bit to drill a four to six-inch hole through the foundation slab in a central area. Then, fit a three-inch PVC pipe into the hole, ensuring a snug fit. Use a sealant to close gaps around the pipe.
You should extend the pipe vertically, running it through your home and up to the roofline. If running internally isn’t feasible, route the pipe along an exterior wall. To maintain strong airflow, try to minimize bends in the piping.
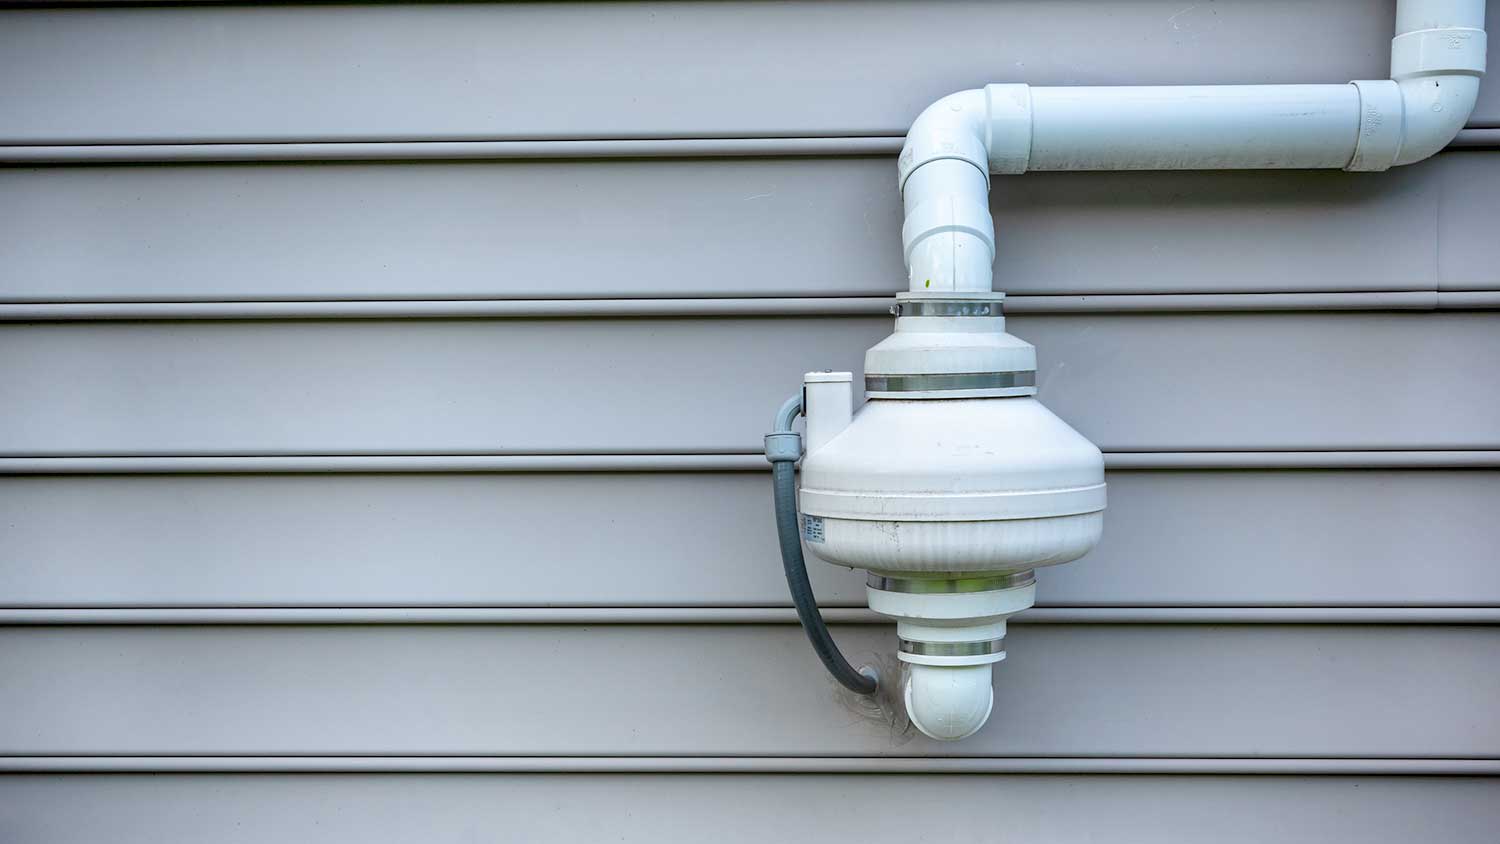
The fan is the powerhouse of your radon mitigation system, creating suction to pull radon out from beneath your home. It’s a good idea to install the fan outside the living areas, such as in an attic, garage, or exterior wall.
Once you find the perfect installation spot, you will connect to PVC Pipe. From there, you will attach the fan to the pipe using rubber couplings to ensure a tight seal. To properly power the fan, ensure the outlet is grounded for safety. Most radon fans require a standard electrical outlet.
Once installed, the fan will create a vacuum effect, drawing radon from beneath the foundation and venting it outside.
Proper venting ensures radon is safely dispersed outdoors. To accomplish this, you must extend the pipe above your home’s roofline. The exhaust should be at least 10 feet above the ground and two feet above any windows or openings within 10 feet. You can use brackets to anchor the pipe securely along walls or the roof. Place a weatherproof cap on the pipe’s end to prevent debris or rain from entering.
Once your mitigation system is up and running, you can make sure it’s working well by conducting a post-mitigation test. To do this, use another radon test kit to measure levels. Place the kit in the same location as the initial test. Effective systems typically lower radon levels to below 2.0 pCi/L.
If levels remain high, check for leaks in the system or consider consulting a professional for adjustments.
Keeping your system in tip-top shape ensures it will continue to protect your home from radon exposure. How long does a radon mitigation system last? With proper maintenance, you can expect your system to last for several decades and it will be effective as long as the radon fan is functioning. However, you’ll have to replace your radon fan every five to 10 years.
Good maintenance includes inspecting seals annually by looking for cracks in sealants or damage to vapor barriers. You should also monitor the fan’s operation and make sure it’s running continuously. A pressure gauge can help confirm proper airflow.
Finally, retest radon levels every two years. Periodic testing ensures your system continues to perform effectively.
Installing a DIY radon mitigation system costs less than hiring a professional, mainly because you avoid paying for their labor and specialized expertise. On average, the materials for a DIY radon mitigation system cost between $500 and $2,500, depending on the size and complexity of your project. In contrast, hiring a licensed radon mitigation specialist costs between $785 and $1,270, depending on your home's size, foundation type, and local labor rates.
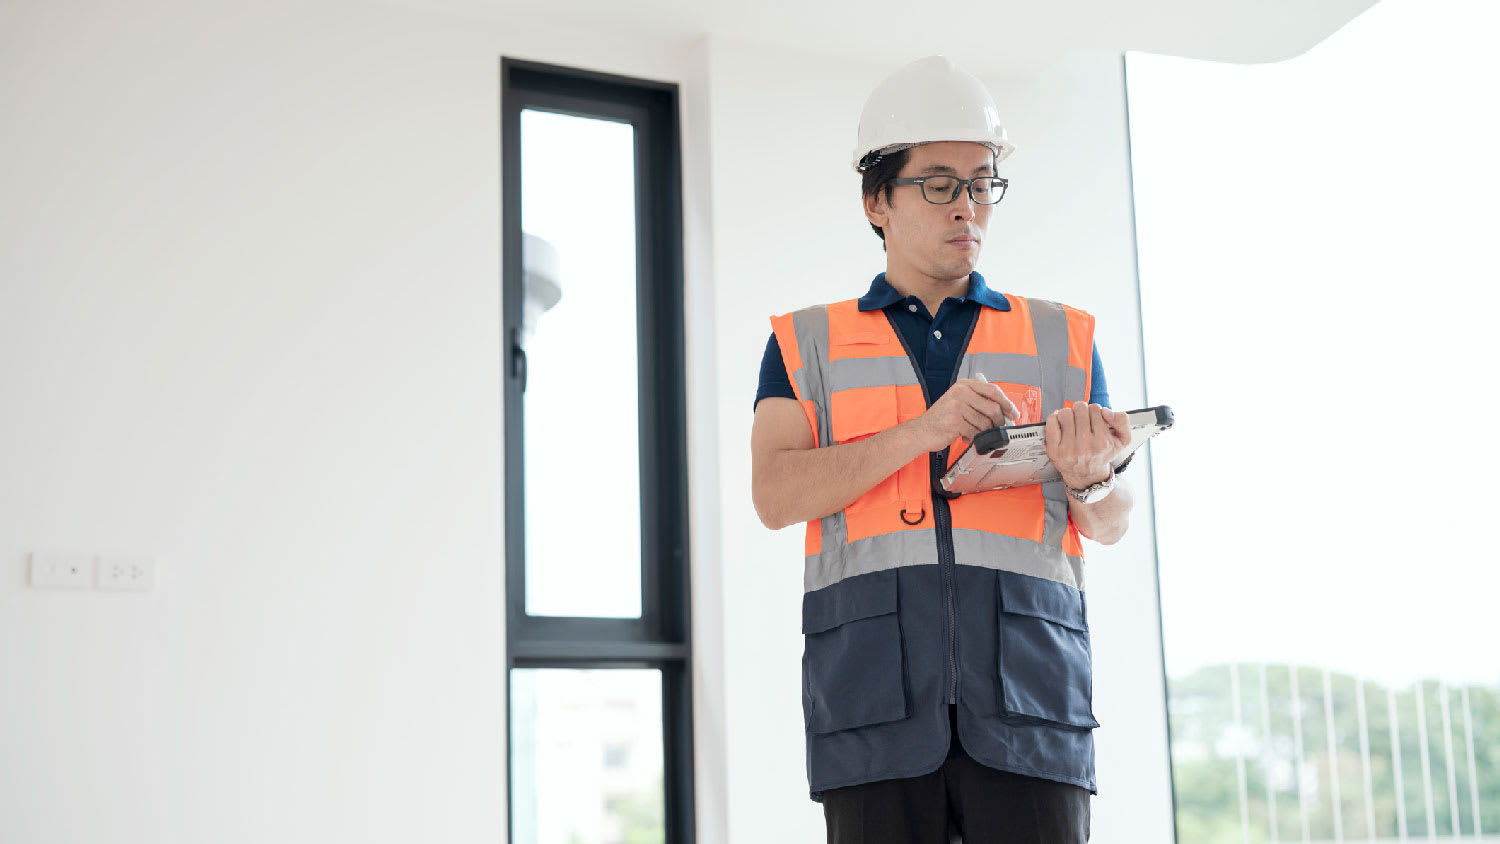
While the DIY route can save you money, it’s not always the best option for every homeowner. Professional installation offers peace of mind, ensures compliance with local regulations, and guarantees that the system is installed correctly and effectively. Hiring a local radon detection and reduction specialist is especially important in the following scenarios:
If you have a complex home layout: Multi-level homes or unique foundations may demand advanced techniques.
If high radon levels persist: If DIY efforts fail to reduce radon sufficiently, a licensed contractor can help.
Local regulations require it: Some areas mandate professional installation for safety compliance.
One of my old tall evergreen trees was suddenly leaning toward the busy street in front of my house. I submitted a request for an emergency tree inspection, and Alejandro, owner of Cajete Tree Service, contacted me immediately and arrived to look at it just 20 minutes later. We agreed the...
Great company! Price was competitive, technician showed up on time and completed the job (exterior electric Radon fan replacement) quickly. Would hire them again.
1 tree was cut down and 5 others including a large willow tree were trimmed. The Grant Tree Service men were professional and cleaned up afterwards. The cost of the 6 trees were affordable. I am very happy with the results. I would hire them again.
It went so well! They were prompt and efficient! They were patient with last minute changes and the work was worth the money
 Security Doors and Shutters
D1 Roofing delivers outstanding service from beginning to end, backed by a strong warranty and expert teams. I highly recommend them for their excellence in meeting and surpassing expectations with unmatched communication. Choosing D1 Roofing was flawless decision
Seth was very professional, prompt in responding to queries about the work required , gave sincere advice as to what would be best for tree trimming and did the job timely.
I conferred with 2 other contractors before Armstrong Electric. Nick and his crew showed me that the project was not as convoluted as the other contractors made it appear to be. They completed the entire project on time. They were professional, friendly and cleaned up after at completion. I...
The technician was very professional and friendly. He answered all my questions and was very thorough. He left the fireplace area very clean . He inspected from the roof and advised me as to other work that might need to be done. There was no pressure there. I was very satisfied with the...
 Supreme brick & chimney
I had Ace Fireplace Services install custom chimney caps for my home, and the results are stunning. They fit like a glove and have added a touch of sophistication to my chimney. I can't recommend their services enough.
 Ace Fireplace Services
The techs on my project, Shawn and Cliff, were great. They were prompt, courteous, and efficient. I am very happy with the results and would definitely contact Mr. Electric for any future electrical projects.
From average costs to expert advice, get all the answers you need to get your job done.
The cost of a radon mitigation system depends mostly on the type of system being installed. Use this guide to learn about your options.
Find out what impacts radon testing costs, including average prices for DIY kits and professional services, so you can protect your home and budget confidently.
Get clear answers on how much radon remediation costs, including average prices, key cost factors, and tips to save money on your home’s radon mitigation.

Radon is a gas that you can't see or smell and is harmful to your health. If your home has radon, you need to know who installs radon mitigation systems.
Need to find a qualified radon mitigation service? Learn how to hire the right pro, from certifications to questions to ask, to protect your home.

Can a homeowner install a radon mitigation system? While some parts of the project are fine for DIY, you should leave the meat of the task to a licensed professional.