
•
Discover the true trash compactor installation cost. Discover the costs of labor, materials, and strategies to save on your kitchen upgrade.
Give your trash can some love with a deep clean that takes less than an hour

You've scrubbed your floors, counters, and even the depths of the pantry, but a mysterious pungent smell still lingers in the kitchen. Cleaning your trash can might end up on the forgotten chore list more than you’d like to admit—either because it's out of sight or because you fear what's lurking under the bag. This bacteria-hoarding staple of your home should receive a deep scrub about once a month, and luckily, the process is quick and easy. Learn how to clean your trash can in seven quick steps (and disinfect it too!).

It goes without saying that your trash can needs to be fully empty for a deep clean. Even if the potent smell you've been trying to locate heads out with the bag, it's still best to deep clean the can itself. The lingering odor can attract pests and eventually become a pervasive, unwelcome odor throughout your home.
While you're at it, use this chance as a reminder to practice good garbage practices overall. Take out the trash after you toss rotten or stinky items and avoid items that shouldn't end up in the trash in the first place.
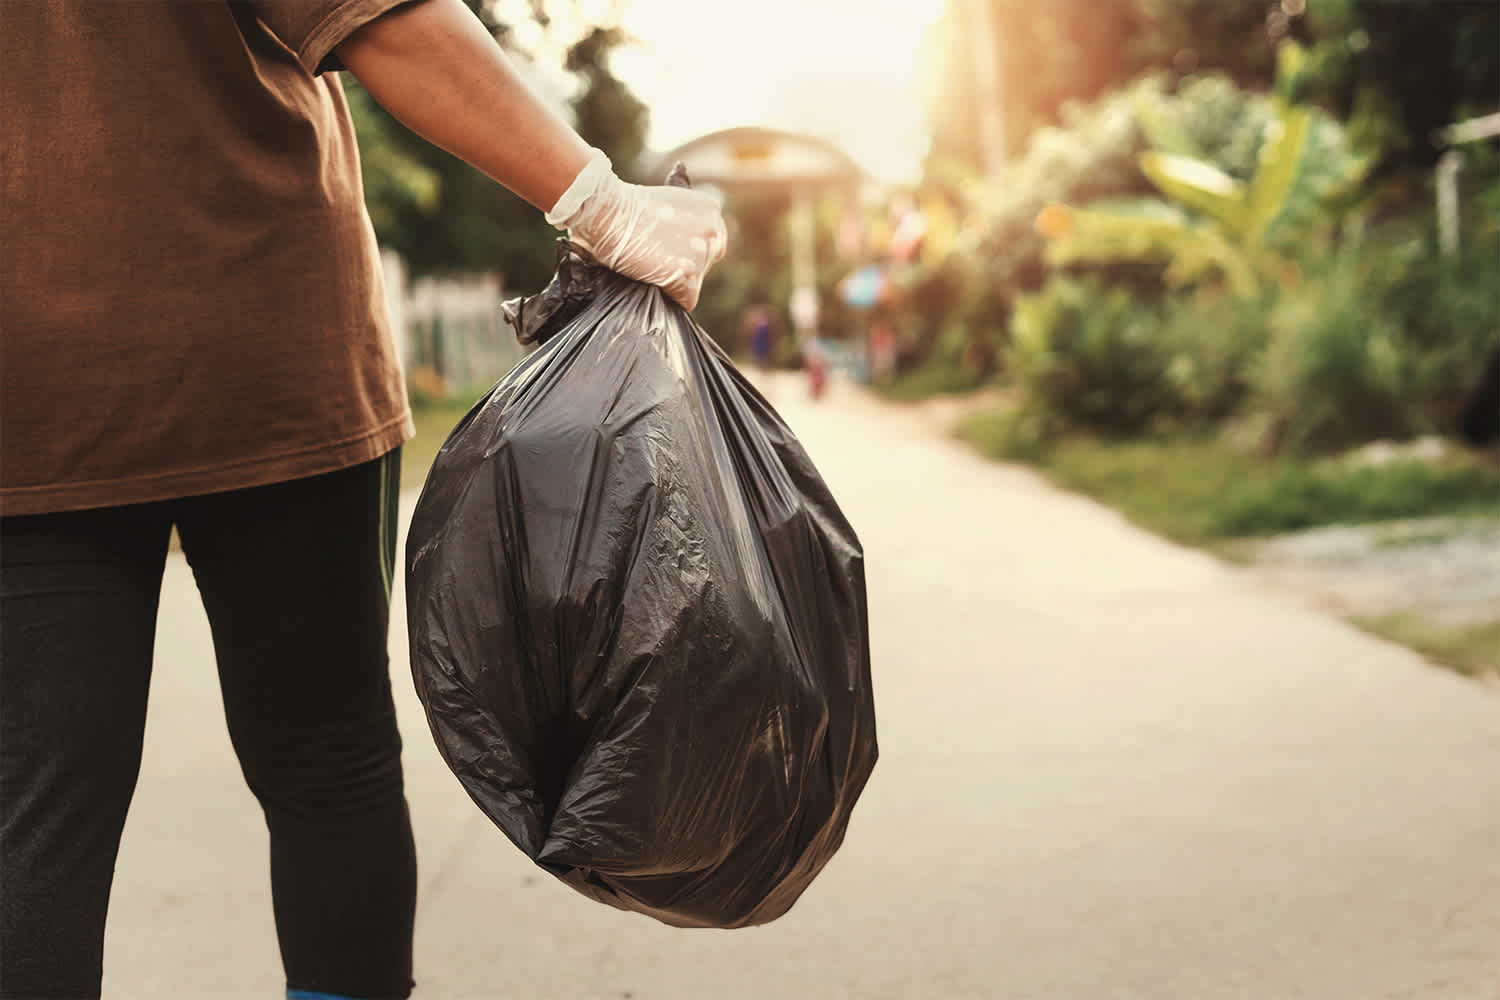
Once the bag is outside, remove any remaining loose items at the bottom of the can with rubber gloves.
You have wiggle room to choose either a homemade or commercial cleaning solution here. If your trash can only needs a quick clean, add 5 to 10 drops of dish soap to a bucket of warm water.
For stuck-on food and for freshening up particularly potent trash cans, consider the mixture below for soaping up your scrub brush:
1 quart hydrogen peroxide
1/4 cup baking soda
1 tablespoon dish soap
If you'd rather skip the DIY route but stay eco-conscious, check out one of the many all-purpose cleaners approved by the U.S. Environmental Protection Agency.
Everything from coffee grounds to unidentifiable pieces of food that escaped from the bag like to hang out in the bottom of trash cans. Garbage pails with step-activated lids often have more nooks and crannies than standard bins, so be sure to clean the opening mechanism as well as the foot pedal itself.
Start your deep clean by pretreating caked-on areas the same way you would with a stained piece of clothing. Spray your handmade or store-bought solution throughout the can and target the trouble areas with extra cleaner. Let the can sit outside in fresh air while it soaks for about 10 minutes.
Add one more thin layer of cleaning solution to the inside of the bin and get out your extendable scrub brush. A new toilet brush is also a good option. You can even set it aside specifically for your monthly can cleaning or retire it to the bathroom after you clean your garbage can.
Scrub the inside of the can first, making sure to focus on the base of the can and the inside of the lid.
Next, clean the outside of the trash can, spending extra time on any scuffs or stains that keep it from looking its best.
With the can scrubbed inside and out, take the can outside and spray the whole thing with a hose. If you live in a small apartment without outdoor space or a hose access, you can perform this entire process in the shower stall or bathtub. Just make sure to spray down the area after you're done to remove any cleaning solution.
If you're tackling this project during a deep cleaning session, consider disinfecting the trash can as well. Not only will this help you avoid passing germs throughout the house, but it may also take care of those persistent smells that need a little more attention. Disinfecting differs from cleaning in that it targets the bacteria and potential viruses on your can in addition to visible grime. In this case, you will either need disinfecting wipes or spray.
Avoid using bleach-based products on stainless steel cans as they can stain its surface. Also, never mix cleaning supplies that poorly interact with one another. For example, if you've just cleaned with a vinegar solution, do not mix it with bleach during the disinfection process. This can create dangerous chlorine gas, according to the Washington State Department of Health.
The hard part is over! Now all you have to do is let your trash can air-dry. Overnight works best, but you can use a dry microfiber cloth with a quick pass if you're in a hurry to get the trash can back inside. While tedious, the drying process is just as crucial as scrubbing and rinsing. Leftover water in the base of your trash will harbor bad smells in your home or attract pests, and it can promote mold growth and related odors.
If you keep a close eye on your trash in between cleanings, you may be able to wait longer than a month in between washes. There are a few clever ways to keep odors out of your trash can, including the following:
Add a layer of baking soda, dryer sheet, or even a few drops of vanilla extract on a cotton ball at the base of your can to sit between the can and the trash bag. You can also wipe down the inside of your lid once a week to get ahead of your next clean.
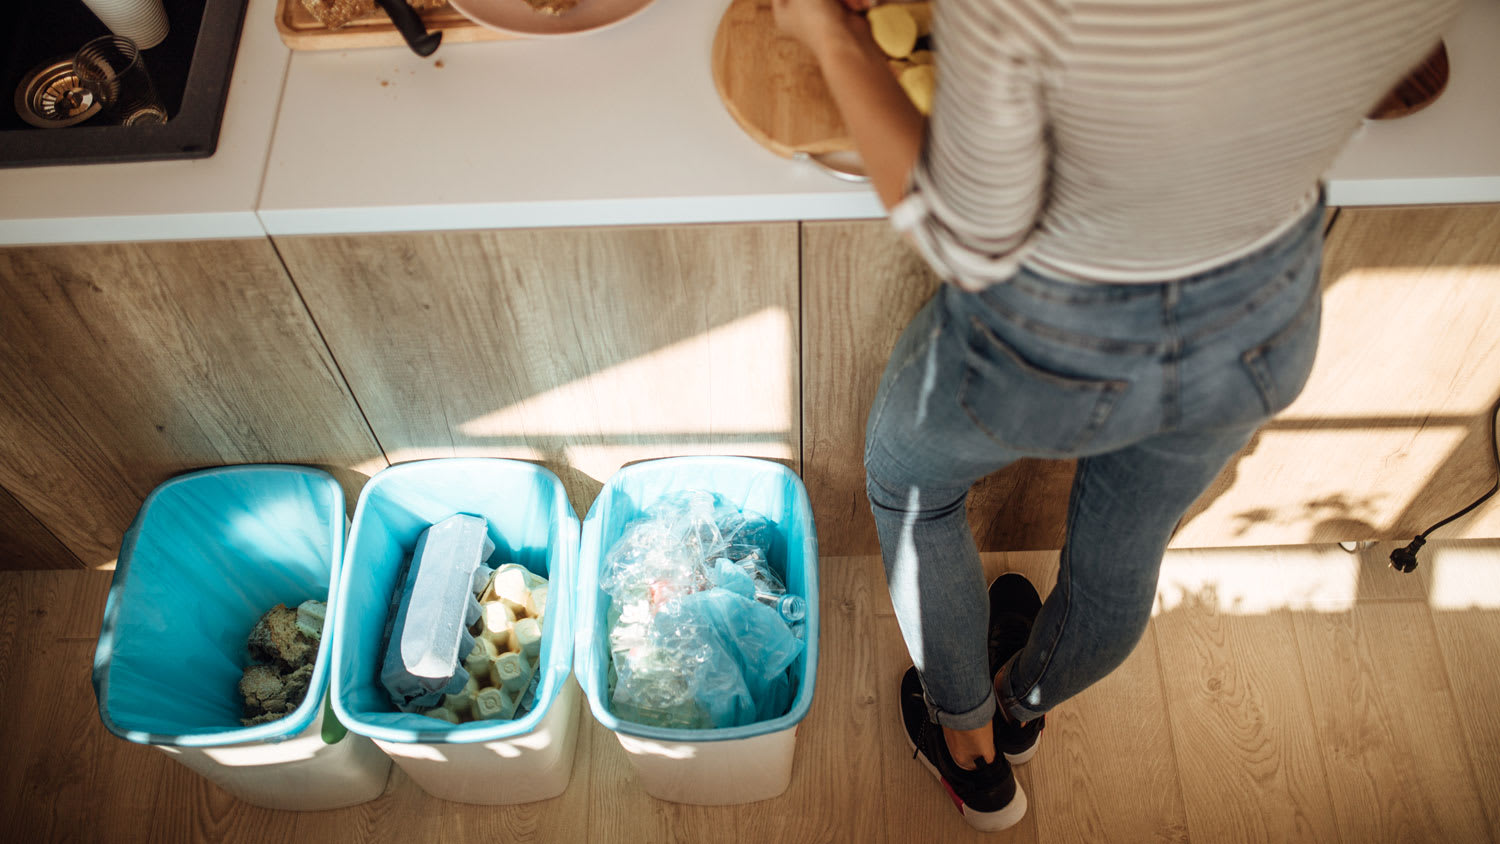
Toss all garbage disposal-friendly scraps into the drain to avoid rotting smells and moisture buildup in your trash can.
Consider starting a composting bin to keep food scraps out of the standard garbage and save up rich soil for the spring.
Drill a few small holes in the sides of your can liner, if you have one. This will make it easier to put bags in and take them out, and it will introduce air flow that can help reduce the risk of moisture and mold growth under the bag.
Consider installing a garbage can deodorizer. This sits between the can and the bag and can help keep odors at bay in between cleanings.
As you might imagine, cleaning your trash cans is a pretty straightforward process, so it’s something any homeowner can DIY to save a bit on professional cleaning. We recommend tackling this as a part of your routine cleanings, with touch-ups and spot cleanings once a week and a deep clean once a month.
However, if digging into the depths of your garbage can is beyond your comfort level or you just don’t have the time, leave the job to the pros. Call a house cleaner near you monthly for ongoing jobs or even pay for house cleaning services on an emergency basis for upcoming holiday parties and visits from family and friends.
Ginny Bartolone contributed to this piece.
I had FabClean 614 clean my apartment, and she did an outstanding job. She was so professional and efficient. My apartment looks absolutely spotless every surface, every corner, all cleaned to perfection. Definitely highly recommend FabClean 614 if you're looking for top-notch cleaning...
Best cleaning I've had at my property
Fantastic group, very communicative, and they really did a great job cleaning my condo. Will be hiring them for recurring cleaning!
100% satisfied with the work done by Supreme Brick & Chimney. Josh responded to my Angi request very quickly and squeezed our house into his schedule only a couple business days out. The chimney cleaning process was extremely clean with ZERO dirt going anywhere besides in Josh's vacuum. Very...
 Supreme brick & chimney
On time, clean and finished fast. Windows seem sturdy and the finish is good. Caulking was done with no smudges. Would recommend.
Great job...edging and pre clean up went well with a great job with seal coat. Friendly, efficient and professional.
 All Star Paving and Sealing
Mary Cleaning Service is fantastic! The entire team is professional and pay a great deal of attention to detail. They do such a thorough job of cleaning my house. I would definitely recommend!
It was just fine. They did a good job. They cleaned what needed to be cleaned.
 Dezired Cleaners LLC
They cleaned my very dirty basement. They were prompts, quick, thorough and their price was fair.
Excellent! We were very satisfied with the service provided and the entire experience from start to finish. Very friendly and professional staff. I was able to instantly get in contact with them for a quote and the response time and overall communication remained quick and easy throughout the...
 Prime Cleaning Service
From average costs to expert advice, get all the answers you need to get your job done.
Discover the true trash compactor installation cost. Discover the costs of labor, materials, and strategies to save on your kitchen upgrade.
You’ve taken out the trash, and odors or musty smells still linger. You can scrub out your trash can or use one of these nine easy tips and tricks to make your kitchen, bathroom, or any other trash can in your house scent-free in no time.

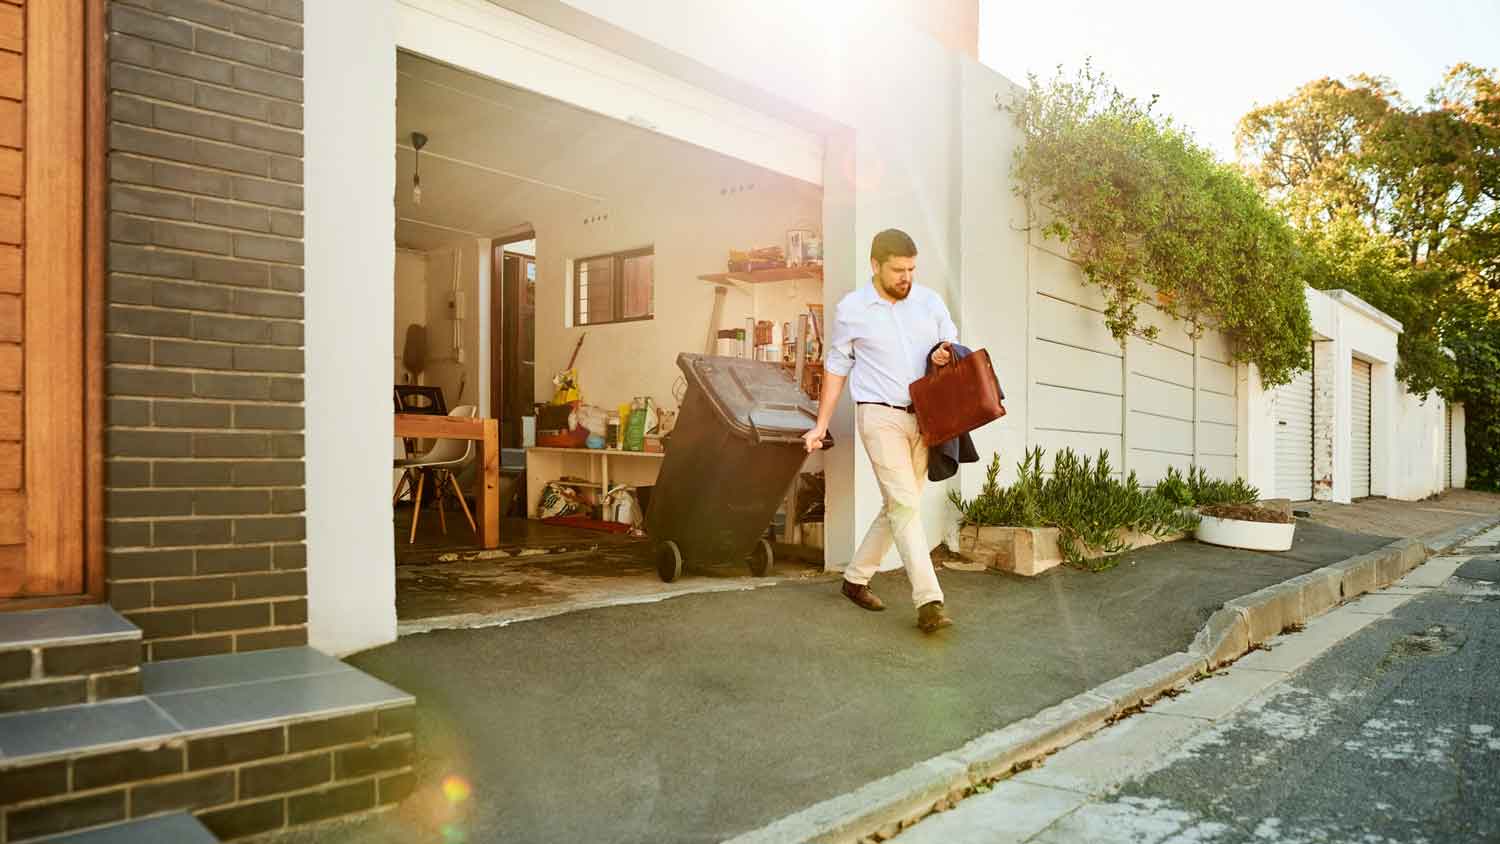
Garbage day has come and gone and your stuff still sits waiting on the curb. If you're wondering why your trash didn't get picked up, here's how to figure out what happened.
If your home is brimming with things you don’t need, find out about your options when it comes to how to get rid of trash, from junk collection to recycling.

Sour smell in your house? From pets to trash, it’s inevitable that weird odors will pop up from time to time. Use these tips to get rid of and prevent stinky smells.
You do your best to keep a clean home, but there are a few sneaky spots that are easy to overlook. Find out the most common places that you forget to clean.