
•
Discover the cost to winterize a sprinkler system, including average prices, key cost factors, and tips to save. Learn what impacts your estimate and how to budget.
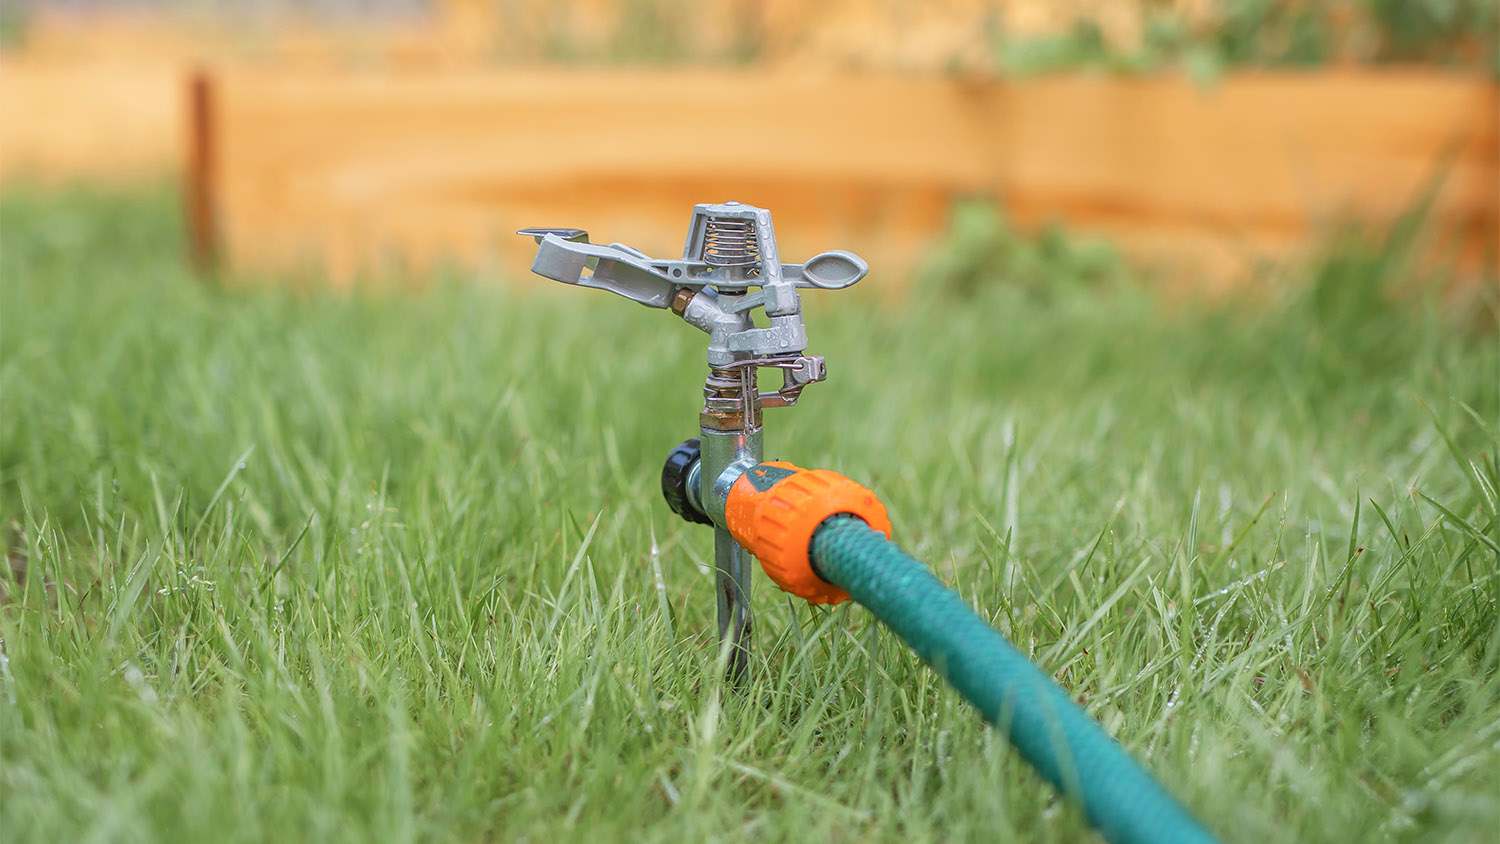
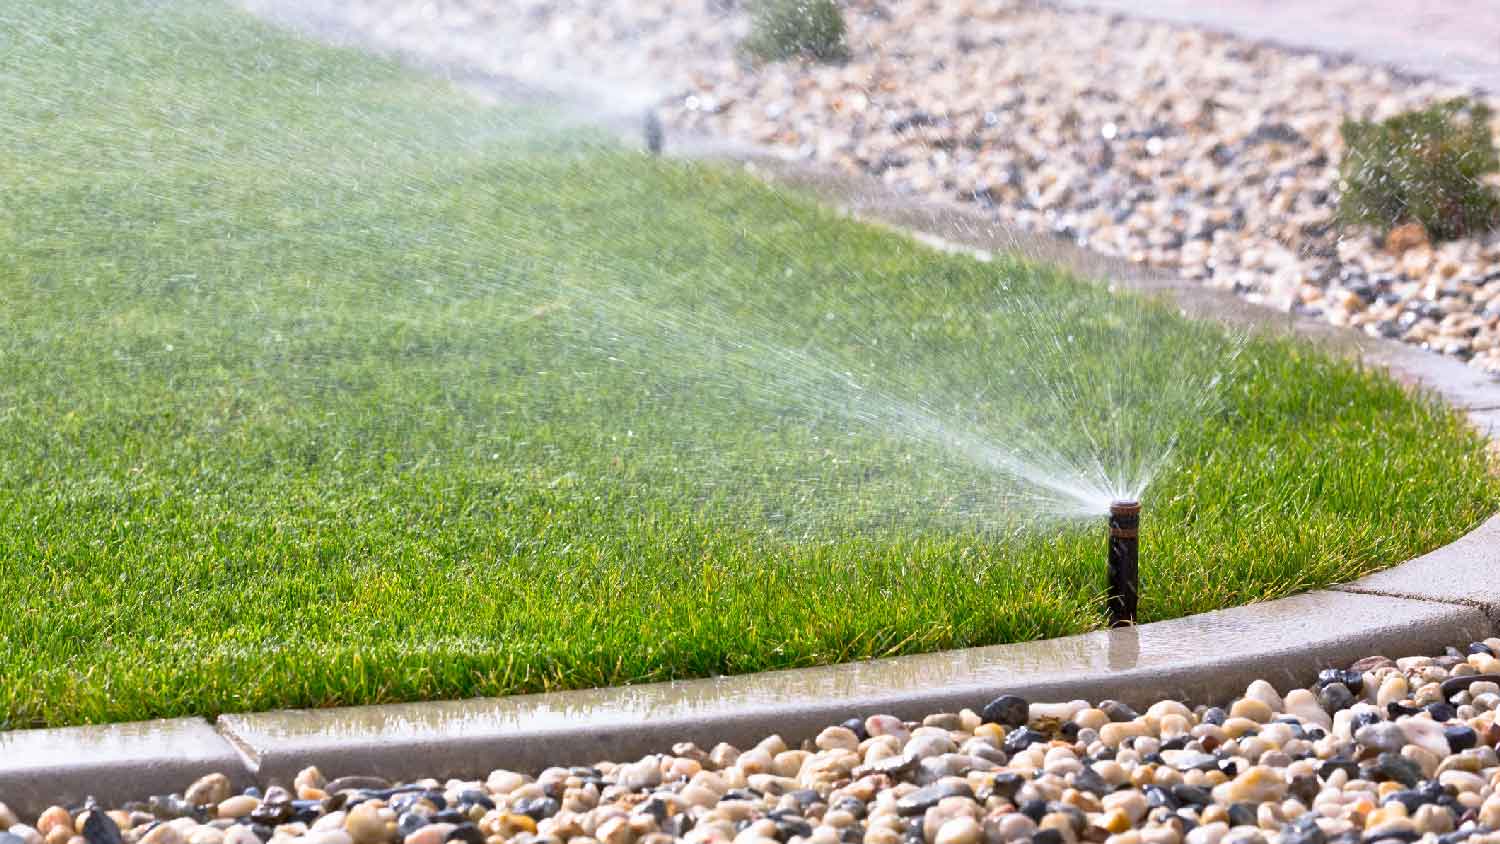
A bit of sprinkler maintenance now can save you a lot of hassle come spring

The cost to professionally winterize your sprinkler system is $91 on average and will save you hours of work and stress.
To perform this task yourself, you should be comfortable draining pipes of excess water and insulating above-ground components.
Using an air compressor is more efficient but can damage your sprinkler system if you don’t know exactly what you’re doing.
Learning how to winterize your sprinkler system will help ensure it works well when you’re ready to use it again in spring and prevent damage from a frozen and burst pipe. This annual maintenance task can be a DIY part of your overall winter home maintenance checklist, or you can opt to hire a sprinkler professional to make sure it’s done correctly.
Stop the flow of water to your sprinkler system by disconnecting the water line or shutting off the valve so that it’s perpendicular to your piping. Exterior shut-off valves are typically located on the outside of a wall, close to a door leading inside. You can also check the meter box, often labeled “water.”
Next, switch your sprinkler timer or controller to the “off” setting. Turning off the controller is an essential part of the winterizing process because doing so ensures that the entire system shuts down and parts don’t run during the winter. In the spring, you’ll need to turn back on the controller and reprogram your settings.
Once the sprinkler system is disconnected from its water source, you can drain the sprinkler system’s water by opening the valves to the sprinkler heads or turning the system on. Wait until you see the water stop flowing from the sprinkler heads to turn the system off.
Some sprinkler systems have an automatic function that will drain water from the pipes and sprinkler heads through flush valves located at the low points in the line. The system automatically drains itself each time you turn it off. Check to ensure these valves work and that the system is successfully drained. Consult your system’s user manual for details on your automated flush valves.
Expelling the residual water from your sprinkler pipes ensures they won’t freeze during the winter. You’ll need an air compressor that produces an air volume of 30 to 50 cubic feet per minute (CFM) and a pressure of 40 to 80 pounds per square inch (PSI).
Air compressors without the adequate CFM and PSI won’t be able to force the water out, and compressors that are too powerful can damage the pipes. If you have polyethylene pipes, keep the pressure below 50 PSI.
To blow out your sprinkler system:
Connect your air compressor to the sprinkler system through a quick-connect hose adapter at the blow-out port. Some sprinkler systems have a valve or connector set up for connecting an air hose to your system.
Create sprinkler zones (if you don’t have them already) and open each sprinkler.
Close the backflow valves and set the air pressure to 40 to 80 PSI, depending on your pipes.
Blow out the sprinklers by zone (start with the farthest zone). Water should spray out of each head.
Blow out any remaining water by zone.
Release compressed air by repeatedly opening and closing the manual drain valve and the valves on the backflow preventer.
The final winterizing step is to protect your outdoor spigots and faucets for winter weather conditions. Consider purchasing small covers, or use foam insulation tape and a plastic bag for these outdoor fixtures to ensure they don’t get damaged by snow, ice, or freezing rain during the winter. Insulate any above-ground pipes with foam-insulating tape or tubes.
Getting rid of as much moisture as possible within your sprinkler system is a recipe for success when winterizing your sprinkler system. You should also insulate any above-ground spigots, pipes, and faucets to prevent them from winter damage.
Use foam covers, pipe insulation, or even pool noodles to protect above-ground components of your sprinkler system.
Drain or blow out your sprinkler system on a dry day to allow moisture to dissipate more effectively.
Don’t forget to turn off your sprinkler timer.
Check your manual for drainage instructions to avoid damage to your sprinkler system.
Don’t forget to close the valves on your sprinkler system once you’ve drained it.
The cost to professionally winterize your sprinkler system is between $60 and $130. The cost to DIY winterize your sprinkler system is nearly free, but to blow it out, you will need an air compressor that provides 30 to 50 CFM and 40 to 80 PSI. Many homeowners find it more time- and cost-effective to hire a pro to blow out their sprinkler system. A pro also ensures that your pipes and system aren’t damaged in the process.
An automatic system is relatively simple to drain, and a manual draining sprinkler system takes a little more effort, but neither require special tools. For professional-quality results, consider hiring a local sprinkler winterizer to properly protect your system for winter.
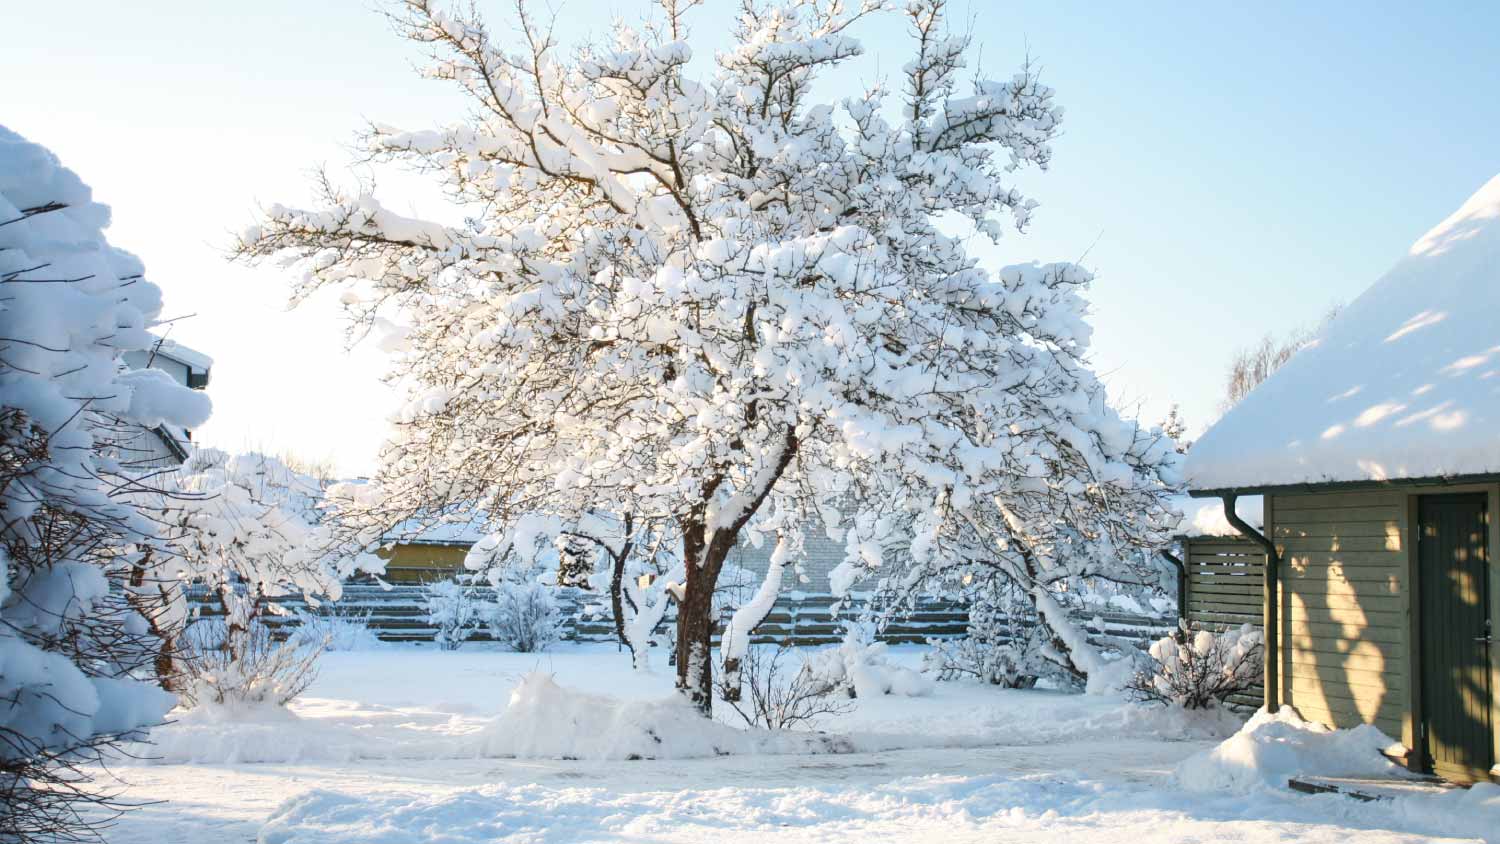
Winterizing your sprinkler system will prevent residual water in the pipes and sprinkler heads from freezing and causing expensive sprinkler repairs. Since water expands when it freezes, ice can crack pipes and sprinkler heads as it forms, leading to a damaged, unusable sprinkler system come spring. Removing as much residual moisture from the system as possible and insulating your system’s above-ground components will help to prevent the damage.
You should winterize your sprinkler system before the first hard frost, when the temperature drops below freezing for more than a few hours. Winterizing your sprinkler system in October is usually the right time of year, but you should check your local guidelines to find out when a hard freeze is predicted in your area.
Cody did a great job!
Wonderful. I am going to have them remove and replace my driveway in the spring.
 All Star Paving and Sealing
We had a 20+ year old landscape lighting system that needed replacement. Midwest Lightscapes worked with us to design a much improved lighting system, lighting the exterior of the house and the back yard. Installation of the 45 light system took one and one-half days, and went very smoothly....
 Midwest Lightscapes
Did an amazing job transforming my yard. Also installed sod in places, would recommend to everyone.
Always been satisfied with the service work and how they have taken care of my pool.
Bill Gerhardt sold the company to his employees at the end of 2019, apparently without a workable succession plan and without notifying prospective customers of this fact. Most aspects of the maintenance contract have not been fulfilled: no installation of anual plantings per contract, no...
They show up and they did take us on as a client which seems to be a problem with other lawn care providers. We have multiple properties and this one was located close to downtown and no one really wants to mess with it.
I was very happy with the service provided by AK Irrigation. They responded quickly to my email, and the woman I spoke with was polite and professional. I was able to get an appointment that same week. <br /> The technician (Tyler) arrived on time. He was very knowledgeable, and worked...
 AK Irrigation
The worker came out when he was supposed to come. He informed me he would honor the Angie's List deal, but would not do any more work for me since my son in law owns lawn care company as well, even though they do not do the same type of work. He said he did not feel comfortable giving me...
 Bello Giardino LLC
E & L Lawn Care was super. They were very responsive before and after service. They were efficient and were able to complete the job within 1 day. I have had concern about one section of sod - the owner was pro-active and did a visit to evaluate. I have no doubt they will stand behind...
 E&L lawn care
From average costs to expert advice, get all the answers you need to get your job done.
Discover the cost to winterize a sprinkler system, including average prices, key cost factors, and tips to save. Learn what impacts your estimate and how to budget.

Find qualified sprinkler winterization pros with this guide. Learn what to ask, how to verify credentials, and protect your irrigation system from freezing.
For those wondering how to winterize a sprinkler system without a blowout, look no further. Here’s our simple, step-by-step guide.
When ice and snow sneak up on you in the fall, do you know who to call to winterize your sprinkler system? Here's what sprinkler winterization pros offer.
If your sprinkler system is new, consider hiring someone to turn the system back on after winter. Here’s who you should call first.
Learning how to turn off a sprinkler system is a vital skill for any garden or lawn lover. See how you can do it safely like the pros.