
Top-rated drywall pros.

Get matched with top drywall pros in Bristol, WI

Enter your zip and get matched with up to 5 pros

Need a pro for your drywall service project in Bristol, WI?

Select your specific project to find the pro for you.

TRUSTED BY BRISTOL, WI HOMEOWNERS

  • Average homeowner rating star icon4.4
    Average homeowner rating
  • Verified reviews icon125
    Verified drywall services reviews

Find Drywall pros in Bristol

Avatar for Excellence Painting
Excellence Painting
4.8(
44
)

Serving Bristol, WI and surrounding areas

Approved

Super Service Award Winner

In business since 2000

Free estimates

Small jobs welcome

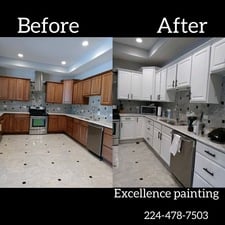
"Francisco was responsive, timely, and very reasonable. He completed a drywall repair and painting project in one day. I highly recommend Excellence Painting."
Response time9 hrs
21 neighbors recently requested a quote
Recommended by81%of homeowners

Avatar for S.R.M Contracting
S.R.M Contracting
4.2(
22
)

Serving Bristol, WI and surrounding areas

Approved

Free estimates

Emergency services offered

Credit card accepted

"Generally very good. The tile work looks great. Because we didn’t need grout the 30 sq ft backslash was done in 1 long day."
Remodel
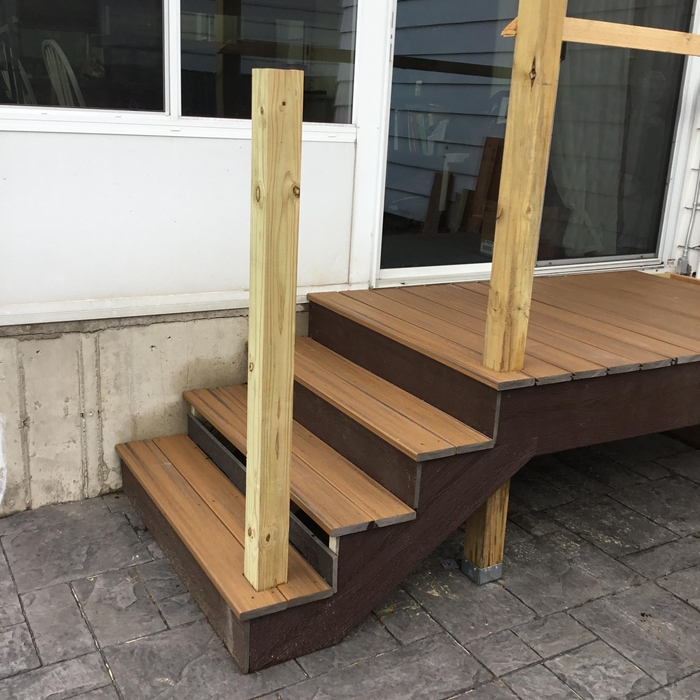
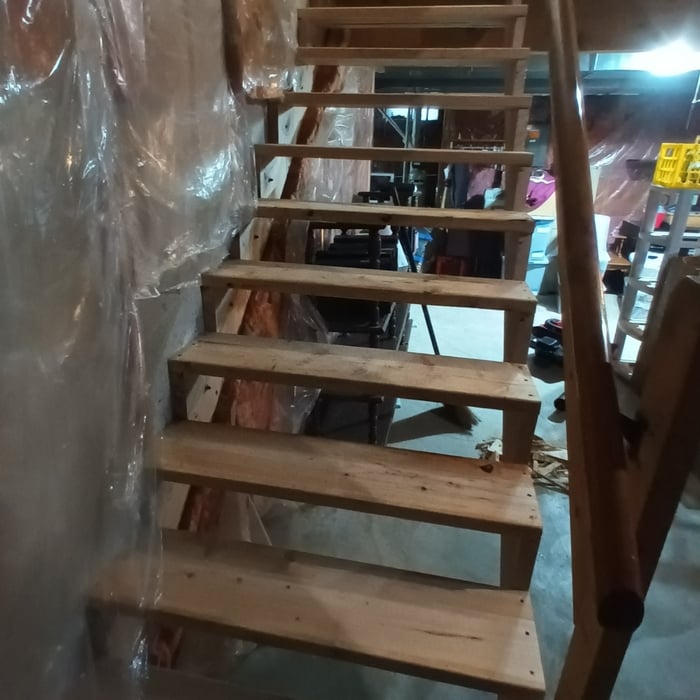
Stair case rebuild
Remodel
Tree cutting and gutter cleaning
Stair case rebuild

+15

Response time2 days
3 neighbors recently requested a quote
Recommended by60%of homeowners
Cesar Lorenzo
5.0(
2
)

Serving Bristol, WI and surrounding areas

Approved

"Great job by Cesar! Very professional and great communication. Both my bedroom and bathroom look great! Always cleaned up after he left and vacuumed. The job took three days and it was well worth it. Cesar went way out of his way to fix things that needed to get done even without asking. Thank you Cesar"
1 neighbors recently requested a quote
...
Showing 1-10 of 158
Drywall questions, answered by experts

There are six levels of drywall finish, from 0 to 5, that refer to the amount of work performed during the finishing process.

Level 0: Drywall is hung with no finishing work.

Level 1: Tape is placed over the seams between drywall sheets.

Level 2: A thin layer of mud is applied over the tape and screw holes. This level is common for utility rooms or walls that will be covered.

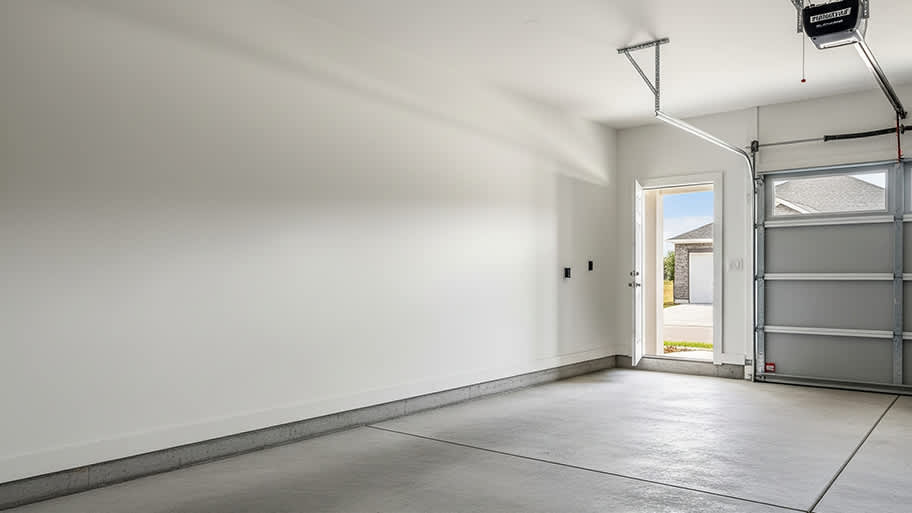
Level 3: A full coat of mud covers the screw holes and tape, but the surface is not sanded. This is often used in garages.

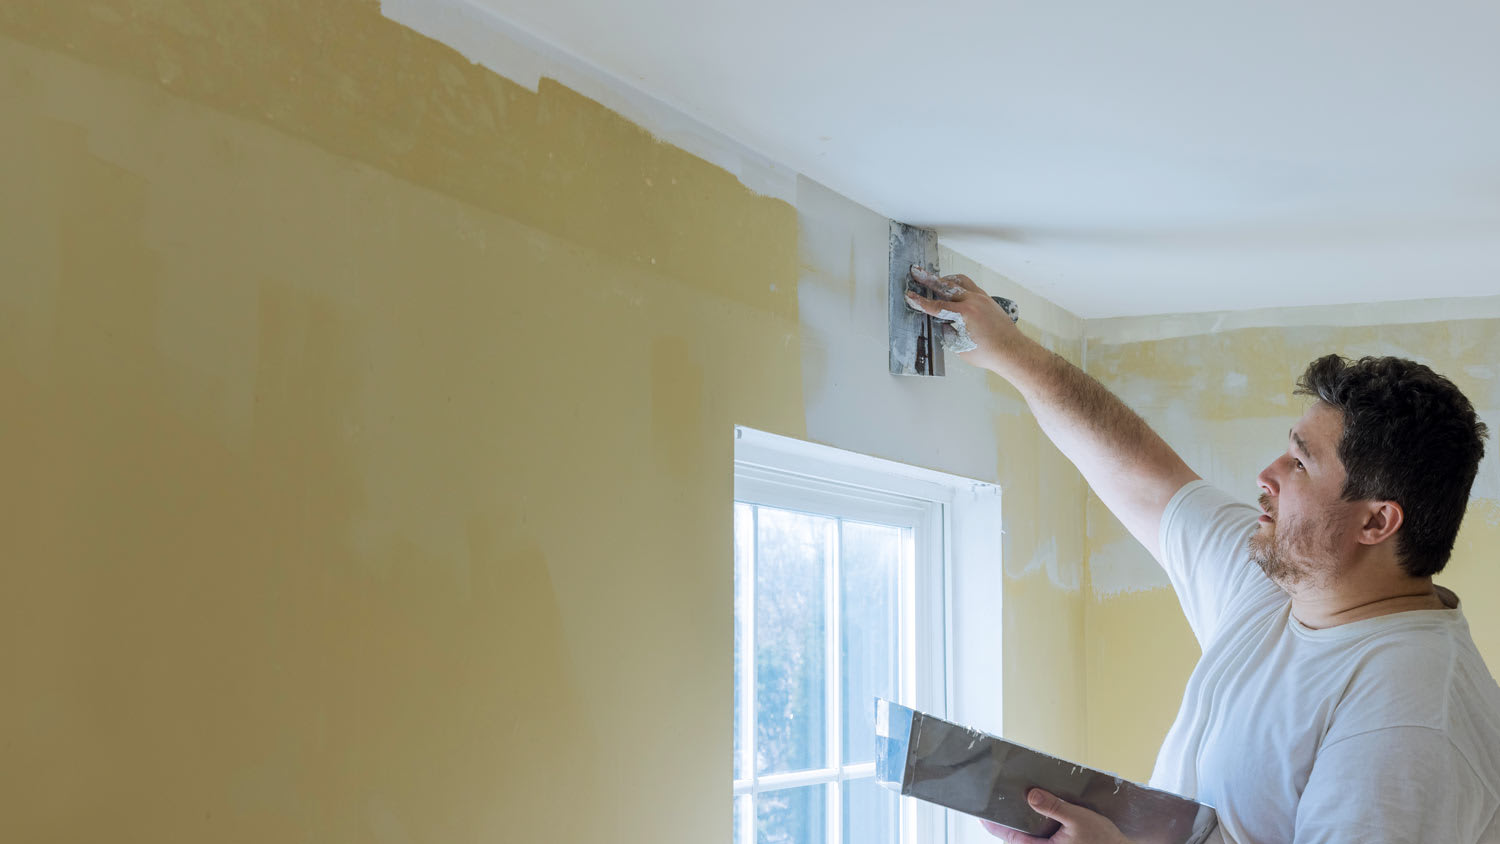
Level 4: This is the most common finish for visible interior walls. It involves applying two coats of mud over seams and screw holes, with sanding between each coat, creating a smooth surface ready for flat paint.

Level 5: This is a high-end finish for luxury homes. It includes full taping, mudding, and sanding, plus a final skim coat over the entire surface before painting.

You should wait at least 24 hours for drywall mud to dry before sanding or applying another coat. However, the exact drying time depends on several factors, including the thickness of the application, room temperature, humidity, and the type of compound used. Thicker layers, or projects in high humidity, may require 48 hours or more. Lightweight compounds tend to dry faster than heavier, all-purpose ones. You'll know the mud is ready when it feels completely dry and firm to the touch and has changed to a consistent light color. Sanding too early can cause smudging or gouges, so patience is essential for a smooth finish.

To properly clean and maintain your skip trowel drywall texture, dust the surface weekly with an electrostatic duster or vacuum with a soft brush attachment. Never scrub the surface. You can remove stains by gently applying a mild detergent solution with a paint roller, removing it with a damp roller, and drying with a dry roller. To cut down on cleaning frequency, avoid indoor smoking and limit the use of fireplaces.

Which style of corner bead you choose—whether metal or paper-faced—depends on your preference and if you’re comfortable using metal-cutting tools and a hammer. Metal bead offers superior strength and durability but its installation is slightly more involved. We’d say for most cases, it’s better to use metal bead but if you’re not comfortable working with metal, paper-faced bead will work just fine. 

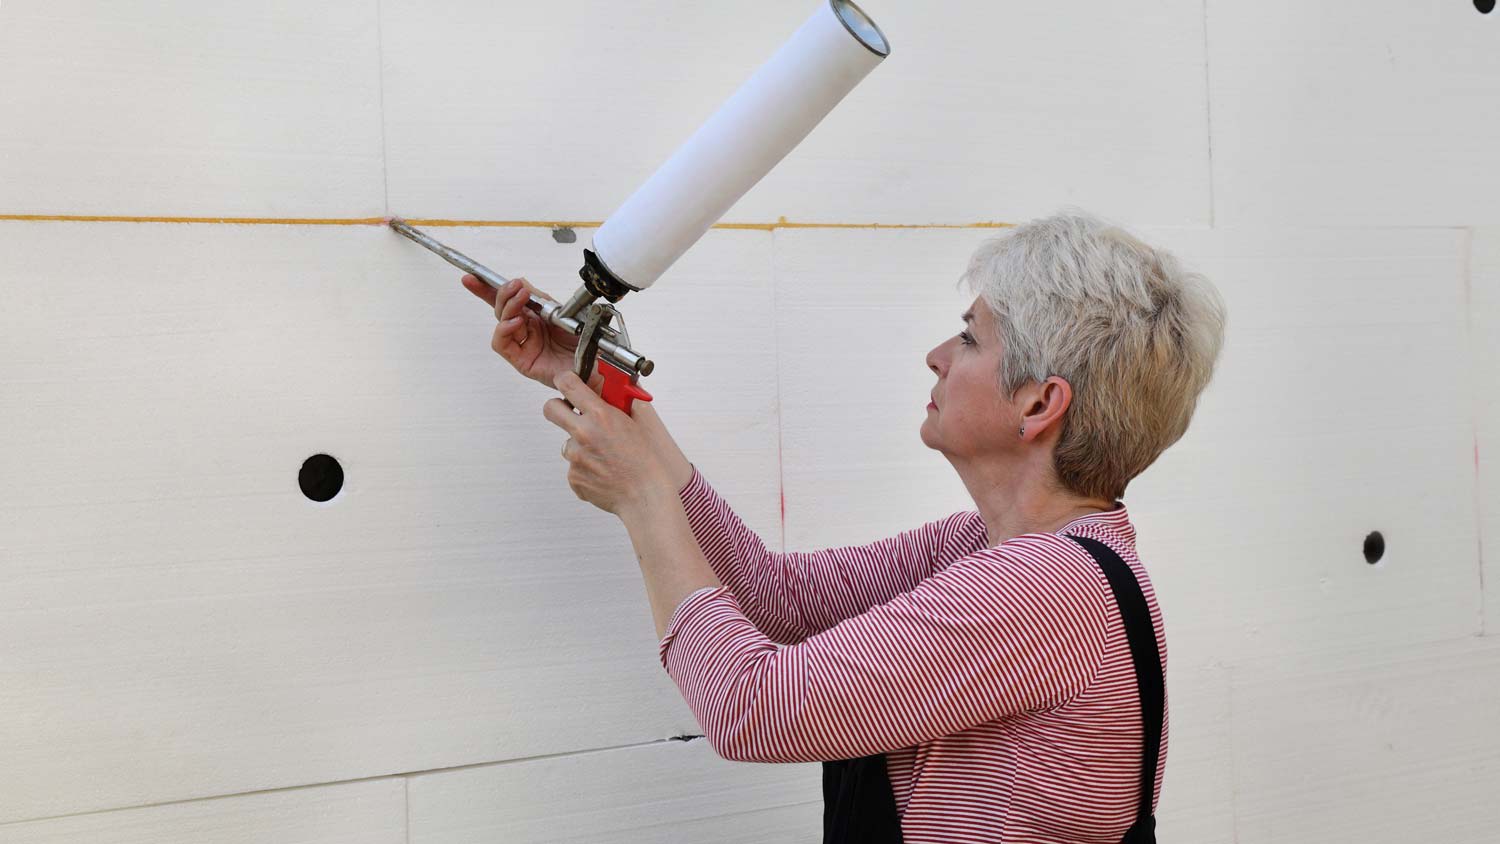
Drywall insulation costs around $1,800, on average, but prices can range from $500 to $4,500, depending on a few different factors. The following things are important considerations to make when pricing out your insulation project:

  • Square footage of insulation

  • Type of insulation 

  • Climate in your area and the insulation R-value required

  • Whether or not your walls are already finished

  • Accessibility of the area 

  • Whether or not you need old insulation removed first

The Bristol, WI homeowners’ guide to drywall services

From average costs to expert advice, get all the answers you need to get your job done.