





Top-rated backsplash installation pros.

Best backsplash installation pros near Soap Lake, WA

Enter your zip and get matched with up to 5 pros

Need a pro for your backsplash installation project in Soap Lake, WA?

Select your specific project to find the pro for you.

TRUSTED BY SOAP LAKE, WA HOMEOWNERS

  • Average homeowner rating star icon4.4
    Average homeowner rating
  • Verified reviews icon16
    Verified backsplash installation services reviews

Top-Rated Backsplash installation pros in Soap Lake - Updated Nov 2026

Avatar for BASIN FLOORS
BASIN FLOORS
5.0(
5
)
Tile: Natural Stone (Granite, Marble, Slate, Quartz, etc) - Install

Serving Soap Lake, WA and surrounding areas

In business since 2018

Free estimates

Credit card accepted

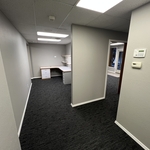
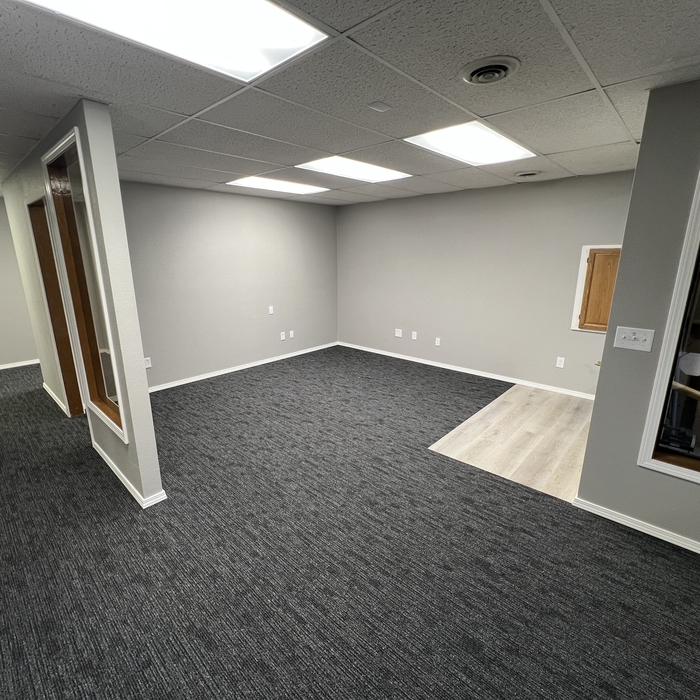
Basin Floors is a locally owned flooring company serving Moses Lake and the Columbia Basin. We specialize in hardwood, luxury vinyl plank, laminate, carpet, and tile installation for residential, commercial, and new construction projects. In addition to flooring, we also install cabinets and complete kitchen and bathroom remodels. Our team focuses on quality workmanship, clear communication, and a smooth process from design to installation so every project is done right.

Carpet Install
Carpet Install
Carpet Install
Carpet Install
Carpet Install

+9

1 neighbors recently requested a quote
Avatar for Precision Tile
Precision Tile
4.0(
4
)
Tile: Ceramic and Porcelain - InstallTile: Ceramic and Porcelain - Install - For Business

Serving Soap Lake, WA and surrounding areas

Emergency services offered

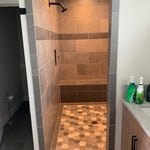
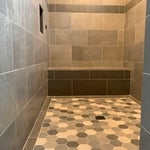
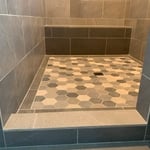
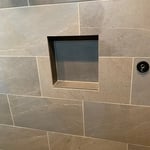
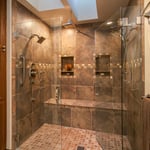
"Edgar and his crew did a fantastic job of remodeling our 69 year old bathroom! Communication was great and the job was completed in the time frame he stated. The upgrade from a cast iron bathtub to a tile walk in shower is amazing! Don't hesitate, hire Precision Tile and Home Remodel to do your remodel today!!"
Additional Photos
Additional Photos
Additional Photos
Additional Photos
Additional Photos

+93

Recommended by100%of homeowners
Showing 1-10 of 35
Backsplash Installation FAQs, answered by experts

Removing old tiles can be more complicated, but it can also be more manageable, depending on your circumstances. Typically, old tile is hard to remove because the adhesive had loads of time to bond with your wall, becoming a formidable foe between you and your new tile installation project. On the other hand, old tile in high-traffic areas can become loose, making it much easier to remove.

Whether you use a brush or roller depends on the size, shape, and amount of tiles. Rollers are easier to maneuver over large areas and can apply a more even coat of paint in a shorter time frame with no visible brushstrokes. Brushes are best for precision work, particularly in very small areas. If you don't want visible brushstrokes on your painted tiles, you can paint details with small foam brushes instead of bristled paint brushes.

No, when done correctly, removing the tile shouldn’t damage the subfloor. However, if there was pre-existing damage to the subfloor from standard use or lack of maintenance, the subfloor may need repairs. For example, if the contractors notice mold growth on the subfloor or an uneven surface, you may need more extensive services before installing new tile.
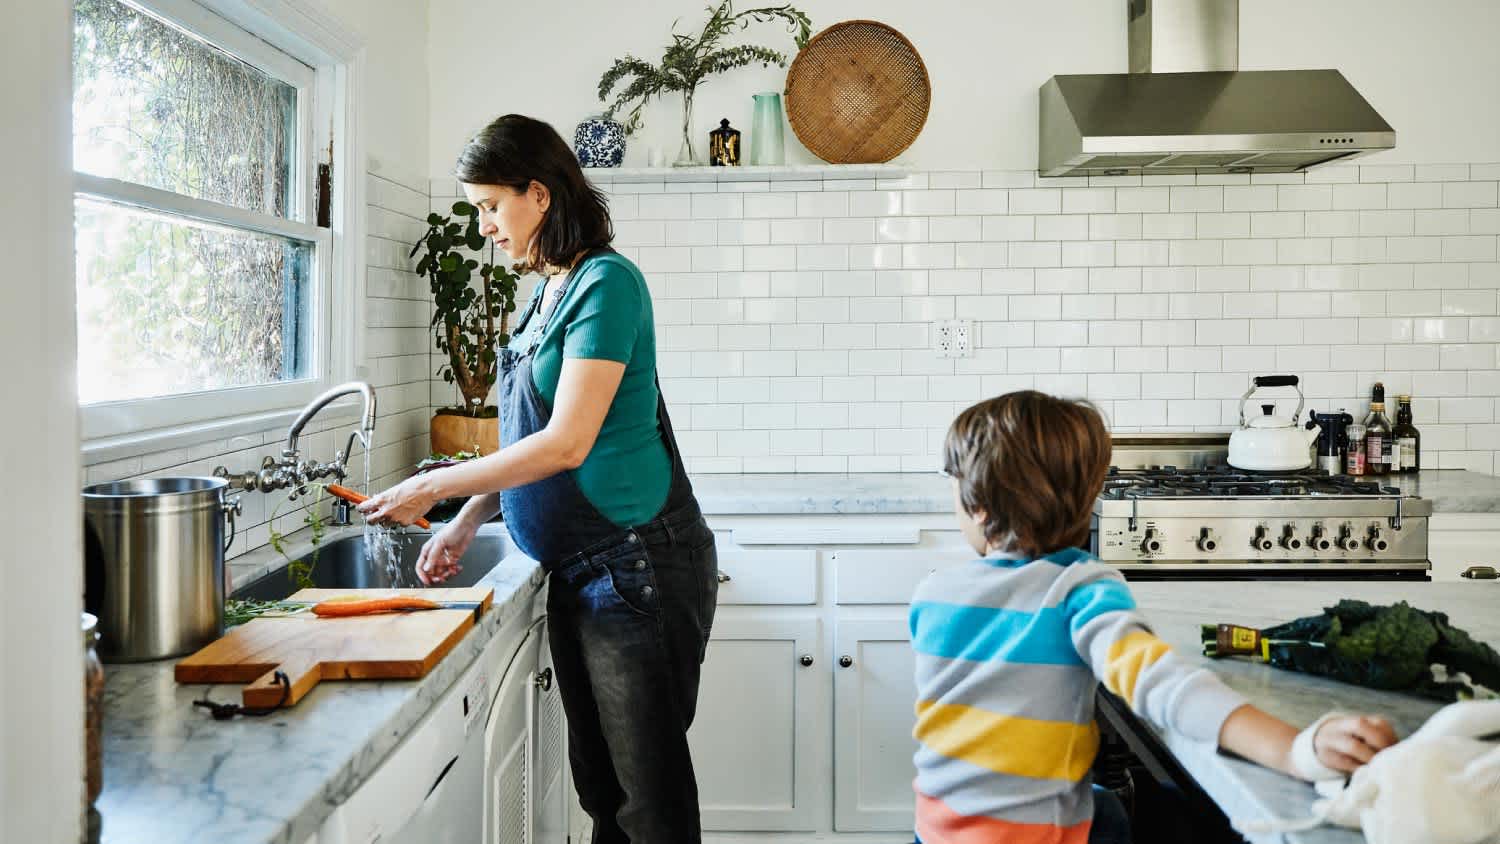
If you DIY tile removal, remove the tiles one step at a time, individually removing the tile, grout, and mortar to prevent unnecessarily damaging the subfloor. Depending on the age of your home, consider having a professional inspect the subfloor to ensure it’s in good enough condition to lay new tile.

The process takes two to four days, depending on the size of the area and your experience level. The first day involves assessing and prepping the existing tile, while the second day is for laying the new tile. This may take longer in complex areas. After letting the adhesive dry for 24 hours, grouting and sealing can be completed on day three. For larger projects or intricate tile patterns, expect the timeline to stretch a bit longer. Also, proper drying time between steps is essential for long-lasting results, which extends the project’s time.

You can, in theory, tile your fireplace hearth with most tiles. However just because you can, doesn’t mean you should. For example, it’s much better to use unglazed tiles because glazed tiles are more resistant to cracking under extreme heat. Porcelain is more heat-resistant than ceramic, but you can still design the hearth as you like by putting the most heat-resistant tiles directly under the fire and, if it matches your style, add more decorative tiles further from the center of the fire. 

The Soap Lake, WA homeowners’ guide to backsplash installation services

From average costs to expert advice, get all the answers you need to get your job done.