"The furnace took 4 days to get approved( not counting a Sunday) the others were quick but the water heater had to be ordered so without hot water for a week. One ceiling fan was easy but within a year their policy changed and They would not install the one I purchased and had to get a new one approved and then ordered online and took several weeks to get straightened out. Not sure who was at fault, AHS, installer or scheduling with renter. Fee is usually $75 per visit"
With years of experience serving the Dickinson area, we are your solution for all your electrical needs. We take great pride in our extreme professionalism, timeliness and superior customer service on every job. We make sure to develop a lasting relationship so that the next time service is needed there will be no question on who to call. Check out our 5 star reviews from happy customers! Call us today so we can discuss your needs and make a plan that fits your budget. Satisfaction guaranteed!
For a 12x12 room, a fan between 36" and 50" will work, as it falls in the range for spaces up to 144 square feet. These size fans provide adequate air circulation and ensure a comfortable environment without being overpowering. Even better, they come in a broad range of styles, offering aesthetics and functionality, making them suitable choices for maintaining an ideal room temperature and enhancing overall comfort.
Ceiling fans can be a great way to cool your home without the expensive utility bill of running an air conditioner. Plus, ceiling fans can sometimes run in both directions, pushing hot air down in winter and pulling cold air up in summer. With that said, air conditioning might be the only thing that helps if you live in a very warm climate.
Keeping dust off fans can keep them working optimally and help keep dust mites or bacteria from building up. Dust fans weekly with a duster, microfiber cloth, old pillowcase, or vacuum attachment. You can also try spraying a clean fan with a store-bought dust-repellent product or making a DIY dust-repellent with water and a small amount of liquid fabric softener mixed in.
Fan power is measured by CFM, or cubic feet per minute. For every 1,000 feet of square footage in your attic, you need a minimum of 700 CFM. Steeper roofs may need larger fans or about 840 CFM. You can figure the size of attic fan you need by multiplying the square footage of your attic floor by 0.7. (multiply by 1.2 for a steep roof and 1.15 for a dark roof). That number is the CFM required for your fan to run efficiently.
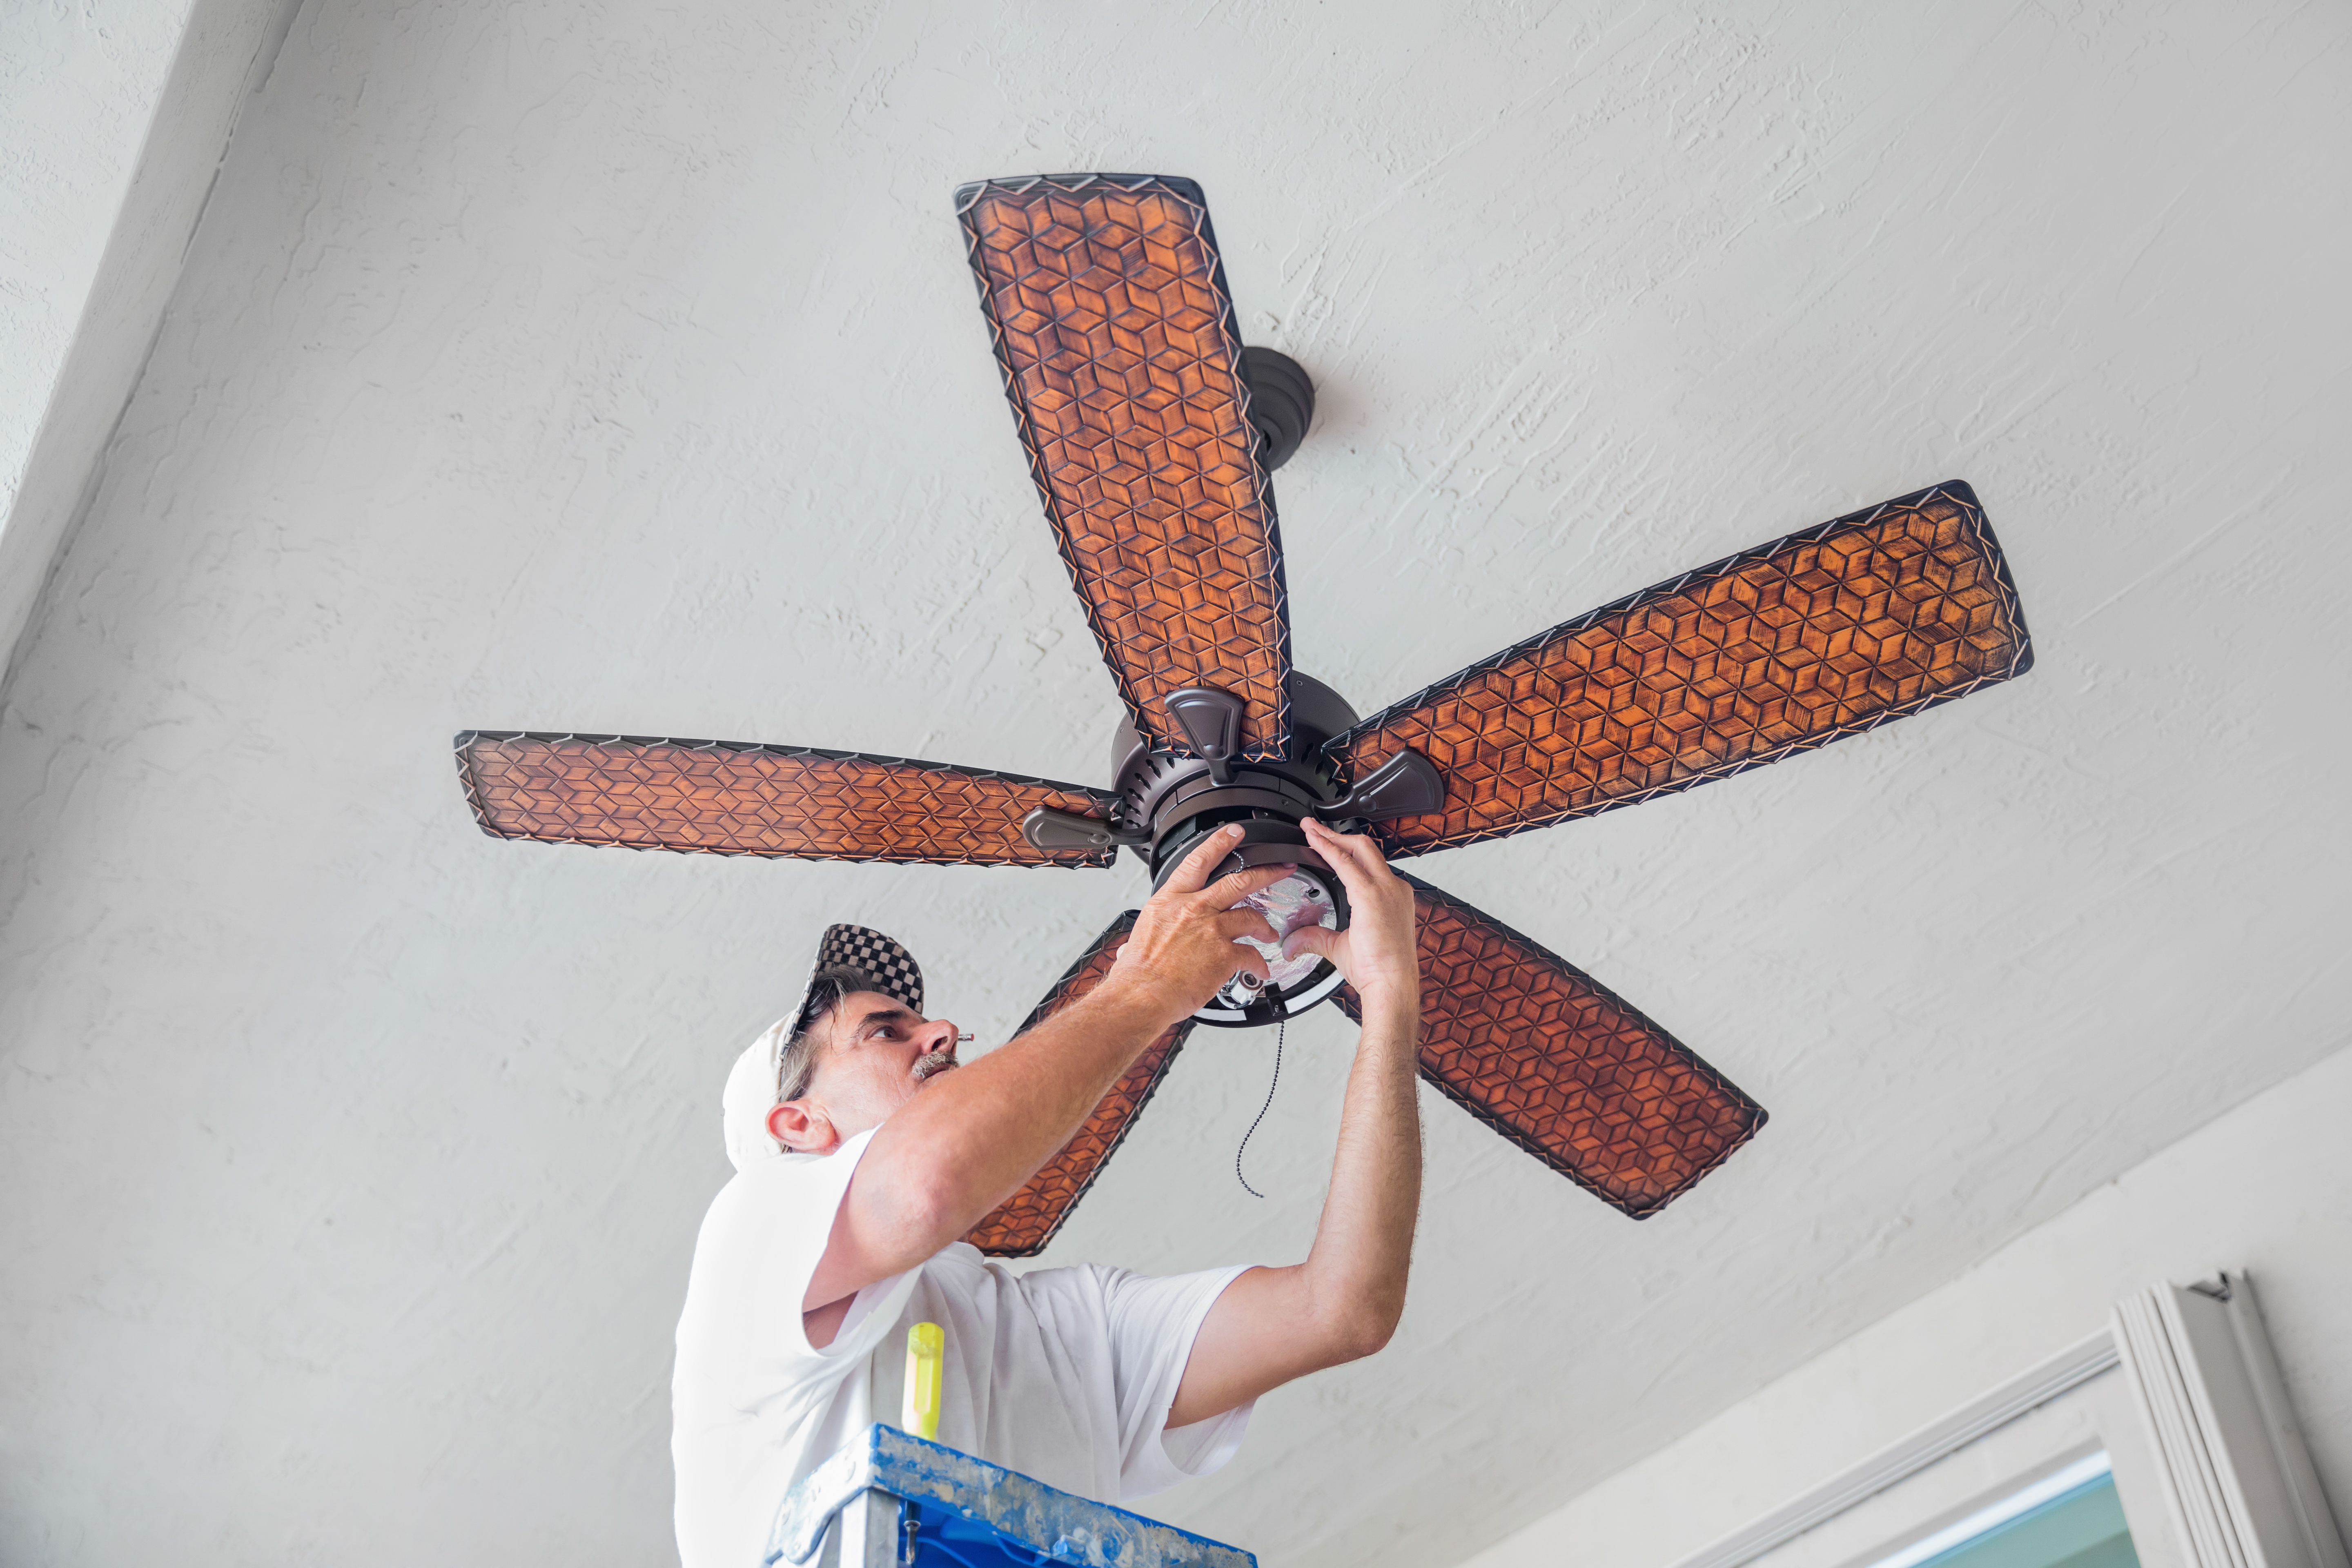
There are several telltale signs to let you know that your ceiling fan needs servicing or replacement. For instance, if it’s wobbling, rotating too slowly, or if your ceiling fan is making noise such as squeaks, buzzes, and thumps, it’s time to have it looked at by a professional. Not only may it indicate a potential problem with the fan itself, but it could also signal a red flag that it’s improperly assembled or there’s an issue with the wiring.
The Ellendale, ND homeowners’ guide to ceiling fan services
From average costs to expert advice, get all the answers you need to get your job done.
Discover the cost to install a ceiling fan, including labor, materials, and tips to save. Learn what impacts your price and how to budget for your project.
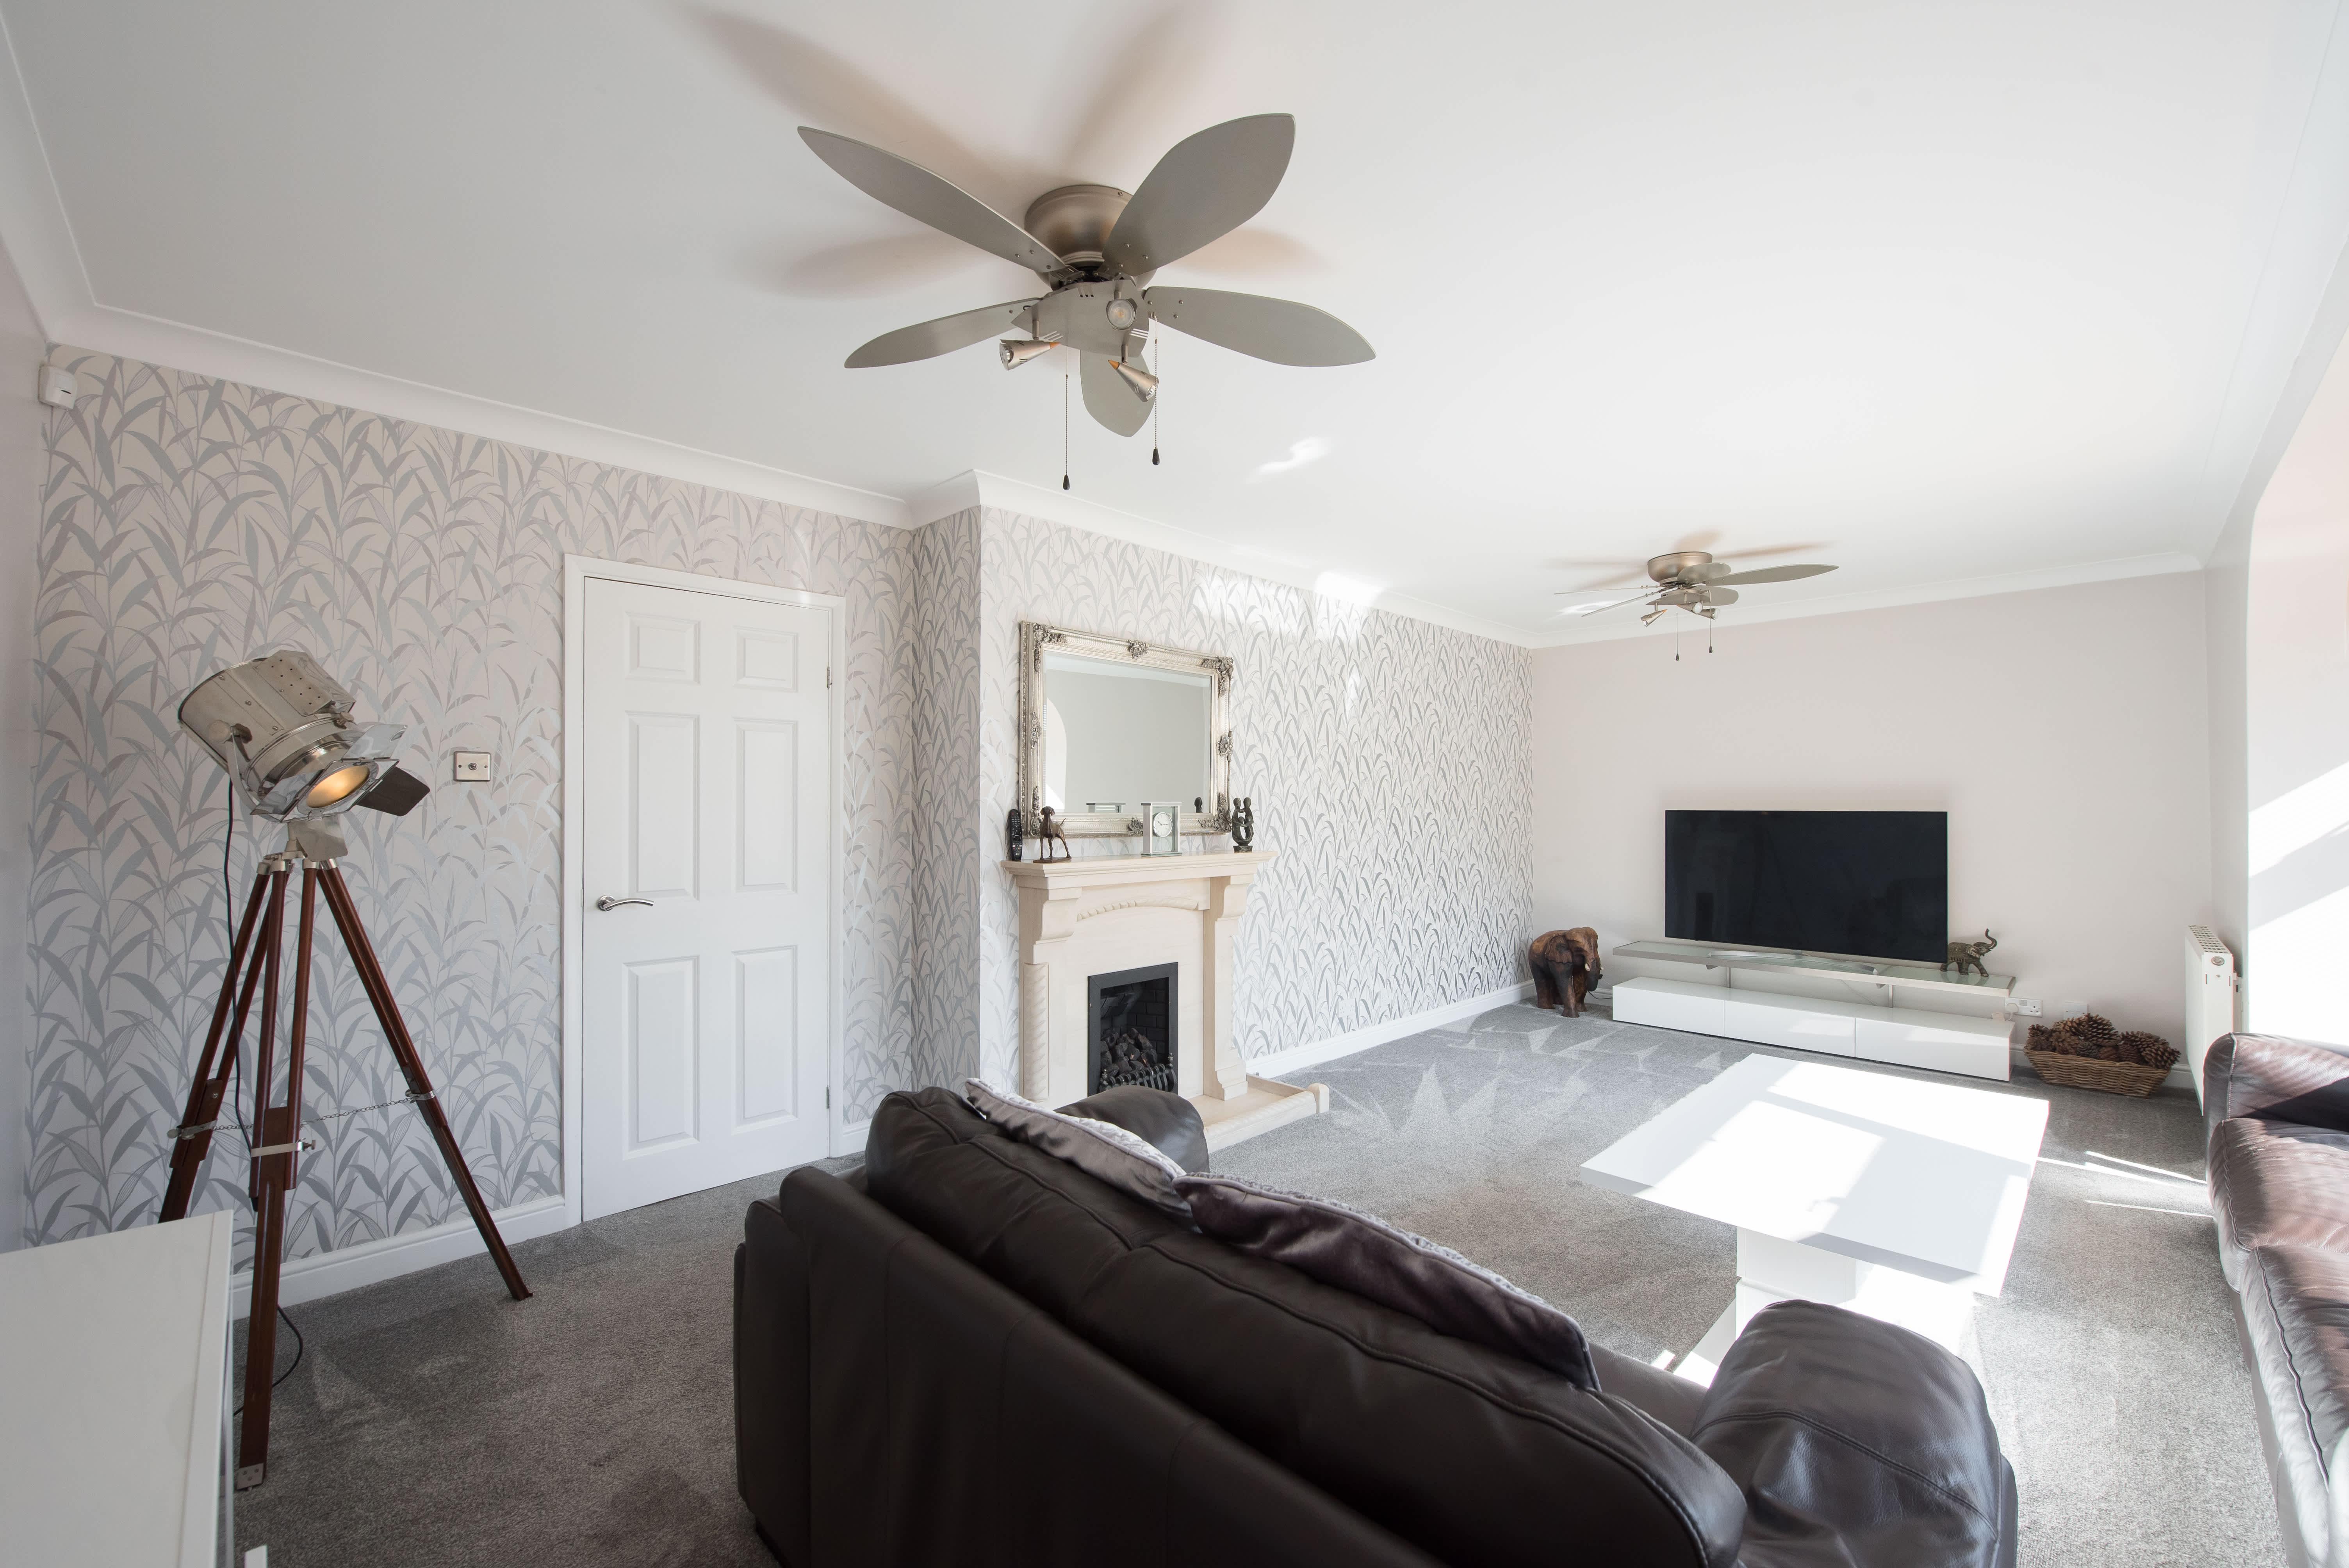
Ceiling fans cool down your home while stylishly accenting your space. With a variety of types of ceiling fan on the market to choose from, you can’t go wrong.
Although the risk is low, there are a few telltale signs that a ceiling fan will fall off your ceiling. This guide explains when to worry (and when not to).
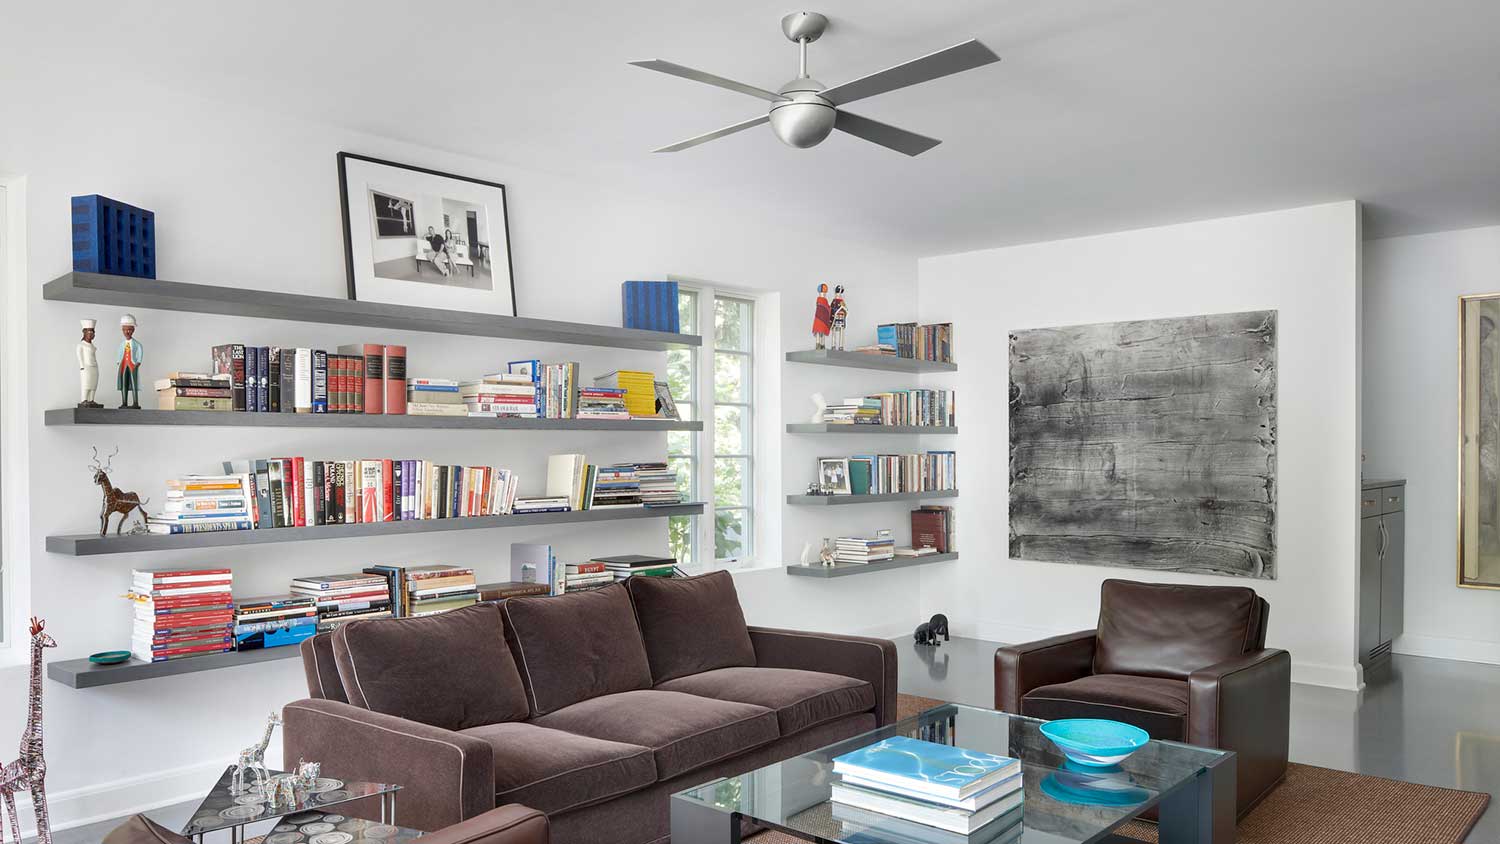
With the right size, ceiling fans are an energy-efficient way to cool a room. Use this ceiling fan size guide to find the perfect model for your space.