"The furnace took 4 days to get approved( not counting a Sunday) the others were quick but the water heater had to be ordered so without hot water for a week. One ceiling fan was easy but within a year their policy changed and They would not install the one I purchased and had to get a new one approved and then ordered online and took several weeks to get straightened out. Not sure who was at fault, AHS, installer or scheduling with renter. Fee is usually $75 per visit"
With years of experience serving the Dickinson area, we are your solution for all your electrical needs. We take great pride in our extreme professionalism, timeliness and superior customer service on every job. We make sure to develop a lasting relationship so that the next time service is needed there will be no question on who to call. Check out our 5 star reviews from happy customers! Call us today so we can discuss your needs and make a plan that fits your budget. Satisfaction guaranteed!
Coffered ceilings often come with additional embellishments and accessories, including tin panels, medallions, trim, molding, recessed lights, and finials. Whether you’re looking for a simple grid pattern or want an elaborate, decorative ceiling with all the bells and whistles, there are plenty of options to choose from.
There are several telltale signs to let you know that your ceiling fan needs servicing or replacement. For instance, if it’s wobbling, rotating too slowly, or if your ceiling fan is making noise such as squeaks, buzzes, and thumps, it’s time to have it looked at by a professional. Not only may it indicate a potential problem with the fan itself, but it could also signal a red flag that it’s improperly assembled or there’s an issue with the wiring.
Ceiling fans are very often worth the investment because they improve comfort in your living space and help reduce utility bills. In the late spring and early fall—and even in the summer in some areas—homeowners with ceiling fans can often get away with open windows and fans, which can cut down on cooling bills and also reduce wear and tear on the HVAC system. Over time, ceiling fans can pay for themselves by saving you money on electric bills and air conditioner repair and maintenance.
Yes, ceiling fans come with a few other features that help with function, style, and convenience. Multi-speed fans can give you specialized control over the airflow. Consider getting one with an integrated light to save ceiling space. Some ceiling fans come with a remote control that enables you to change direction without climbing a ladder. Of course, you can also consider installing a wall switch to enjoy that convenience.
If the fan doesn’t have a switch, connect the white wire from the ceiling to the white wire from the fan; connect the green wire to the ground wire; connect both black wires; and connect both blue wires. If yours has a switch, the white and green wires are connected the same way. However, connect the ceiling’s red wire to the light’s black wire and the ceiling’s black wire to the fan’s black wire.
The Milnor, ND homeowners’ guide to ceiling fan services
From average costs to expert advice, get all the answers you need to get your job done.
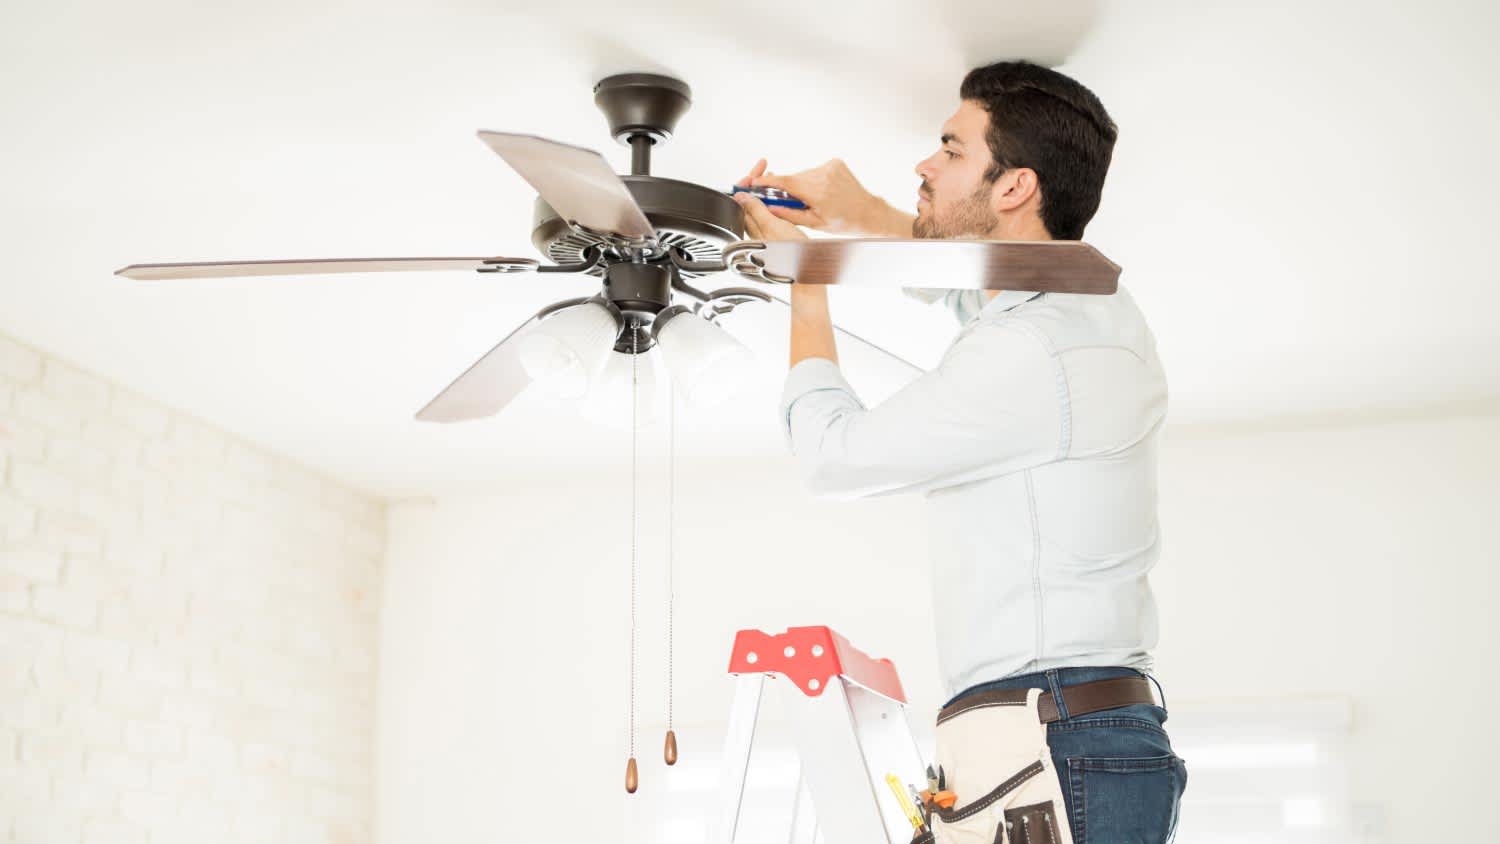
Discover the cost to install a ceiling fan, including labor, materials, and tips to save. Learn what impacts your price and how to budget for your project.
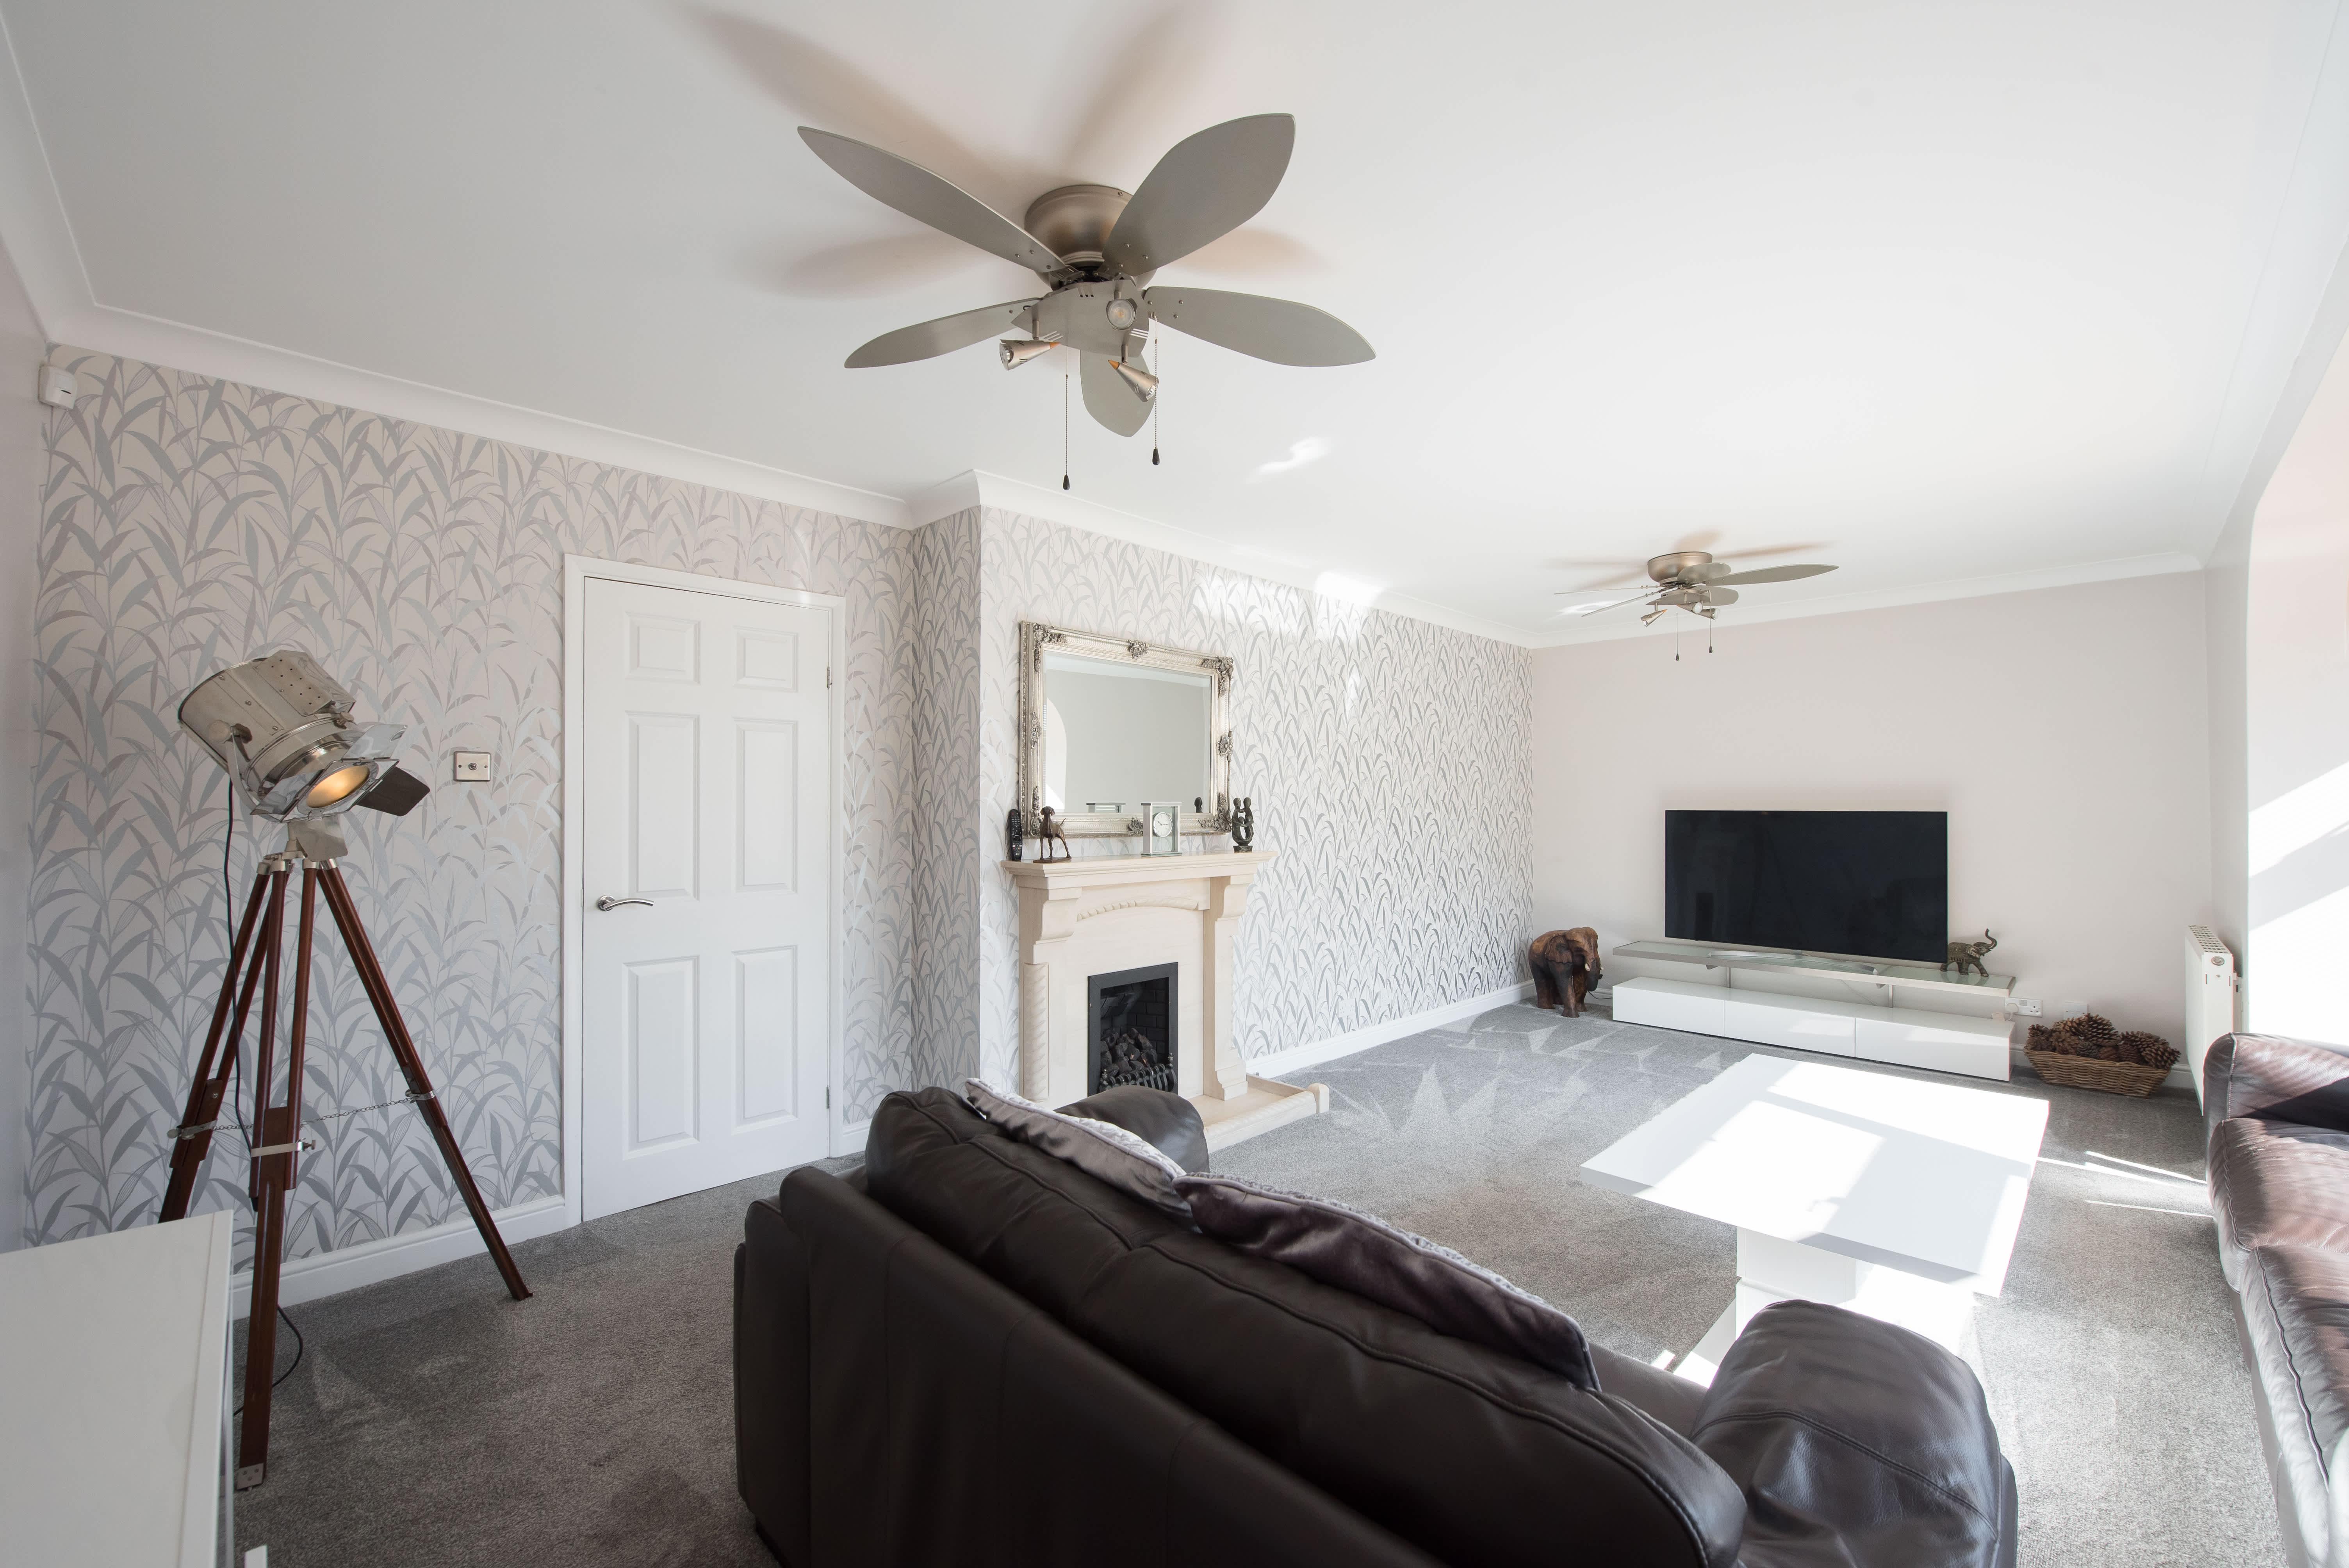
Ceiling fans cool down your home while stylishly accenting your space. With a variety of types of ceiling fan on the market to choose from, you can’t go wrong.
Although the risk is low, there are a few telltale signs that a ceiling fan will fall off your ceiling. This guide explains when to worry (and when not to).