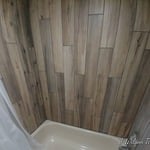
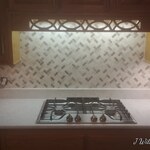
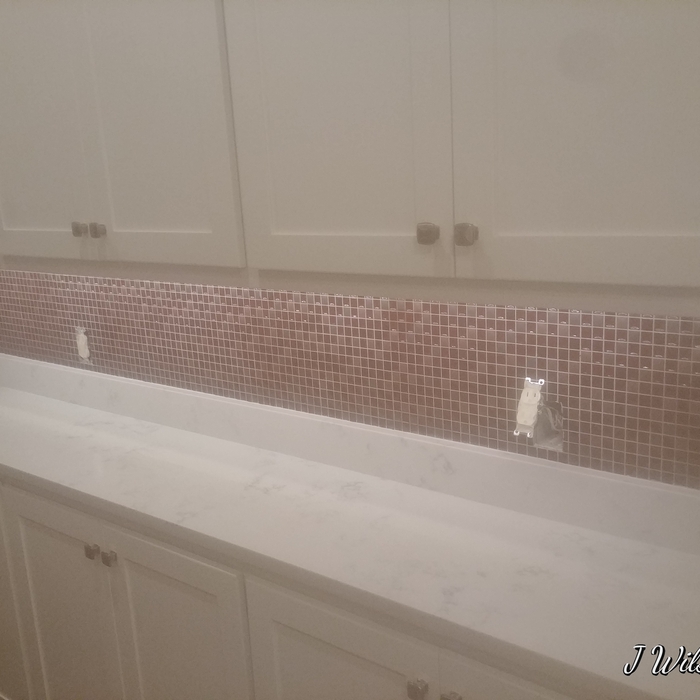
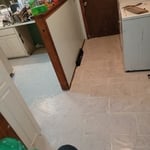
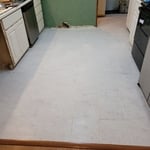
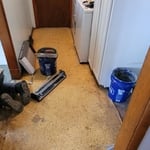
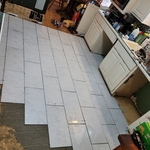
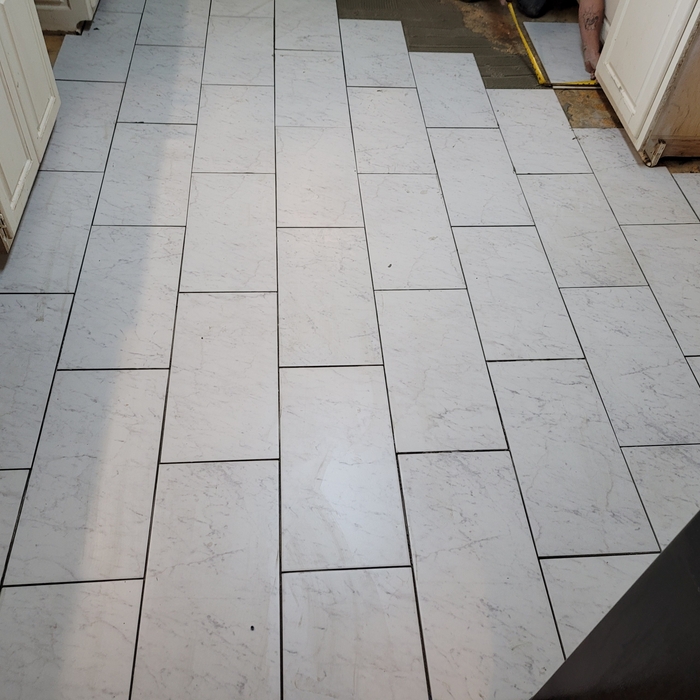
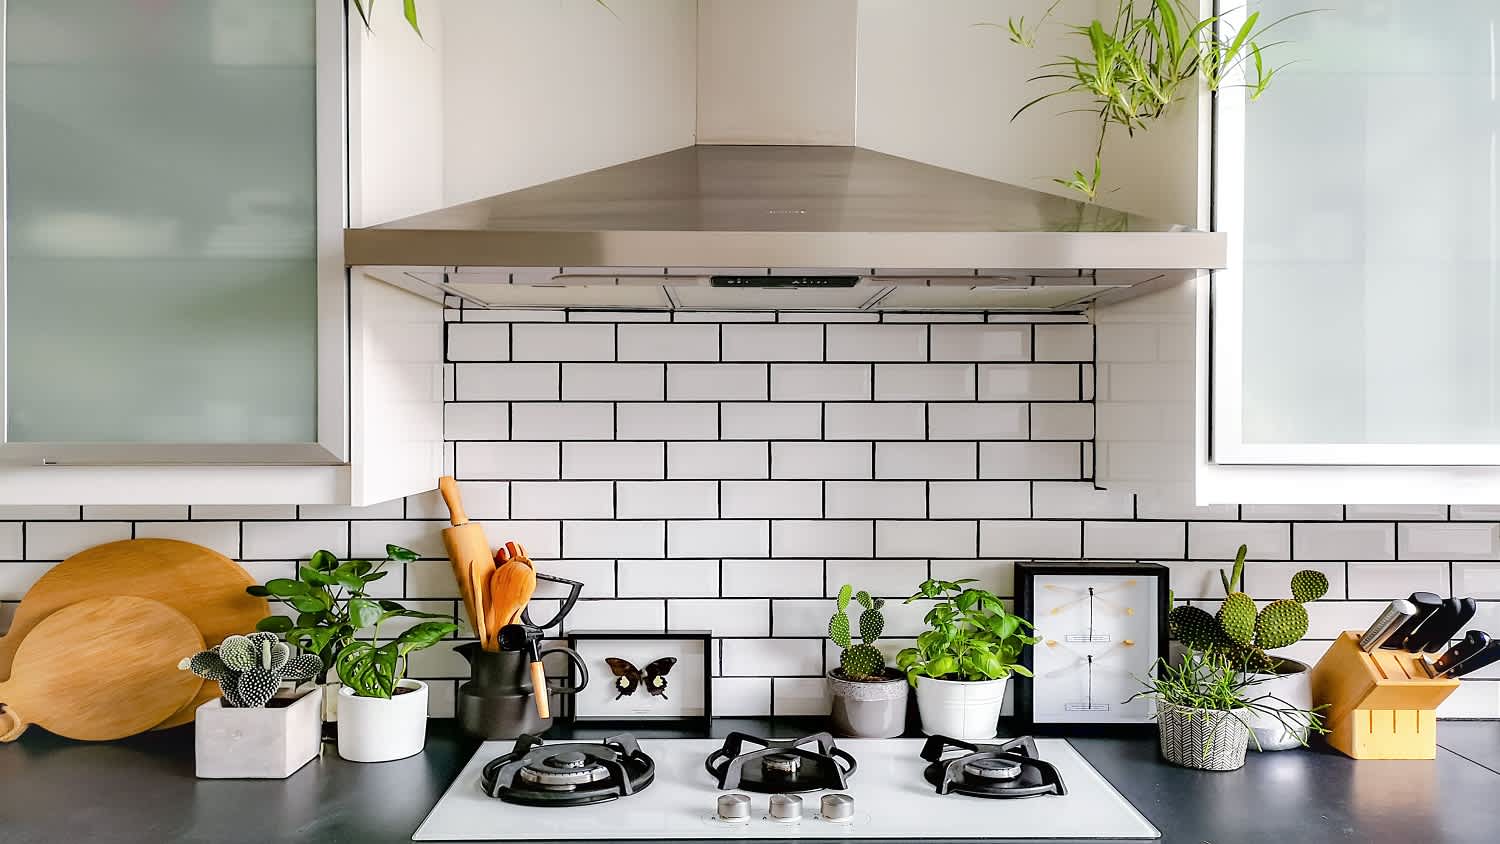
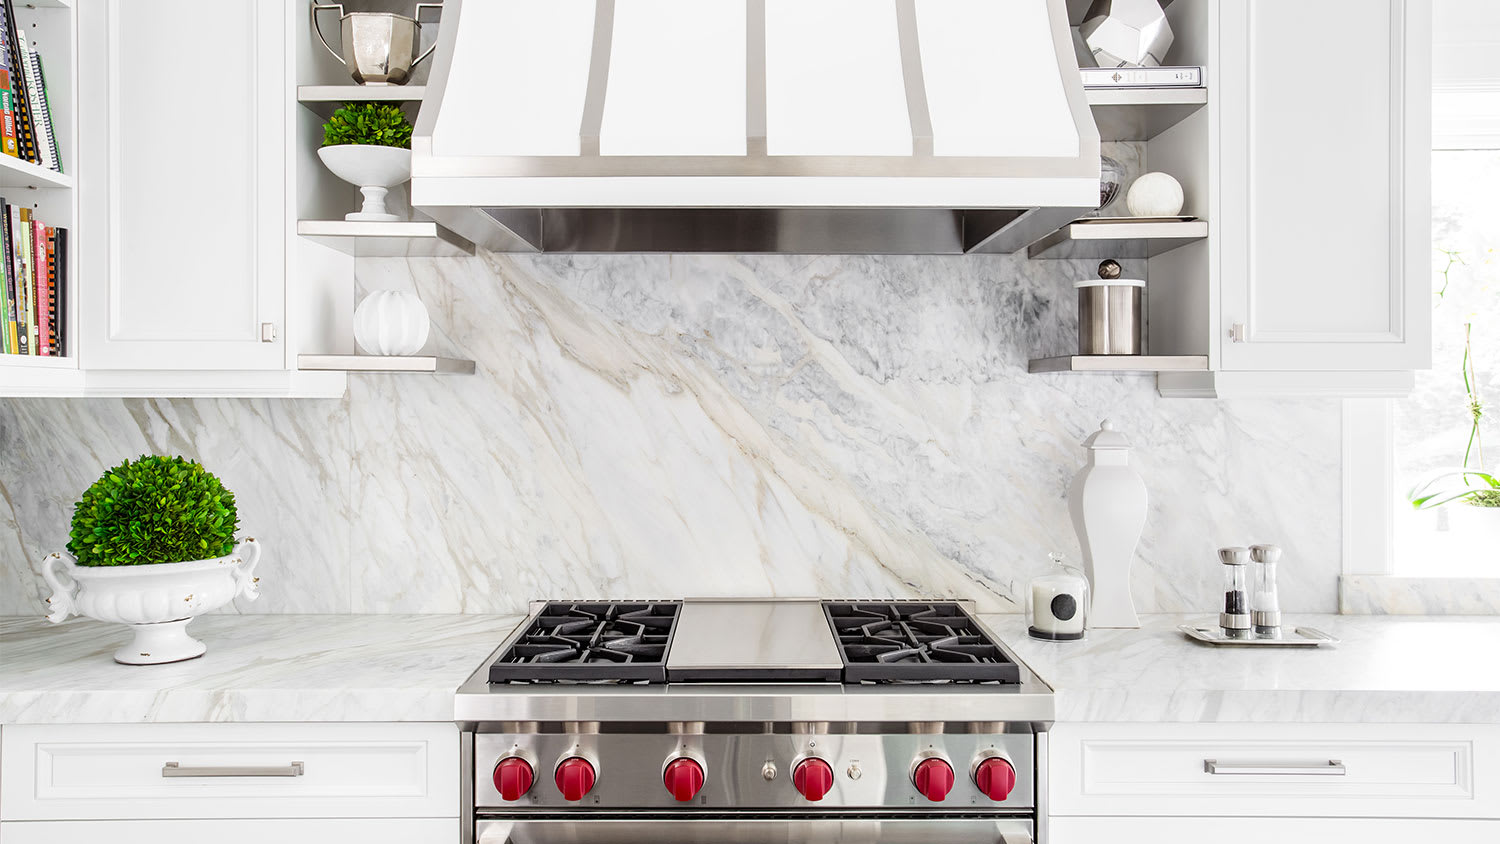
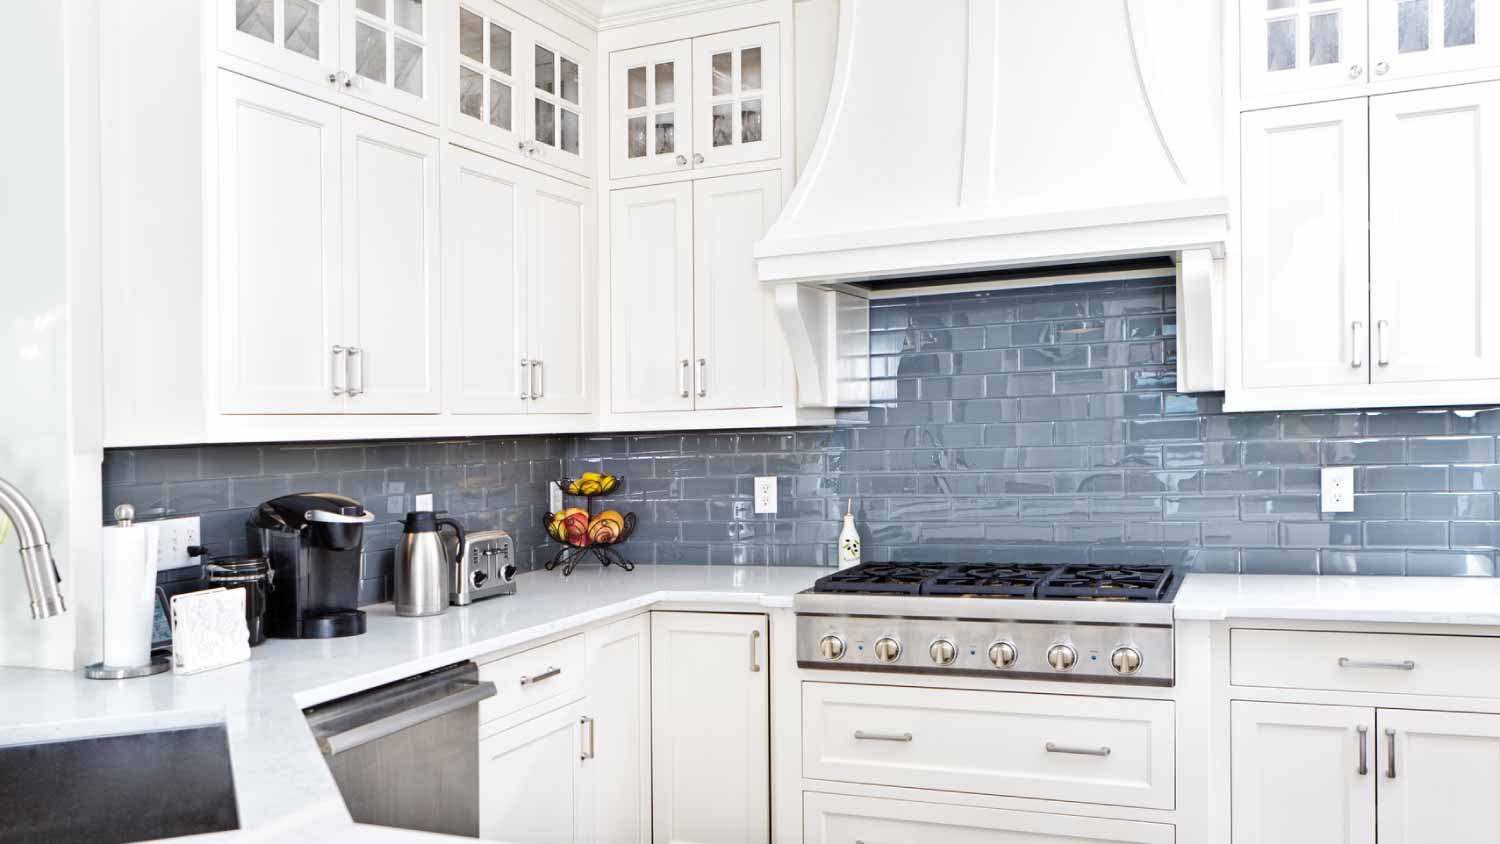
Get matched with top backsplash installation pros in Branson West, MO

Branson West homeowners rate backsplash installation pros in our network

4.5

(138 reviews)

Top-rated backsplash installation pros.

Need a pro for your backsplash installation project in Branson West, MO?

Select your specific project to find the pro for you.

Find Backsplash installation pros in Branson West

Avatar for Levite Solutions
Levite Solutions
3.7(
3
)

Serving Branson West, MO and surrounding areas

Approved

In business since 2016

Free estimates

Credit card accepted

"Prompt response,came out and gave a reasonable estimate for the work that was asked. Arrived on time and completed all work as agreed upon. Got my yard cleaned up and looking good. I would highly recommend."
Gallery
16 neighbors recently requested a quote
Avatar for Webster Construction
Webster Construction
New to Angi

Serving Branson West, MO and surrounding areas

Approved

Small jobs welcome

I’m a young outgoing individual, I’ve had a full time job since I was 14 trying every trade you can think of I have several years of plumbing under my belt, I’m a skilled framer, I’ve done electric for several years and even done mechanical work, I found a love and passion for handyman work and decided I was ready to take the leap on my own! If you need anything done no job is to big or small don’t be afraid to reach out I’d love to come check it out for you!!

Five Stars Flooring
New to Angi

Serving Branson West, MO and surrounding areas

Approved

In business since 1999

Free estimates

We're dedicated to providing our clients with the very best in quality for all of your flooring installation needs. We specialize in a variety of residential flooring and take pride in the attention to detail put into each of the projects we're involved with. We're known for our quality work and the integrity of our business. We look forward to building long-term relationships with our clients, and guarantee your satisfaction.

2 neighbors recently requested a quote
Avatar for Master Handyman LLC -
Master Handyman LLC -
5.0(
17
)

Serving Branson West, MO and surrounding areas

In business since 2008

Free estimates

Emergency services offered

"I appreciated the ability to communicate with Tom on line, I have a long shift and am not available during the day. Project began a day late, but I am extremely happy with the finished product. Tom was pleasant and professional, did not need much direction, and fence was completed within the expected time span."
Vanities
Crown Molding
Retaining Wall
Cedar deck
Wood floor install

+10

Recommended by100%of homeowners
Avatar for J Wilson Tile
J Wilson Tile
5.0(
5
)

Serving Branson West, MO and surrounding areas

In business since 2020

Free estimates

Credit card accepted

"He did a great job at our place installing laminate flooring and was extremely professional. We are very satisfied with his work and will definitely hire and recommend in the future!"
Additional Photos
Additional Photos
Additional Photos
Additional Photos
Additional Photos

+42

Recommended by100%of homeowners
...
Showing 1-10 of 79
Backsplash Installation questions, answered by experts

When working on your bathroom floor tiling, you should always tile the floor first and then refit the toilet afterward. This has both practical and visual advantages—the tile will have a better seal, and the installation will look cleaner.

On the other hand, when you try to cut the tiles to fit around the toilet, you’re putting yourself at a disadvantage. It’s a lot more work, it’s hard to be precise, and mistakes or miscalculations can lead to future moisture damage to the tiling, grout, and subfloor.

The tile spacing you should use will depend on the tile and where you’re installing it. Choosing the right tile spacers to maintain a consistent gap between your tiles is tricky. Generally, tile spacing shouldn’t be less than 2 millimeters on walls and 3 millimeters on floors because of stress relief requirements. Getting it wrong can result in uneven tiles and early repairs.

It’s best to start with tiling the shower floor before moving on to the walls for the most visually-pleasing results. When taking on any tiling project, you’ll want the wall tiles to “sit” neatly on the floor tiles rather than overlapping them. Finishing your floor tiles first will allow you to place your wall tiles without any gaps, holes, or awkward intersections.

Whether you use a brush or roller depends on the size, shape, and amount of tiles. Rollers are easier to maneuver over large areas and can apply a more even coat of paint in a shorter time frame with no visible brushstrokes. Brushes are best for precision work, particularly in very small areas. If you don't want visible brushstrokes on your painted tiles, you can paint details with small foam brushes instead of bristled paint brushes.

The process takes two to four days, depending on the size of the area and your experience level. The first day involves assessing and prepping the existing tile, while the second day is for laying the new tile. This may take longer in complex areas. After letting the adhesive dry for 24 hours, grouting and sealing can be completed on day three. For larger projects or intricate tile patterns, expect the timeline to stretch a bit longer. Also, proper drying time between steps is essential for long-lasting results, which extends the project’s time.

The Branson West, MO homeowners’ guide to backsplash installation services

From average costs to expert advice, get all the answers you need to get your job done.