


Top-rated drywall pros.

Get matched with top drywall pros in Mount Vernon, IL

Enter your zip and get matched with up to 5 pros

Need a pro for your drywall service project in Mount Vernon, IL?

Select your specific project to find the pro for you.

Find Drywall pros in Mount Vernon

Avatar for Roberson Remodeling
Roberson Remodeling
5.0(
5
)

Serving Mount Vernon, IL and surrounding areas

Approved

In business since 2025

Free estimates

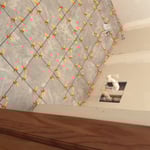
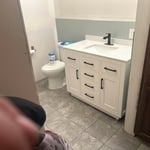
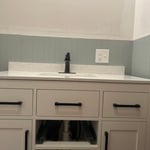
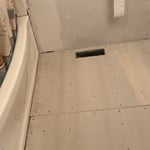
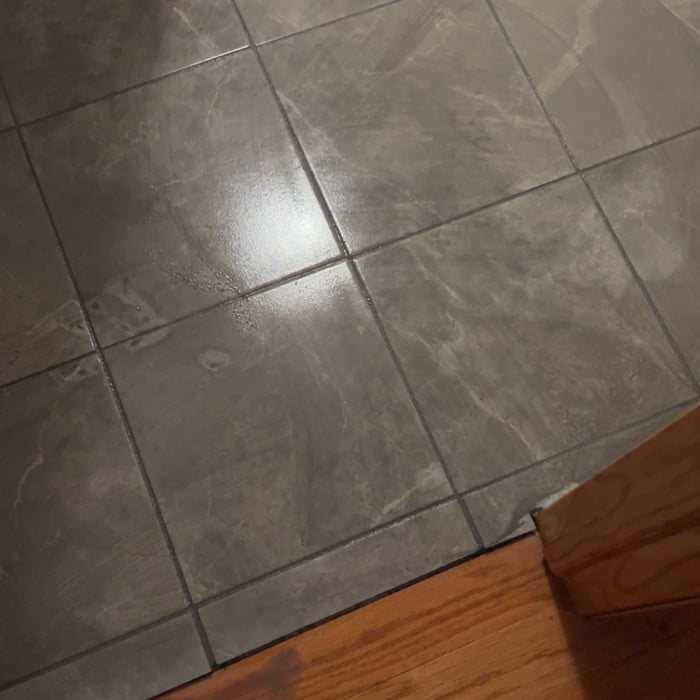
"Hired him to come out and repair our bathroom floor and some drywall. He got it done quick and was very professional. The repairs made the space look amazing! Definitely recommend!"
Bathroom remodel
Bathroom remodel
Bathroom remodel
Bathroom remodel
Bathroom remodel

+5

1 neighbors recently requested a quote
Bullock Construction, PLLC
5.0(
2
)

Serving Mount Vernon, IL and surrounding areas

Approved

In business since 2023

Free estimates

Emergency services offered

Welcome to Bullock Construction, LLC.!We are committed to exceeding your expectations. As experts, we will handle your needs with the high quality expertise, that your home or business deserves. We offer competitive prices, and customer satisfaction is our number one priority. Call us now!

Response time2 days
Recommended by100%of homeowners
Avatar for AOM Remodeling and Restoration
AOM Remodeling and Restoration
4.6(
52
)

Serving Mount Vernon, IL and surrounding areas

In business since 2012

Free estimates

Emergency services offered

"After a "simple" bathroom repainting turned into a nightmare of peeling paint from permanent wallpaper, with damaged drywall as a result, David provided me with options for repairing the walls with a new, cost-conscious finish and then painted the room for me as well. He was extremely punctual and responsive, professional and anxious to provide excellent customer service. He was accurate in how much time the job would take, and his price guarantee made sure that no hidden costs popped up at the last minute. He did a great job, and saved us A LOT of frustration and stress."
Kitchen accent
picture 1
picture 2
tan and white trim room
blue and white trim room

+5

Recommended by90%of homeowners
...
Showing 1-10 of 78
Drywall questions, answered by experts

The two most common drywall thicknesses for ceilings are 1/2-inch and 5/8-inch. For most standard residential applications, 1/2-inch drywall is sufficient and widely used. It provides adequate support and is lighter and easier to handle during installation compared to thicker sheets. However, 5/8-inch drywall is often used for specific cases where additional benefits are needed. It is heavier but provides superior sound dampening and fire resistance. You should consider using 5/8-inch drywall for ceilings in commercial buildings, between a garage and a living space, or above a finished basement to meet building codes or for enhanced soundproofing.

You should wait at least 24 hours for drywall mud to dry before sanding or applying another coat. However, the exact drying time depends on several factors, including the thickness of the application, room temperature, humidity, and the type of compound used. Thicker layers, or projects in high humidity, may require 48 hours or more. Lightweight compounds tend to dry faster than heavier, all-purpose ones. You'll know the mud is ready when it feels completely dry and firm to the touch and has changed to a consistent light color. Sanding too early can cause smudging or gouges, so patience is essential for a smooth finish.

Most handy homeowners can tackle removing texture from unpainted walls. Removing texture from painted walls is a bit trickier. Paint acts as a sealant, so you can’t soften the texture with water. Instead, you’ll have to add a layer of drywall compound known as a skim coat. This process is messy and takes some practice.

There are six levels of drywall finish, from 0 to 5, that refer to the amount of work performed during the finishing process.

Level 0: Drywall is hung with no finishing work.

Level 1: Tape is placed over the seams between drywall sheets.

Level 2: A thin layer of mud is applied over the tape and screw holes. This level is common for utility rooms or walls that will be covered.

Level 3: A full coat of mud covers the screw holes and tape, but the surface is not sanded. This is often used in garages.

Level 4: This is the most common finish for visible interior walls. It involves applying two coats of mud over seams and screw holes, with sanding between each coat, creating a smooth surface ready for flat paint.

Level 5: This is a high-end finish for luxury homes. It includes full taping, mudding, and sanding, plus a final skim coat over the entire surface before painting.

Whether to repair or replace water-damaged plaster depends on the scale of the damage. For small, limited areas, you can often perform a repair yourself. If you choose to paint over small patches, ensure the surface is completely dry and apply a coat of antifungal primer first to prevent mold growth. However, simply painting or plastering over the damage is only a temporary solution that doesn't address the core problem. For more extensive or long-term damage, the plaster may be compromised, and there is a risk of mold. In these cases, it is recommended to remove the damaged section of plasterboard and replace it. You may consider hiring a professional for the repair, and it's worth noting that water damage is often covered by home insurance.

The Mount Vernon, IL homeowners’ guide to drywall services

From average costs to expert advice, get all the answers you need to get your job done.