



Top-rated drywall pros.

Get matched with top drywall pros in Royalton, IL

Enter your zip and get matched with up to 5 pros

Need a pro for your drywall service project in Royalton, IL?

Select your specific project to find the pro for you.

Find Drywall pros in Royalton

Avatar for Roberson Remodeling
Roberson Remodeling
5.0(
5
)

Serving Royalton, IL and surrounding areas

Approved

In business since 2025

Free estimates

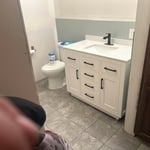
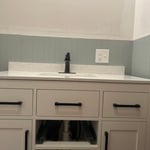
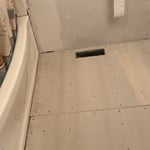
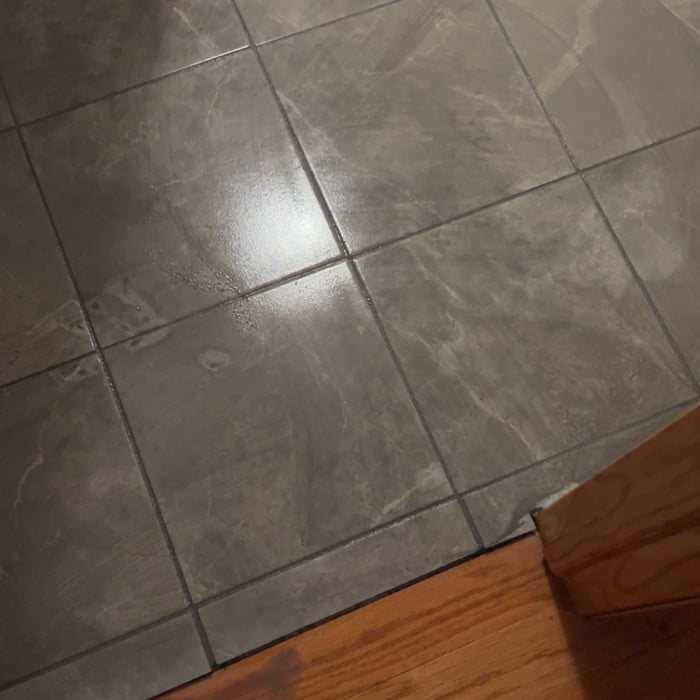
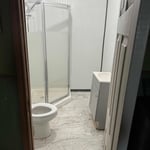
"Hired him to come out and repair our bathroom floor and some drywall. He got it done quick and was very professional. The repairs made the space look amazing! Definitely recommend!"
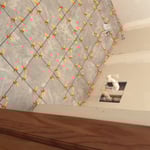
Bathroom remodel
Bathroom remodel
Bathroom remodel
Bathroom remodel
Bathroom remodel

+5

1 neighbors recently requested a quote

Avatar for Taylor's Home Haven LLC
Taylor's Home Haven LLC
4.5(
10
)

Serving Royalton, IL and surrounding areas

Approved

In business since 2018

Free estimates

Emergency services offered

"They are on time with excellent work ethics. Their grass cutting lines are amazing. Their customer service is Flexible and Friendly. Their prices are reasonable."
Bathroom remodel
Bathroom remodel
Bathroom remodel
32 neighbors recently requested a quote

Recommended by66%of homeowners
Avatar for Cornerstone Operations
Cornerstone Operations
5.0(
12
)

Serving Royalton, IL and surrounding areas

Approved

Free estimates

Small jobs welcome

Credit card accepted

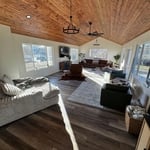
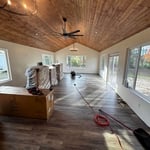
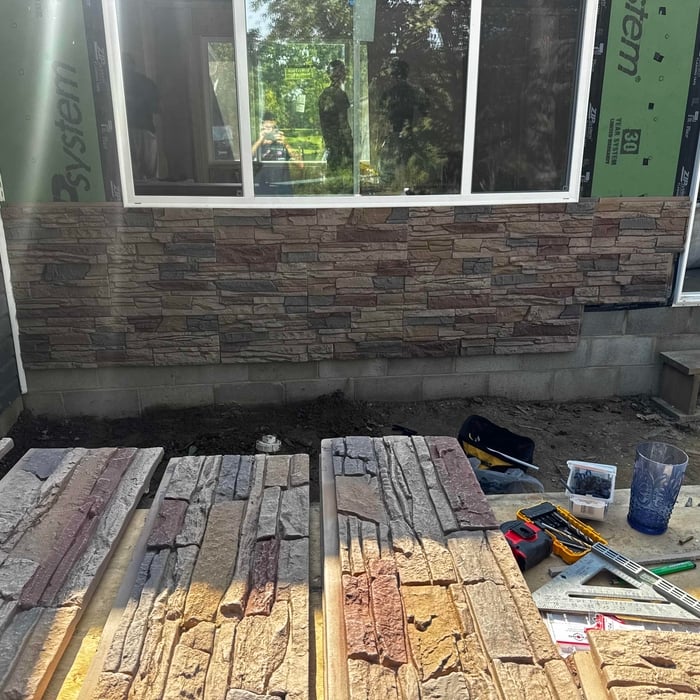
"Fantastic attention to design and detail, including custom fabrication of steps and supports around the perimeter of a 16x16 deck. Hard-working, courteous crew, timely scheduling and completion."
drywall installation
Final Product
sunroom addition
sunroom addition
sunroom addition

+12

3 neighbors recently requested a quote

Avatar for VMK Remodeling
VMK Remodeling
4.2(
19
)

Serving Royalton, IL and surrounding areas

Approved

Super Service Award Winner

In business since 2024

Free estimates

Warranties offered

"I could not be happier with the final product! The first pic is the old bathroom from the 60s when the house was built. The rest are the final rebuild and it looks great. I would highly recommend VMK Remodeling for any project that you might have. I am also going to get a bid on redoing the deck on the back of the house as Vince's company does decks as well! Thanks to his great crew as well, great people to work with."
Response time2 days
Response rate90%
56 neighbors recently requested a quote
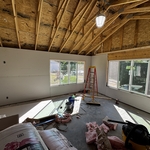
...
Showing 1-10 of 78
Drywall questions, answered by experts

Furring strips, thin strips of wood or metal, are not always required for ceiling drywall installation. If the ceiling surface is even and in good condition, drywall can be directly attached to the ceiling joists using screws. However, furring strips become essential when dealing with irregular surfaces or when additional insulation or soundproofing is needed. They create a level substrate for attaching the drywall. Ultimately, the decision to use furring strips depends on the condition of the existing ceiling and the specific requirements of the project.

Some textures are easier than others to DIY, but the short answer is yes, you can absolutely texture walls yourself. You’ll need certain materials, like a trowel or paint sprayer, but the most important things you’ll need are patience and time. DIYing wall texture can save money and be a fun, messy project, but homeowners need to know that adding texture to a wall isn’t a quick project. 

Plastering lasts for around 15 to 20 years without needing repairs or maintenance in most cases, and with proper upkeep, plastering can last a lifetime—sometimes more than 100 years. Plaster repair costs between $1 and $3 per square foot, and you may need these services once every 15 to 20 years or so unless you have a harsh climate where humidity changes are a constant issue. You can also opt to skim-coat plaster for between $0.90 and $1.30 per square foot, which may serve you better in the long run.

While every home has its own unique needs, ceiling drywall installation typically follows a staggered or stepped pattern to enhance structural integrity and reduce the visibility of seams. Starting from one corner, sheets are placed perpendicular to the ceiling joists, with the ends of adjacent sheets meeting along the center of the joist. The next row begins with a half sheet, ensuring joints don't align vertically. This alternating pattern, combined with proper taping and mudding, creates a seamless appearance and strengthens the ceiling structure, minimizing the risk of cracks over time.

There are six levels of drywall finish, from 0 to 5, that refer to the amount of work performed during the finishing process.

Level 0: Drywall is hung with no finishing work.

Level 1: Tape is placed over the seams between drywall sheets.

Level 2: A thin layer of mud is applied over the tape and screw holes. This level is common for utility rooms or walls that will be covered.

Level 3: A full coat of mud covers the screw holes and tape, but the surface is not sanded. This is often used in garages.

Level 4: This is the most common finish for visible interior walls. It involves applying two coats of mud over seams and screw holes, with sanding between each coat, creating a smooth surface ready for flat paint.

Level 5: This is a high-end finish for luxury homes. It includes full taping, mudding, and sanding, plus a final skim coat over the entire surface before painting.

The Royalton, IL homeowners’ guide to drywall services

From average costs to expert advice, get all the answers you need to get your job done.