





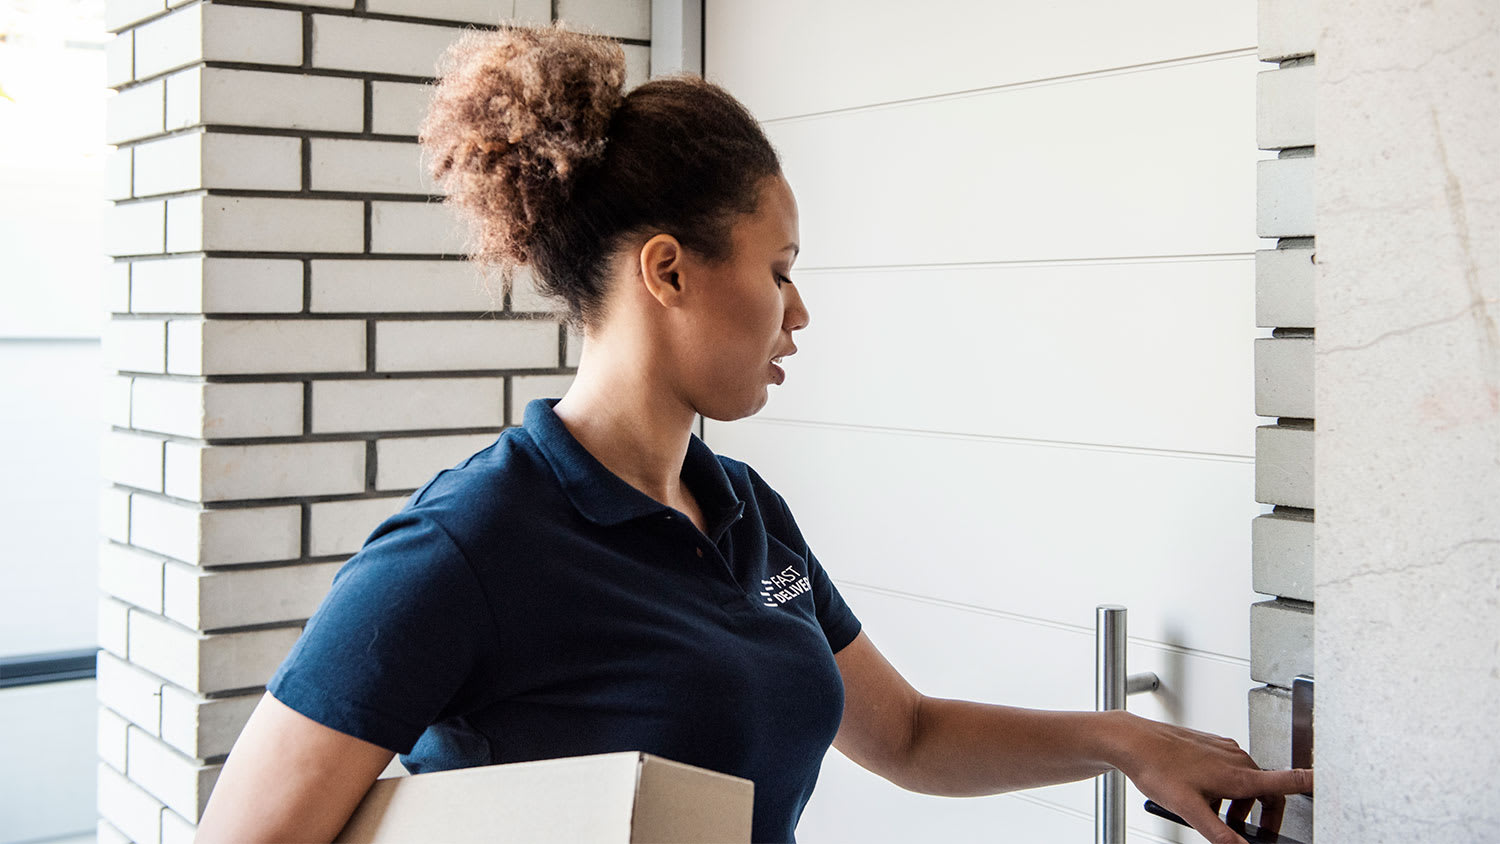
Ring a bell? From replacing a wired doorbell to setting up a smart home system, learn about typical doorbell installation costs, including materials and labor.
 4.7
4.7  662
662 *The Angi rating for Doorbell Installation companies in Nipomo, CA is a rating based on verified reviews from our community of homeowners who have used these pros to meet their Doorbell Installation needs.
*The HomeAdvisor rating for Doorbell Installation companies in Nipomo, CA is a rating based on verified reviews from our community of homeowners who have used these pros to meet their Doorbell Installation needs.
Last update on June 19, 2024
From average costs to expert advice, get all the answers you need to get your job done.
Ring a bell? From replacing a wired doorbell to setting up a smart home system, learn about typical doorbell installation costs, including materials and labor.
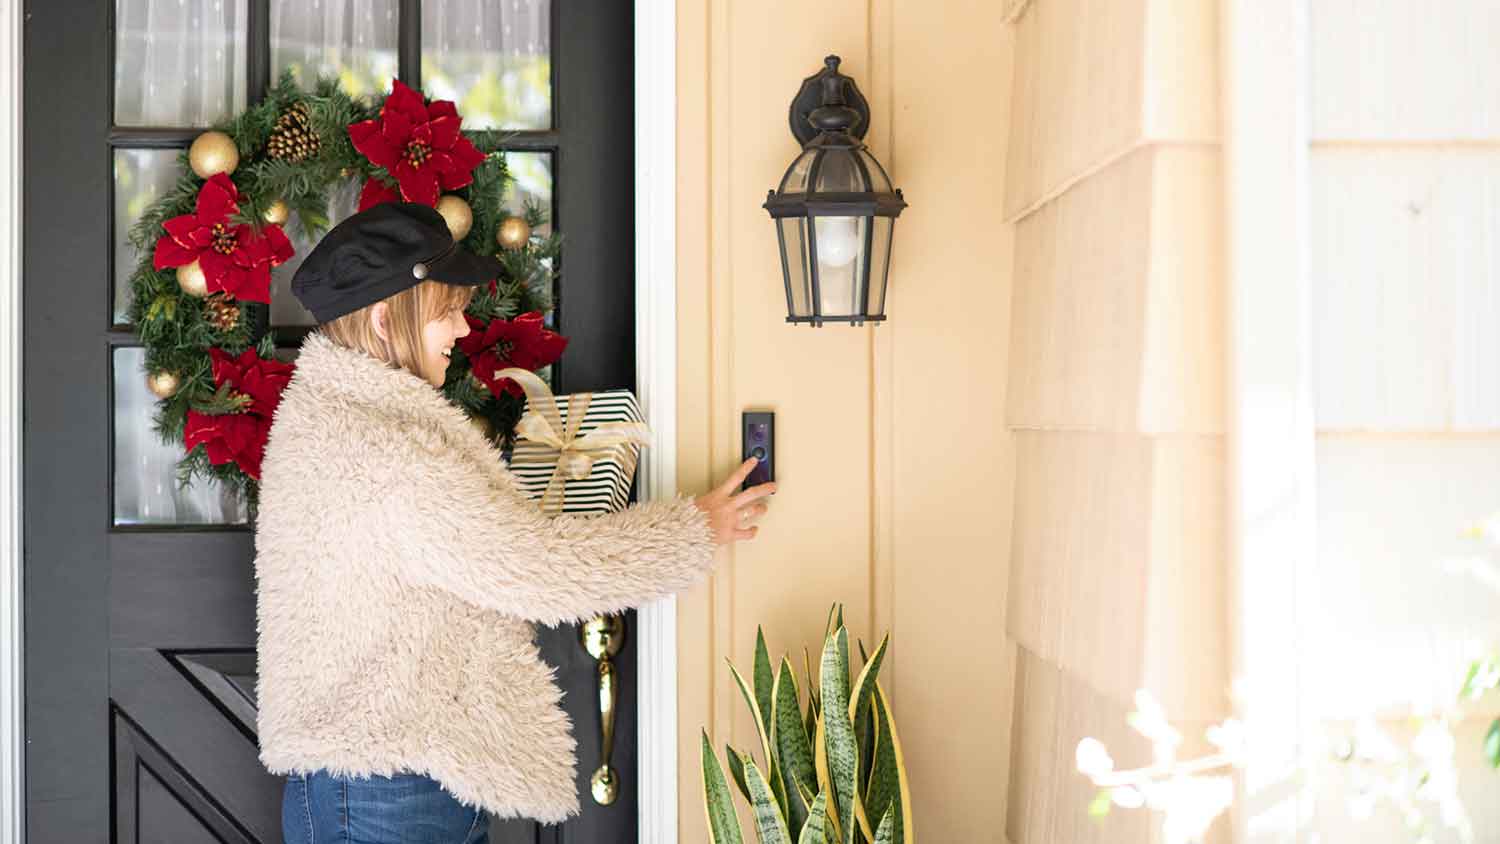
How much does it cost to install a doorbell camera? It depends on whether you plan to DIY or hire a pro. Learn about different models and their power sources, too.
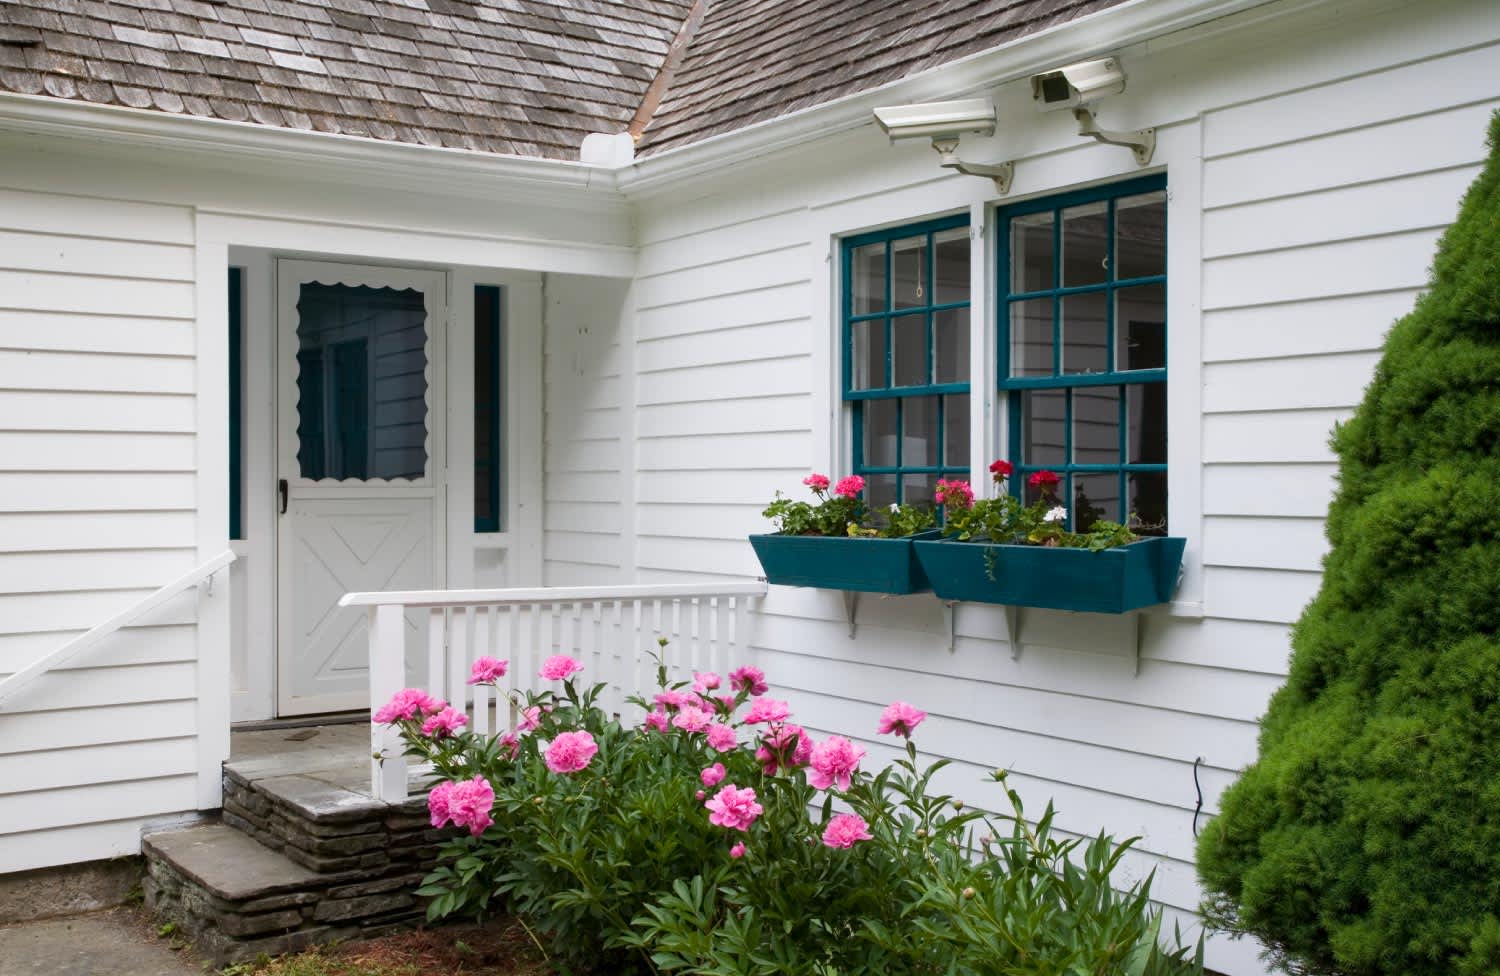
A security camera system gives you peace of mind that there’s always a watchful eye on your home. Learn the costs of installing surveillance cameras.
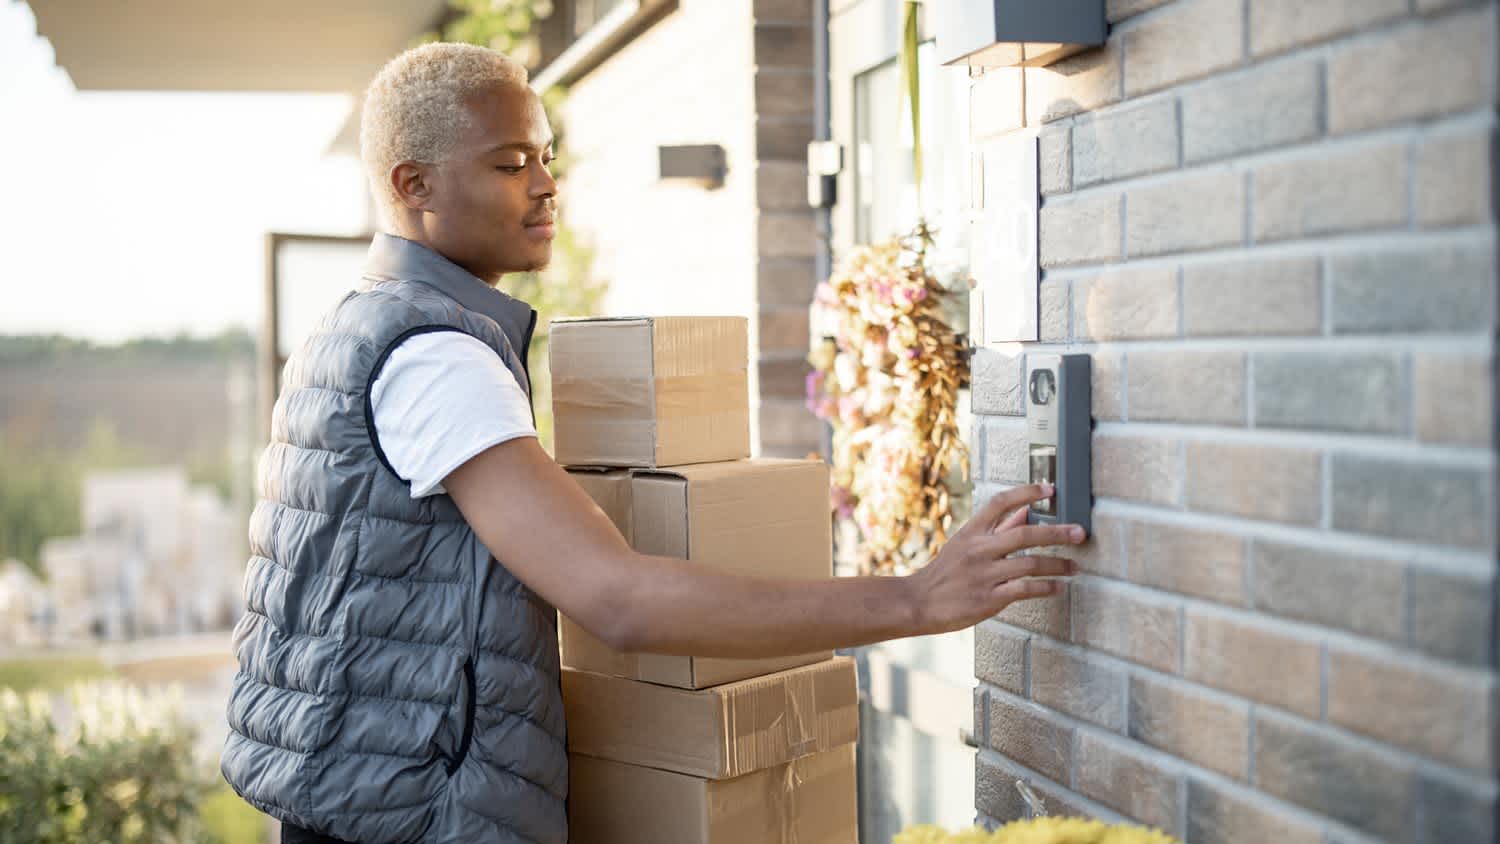
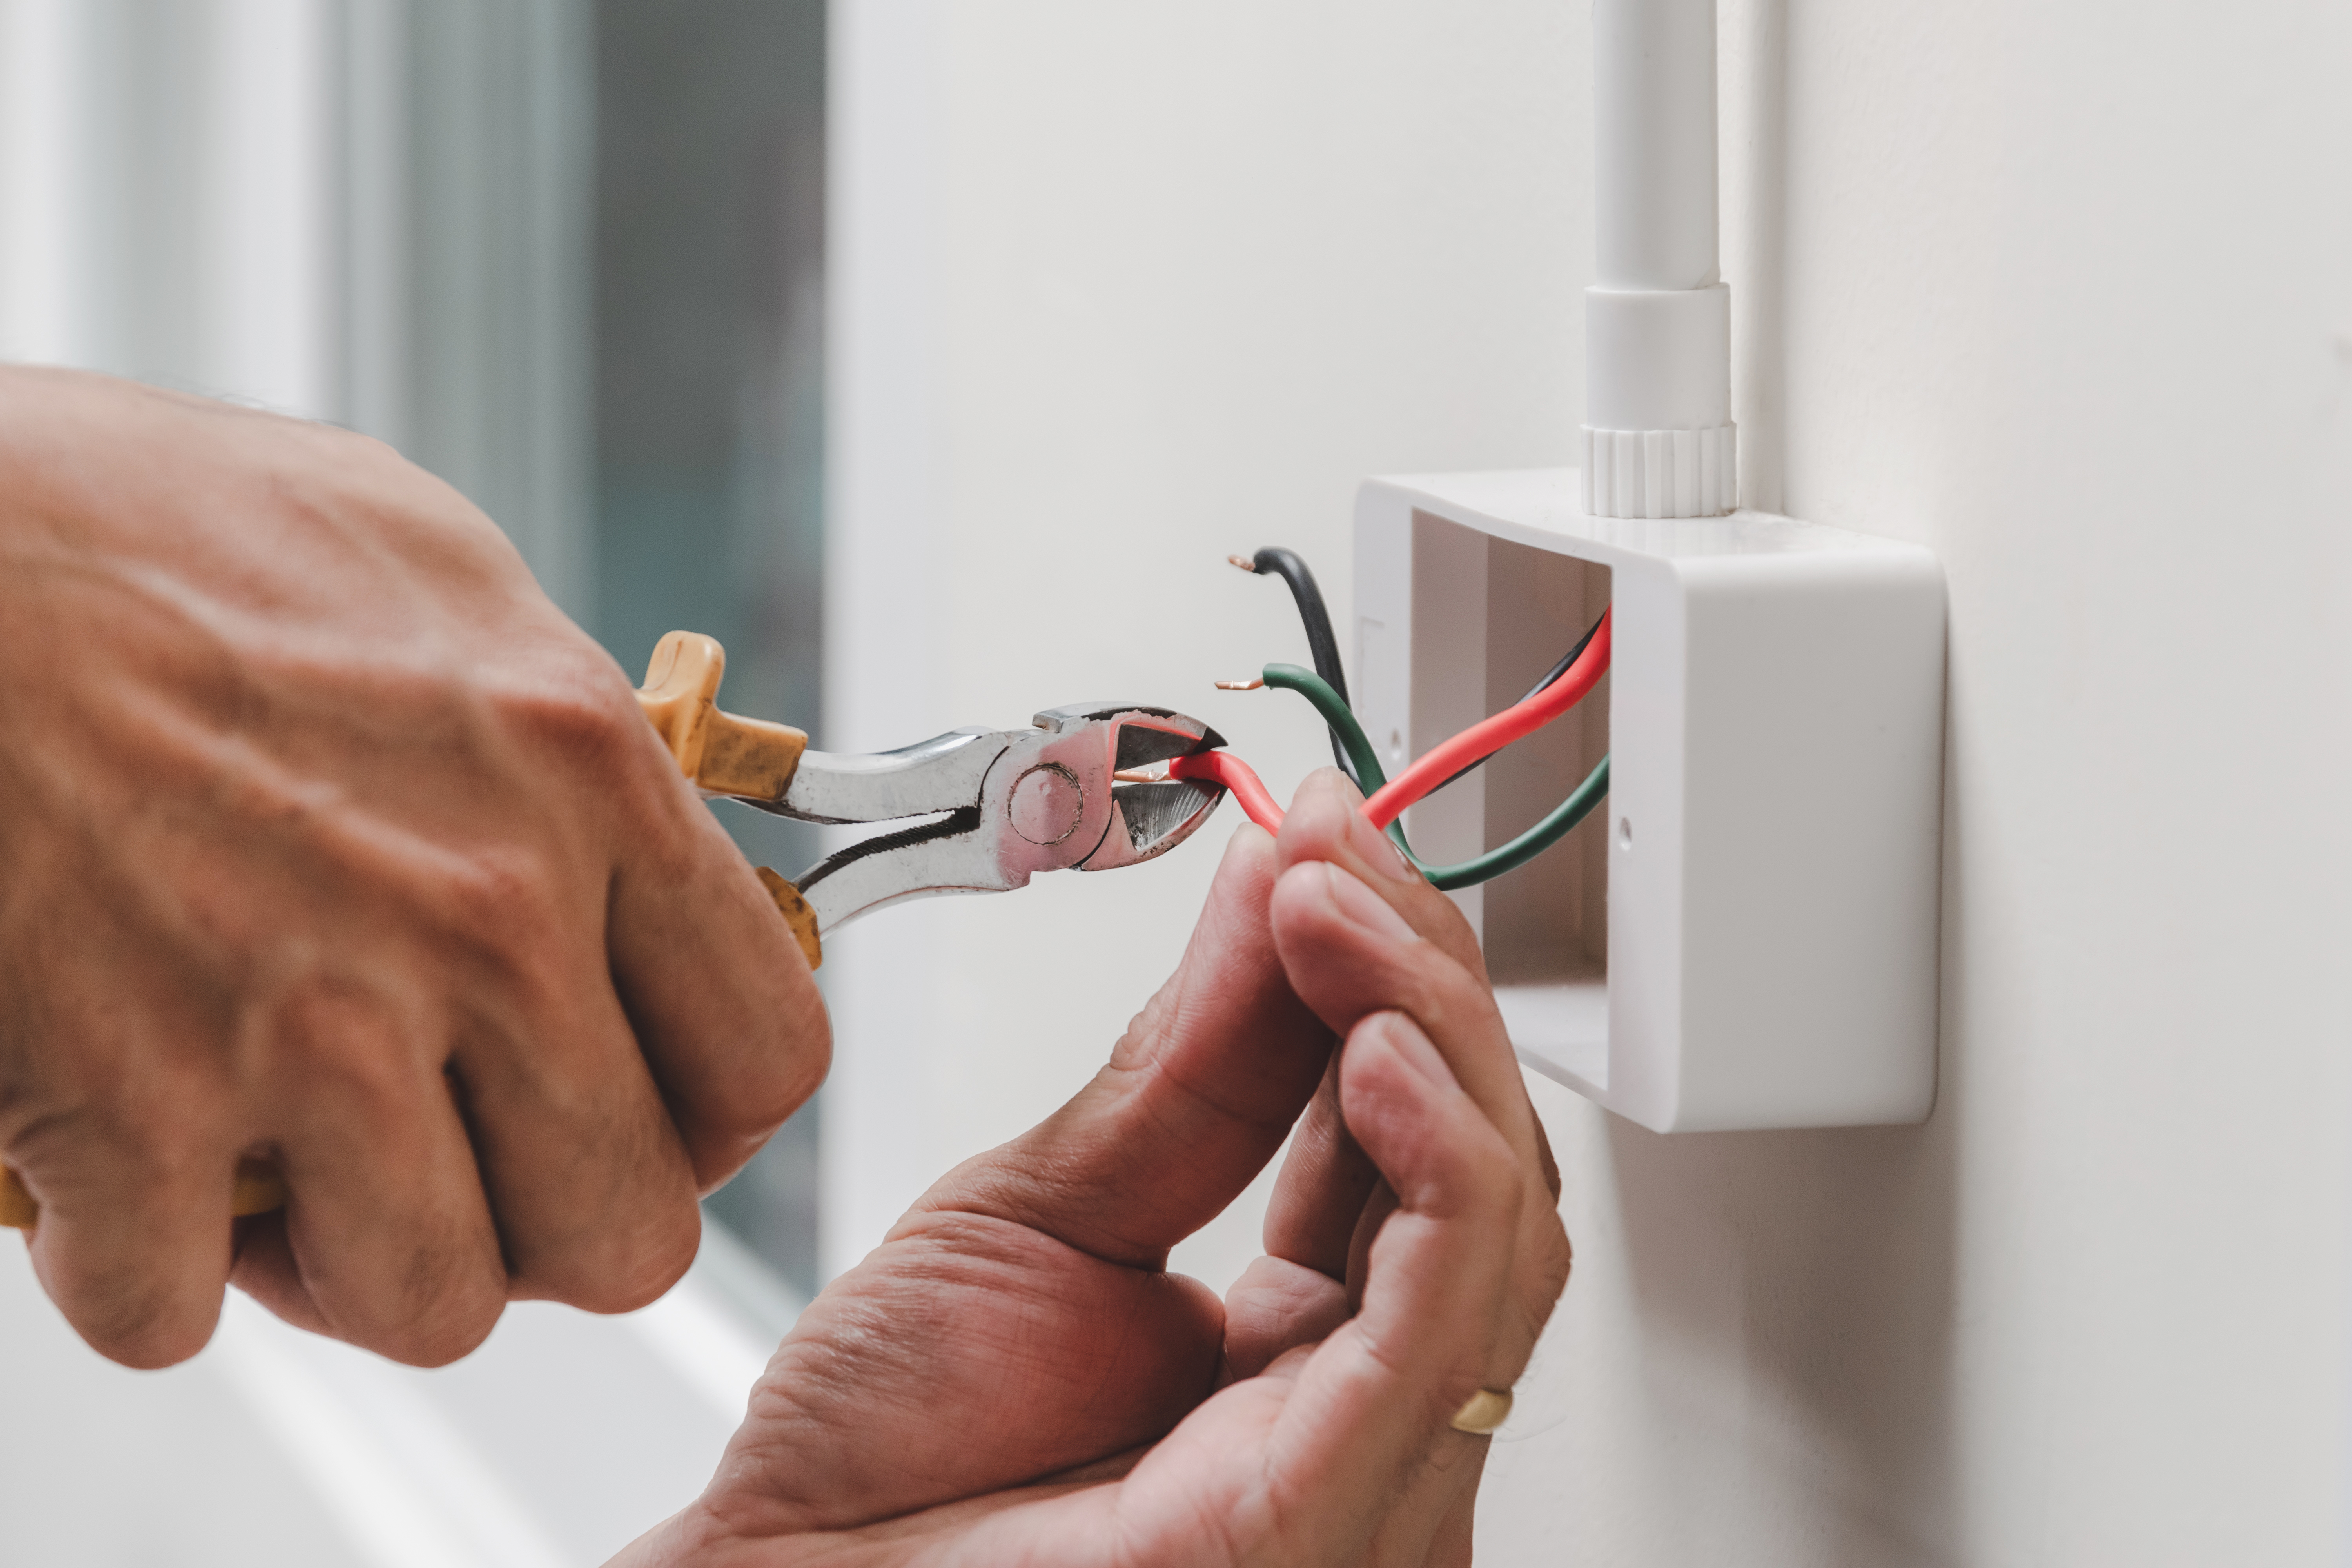
Doorbell wiring is a project you can DIY. This guide covers everything you need to know, from different types of doorbells to wiring, and how to remove an old doorbell.
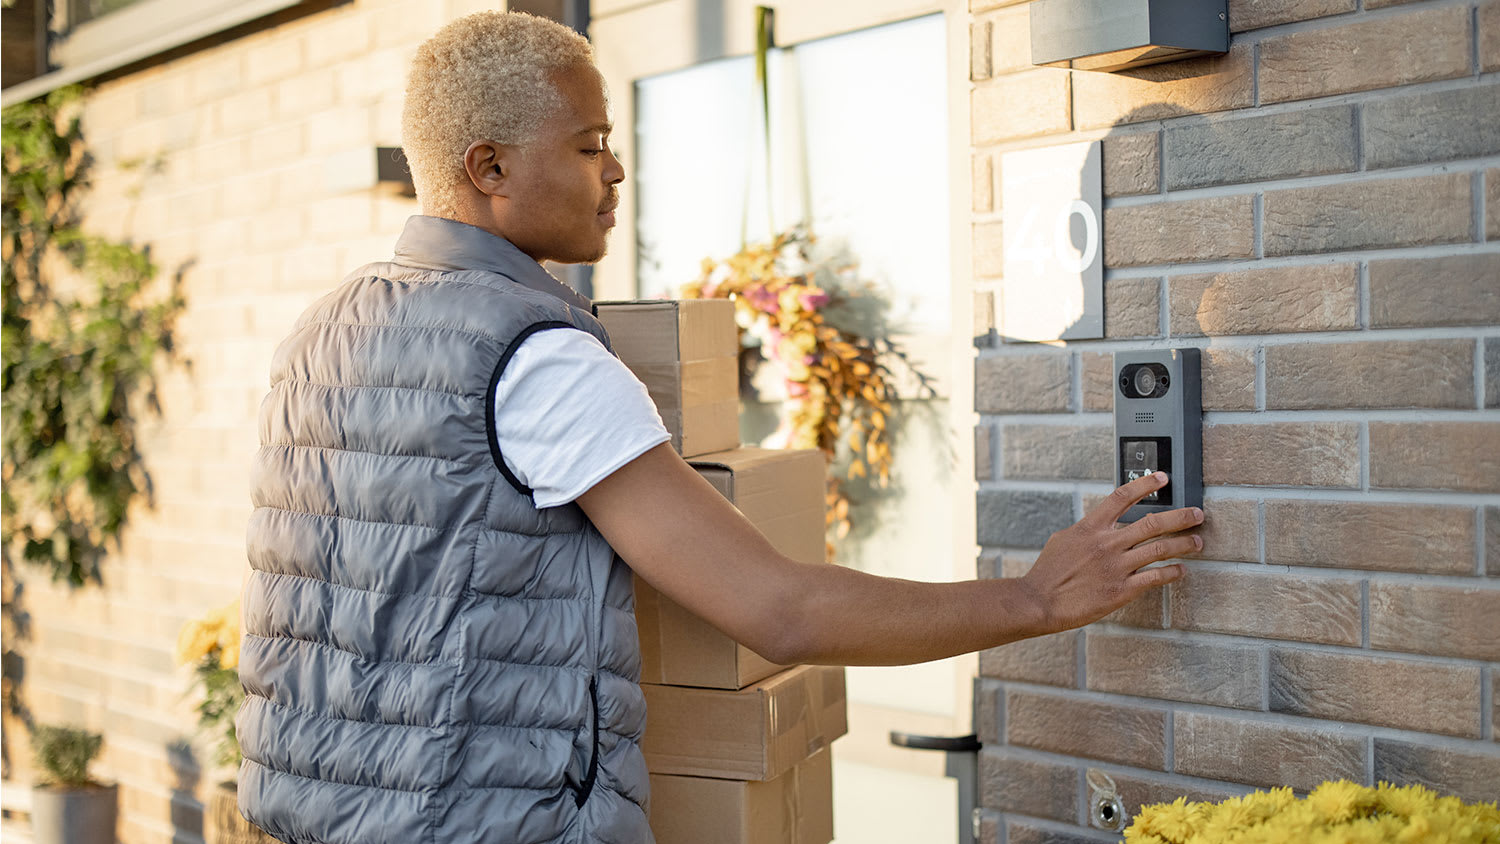
Someone's at the door! Learn how to install a doorbell with a wired kit in this eight-step guide.
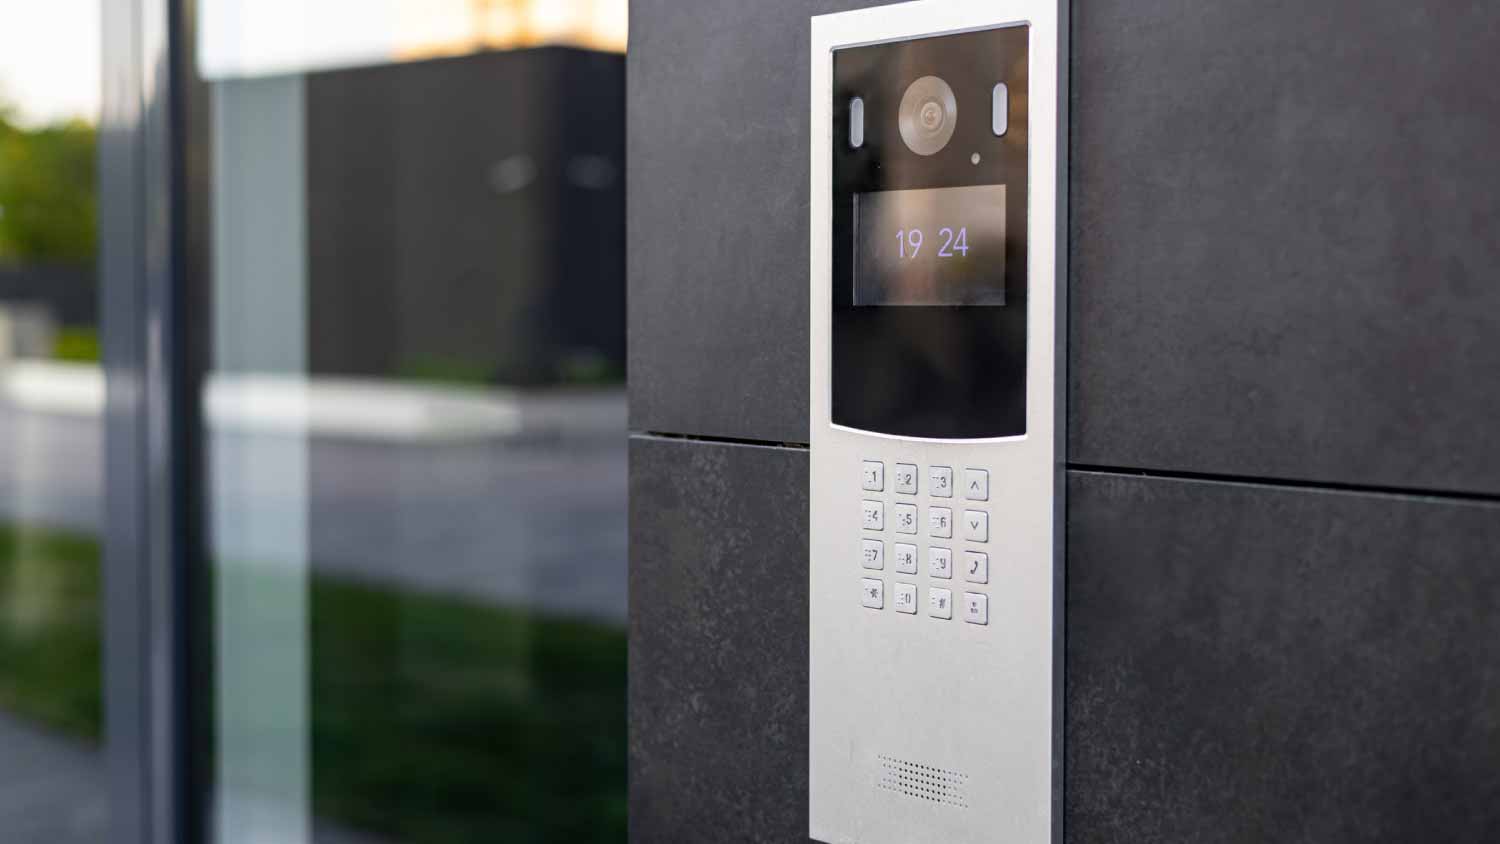
Learn how to install a doorbell camera—whether it’s wired or wireless—with this guide. Know the steps so you can decide whether to DIY the job or hire a pro.