



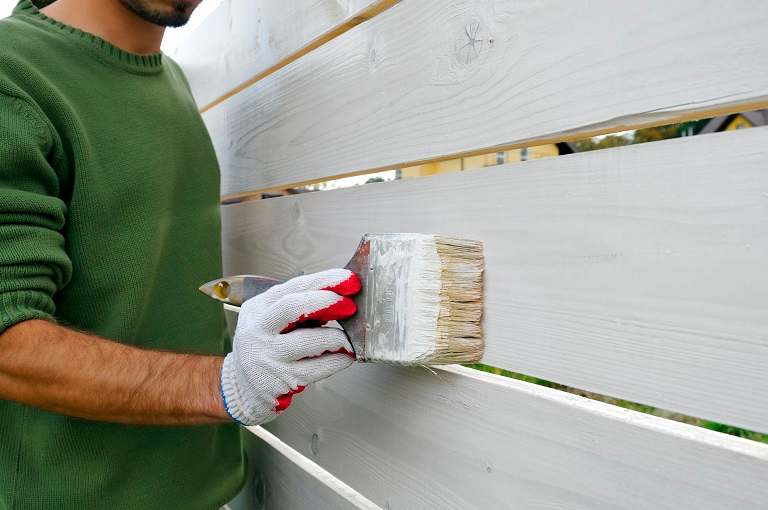
Top-rated fence painters.

Get matched with top fence painters in Fulton, CA

Enter your zip and get matched with up to 5 pros

Need a pro for your fence painting project in Fulton, CA?

Select your specific project to find the pro for you.

TRUSTED BY FULTON, CA HOMEOWNERS

  • Average homeowner rating star icon4.6
    Average homeowner rating
  • Verified reviews icon206
    Verified fence painting services reviews

Find Fence painters in Fulton

No results for Fence painter in

Try adjusting your search criteria.
Fence Painting questions, answered by experts

You should stain both sides of your fence to get the full benefits. Fences often fall along property lines, so you may want to save a buck by leaving your neighbor’s side in the dust. If you do that, all you get is a slightly better view. Moisture and UV rays can still sneak in through the side that’s unpainted or worn down and damage your fence. Rot and rust will spread, even if you can’t see it from your side of the lawn.

Rags used with oil-based stains are highly flammable and can spontaneously combust in the right conditions. To reduce the fire risk, throw them in a metal container after use and add rocks on top to secure them. Add an inch of water and seal the container. Take the rags in the container to a hazardous waste factory as soon as possible.

Whether to brush or roll stain on wood depends on the project and your preference. Brushing is ideal for smaller, intricate areas and offers more control over the application, ensuring thorough coverage and penetration into the wood's grain. 

Conversely, rolling is efficient for more extensive, flat surfaces and can save time. However, it is not always the best fit for textured or uneven wood. Some projects may benefit from combining both methods, using a brush for detail work and a roller for broader areas. Ultimately, the choice between brushing and rolling depends on the specific requirements of your staining project.

A five-gallon bucket of deck stain will cover roughly 875 square feet in a single coat. Actual coverage will vary based on the type of wood you’re staining and the number of coats. If you plan on doing multiple coats, multiply the square footage by the number of coats to calculate how many buckets of stain you’ll need.

Limewash and whitewash are two techniques used to give brick a light, matte finish, but they differ in composition, application, and permanence. The best choice depends on your aesthetic goals and the specific surface.

Composition

  • Limewash: A natural and environmentally friendly option made from limestone, water, and sometimes pigments. It is breathable and soaks into porous surfaces like brick.

  • Whitewash: Traditionally made from lime, water, chalk, and binders, but a similar look can be achieved with watered-down white paint. It is paint-based and sits on top of the surface.

Appearance and Finish

  • Limewash: Provides a natural, textured appearance that allows the brick's character to show through. It offers a more traditional finish.

  • Whitewash: Creates a softer, more opaque finish, often used for a rustic or shabby-chic style.

Application and Permanence

  • Limewash: Is semi-permanent and can be removed, making it a good choice if you might want to change the look in the future. It requires more skill to apply and cannot be used on previously painted brick.

  • Whitewash: Is a more permanent solution. It is more forgiving to apply and can be used on painted brick. However, because it sits on the surface, it can trap moisture.

Ultimately, if you want a breathable, natural, and reversible finish for unpainted brick, limewash is a great option. If you need a more permanent, opaque coating that can be applied over painted surfaces, whitewash is the better choice. Whitewashing may also be more economical, costing approximately $1.40 to $4.20 per square foot.

The Fulton, CA homeowners’ guide to fence painting services

From average costs to expert advice, get all the answers you need to get your job done.