
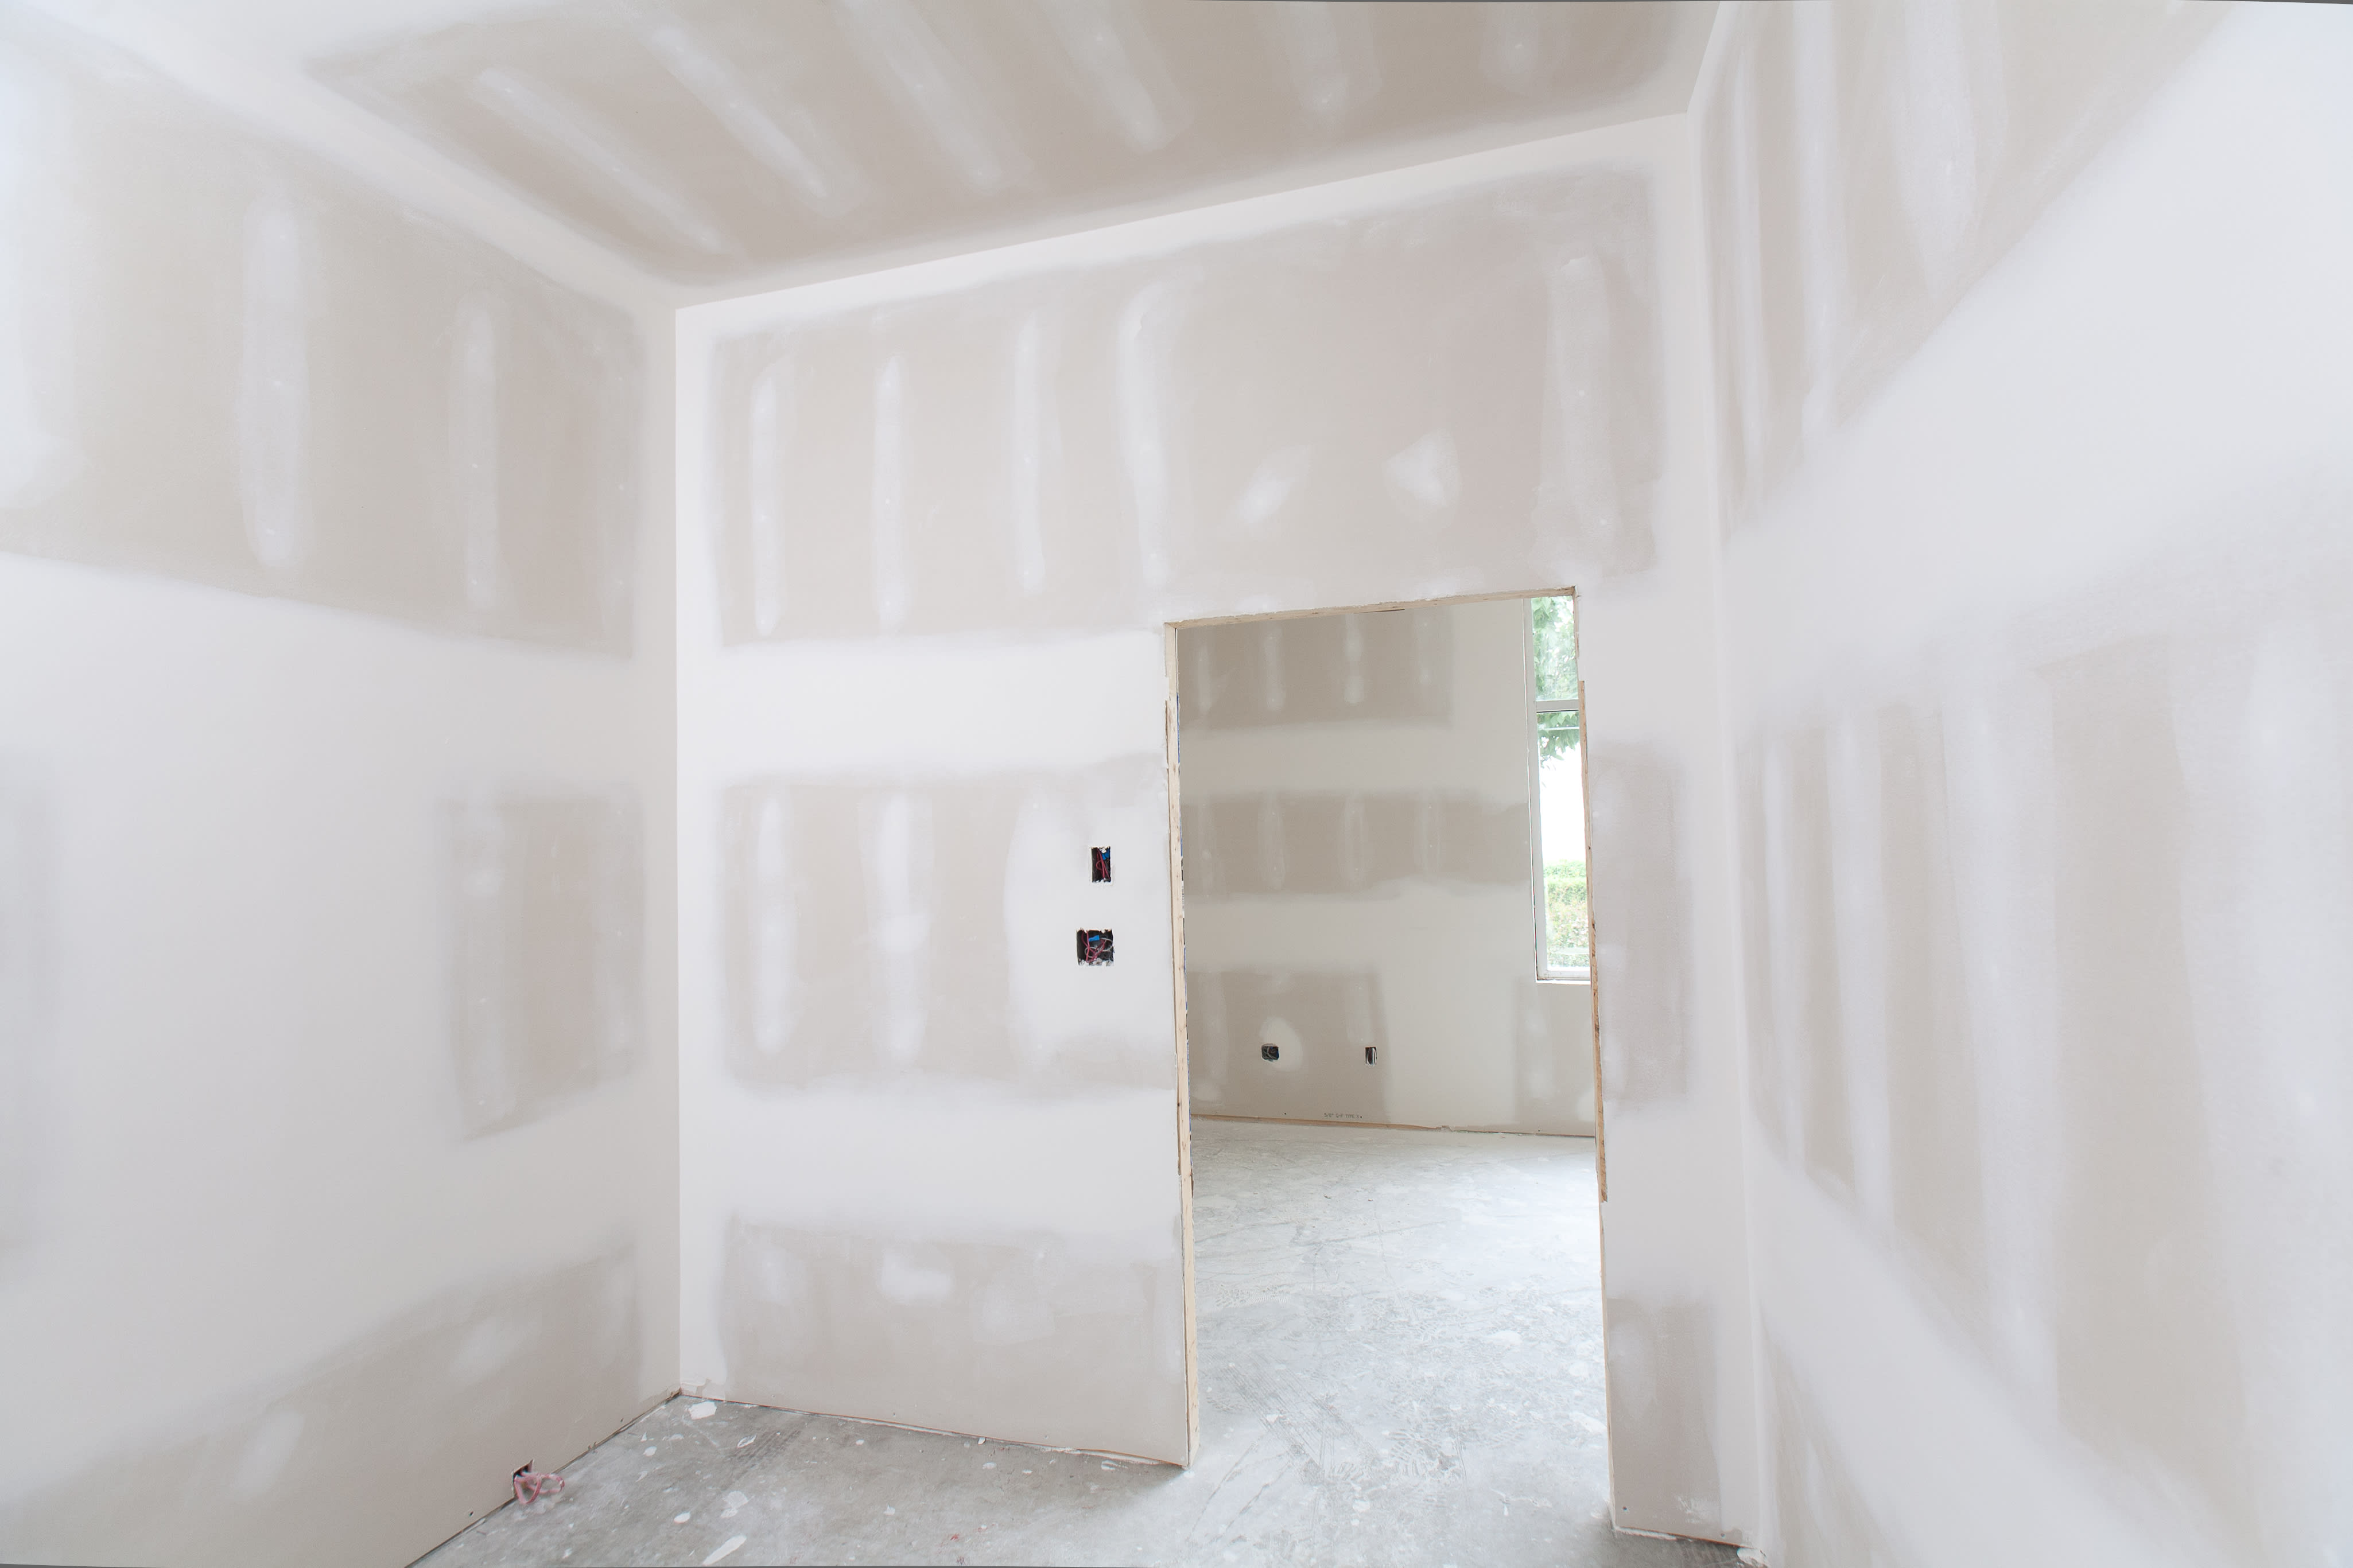
Bubbles popping up on your drywall is not only unsightly, but it might also mean there’s a bigger problem. Here are three reasons why your drywall is bubbling.
Don’t get stuck in the mud

Bubbles in drywall tape appear when you apply mud over premixed compound containing trapped air, bacteria, or mold from natural separation.
Professional drywall mudding costs $1.50 to $3 per square foot, and addressing bubbling issues early helps you avoid redoing entire sections.
Mix dry powder compound slowly with tap water that's sat for 30 to 60 minutes, preventing air pockets and dissolved gases.
Hiring a local drywall repair professional provides reliable support with proper mixing techniques and smooth application, helping you achieve a polished finish.
Mudding is tricky. Even experienced pros get bubbles from time to time. Luckily, there are some tweaks that can prevent drywall mud bubbles. Learn why your drywall mud bubbles and how to fix the issue.
If you want a good finish on your wall, it's absolutely worth it to pay for professional taping and mudding. Many DIYers are tempted to pay someone to hang the drywall and do the rest themselves, but this is one area where a skilled contractor can make a huge difference.
Premixed mud is convenient, but it’s harder to apply smoothly without bubbles. Sometimes there’s extra air in the mixture. And other times, bacteria, mold, or natural separation can cause bubbles.
Use powder drywall compound, instead, and mix it with water on your own. Be sure to mix it following the manufacturer’s instructions.

Just like when you’re mixing pancake batter, excessive whipping and aggressive mixing can cause air bubbles in drywall mud.
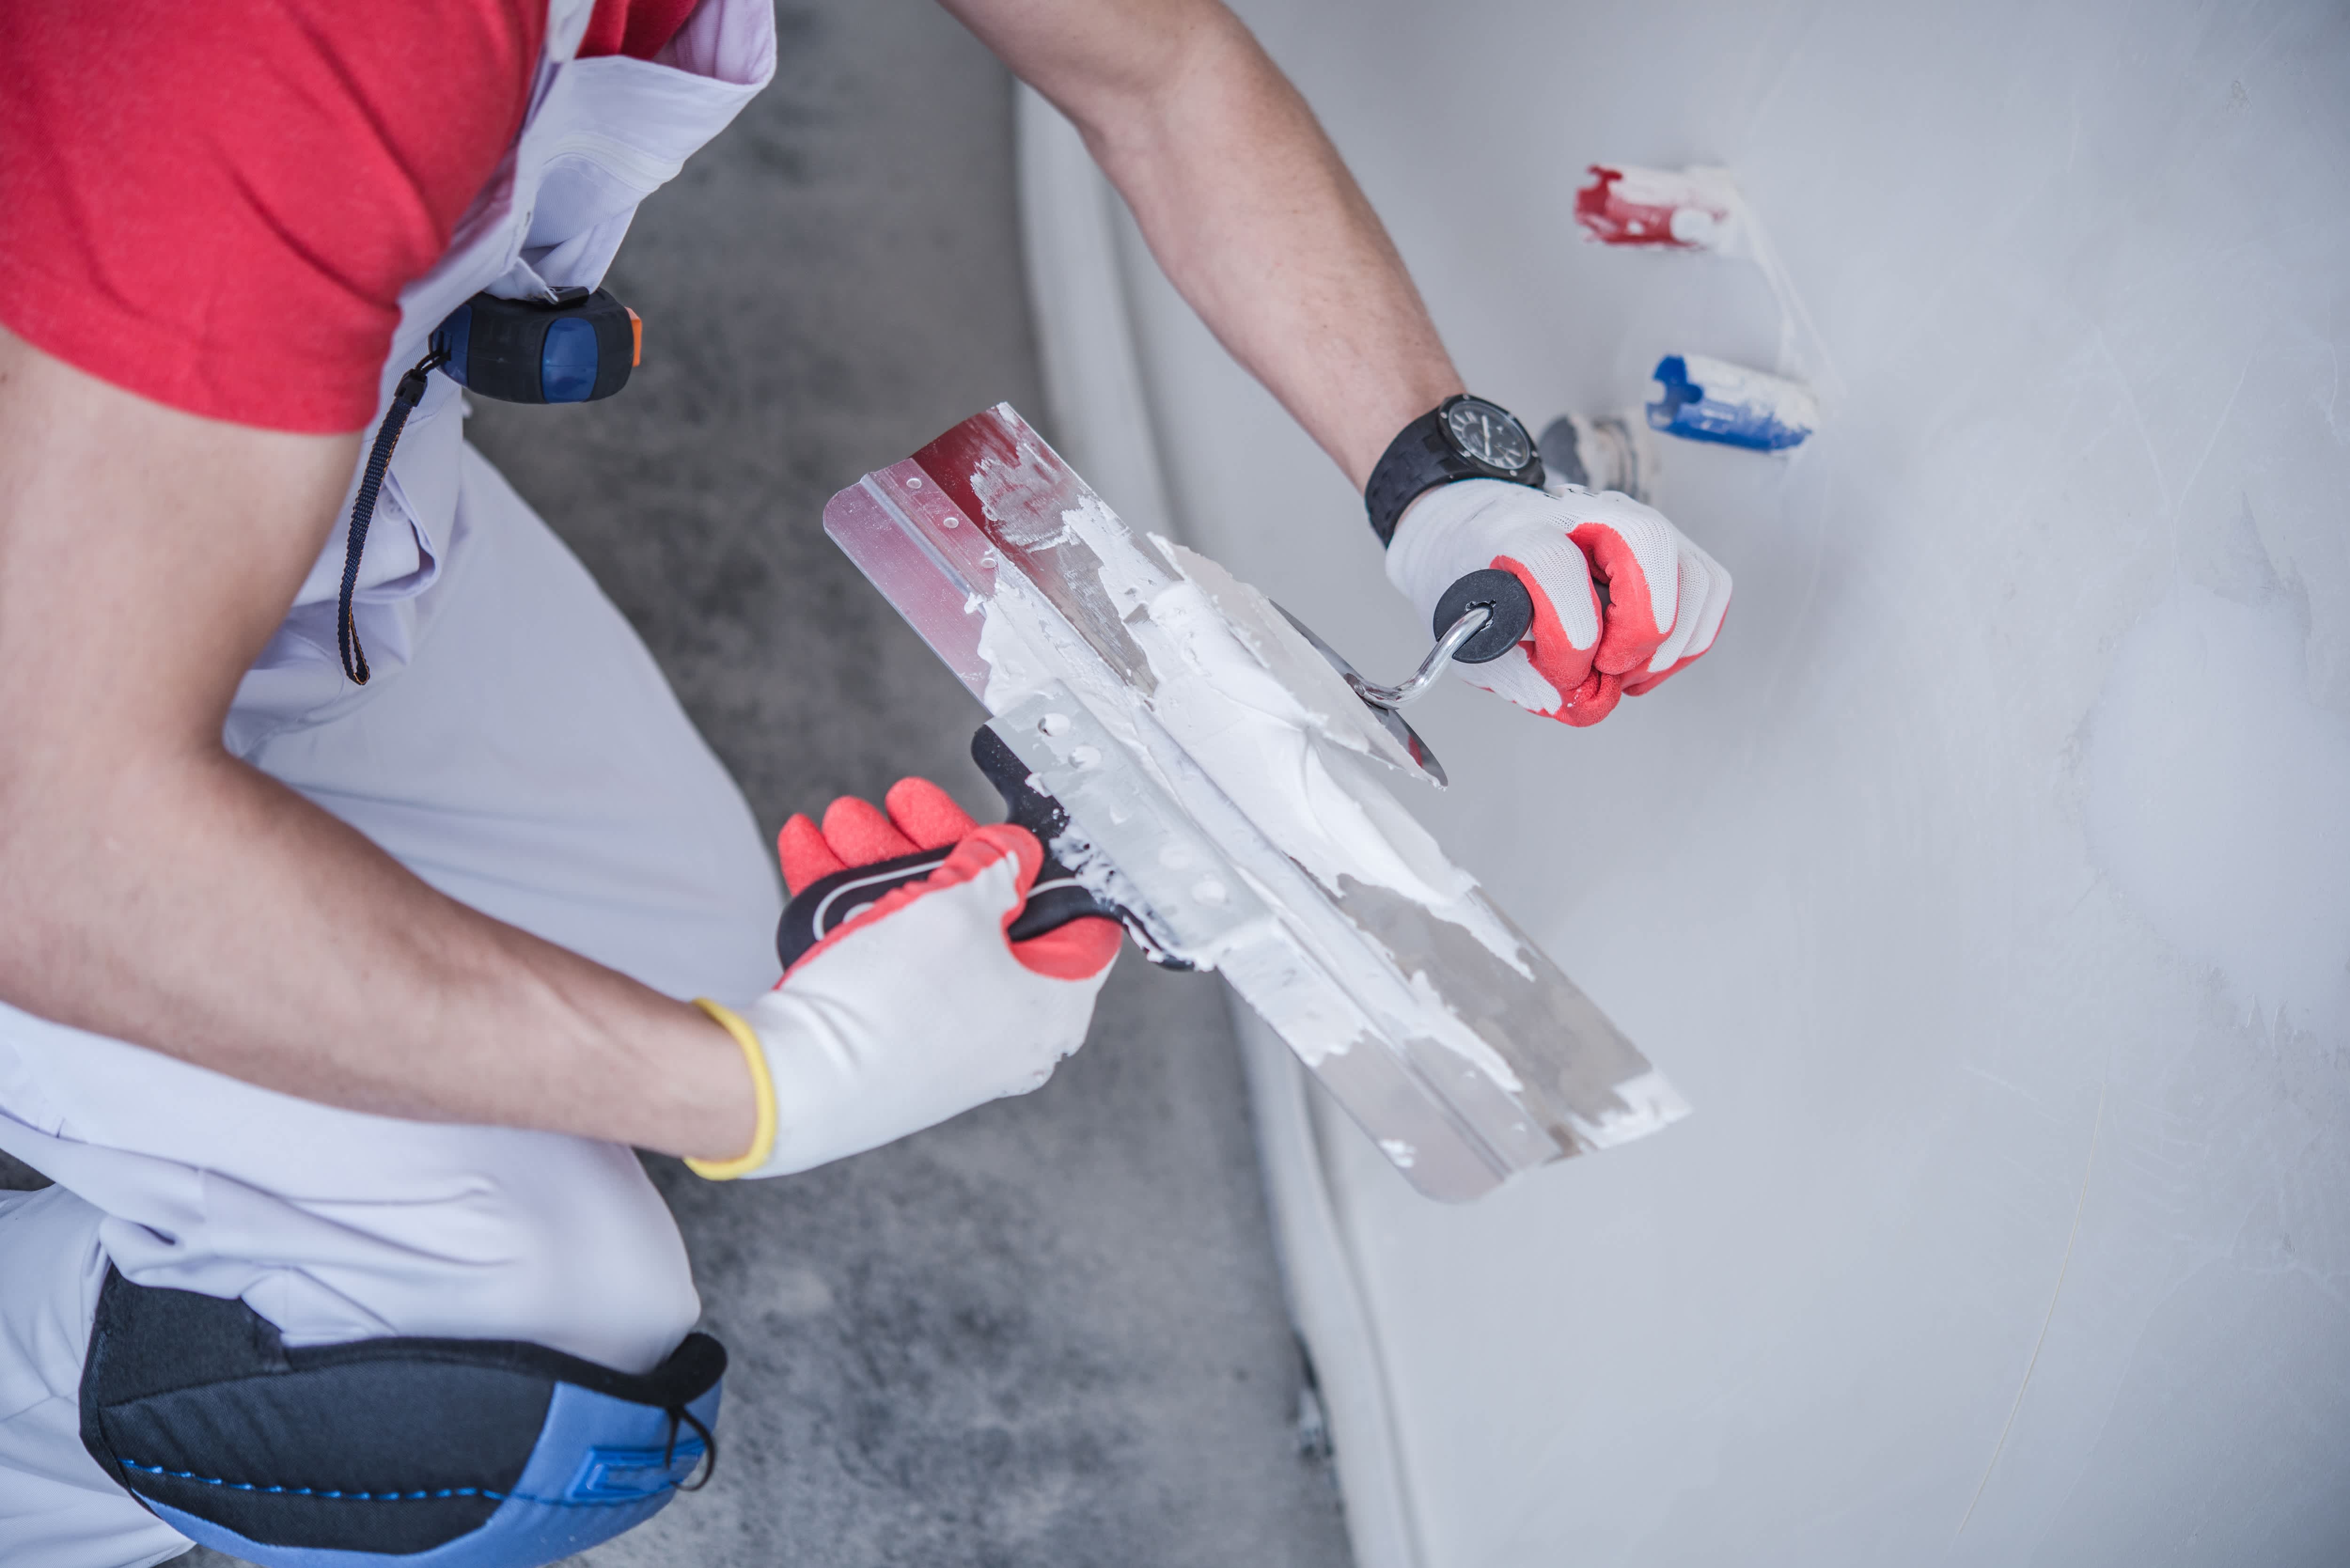
Slowly mix the compound into the water, adding more compound gradually. Use a low-speed mixer or paddle to blend it until all of the lumps are dissolved. Avoid creating a fast vortex while you mix because this can trap air. The mixture’s consistency should resemble smooth cake batter.
If the mud isn’t fully mixed, pockets of dry compound break the surface tension when you apply the mud to the wall.
Mix the mud in smaller batches. Mix it thoroughly and slowly, without whipping in extra air. Your mixture should be smooth without any lumps.
Tap water contains dissolved gases from being in a pressurized water line. If you mix tap water right into the mud, it can create air bubbles that show up on the wall when you apply it.
Pour your tap water into a bucket and let it sit for 30 to 60 minutes before mixing in the dry compound. You can also add a drop of dish soap to the mix to alleviate gas bubbles.
If your drywall mud mix doesn’t have enough water, it can lead to inconsistencies and bubbling when applying.
Add a few drops of water to smooth out your mud. Apply the mud in a small area to gauge consistency and bubbles. Add extra water as needed until you get a smooth, bubble-free application.
If there’s dust on the wall after sanding, it can cause the drywall mud to bubble up due to the uneven surface and air pockets forming.
After sanding the wall, vacuum it from top to bottom with a shop vac. As an extra precaution, wipe the wall with a slightly damp cloth to remove any fine dust particles. Let the wall dry before applying mud.

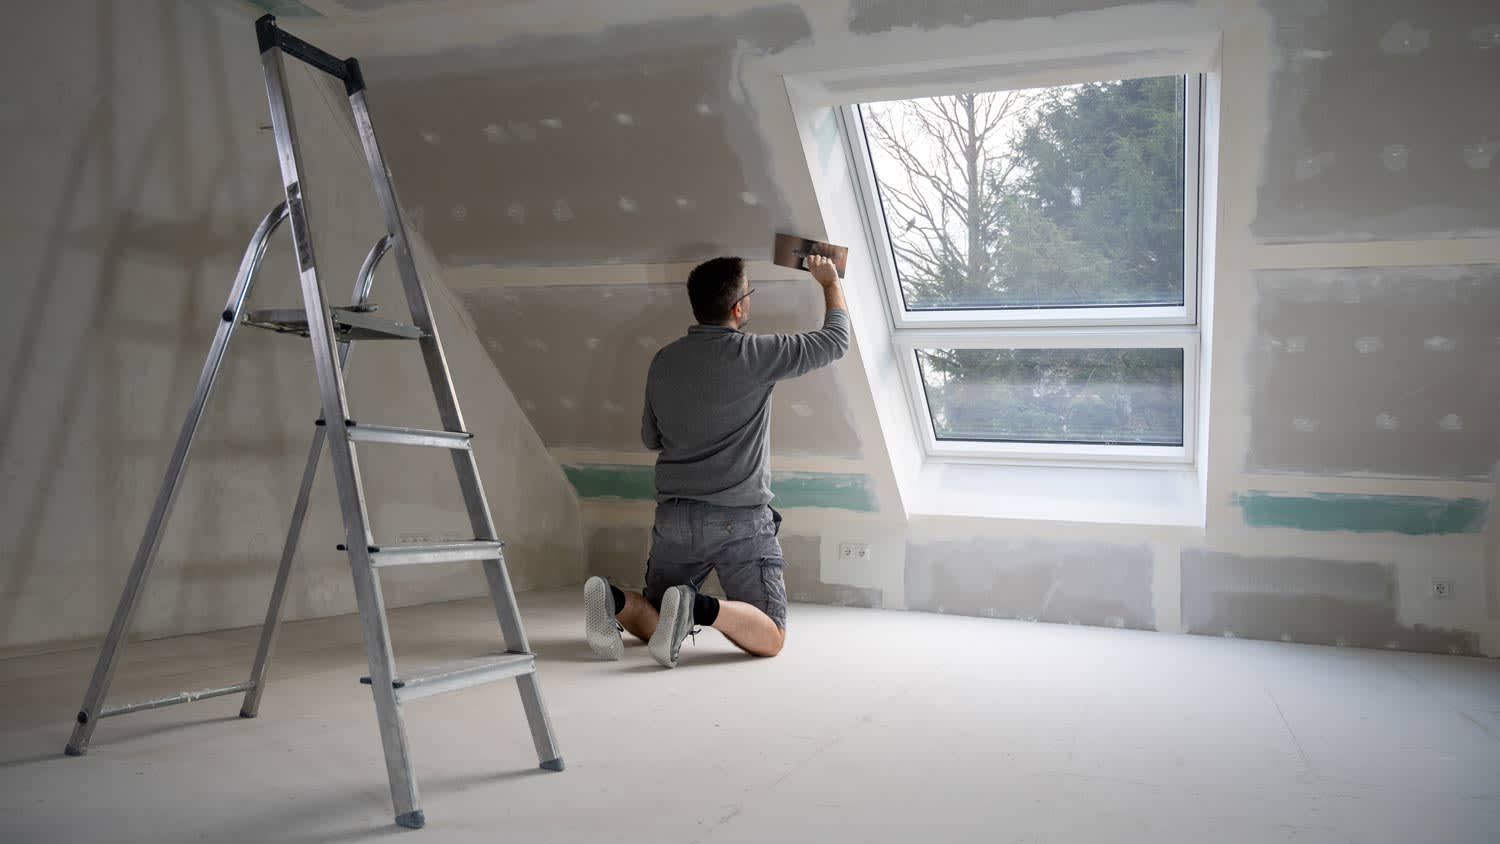
You should apply drywall mud in three thin layers, but it’s important to wait until the previous layer is 100% dry before adding the next coat. If the earlier layer is still wet, it can cause bubbling due to the extra moisture.
Wait 24 hours between each layer of drywall mud to ensure it is fully dry. Or, follow the manufacturer’s guidelines for specific recommendations.
You can mud over a painted surface, but only if you prep it first. Mudding over a painted wall, especially one with an oil-based paint, can cause the moisture in the paint to be trapped underneath the fresh coat of mud, creating bubbles.
Prime a painted wall before you mud over it. The primer seals the moisture and prevents the mud from bubbling.
Applying thick layers of drywall mud can prevent a smooth finish and cause bubbles to pop up.
Apply drywall mud in thin, smooth layers. Let each coat dry completely before adding another coat.

If you press your knife too hard while you apply the mud, the drywall tape can snap. Air bubbles can then develop on subsequent coats as the tape absorbs the moisture.
Hold your knife at a low angle when spreading the mud. Push down gently but firmly to smooth the surface.
The wrong type or size of tool can lead to trapped air and bubbling. You need to embed the mud into the tape properly, and that’s easiest with the right tools.
Use a drywall trowel or taping knife, also called a putty knife, for applying drywall mud.
Quick or inconsistent movements can cause air pockets. Drywall mudding takes precision and care to avoid bubbles.
Use a smooth “push and pull” motion when spreading mud to push the mud into the crevices and embed the tape.

Drywall mudding is particularly tricky and takes practice and talent to get it right. Hiring a professional is a wise investment that’s sure to give you a polished result with minimal frustration. Consider hiring a local drywall pro, and learn how to paint the room instead to save on costs. Hiring a drywaller to handle mudding costs $1.50 to $3 per square foot.

You can minimize bubbling in drywall mud by following these tips:
Opt for dry powder instead of premixed mud.
Mix your mud slowly and thoroughly to prevent pockets of powder and excess air.
Let your tap water sit for 30 to 60 minutes before mixing in the powder.
Apply mud in three thin coats.
Spread mud in smooth, continuous strokes with a drywall trowel or putty knife.
Practice in inconspicuous areas before moving on to the center of the room.
Cancelled appointment two hours after they were supposed to come for drywall work.
I would recommend this company to anyone! He showed up on time, was friendly, completed a very difficult repair on our dryer vent cover, was responsive, and pricing was extremely fair and competitive. I would have him back to do any of our repairs or cleanings without hesitation!
I cant stop admiring my newly painted walls. Custom Paint Jobs LLC made my house feel brand new.
Excellent experience with hiring Tether House to Mount our 77’ Samsung TV in our bedroom. Fast, friendly, and knowledgeable. Highly recommend.
Excellent customer service and knowledge. I was recommend to him from my neighbour. My front door and window came in great and were installed beautifully perfectly, I m very satisfied with their excellent work, so decided to order one more big bow window for my living room. I cant wait for...
Manuel Calvillo is the best option in the area for roofing and you won't be disappointed.
Would hire again. Wall looks great. Happy with job.
 Central Paving
Involved an extensive bathroom remodel, including removing tub & installing walk in shower, new drywall, custome tile work to ceiling, plumbing, etc. Overall, job was done on time and on budget. Nick & his team were very professional and had high attention to detail. Quality was great. Highly...
 Stamos Flooring and Remodeling LLC
We have had a great experience with Rising Height for the past five years on a number of miscellaneous renovation projects. They laid flooring for us and had a very good sub do the finish. Installed drywall for a vaulted ceiling, finished an attic/loft with new subfloor, framing and drywall,...
 Rising Height Unlimited
Mr. Lopez was super nice and professional. He repaired our drywall just as he described during the estimate phase. Our dining room wall looks great again! Thanks Mr. Lopez!
From average costs to expert advice, get all the answers you need to get your job done.
Bubbles popping up on your drywall is not only unsightly, but it might also mean there’s a bigger problem. Here are three reasons why your drywall is bubbling.
Can drywall mud go bad? It might not “expire,” but it can grow mold or dry out. Here’s what you need to know to extend its lifespan.
How long does drywall mud take to dry? In most cases, you need to wait at least 24 hours before moving to the next step of your project. Read on to learn more.
Hanging and finishing drywall can be hard work if you don’t have experience. These professional-level drywall mudding tips make the project easier.
When choosing between types of drywall mud, you need to consider your project and how quickly you can work. Use this guide to help you select the best drywall mud for your project.
From incorrect mixing to poor weather conditions, there are a few reasons for joint compound not sticking to drywall. Learn how to avoid this drywall problem.